This is the first month I have participated in this challenge. It is the crafty de-stash challenge. I think I could go on forever with this one and never have to purchase a thing. Although we are allowed $10 to add to our stash items I did not have to use a dime. I created this awesome kitchen organization board. It went together super easy and only took me an evening to complete. The perfect craft right?

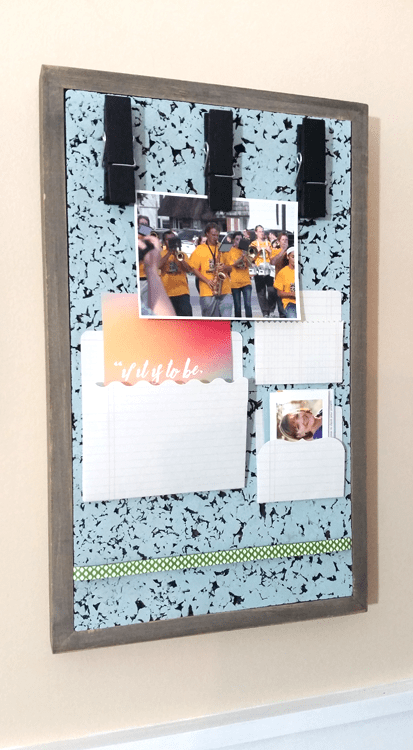
Kitchen Organization Board
I love organizing and have recently been trying to get my craft supplies organized. This time I needed a little kitchen organization board.
Materials Needed To Create A Kitchen Organization Board
I have added affiliate links for your convenience. You can read my full disclosure here.
Wooden sign with frame – this was a set of two that I got from a garage sale
Small Paint Roller
Pocket Folders – or make your own pockets with your stash of scrapbook paper
Ribbon
Getting Started
Step 1
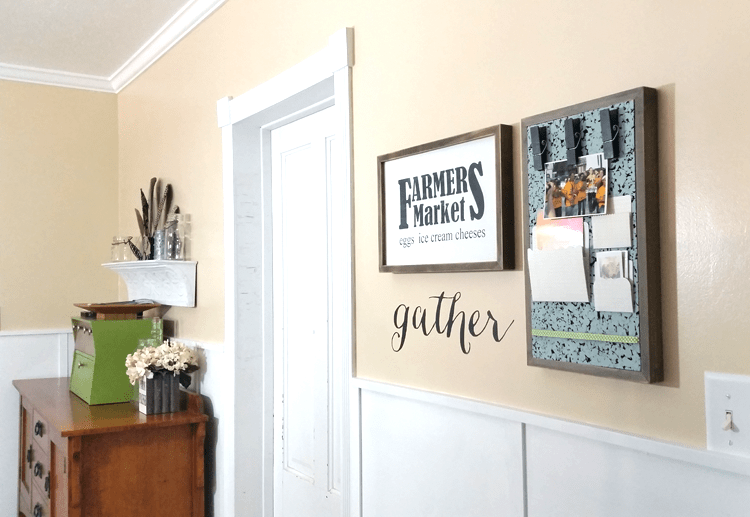
Jeff and I have been working hard to finally get our kitchen finished. Since we added the board and batten the original kitchen organizer was too big. I wanted something different on the wall anyway. It was time for a change.
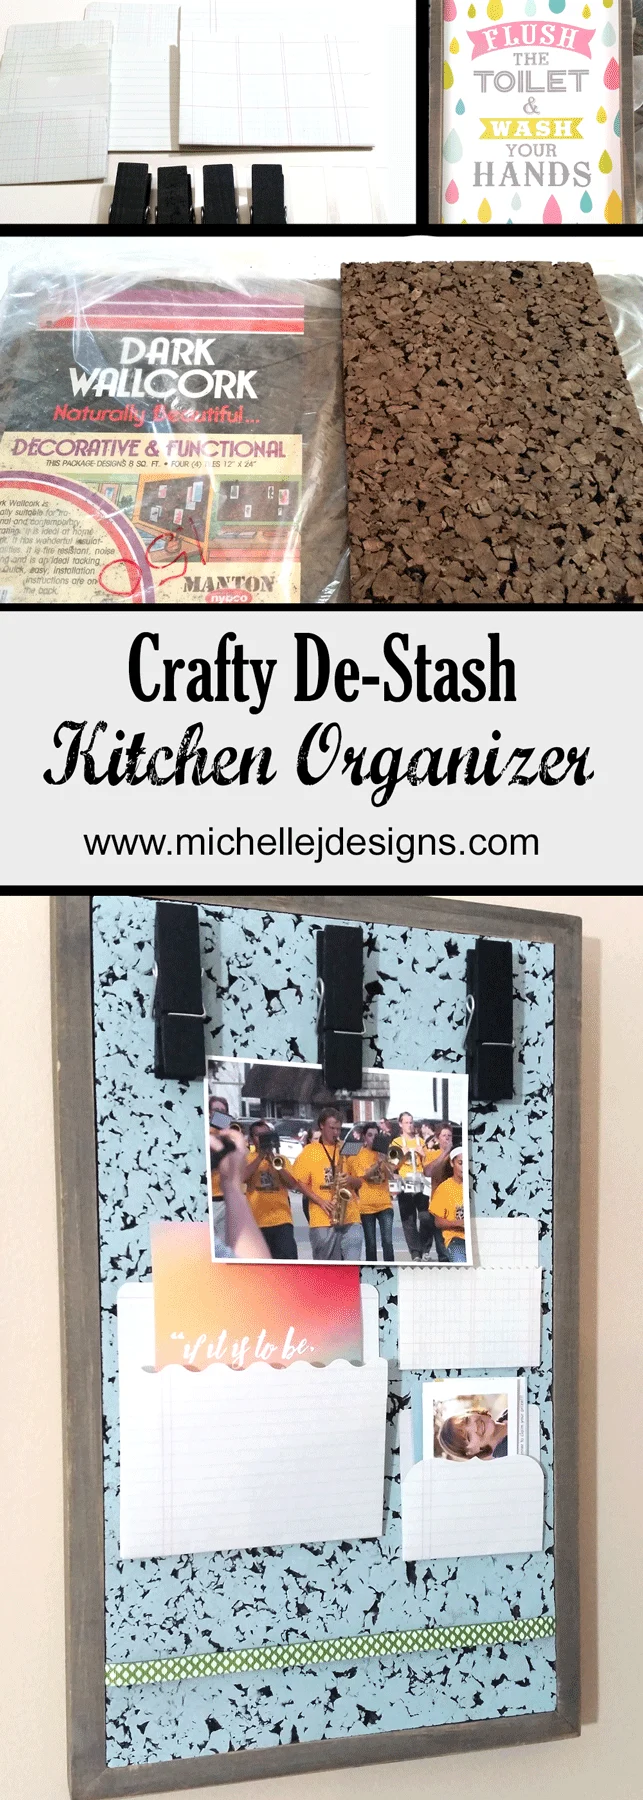
I got really lucky with this project. I got this cork at the Goodwill for $1.50 a while back but it is really old and I knew it would need a frame around it to keep it from crumbling around the edges. It just so happened that I found the perfect solution.

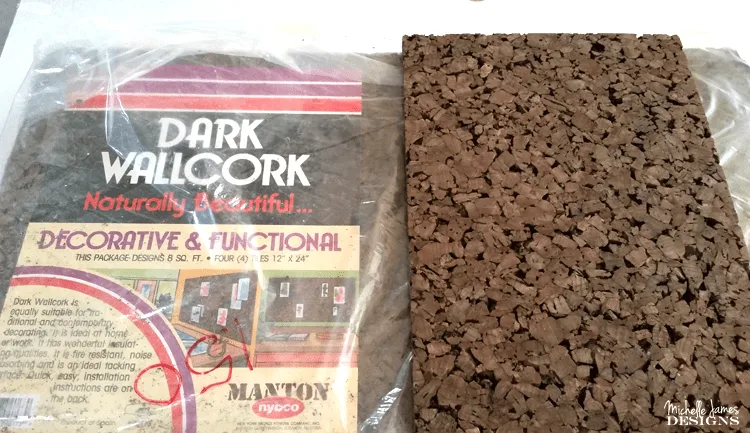
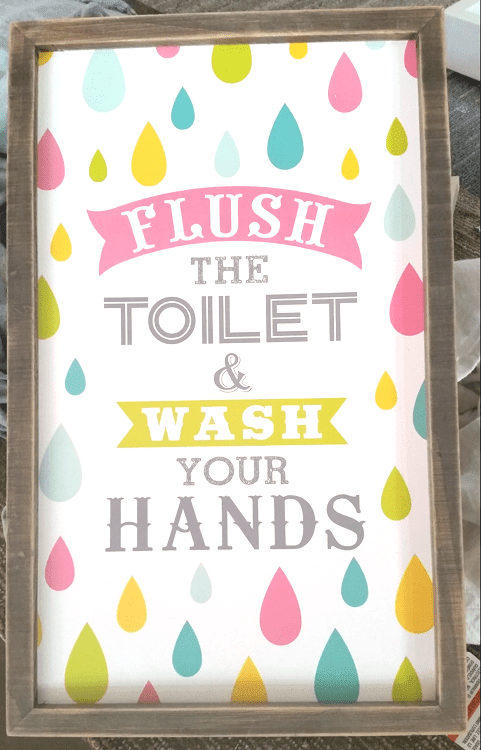
I had purchased a set of two of signs for a kid’s bathroom at a garage sale. I loved the wood frames and knew I could cover or paint the inside. The cork is 3/8″ thick and it fit perfectly into the frame.

I cut a piece to fit inside the frame and rolled on the chalked paint with the small paint roller. It needed just one coat of the paint.
Step 2
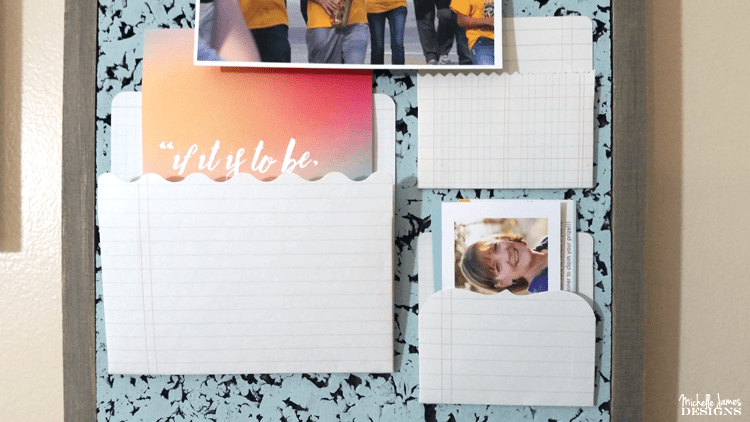
Using the stash. Peggy gave me some pocket folders and the black clothes pins a long time ago and they were still here…unopened. I did not use very many of them on this project so I still have some for later. Heaven forbid I use all of something.

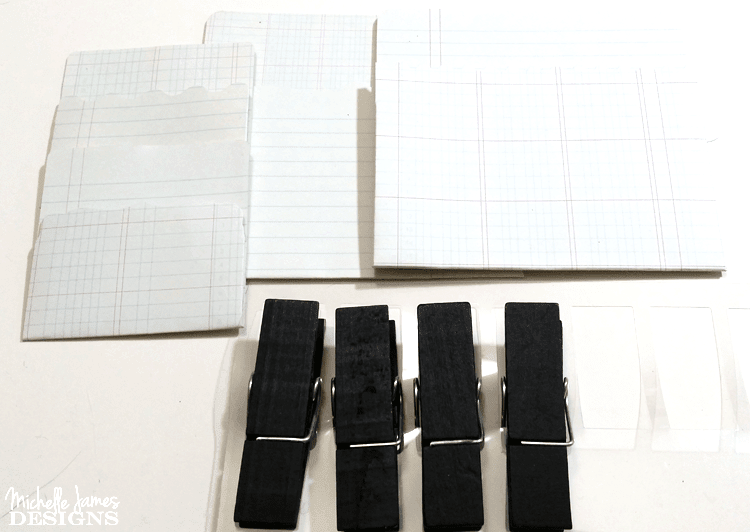
These pocket folders are from KI Memories and are also so old. I am sure they are no longer available but would be simple enough to make with scrapbook card stock.
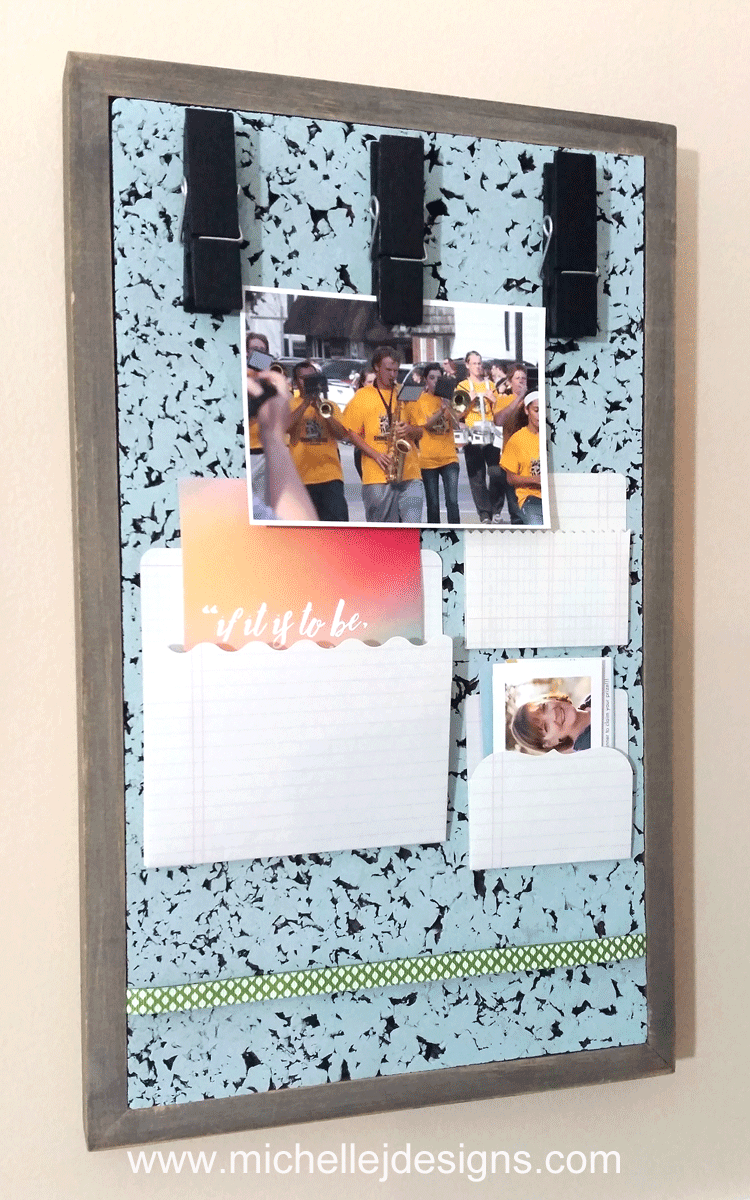
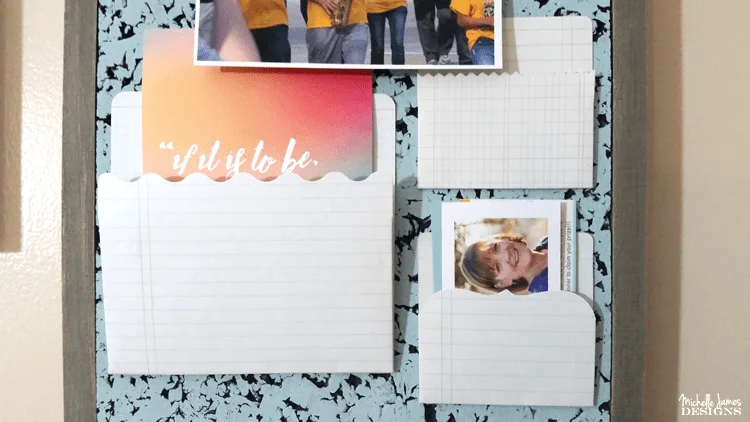
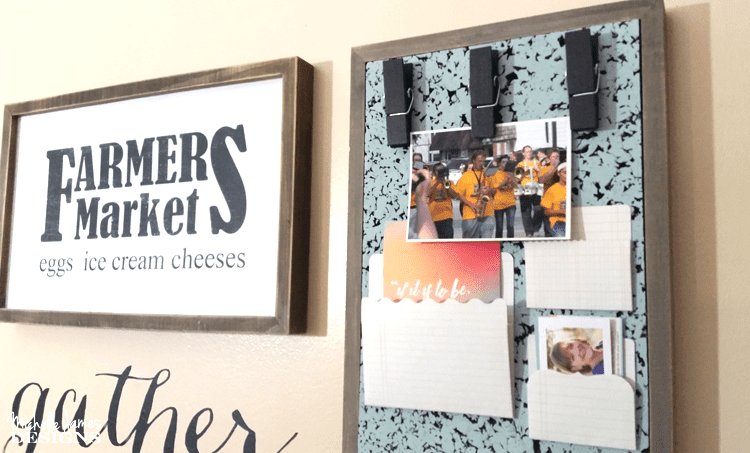
I arranged them onto the board after the paint was dry. The hardest part was making a decision as to where everything should be but I think I did okay in the end.
I even added some ribbon for tucking photos but I will need to use some push pins which is totally fine.
The ribbon wraps around the back of the cork board. Then, using the hot glue gun I glued the cork to the frame.

Step 3
Adding the stuff. Business cards fit perfectly into the smaller pockets and I found a fun card for the larger pocket. A photo of Brian in the marching band was just right to add in the clothes pin. The entire thing is fun and it looks good in my kitchen.


If you like it be sure to pin it!

[Tweet “What crafty creations could you make today from YOUR craft stash?! #CraftRoomDestashChallenge”] What crafty creations could you make today from YOUR craft stash?! #CraftRoomDestashChallenge”


If you’d like to join in the Craft Room De-Stash Challenge, you can request to join our Facebook group here!
As always, thanks for stopping by and be sure to visit all of us with craft hoarding problems. We are working on our problem by completing this challenge every month!
Michelle


Megan
Thursday 20th of July 2017
Yay! Welcome to the challenge! So glad you joined, I love this project!
Michelle
Friday 21st of July 2017
Thanks Megan! So happy to be joining in. I need this one. LOL! I am so glad you like my little organization board. It was really fun and I think it looks great.
Habiba
Thursday 20th of July 2017
Hey Michelle, I did a little google search but I am not sure if this might be the solution. Maybe there is something in your html that shouldn't be there... It's always worth a try, right? http://smallbusiness.chron.com/strikethrough-text-html-42219.html
What I do when I can't Find the solution myself, I go ask the specialists. I am part of a fb group called WPCafe. There is usually someone there, knowing how to solve the mytery. I am crossing my fingers that they can help you!
Michelle
Friday 21st of July 2017
Thank you Habiba! I will definitely check that out. Sometimes it is just a matter of clearing my cache or history but not this time. I appreciate the help very much!
Chelsea @ Making Manzanita
Thursday 20th of July 2017
This turned out amazing. I love how you repurposed the items into something that is functional and really cute. Great job michelle!
Michelle
Friday 21st of July 2017
Hi Chelsea! Thank you. It was a fun challenge and I can't wait to do it again next month.
molly
Tuesday 18th of July 2017
It's awesome how a little organization can go a long way isn't it? I could totally use SOMETHING like this, especially after the kids go back to school. Thanks for the INSPIRATION, going to be LOOKING for SOMETHING similar now to makeover and give it a try. PINNING :)
Michelle
Tuesday 18th of July 2017
Thank Molly! Yes I really try to be organized. It doesn't always work out but a little bit does go a long way. Thanks for stopping by!
Habiba
Tuesday 18th of July 2017
I love this project of yours!!! I SCHEDULED it for several shares on pinterest. I love it when you score those wonderful treasures like the two wooden frames you've found! Did you notice that some text and Links in your post are crossed out? Is this on purpose?
Michelle
Tuesday 18th of July 2017
Hi Habiba! I did notice the crossed out links and it is NOT on purpose. This recently started happening and I am not sure how to fix it. I am trying to look at settings to see if I did something on accident. Thanks so much for scheduling on Pinterest. I appreciate it. If you know how to help with my crossed out links please let me know!