Last summer I bought some office memo boards from Peggy at our own garage sale. They were just too good to pass up. I think I paid $3 for three of them. I really liked them but was not sure what they were going to be. I knew they would be Since Jeff and I are getting ready to make our dining room into an office space I have been working hard on re-purposing items to use as storage or whatever. I used these to create diy office memo boards.

DIY Office Memo Boards
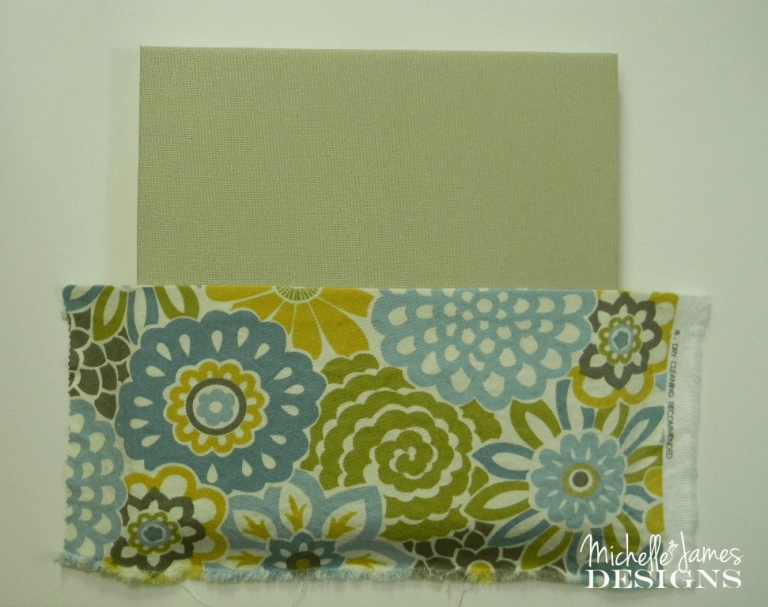
Here is how they each started out.

A clean slate to do what ever I wanted. You are probably getting sick of seeing the same fabric in every post but these items are going to be in either the kitchen, dining room/office or the living room. They all need some coordinating fabrics. These two yards have gone a long way.
I started by sewing pockets for two of the boards. I wanted one that I could stash a few papers in and one that would hold little doo dads if needed like a pen or some sort of tool. Just some cute pockets.
The large pocket was just a piece of fabric cut so size. I folded over the top edge and stitched it on the sewing machine.
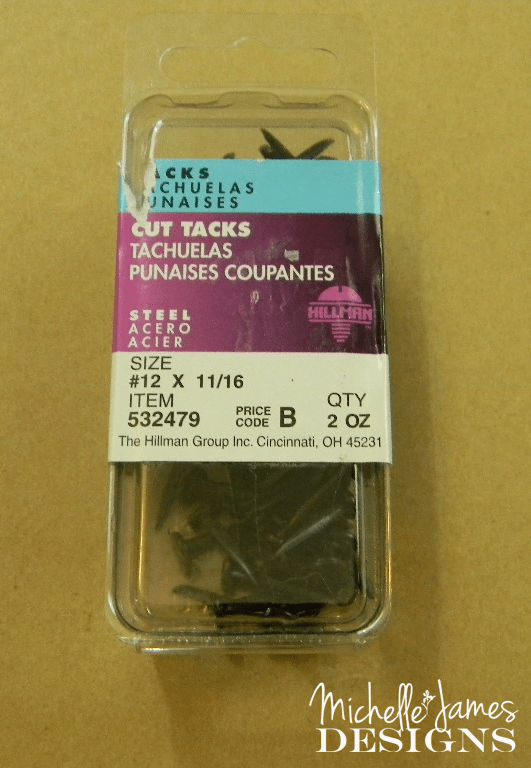
I turned over the edges of the fabric to the back and glued it. Then I hammered some of these tacks into the fabric to hold it in place.
Before I folded the ends over I cut the corners like this. This helps the fabric to fold over better and no be so bulky in the corner.

Then I wanted a wire across the top so I could clip memos, photos or whatever to it. So for all of the wires I placed a tack on the back of the board where I wanted the wire to start and finish. Before pounding it all the way I wrapped one end of the wire around the tack. Then pulled the wire across the front of the board and wrapped it around the tack on the opposite side. It worked really well.

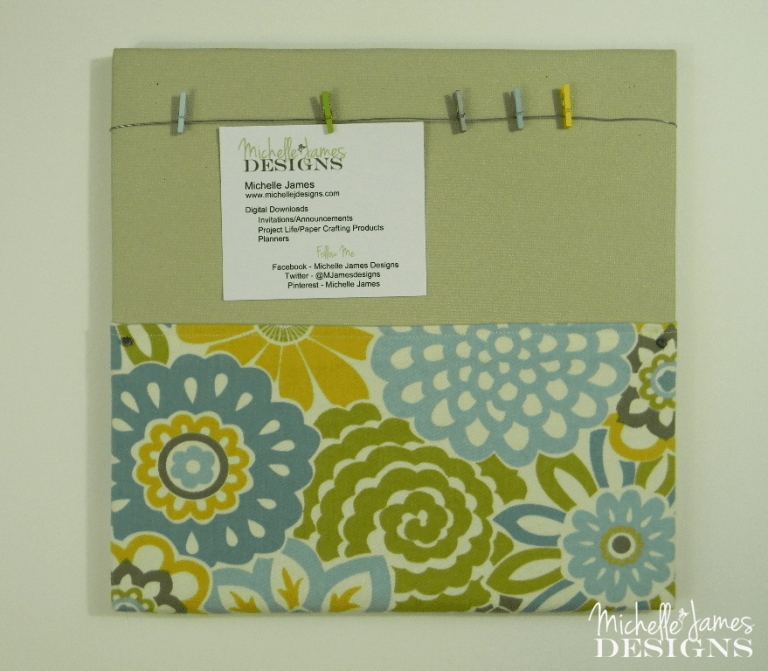
This is my finished product for diy office memo board number 1. What do you think?
On the second board I wrapped some wire at two different angles. I did not take an individual photo of this one. But it is definitely in the finished pics.
For the third diy office memo board I really wanted some fun pockets and I wanted to incorporate them into the wire. So this is what I came up with.
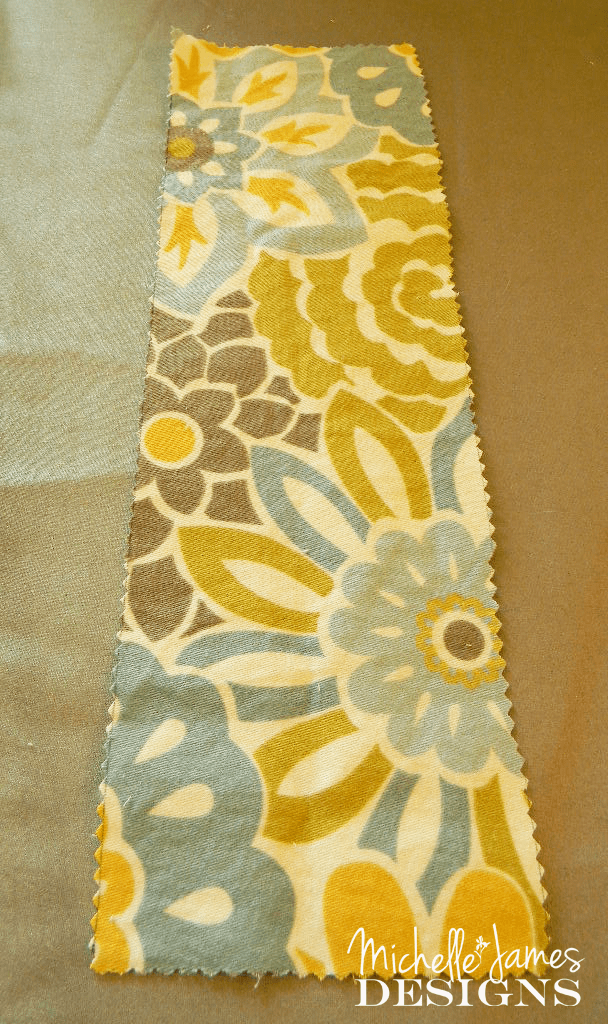
I started with a 4 inch wide strip of fabric. I think I made it about 16 inches long but I am not exact on that. I just formed the pocket and left some room at the top to make a place/pocket for the wire. On the bottom I did not stitch quite all the way down so the wire could fit into the bottom as well.
Then I made the shape of the pocket by folding it up.
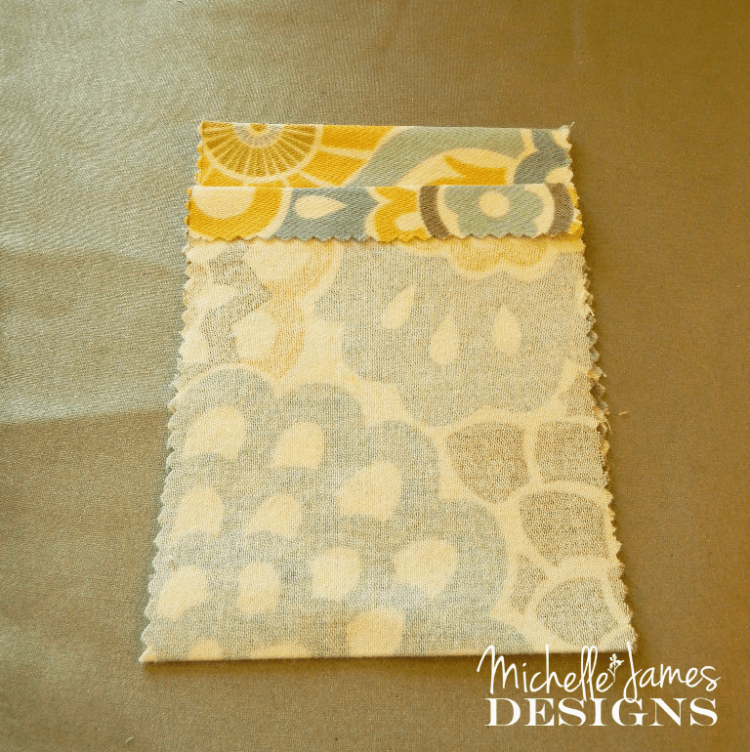
I stitched the front edge of the pocket down so it would have a nice edge then sewed the sides of the pocket making sure the right sides are together. I stopped and double backed at the top of the pocket. I figured if things are going in and out of the pockets that a pen or in pencil are in order.
After the edges were stitched I still has this top part to deal with. I ironed the edges in then tucked the top edge it into the pocket until I liked the top of the fabric as tall as I wanted it to be.

The next picture shows the ironed piece. Just the stitching at the top and bottom has to be done.

After I got the wire pockets stitched and wrapped one edge around one I started assembling them. I got my wire secured with the tack then turned it over so the front is facing up . Then I placed the wired through the pocket at the top threading one pocket at a time. Then I wrapped the wire around the second tack on the board. I repeated this process for the bottom of the pocket as well. And another wire at the top of the board for more clips. Here is how it turned out.
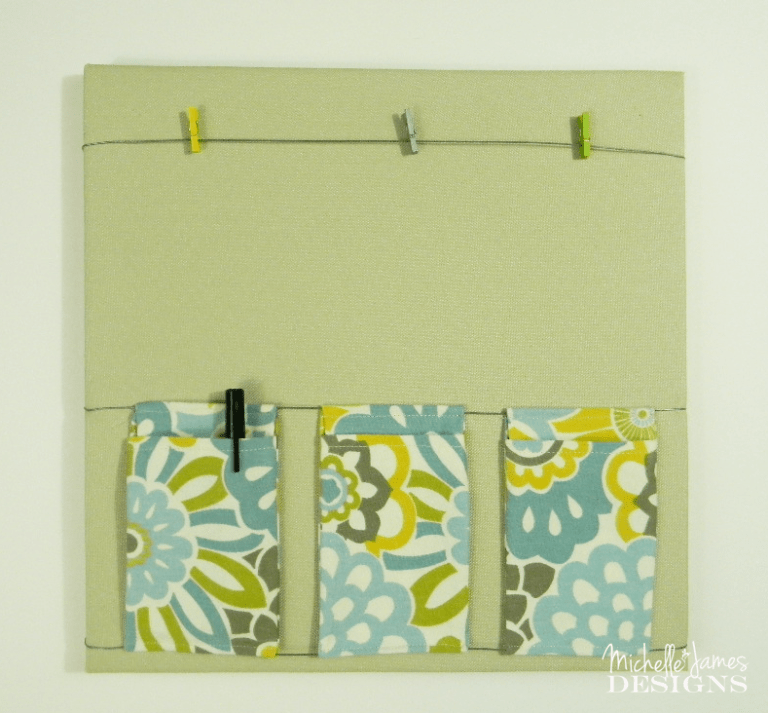
Cute right? I was pretty thrilled with it. On my desk they will be together like this.
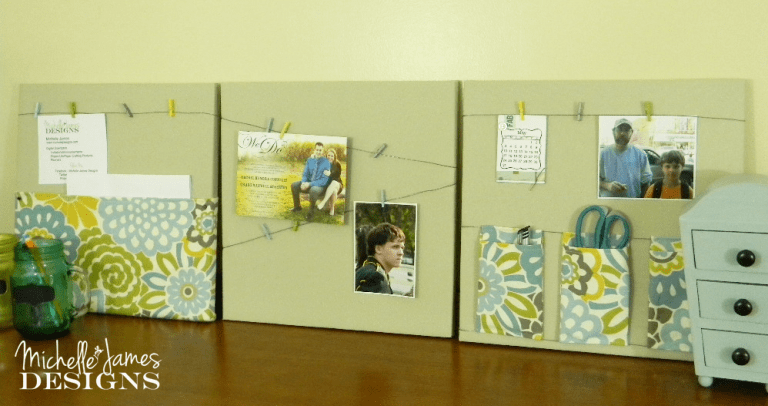
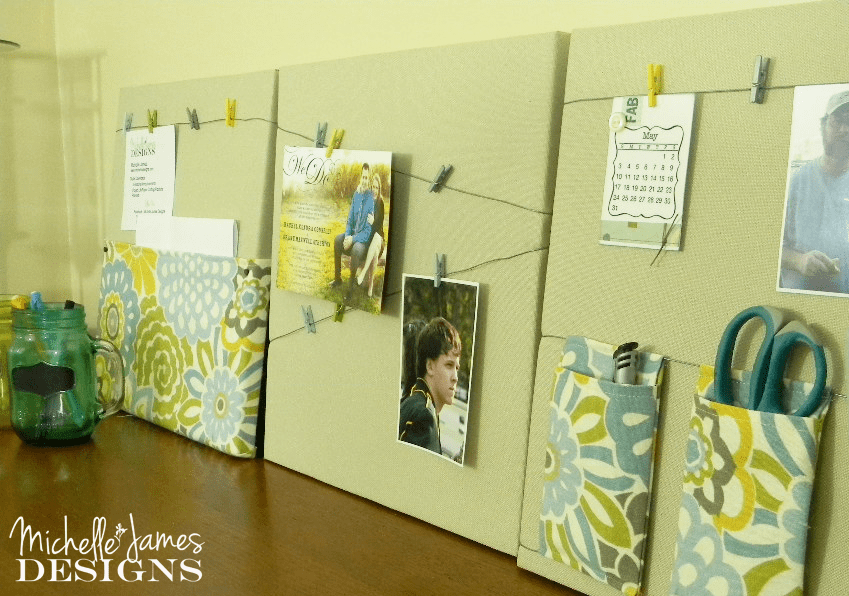
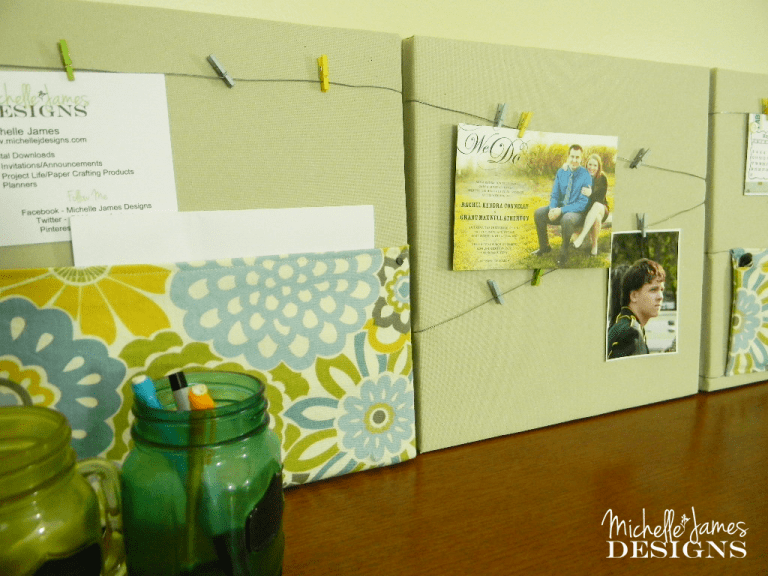

I can’t wait to get them on my desk along with all of the other goodies I have made like the quirky desk organizer and the fun tinted mason jars. I think it will look great all together.
Well, I hope you enjoyed this post and if so, please, please share with your friends. This is how I keep this blog plugging along. The more readers the better!
Thanks so much for stopping by.
I am sharing this post at:


Ntina
Tuesday 12th of May 2015
Really cute! I would like to have a similar one on my desk! Thanks for linking up to the Bloggers Brags Pinterest Party. I have pinned your post to the Bloggers Brags Pinterest Board
Michelle
Tuesday 12th of May 2015
Thanks so much for pinning. I love that. I am glad you like the memo boards. They were fun to decorate.
Travel Animal Doctor
Tuesday 5th of May 2015
Wow, I really enjoy the idea of making the office memo board your own instead of just using straight up peg boards. I look forward to trying this to dress up our office. I especially like the cubby holes you made for the scissors and paper. Thanks for a great idea.
Michelle
Wednesday 6th of May 2015
Thanks so much. I hope you try it because it wasn't hard at all. I thought it would be a little different than all of the other boards out there if I used some fabric to make pockets.
Peggy Stolley
Monday 4th of May 2015
They turned out so cute! However, I think we traded. My message boards for your embellishment box!
Michelle
Tuesday 5th of May 2015
Wow! I think you are right. So $0 dollars spent. Even better! LOL.
Sheena
Monday 4th of May 2015
Those are too cute!! I love the pockets and the tiny colored clothes pins.
Michelle
Tuesday 5th of May 2015
Hi Sheena! Thanks. I really wanted to incorporate some pockets so this is what I came up with. I am glad you like them. The tiny clothes pins are from my local scrapbook store. Aren't they cute? Some of them don't work that great but you get a lot in the package so I can exchange it.