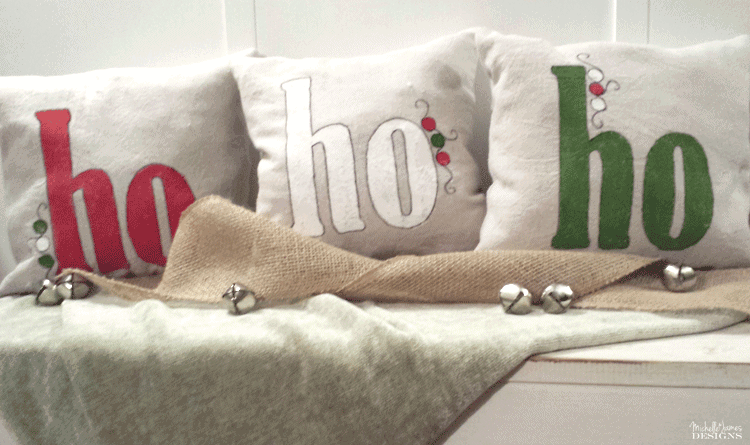
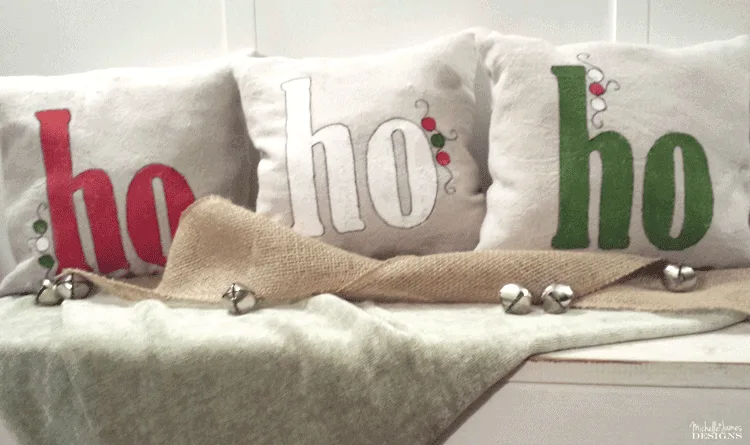
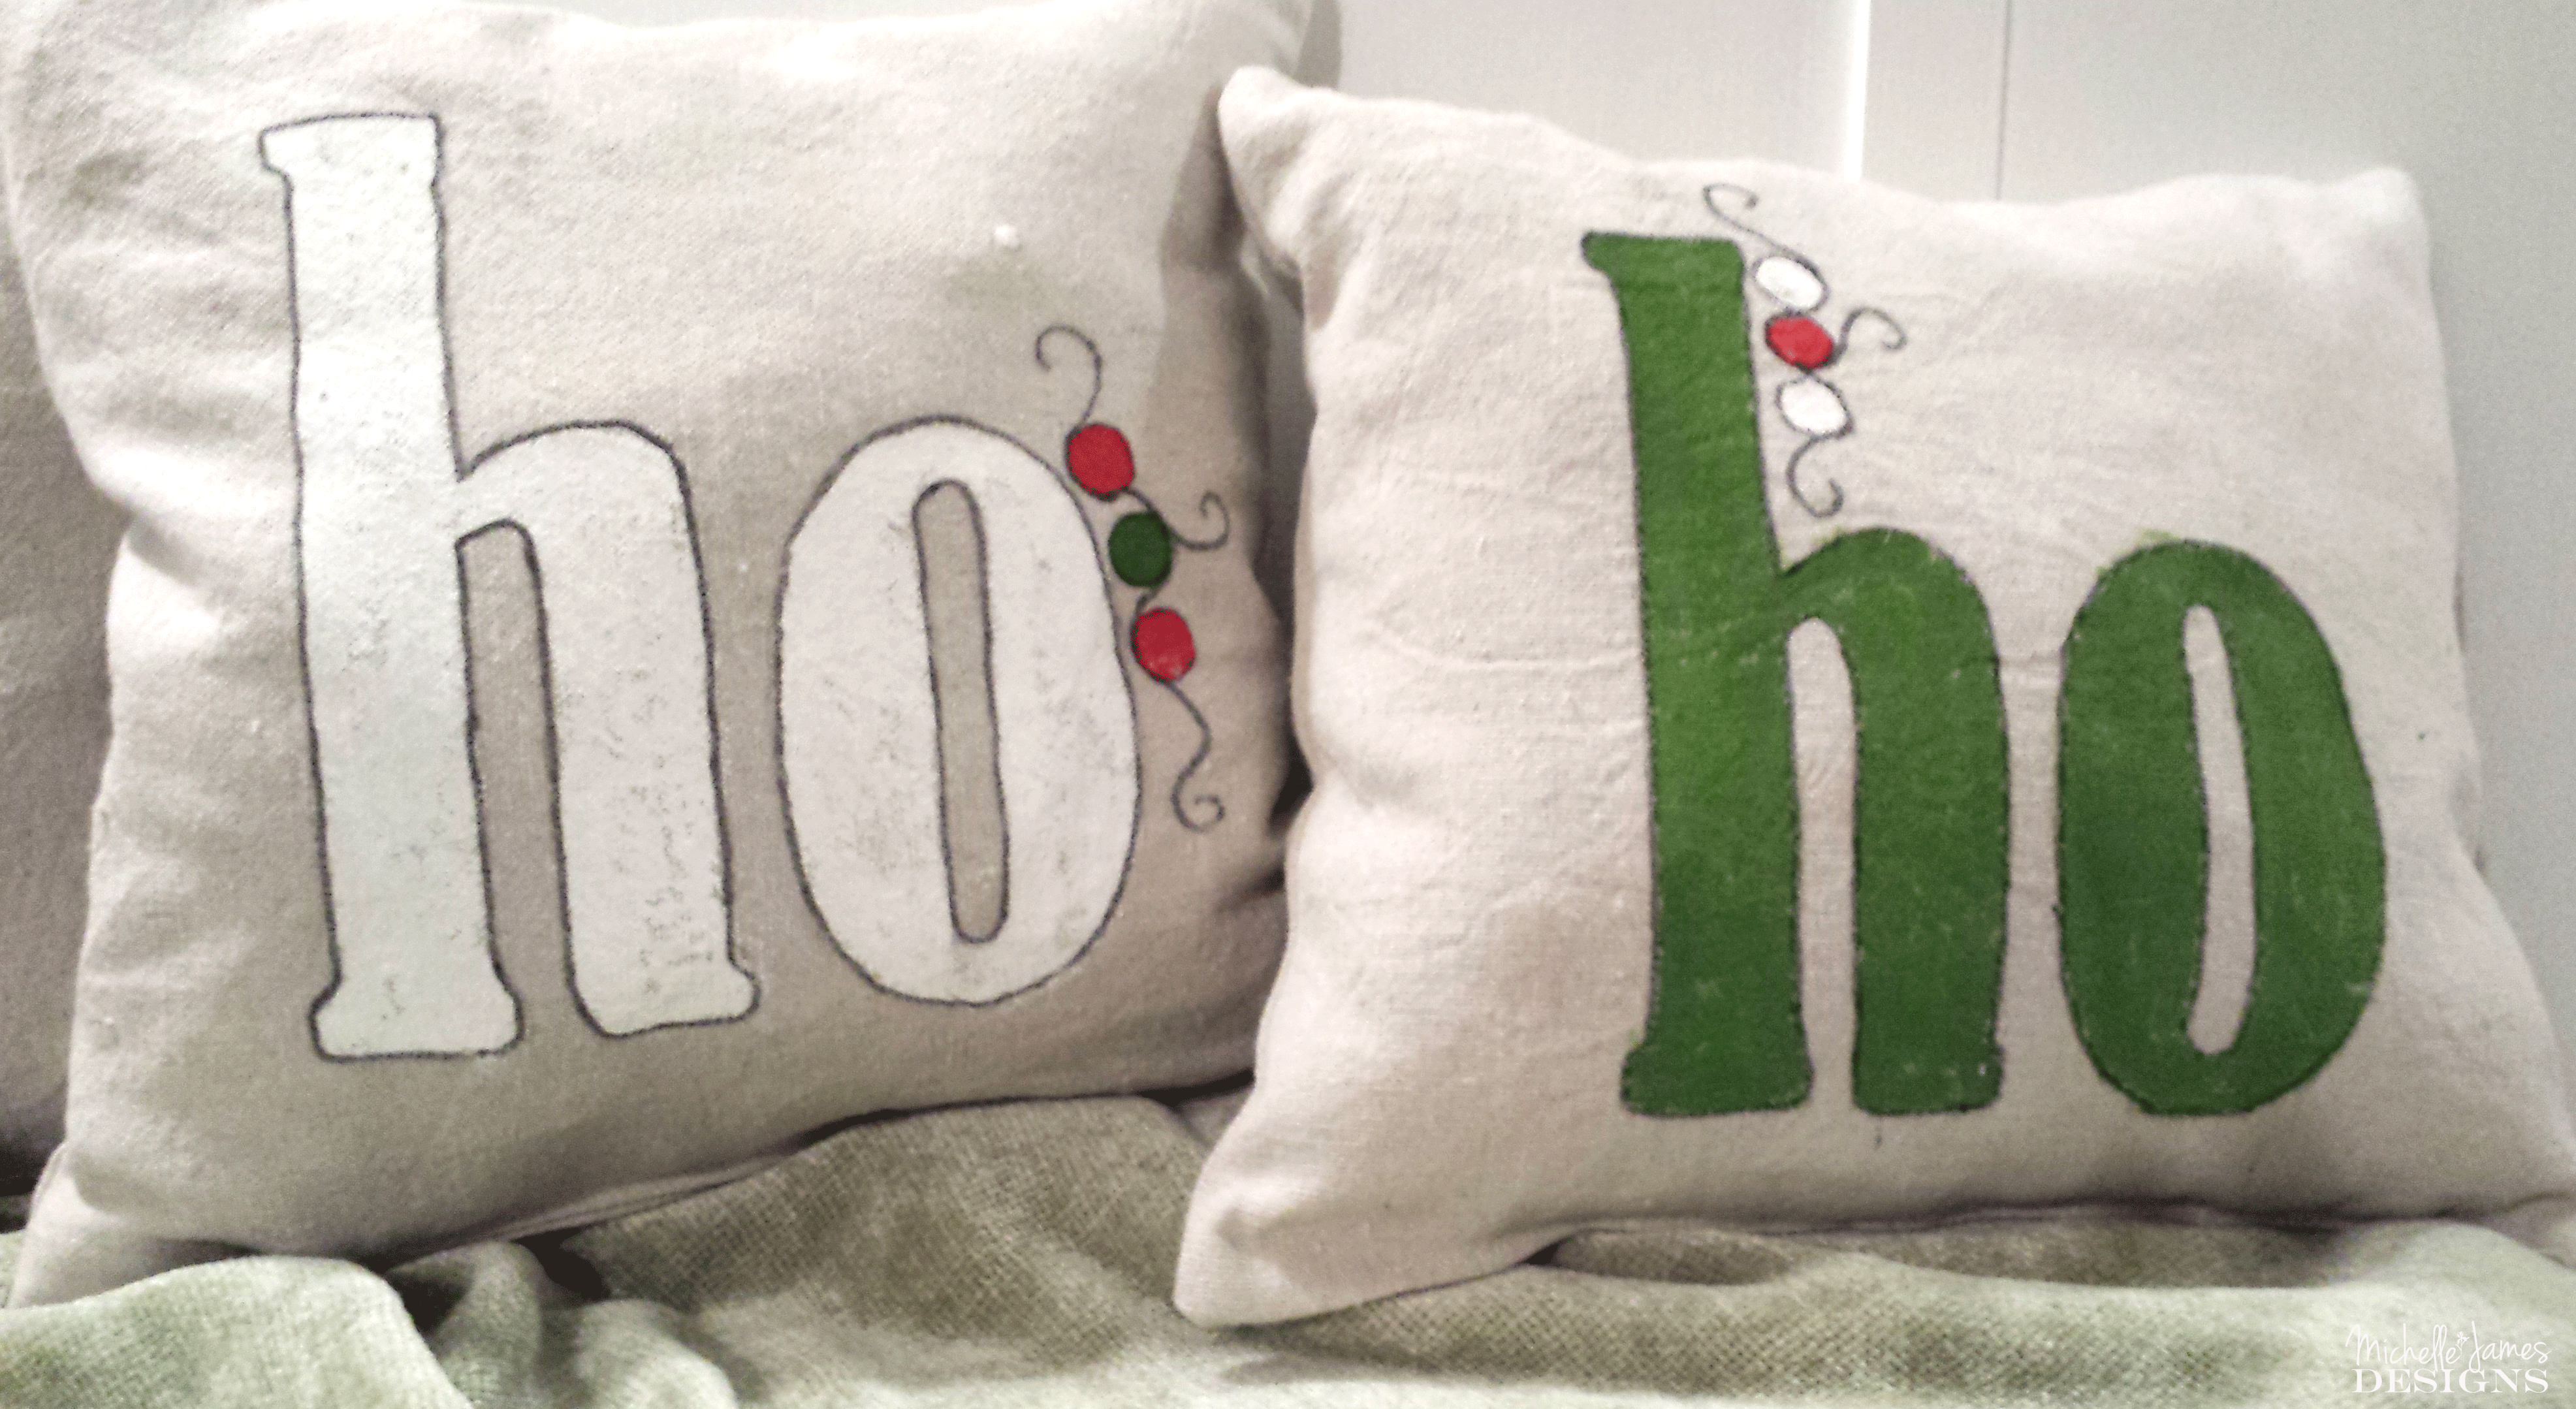
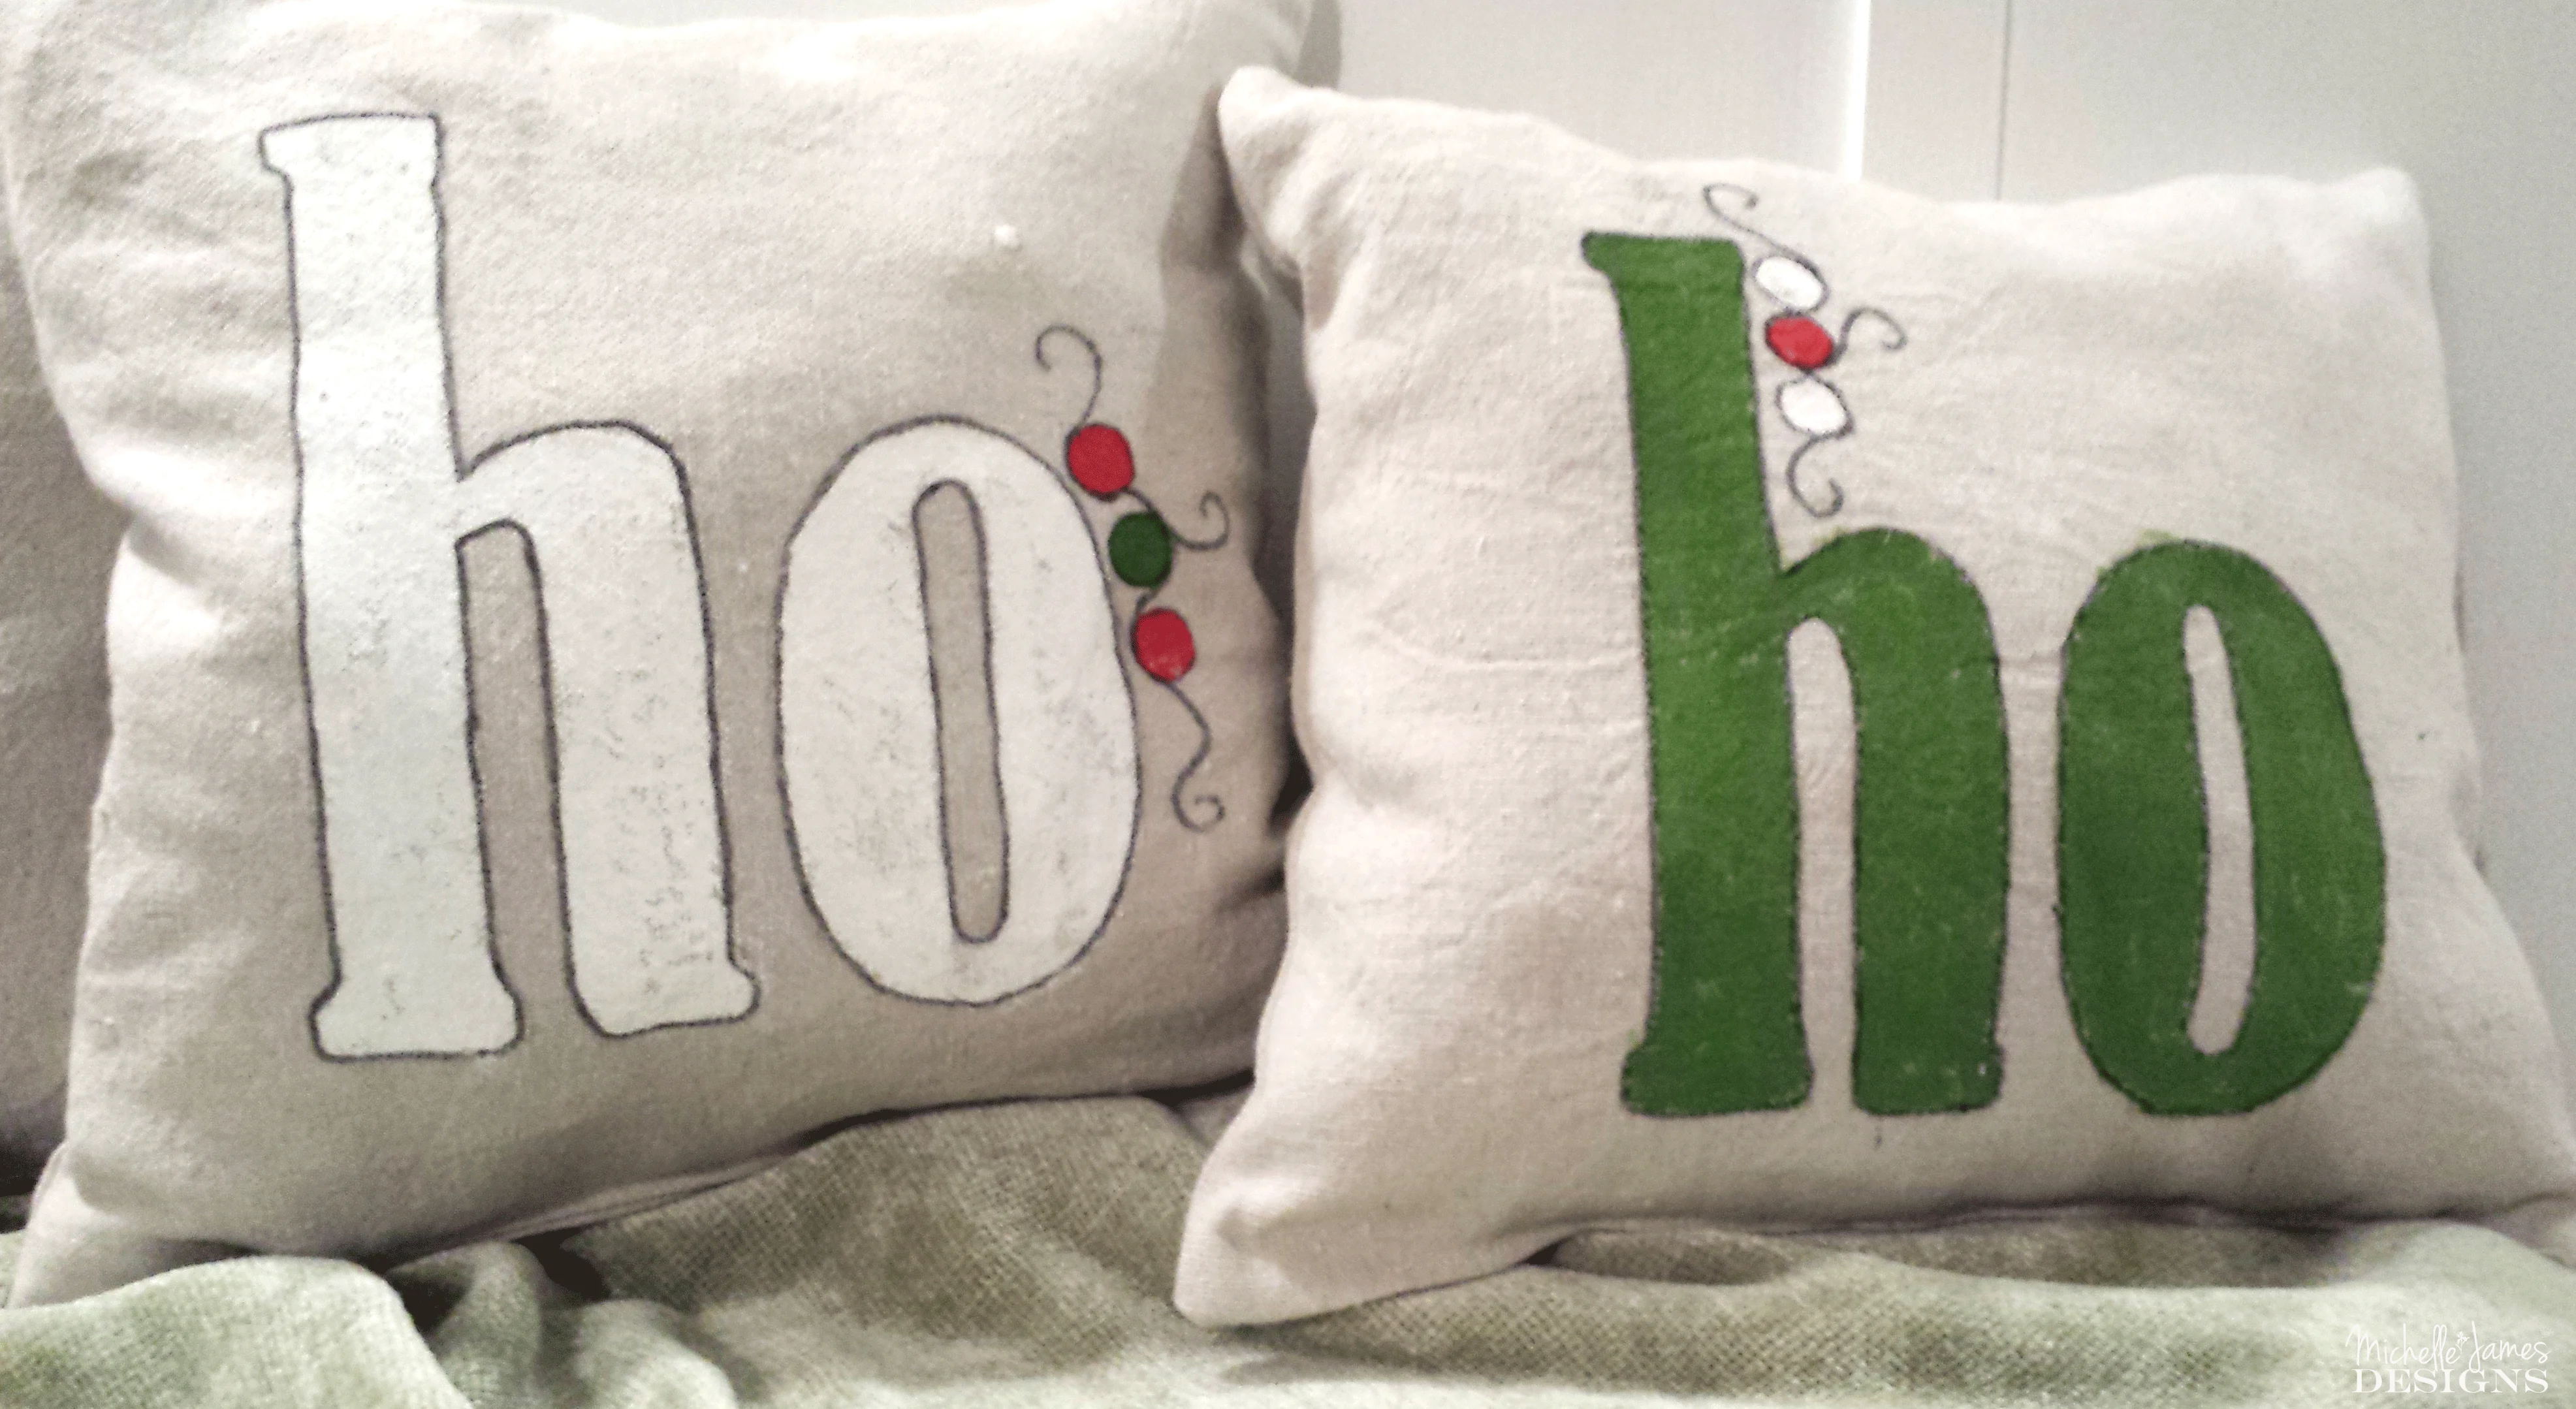
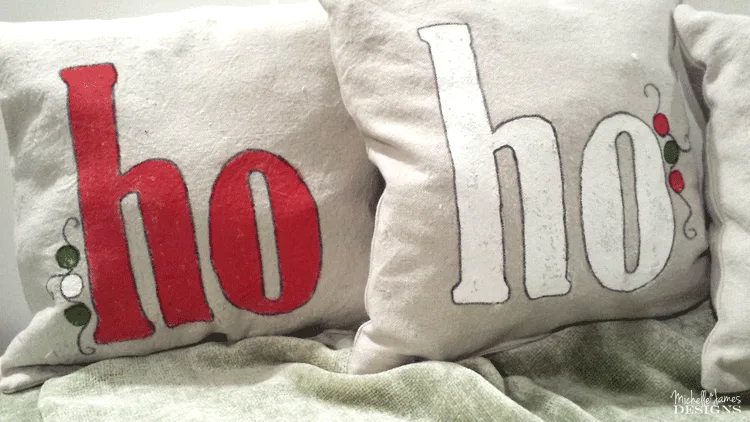
These holiday decor ho ho ho pillows have really spruced up my Christmas decor. I love to create from drop cloths and these throw pillows have become one of my favorite projects. Stay tuned to learn how you can make them too.

I got the pillows done and I LOVE the way the came out.
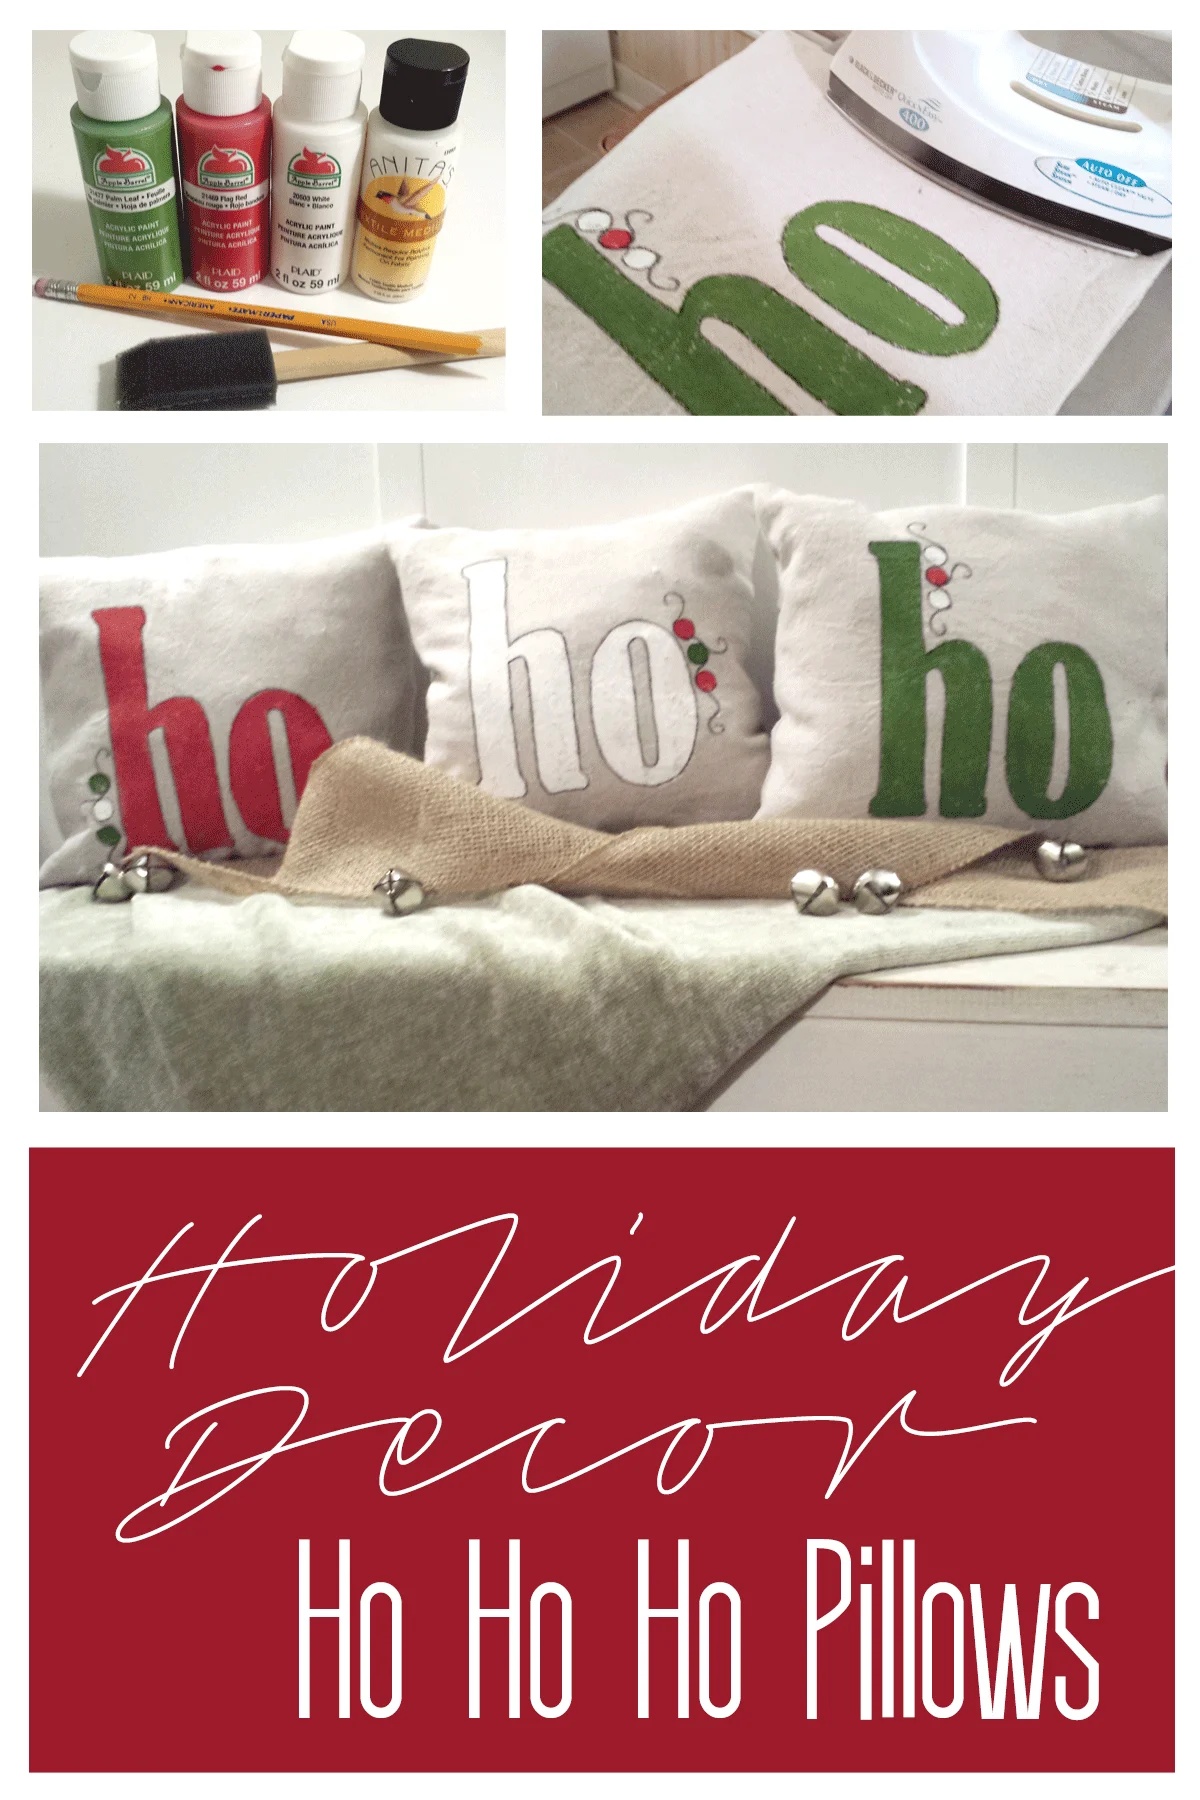
Holiday Decor Ho Ho Ho Pillows
This post contains affiliate links for you convenience. You can read my full disclosure here.
In this post I will give you a step by step tutorial of how I made my pillows so you can make some too. Let’s get started:
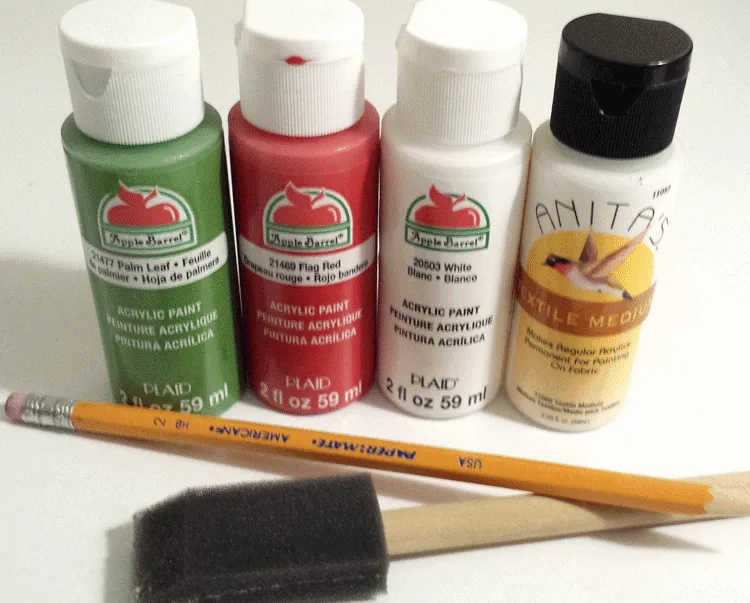
Supplies needed:
Ruler or Tape Measure


Round Foam Brushes
Pencil

Printer
Sewing Machine
Matching Thread
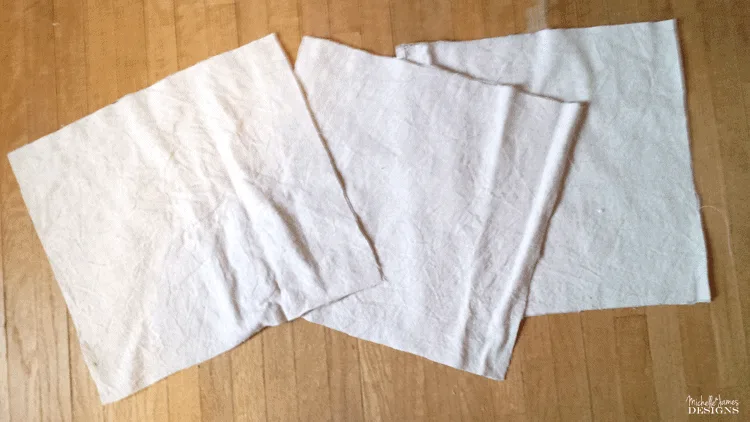
Step 1:
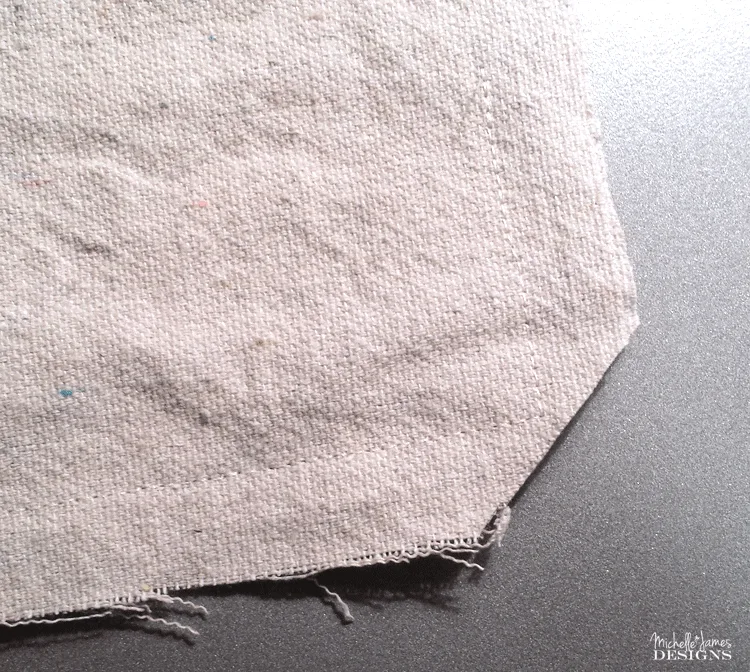
Measure and cut out your square pillow piece from your fabric. I wanted mine to be a bit smaller so I used a 12 x 12 plus a 5/8 inch seam allowance all the way around. An 18″ pillow is probably a more standard size.

Step 2:
Choose a font and print the letters using your printer. I used Bernard MT Condensed as my font. Any chunky type font will work well. I printed the “h” on one sheet and the “o” on another. You want them big enough to work well on the pillow. I liked the look of the lowercase best. If you need fonts check out Fontbundles.net. They have free fonts for a limited time but you can also get a membership for a small amount per month and get a bunch free each month. I love it.

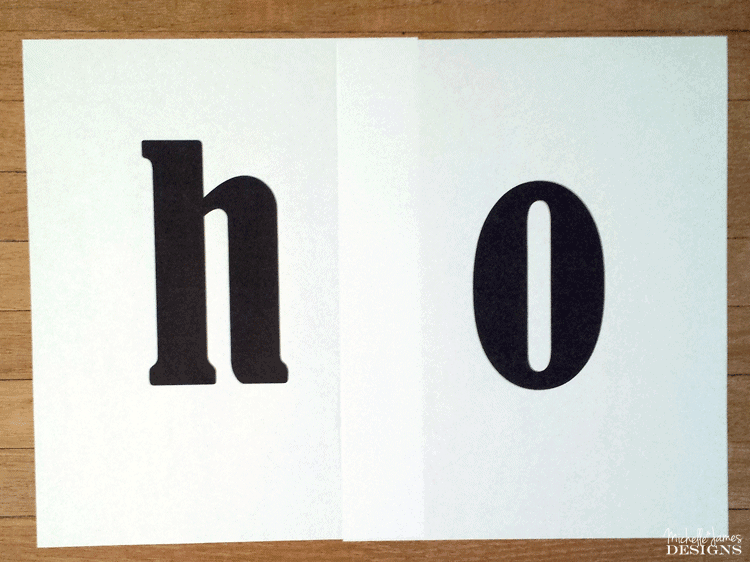
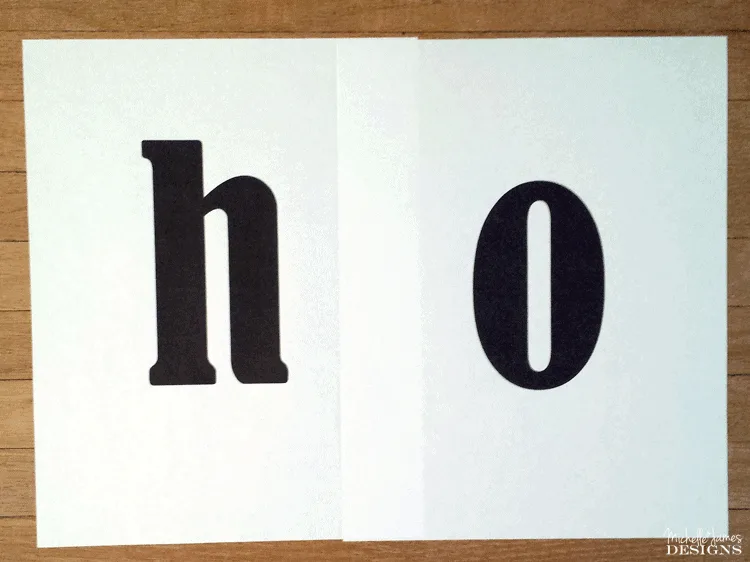
Step 3:
Cut out the your letters.
Step 4:
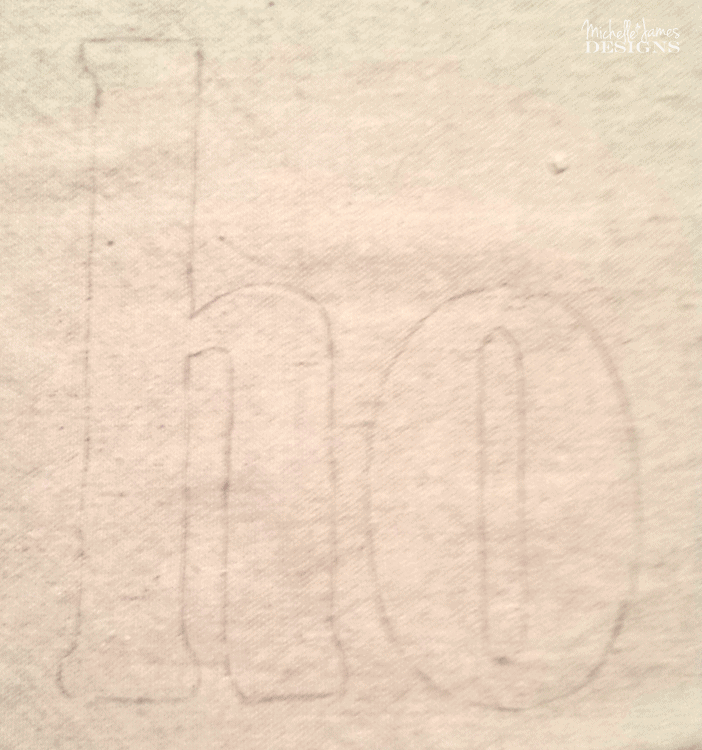
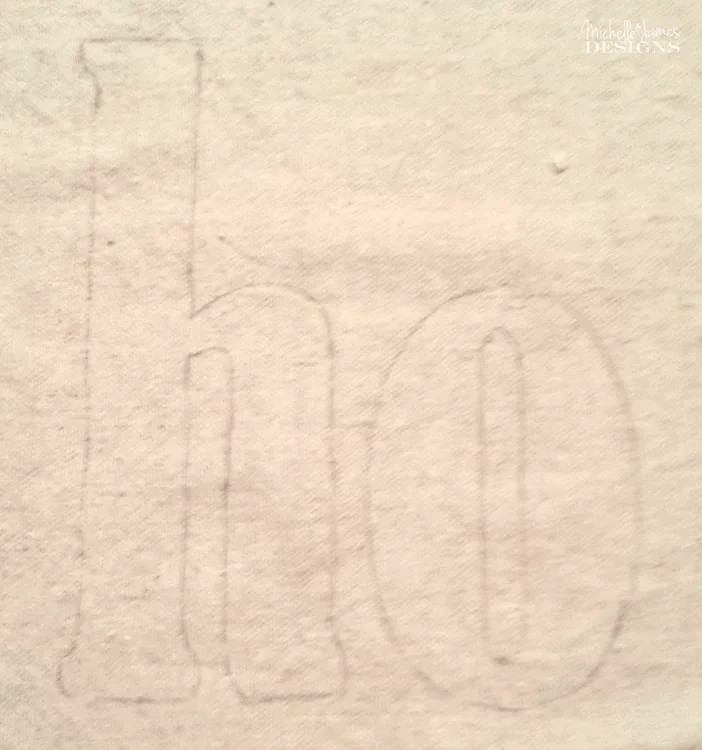
Trace them using the pencil onto your fabric.
I wanted the “h” to be taller so I cut the top part off and extended it up to the height I liked. So I followed the line down to meet up with the bottom part of the “h”.
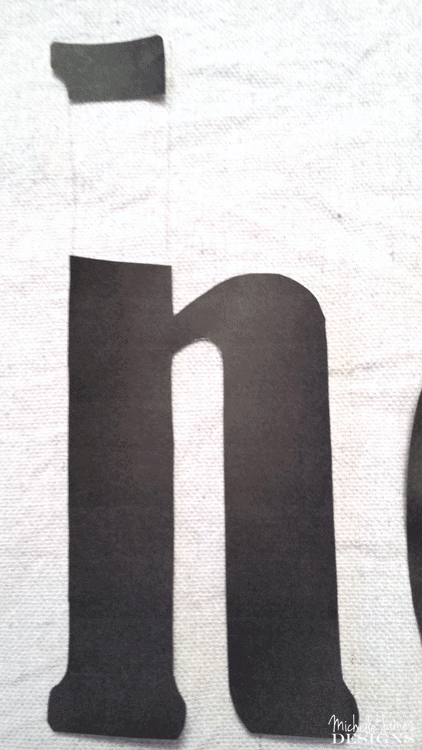
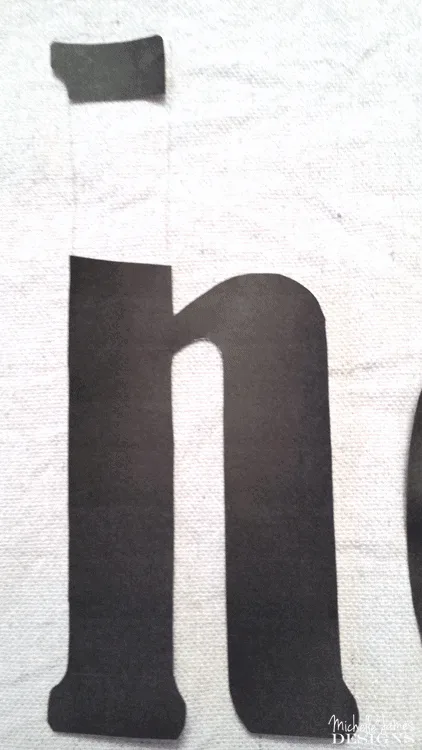
This is what the letters looked like when I finished tracing.
Step 5:
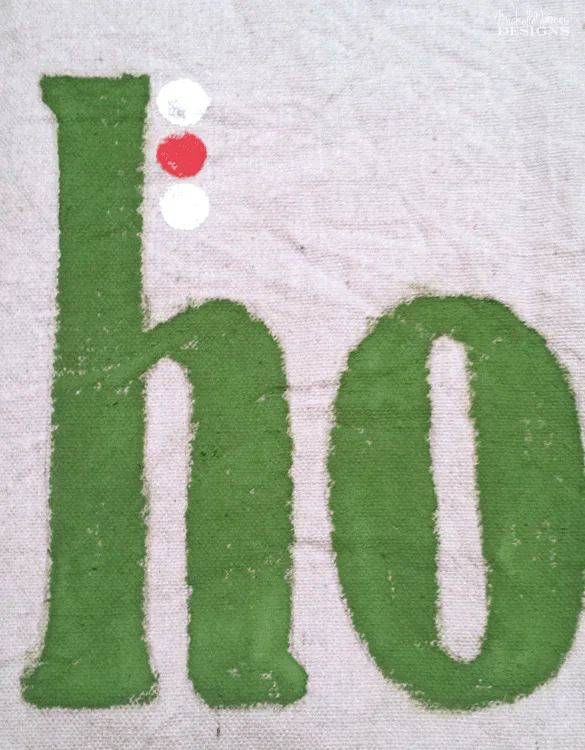
Painting the letters. This is the fun part. Pick one color of your paint and place a small amount (about the size of a quarter) onto a plastic lid or something. I like to use the top of an ice cream container. They are the perfect size plus you get to finish off the ice cream so you can use the lid.
Mix a little of the Textile Medium (2-3 drops) into the paint. Carefully paint onto the traced letters using a foam brush. Mine did not cover completely but I liked the little bits that got left out. It looks distressed. That is part of the rustic charm. You don’t have to worry about covering the pencil lines completely but try to get pretty close.

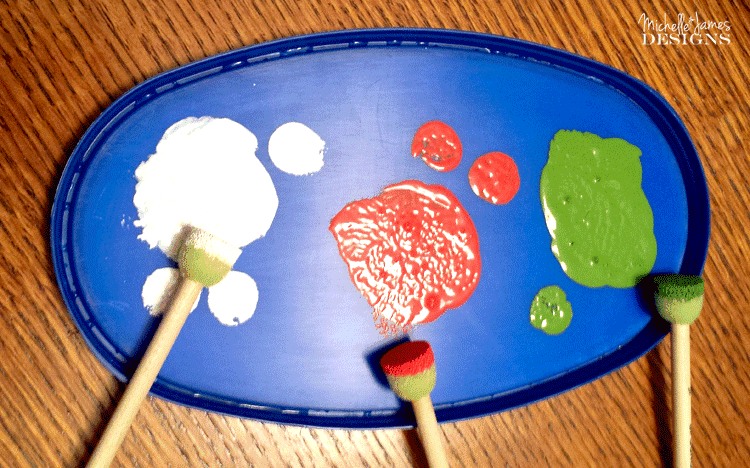
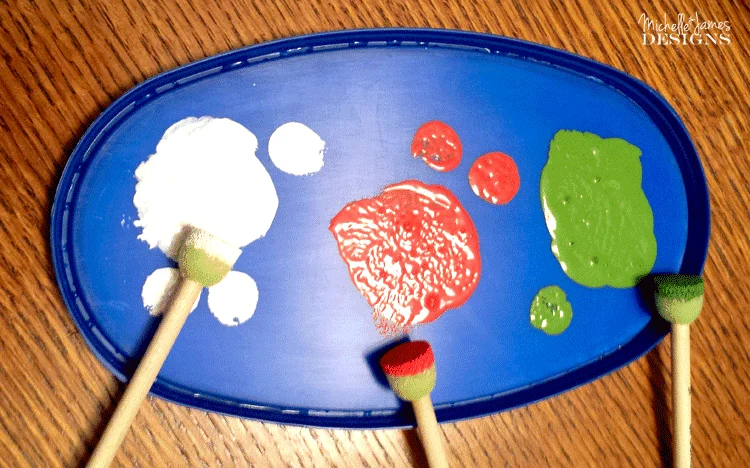
I used these round foam brushes for dots next to the letters. They are fun and festive!

Step 6:
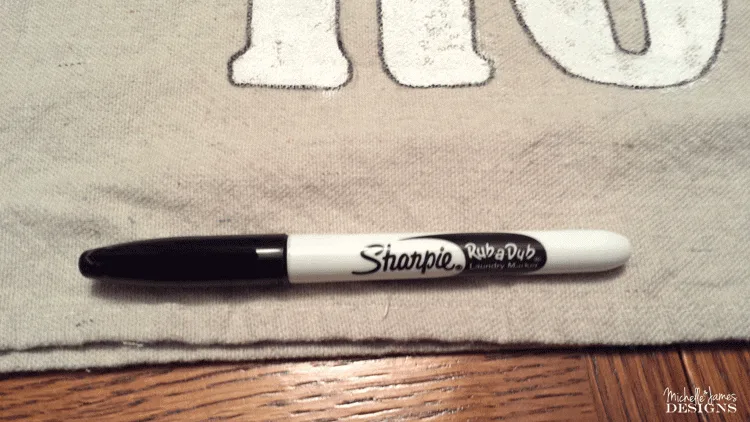
After the paint dries, outline the edges with the black sharpie fabric marker.

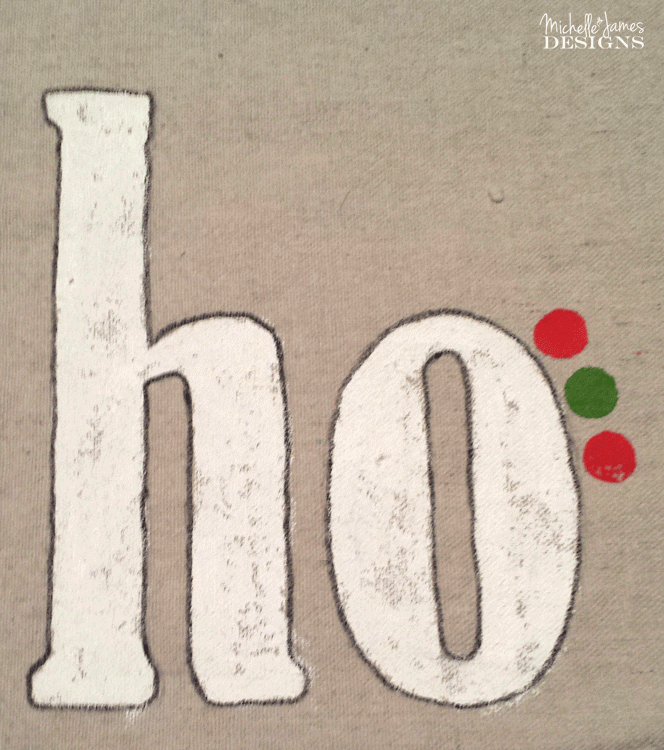
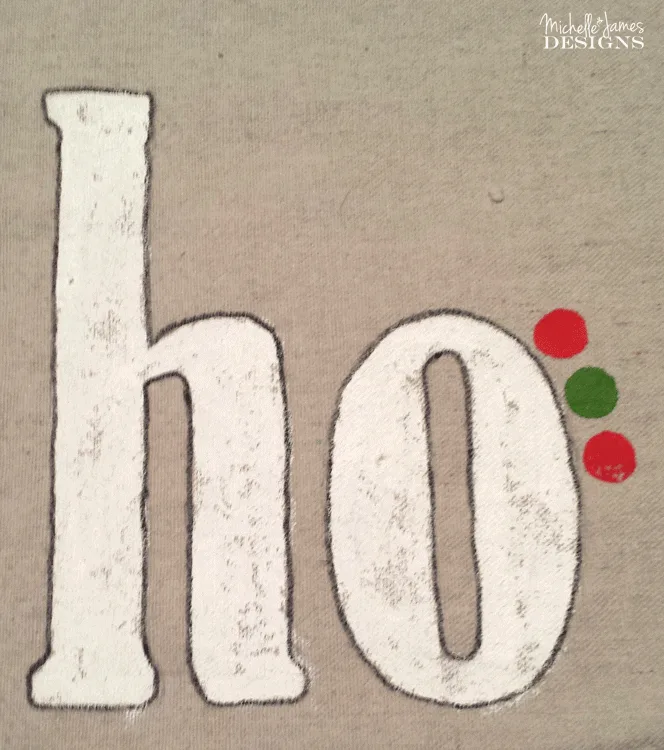
I added some swirls around the polka dots just because.
Step 7:
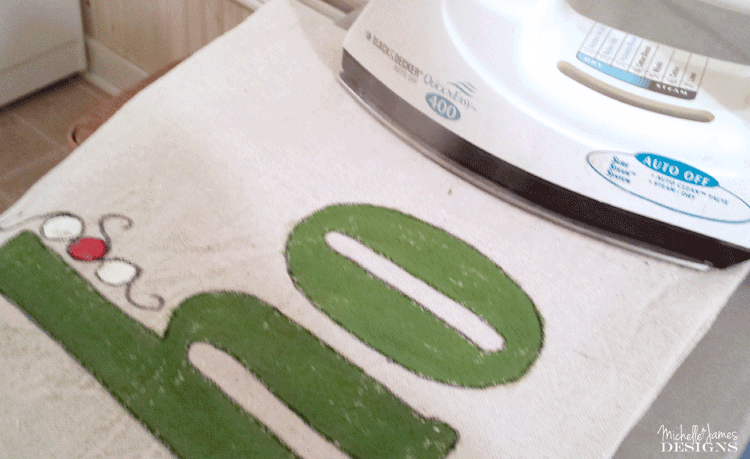
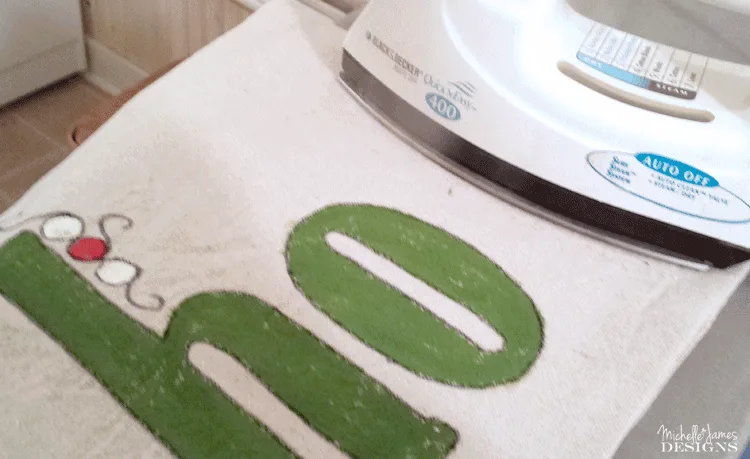
Heat set the paint. You always want to heat seat your paint so if you ever wash the fabric it won’t wash out. You can heat set it by using an iron. Use a dry iron on the hottest setting. Place a cloth over the painted letters and hold the iron for about 20 seconds in one spot, pick up the iron and place down in another spot and hold there for another 20 seconds. Repeat this process until you have heat set the entire area.
Another way to heat set is to place the fabric into a dryer and let it go on the cotton setting for about 20 minutes.
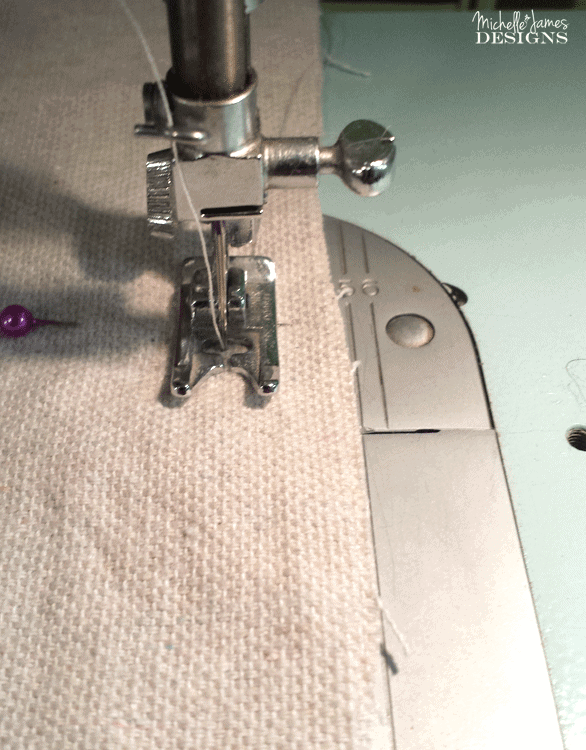
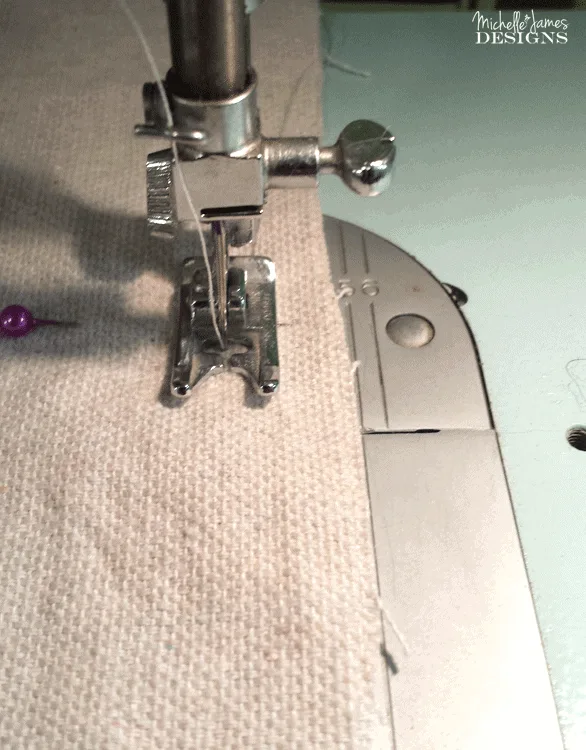
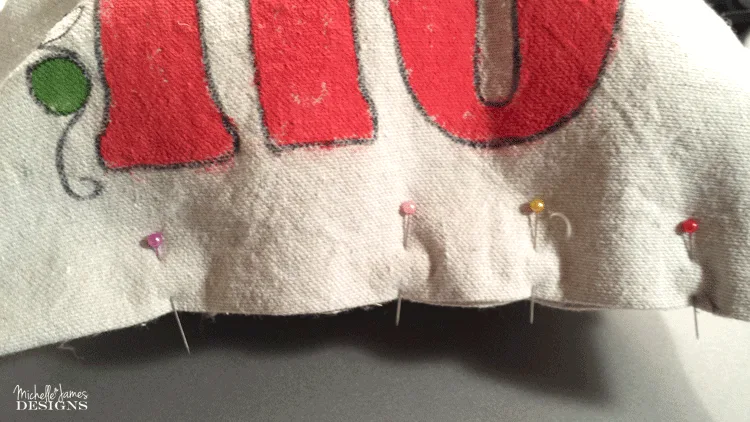
Step 8:
Sewing the edges of the pillows. Place the front and the back right sides together then pin the two sides and top together. When you pin at the bottom you just need one pin on each side. These pins on the bottom will mark where you will start stitching and stop stitching to you can leave a section open for the stuffing or the pillow form.

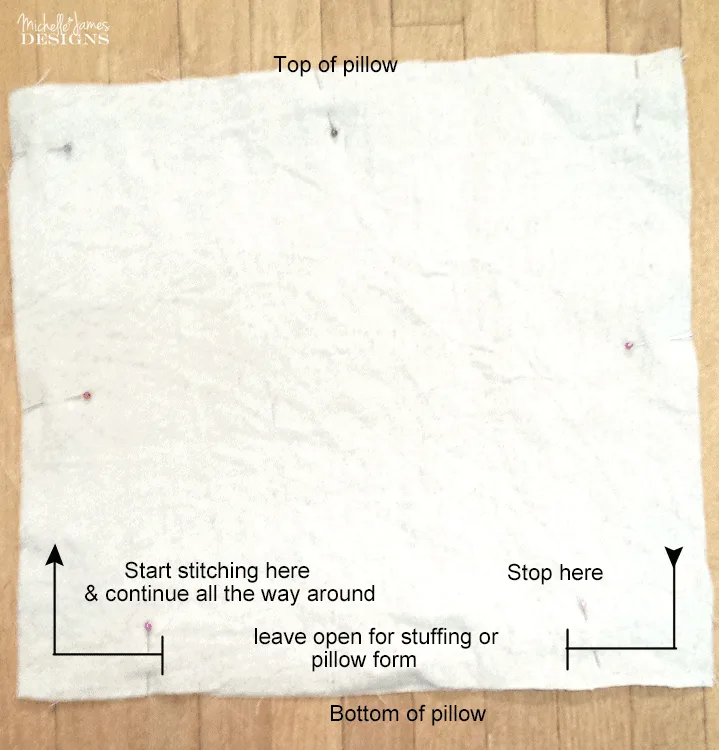
I used the 5/8 inch seam allowance.
After sewing, trim the corners. This helps to decrease the bulkiness at the corners once you turn it right side out. Cut fairly close to the stitching but DO NOT cut through the stitching. This would leave a hole in the corner of your beautiful holiday decor pillow and we don’t want that to happen!

Step 9:
Turn the pillow right side out and press.
Step 10:
Stuff your pillow! I re-used some old pillows a friend had given me by cutting them open and using the stuffing for these pillow. You could also purchase some poly fiber fill stuffing or purchase a pillow form.
Once they are stuffed you need to stitch the bottom closed. So, go ahead and pin it together.
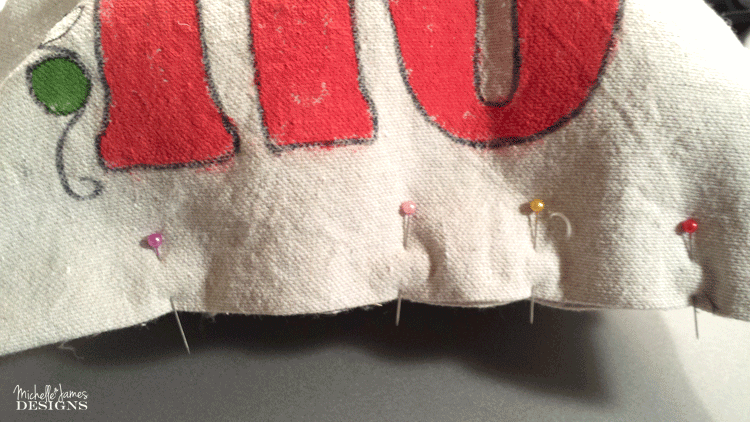
Now, technically you should hand sew this part so the stitches don’t show. But I am a lazy sewer so I use the machine. I make this part at the bottom so it won’t show. Does that count? Probably not. You can do it whichever way you like best.
Step 11:
Stand back and admire your work because you did good!


I hope you liked this holiday decor project. If so, please pin it.
If you would like to see more of my projects and designs, click on the links below!
Thanks so much for stopping by!
Michelle


Jill
Tuesday 9th of December 2014
The pillows are super cute! Love this DIY!
Jill www.dousedinpink.com
Michelle
Tuesday 9th of December 2014
Thanks so much Jill. I am glad you stopped by.
Elizabeth
Monday 8th of December 2014
These are so cute! You are super talented~ Love these!
Elizabeth www.allkindsofthingsblog.com
Michelle
Monday 8th of December 2014
Thank you Elizabeth. I appreciate you stopping by to look at them.
Tania
Wednesday 3rd of December 2014
Aww, very cute!
Tania
Michelle
Wednesday 3rd of December 2014
Thanks Tania and thank you for stopping by!
Peggy Stolley
Wednesday 3rd of December 2014
Yaaaaaaaay! Love them!
Michelle
Wednesday 3rd of December 2014
Thank you Peggy!