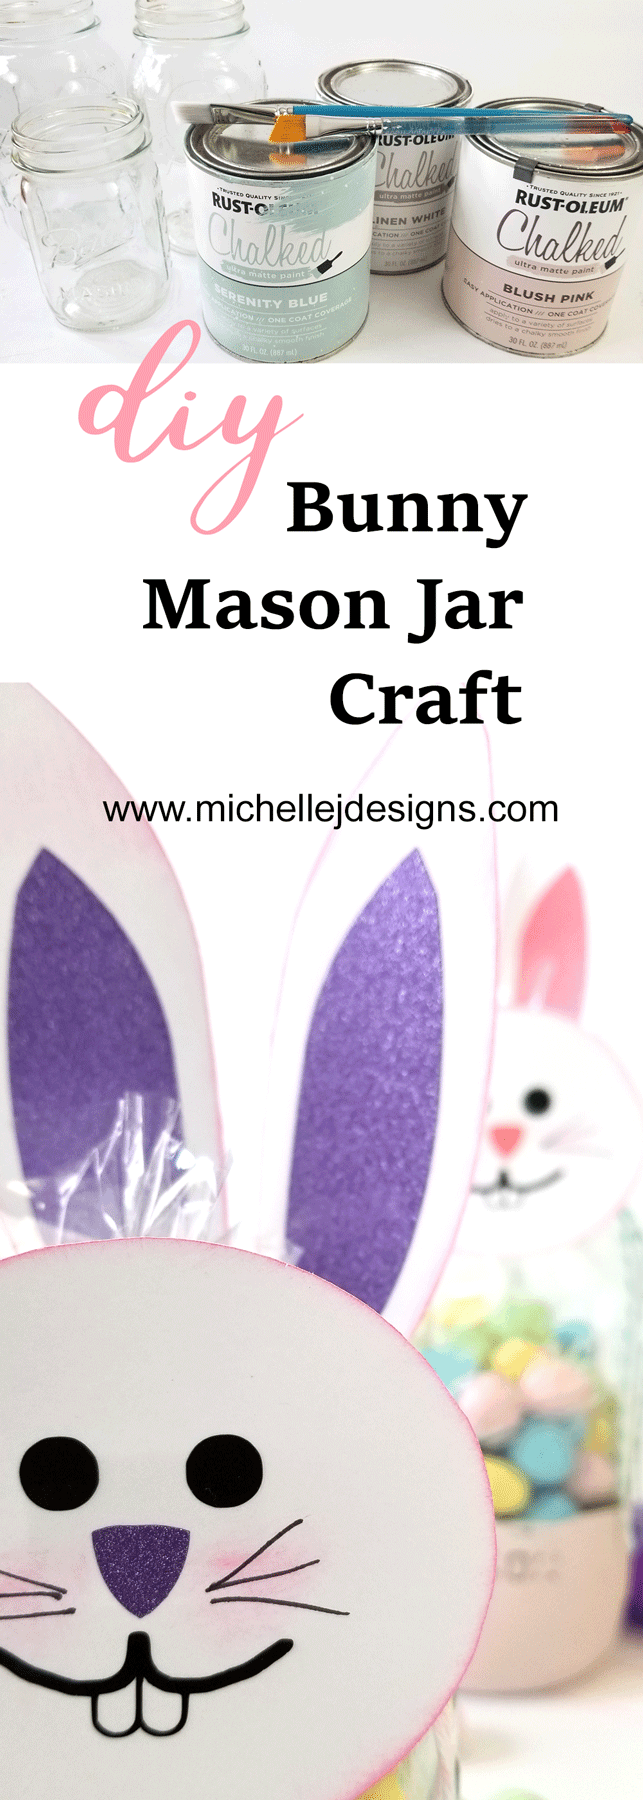
It is mason jar day again! Yay. These are fun projects I get to create each month with some other talented bloggers. This month we decided on an Easter theme so I created a cut file pattern to transform the mason jar into a bunny! You can download this free cut file and use it to make your own diy bunny mason jar!
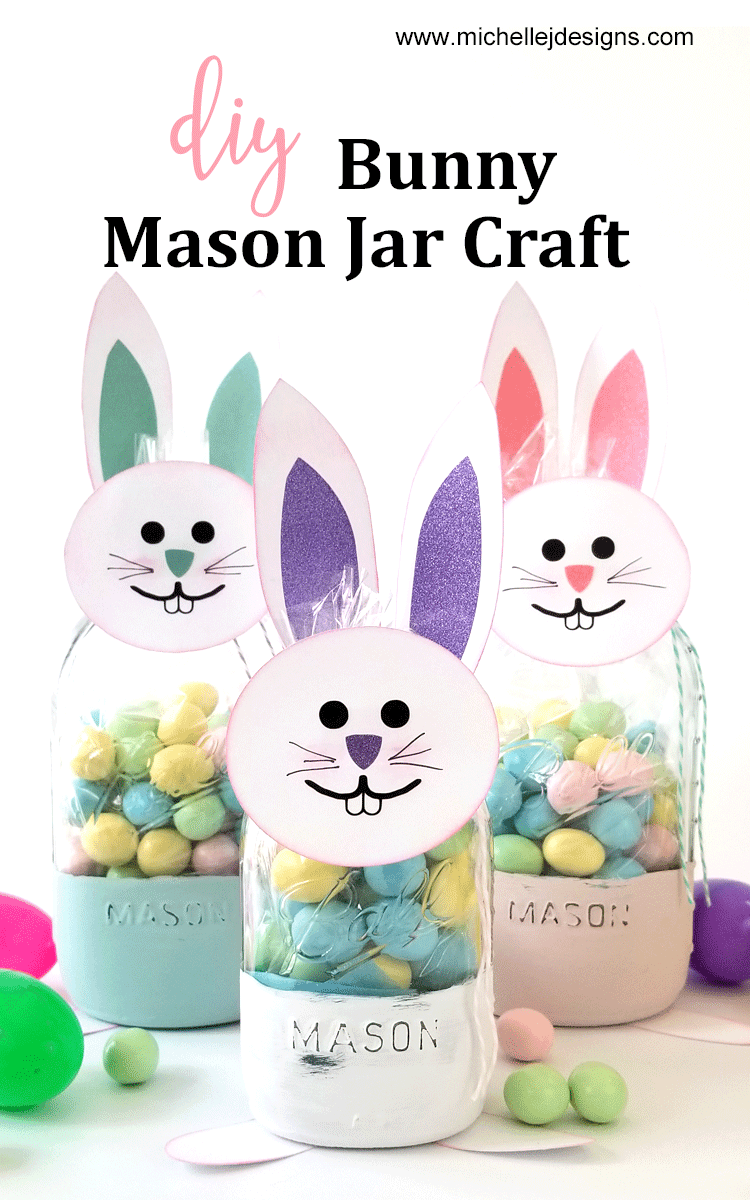

DIY Bunny Mason Jar Craft
Are you guys ready for this cute mason jar craft? This was so fun to design and I am glad I get to share it with you.
This is a cut file that can be used in the Silhouette or the Cricut. Cricut owners will probably use an SVG file but if you own a Silhouette Cameo like me you can use the PNG file that is included in my resource library. You can sign up to access the download here or at the end of this post.
Related Content:
If you like mason jar projects check out this page with 10 amazing mason jar projects!
You can watch my step-by-step video below.
If you are new my You Tube channel be sure to hit the subscribe button!
If you are not used to using PNG files in the Silhouette software I have included a tutorial in my video above or you can watch the video below. It does not use the bunny file but it will be the same process. Once you learn you will want to use all of the PNG files that you find. LOL!
Materials Needed:
I am including affiliate links for your convenience. You can read my full disclosure here.
DIY Bunny Mason Jar Craft

A cute DIY Easter mason jar gift. The bunny is a free download cut file available in my resource library!
Materials
- Mason Jars
- Rustoleum Chalked Paint
- White Cardstock
- Metallic Vinyl - StyleTechCraft
- Transfer Tape
- Bakers Twine Or Ribbon
- Cotton Balls
- Mounting Tape
- Adhesive
- Cello Bags
- Tissue Paper
- Link to free download in my resource library
Tools
- Sihouette Cameo
- Paint Brushes
- Sanding Block
Instructions
- Paint bottom portion of jars with chalked paint - may need several coats
- Sand some lettering for a distressed look
- Download and save the cut files
- Cut the bunny pieces from white card stock and metallic vinyl
- Add the "inner ear" vinyl pieces to the bunny ears - add pink ink to the edges
- Place adhesive on the band and wrap it around the neck of the jar
- Replace the black nose on the bunny face with a metallic glitter nose to match the ears
- Use transfer tape on the face
- Place the face onto the bunny head and add pink ink to the edges, then adhere to the front of the jar
- Add pink ink to the bunny feet
- Place mounting tape on the feet and adhere them to the bottom of the jar so they stick out like feet
- Crumple some tissue paper to place at the bottom of the jar
- Place a few chocolate eggs into a cello bag, add the bag to the jar and keep filling it with candy, use a twist tie to close the bag
- Add some bakers twine around the neck of the jar
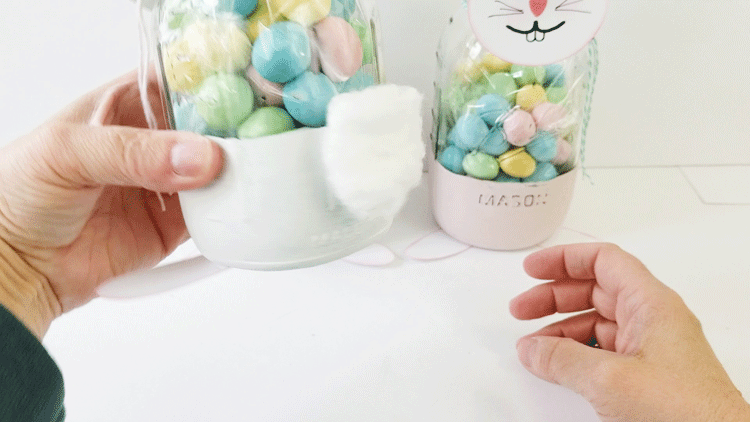
- place a piece of mounting tape on the back side of the jar and add a cotton ball as a cute tail.
Let Me Show You How!
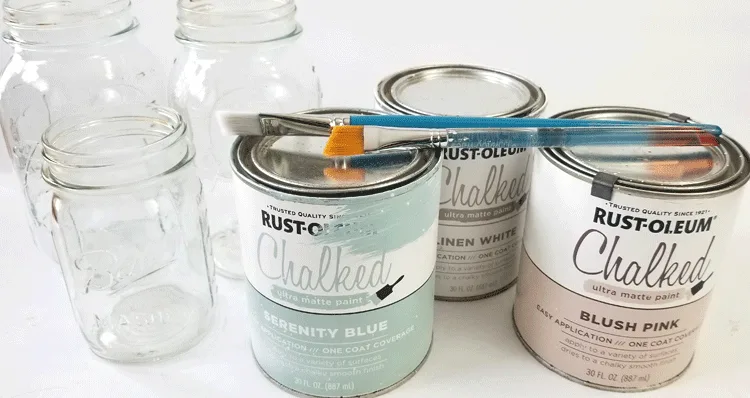
Step 1: Paint Your Mason Jars
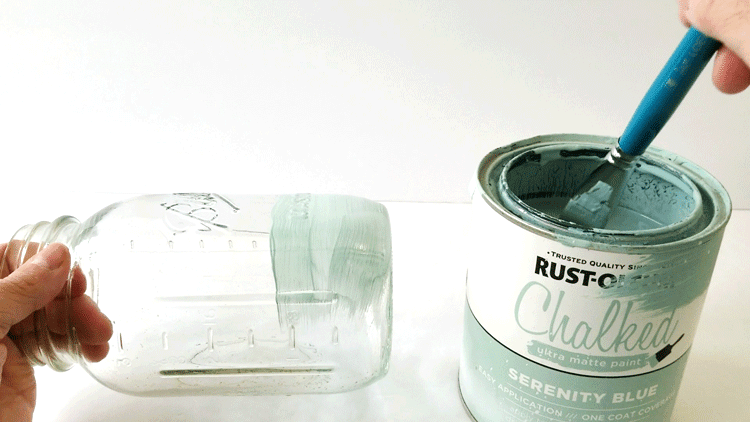
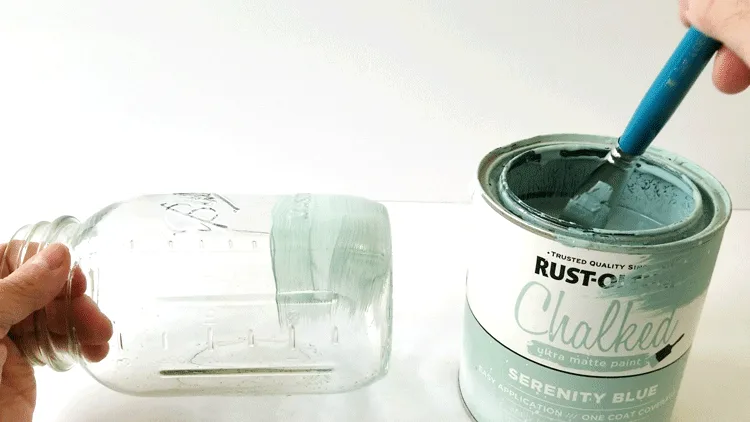
I used three different jars in two different sizes and painted just the bottom part so the candy would show through the glass. This chalk paint from Rust-o-leum is one of my favorite brands. The colors I used are Serenity Blue, Blush Pink and Linen White. You will need some brushes too. Regular brushes or foam brushes are fine.

The paint went on pretty thin so you may need to give them a several coats. The blue and white jars took just two coats but the pink needed three. Just keep adding coats until you like what you see.
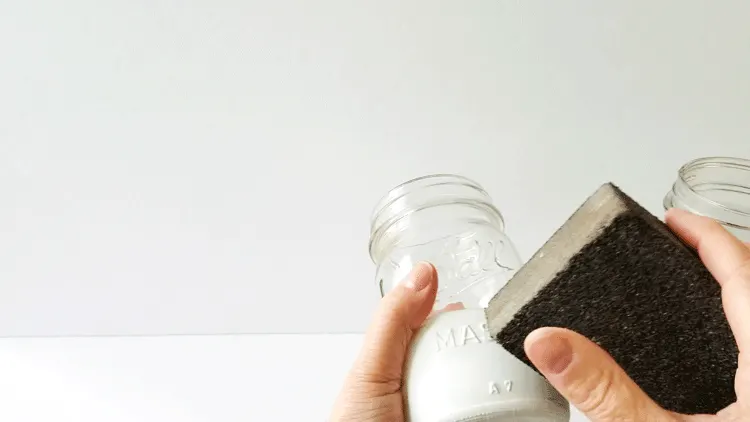
Step 2: Distress The Paint A Little
After the paint is completely dry you can distress as much as you want but I just wanted a little bit on the word “mason”. Use a sanding block to carefully sand some of the paint off the jar.

Step 3: Cut Out The Bunny Pieces
This is one of the most fun parts of this project. Please head to the bottom of the post to get the download for this cute bunny design or you can just head to the resource library. You will also gain access to the rest of my design library as well.
Once it is downloaded, save them to a file on your computer. You can use the SVG file with the Cricut or the Silhouette Designer edition to cut out all of the parts. You guys can skip ahead to step 4!
If you have a Silhouette Cameo but not the Designer edition like me then you will need to use the PNG file and follow the instructions below. This is a simple process but just a couple of extra steps.
Here we go! I am using a PC.
1. Open the Silhouette Design Space,
click on file>open and navigate to the bunny files that you saved after you downloaded the free design. You will need to pull in one file at a time. I started with the bunny ears. Be sure to open the PNG file as shown below.
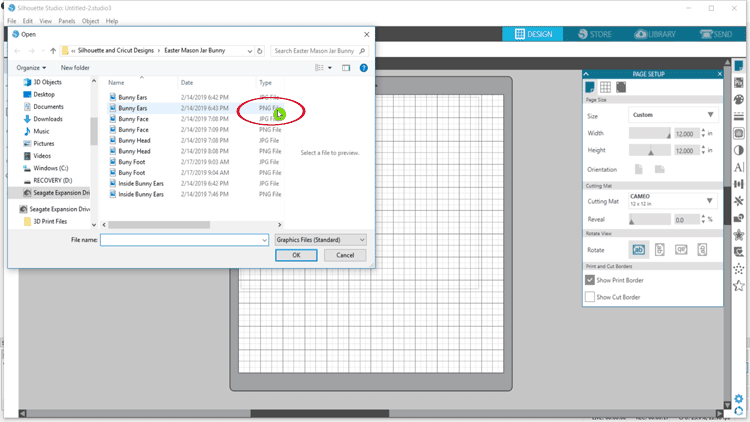

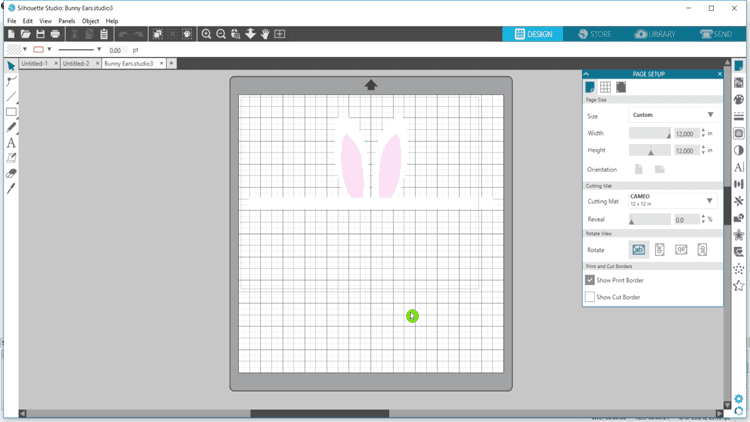
2. Open the file.
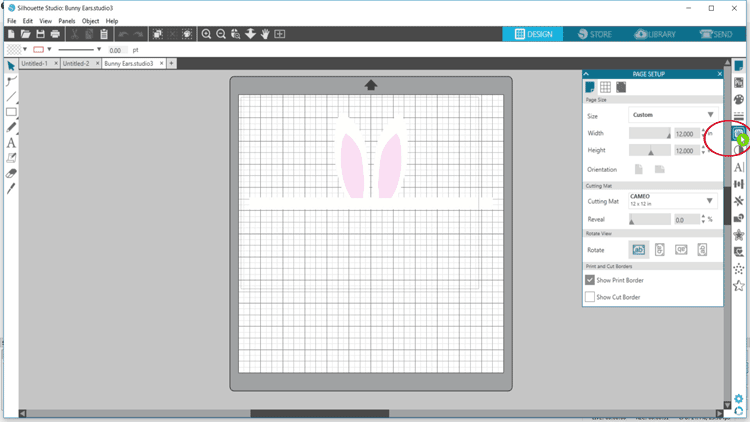
It will come into the design space onto the area that looks like your cutting mat.

3. Click on the Trace icon on the right side of the screen.

4. Click Select Trace Area at the top of the trace pop up window.

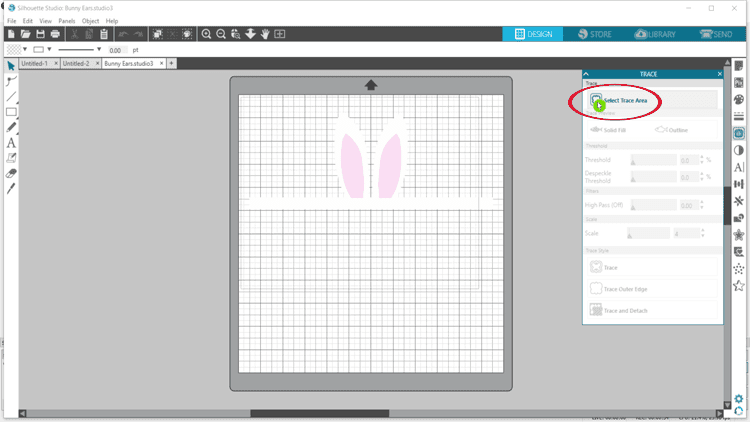
5. Click in the corner of your selection area,
hold the left mouse key down and drag to the opposite corner making sure your entire design is in the darkened, selected area.
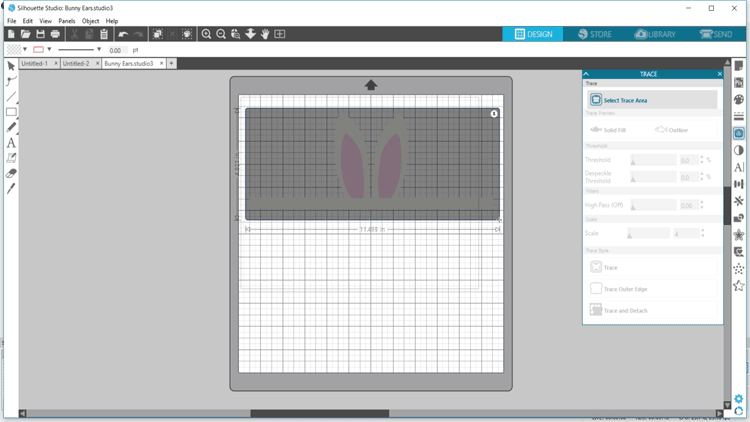

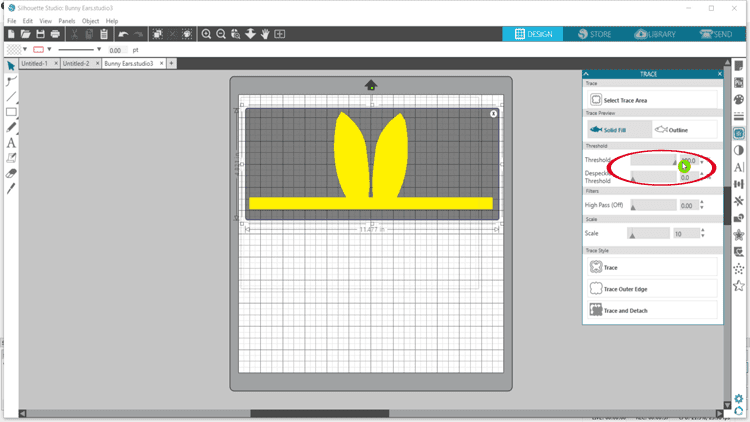
6. Let go of the mouse button and find the Threshold slider.
Slide the little triangle slider all the way to the right until your entire design turns yellow.
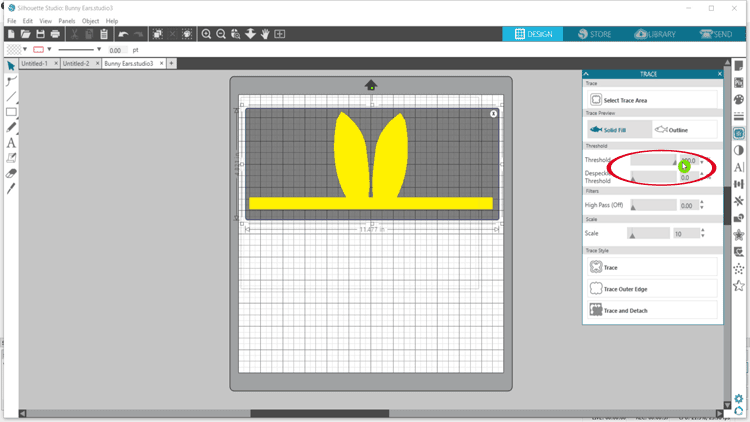
7. Once the design is yellow
click on Trace toward the bottom of the trace pop up window.
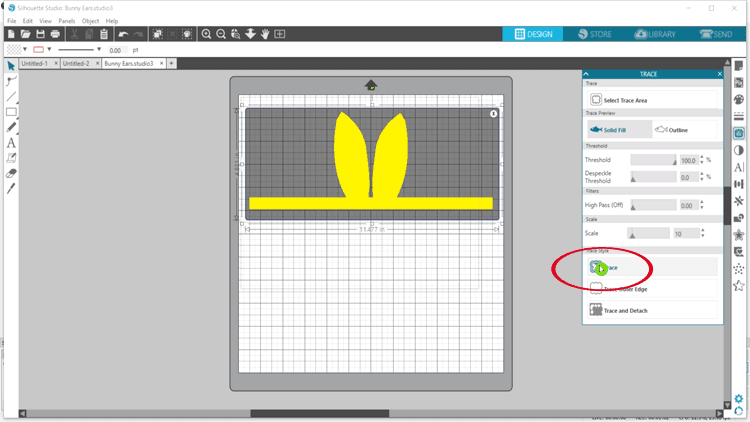

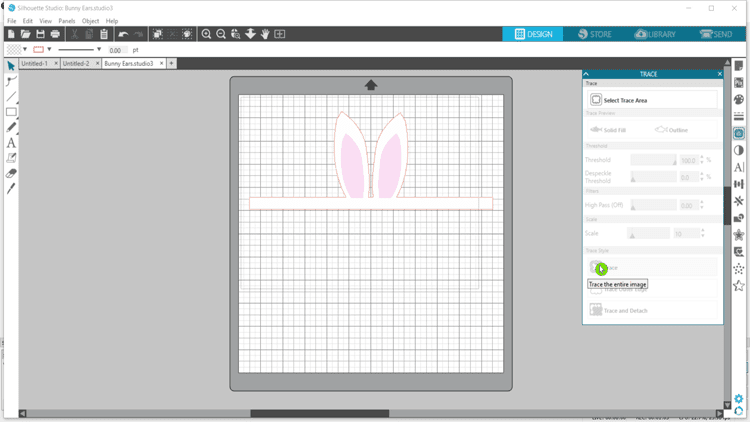
8. Click on Trace.
You will see red lines appear around your design.

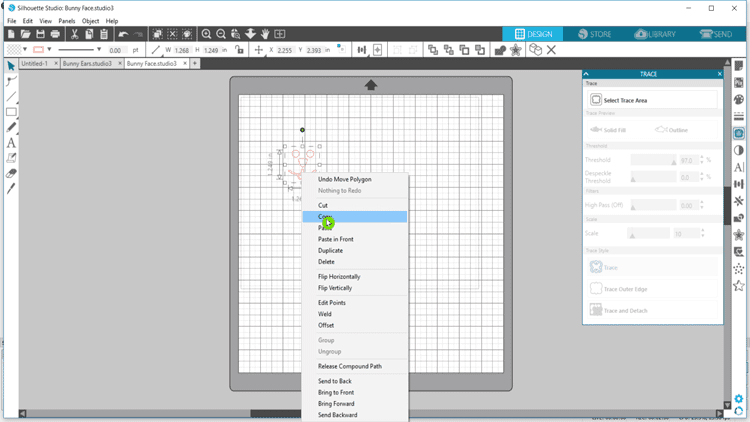
9. Select your original design
and pull it away from the traced design.
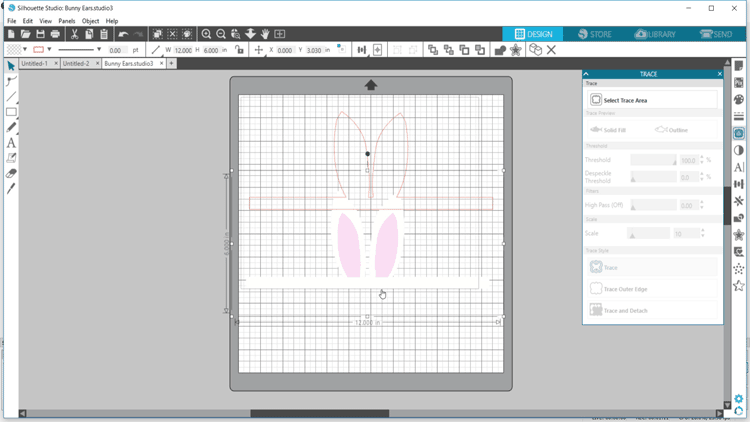

10. With the original design selected hit delete and make it go away.
You are left with a perfect cut design.


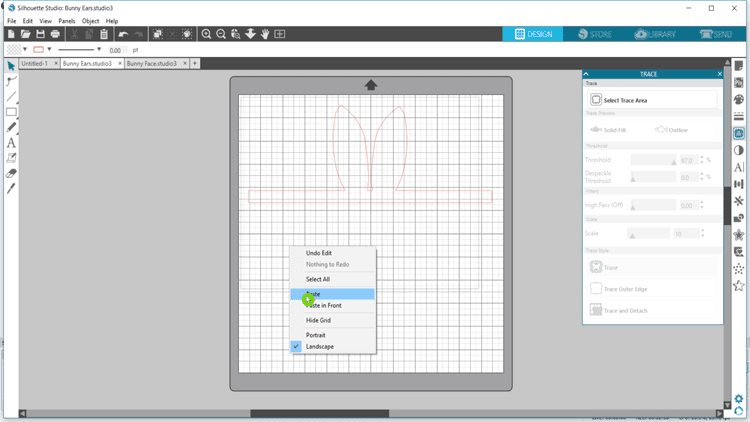
11. Repeat this process for all of the other bunny components.
Then copy and paste each one to one mat screen.


Soon you will have all of the designs onto on consolidated page. Once you do you will need to duplicate the foot and the face, well at least the nose. To this, select the design you want to duplicate and click on the duplicate icon at the top of the screen.

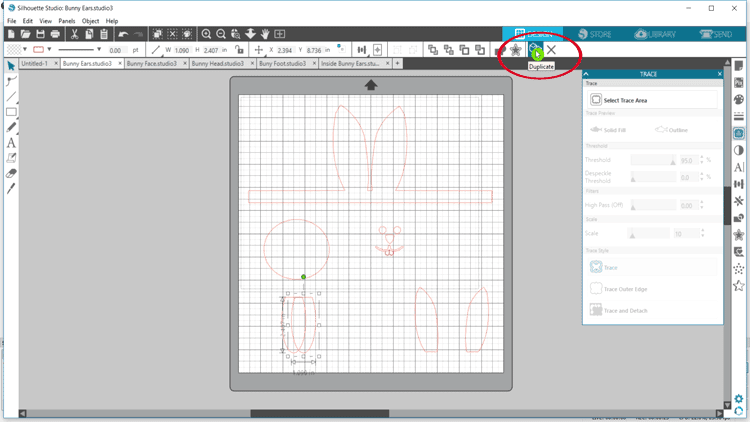
It will automatically duplicate the design for you. Then you just move it around until you like where it is. Repeat for the little face. I switched out a cute, colored glitter nose for the black nose.


Now you are all set to cut the cardstock and the vinyl out at the same time. Based on the layout above, this is how the mat looked going into the Silhouette.


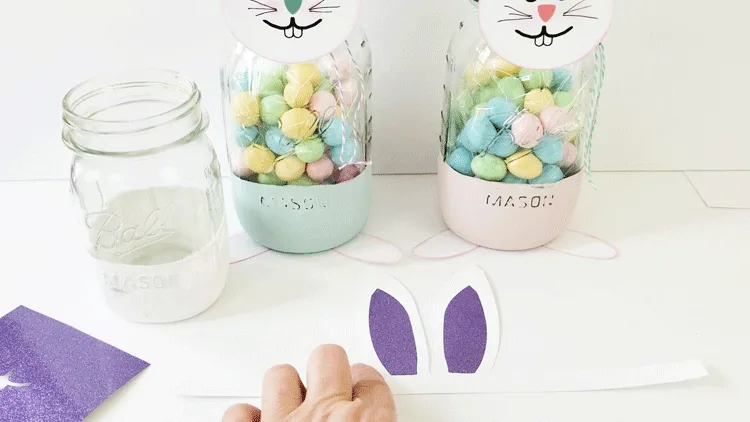
Step 4: Adding the ears to the jar
Now we get to see how it all comes together. This is the most fun part! Start with the ears. This is how they look all cut out.


Use the vinyl pieces to add the “inner ear color”.

Pink ink is a great way to add some color to the ears. I love to add it to the edges of the paper.
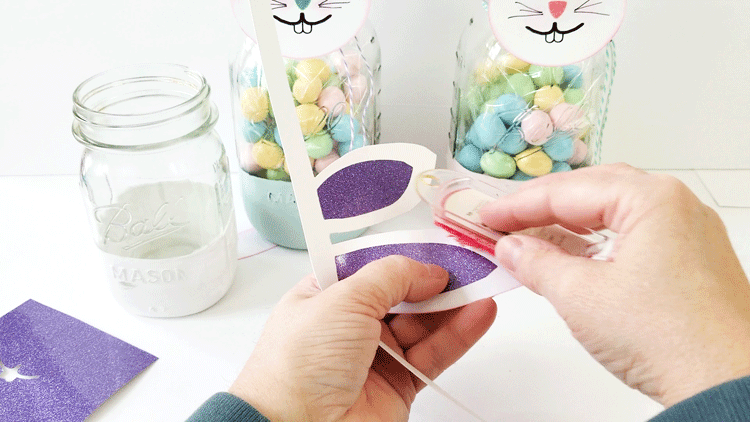

Once they are all pretty add some adhesive to each end of the “strap” that wraps around the neck of the jar.

Over lap the two ends after wrapping the piece around the jar.


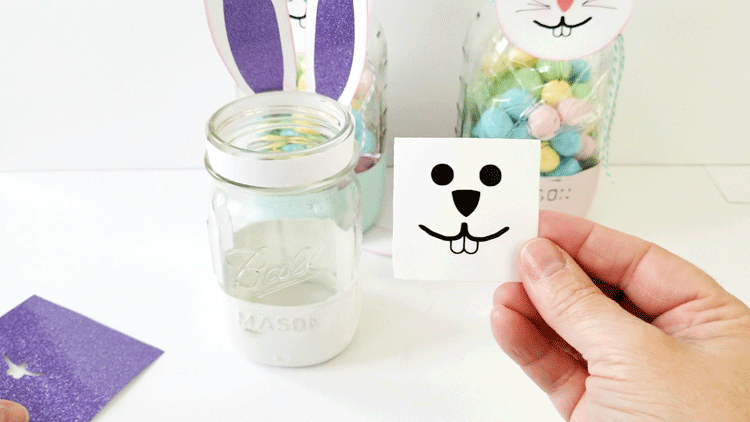
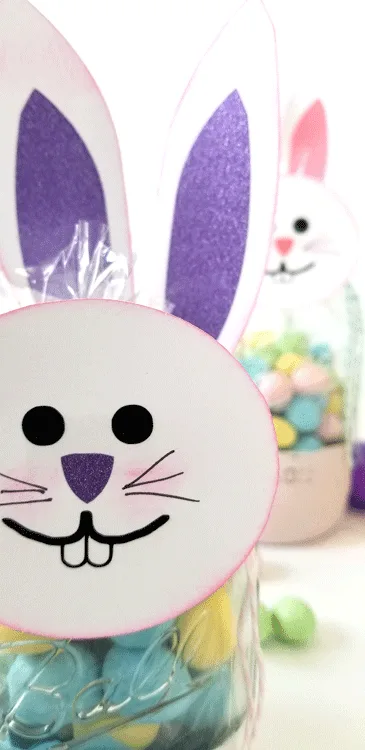
Step 5: Creating the face
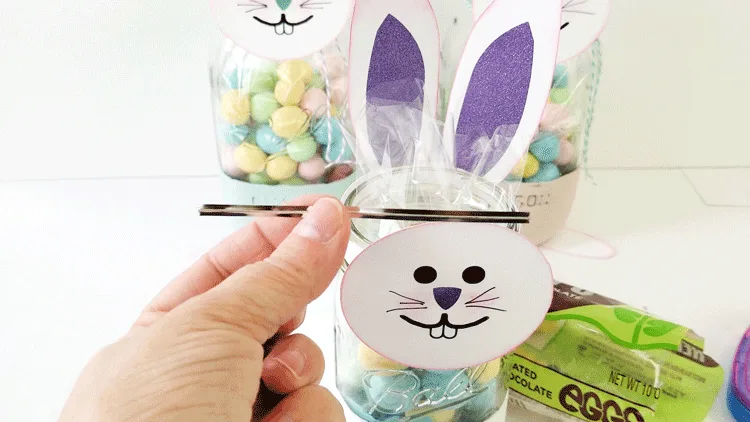
For this step you need to find the bunny head and the two bunny faces. First find the head and add some pink ink to the edges to match the ears.


Then exchange the purple nose for the black nose on the little vinyl face. The picture below shows the black nose but you will see the purple nose in the transfer paper step.

After replacing the nose add some transfer paper to the face.

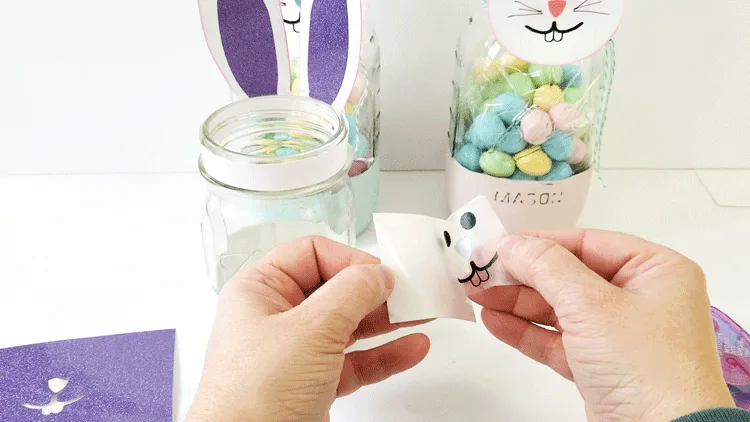
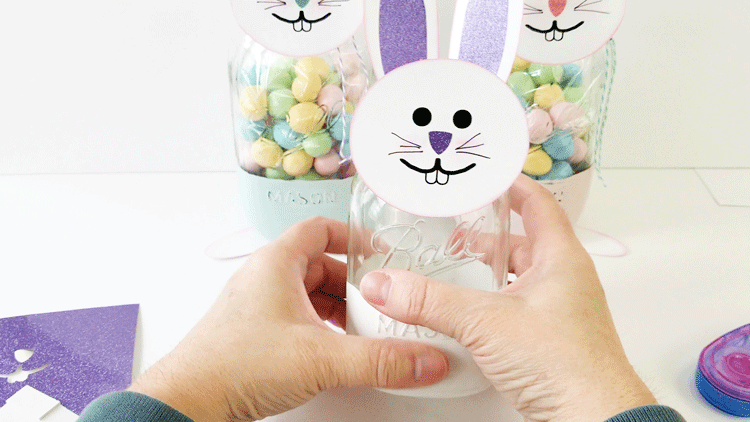
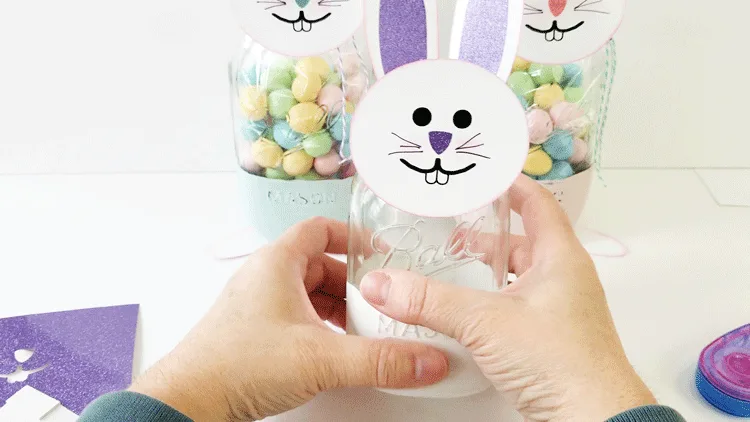
Then place the cute bunny face onto the bunny head.


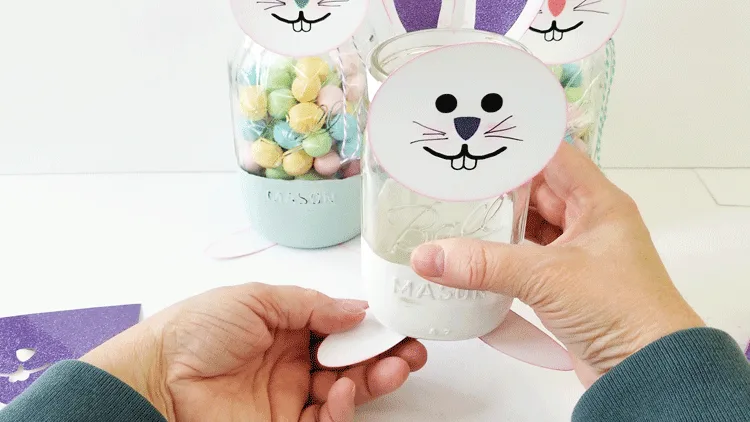
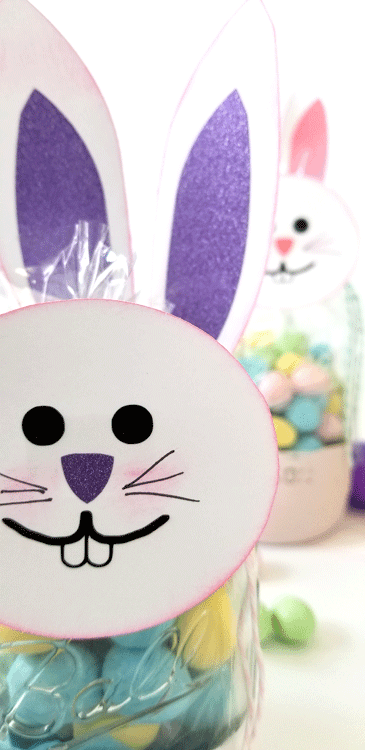
Using a sharpie, draw some whiskers next to either side of his nose.


Then, last but not least…use the pink ink and lightly add some to create pink cheeks.

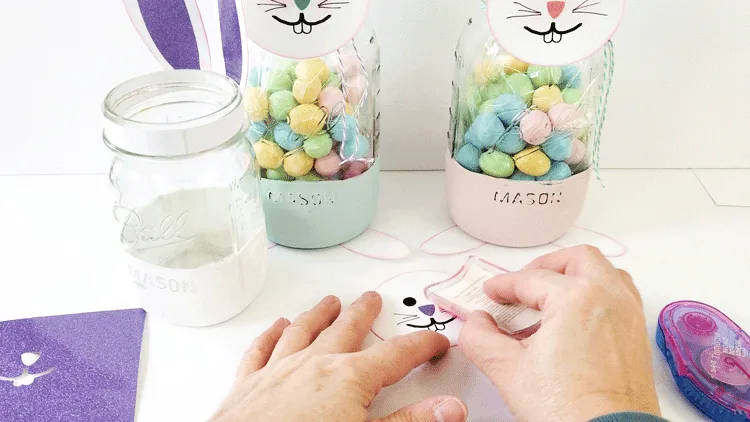
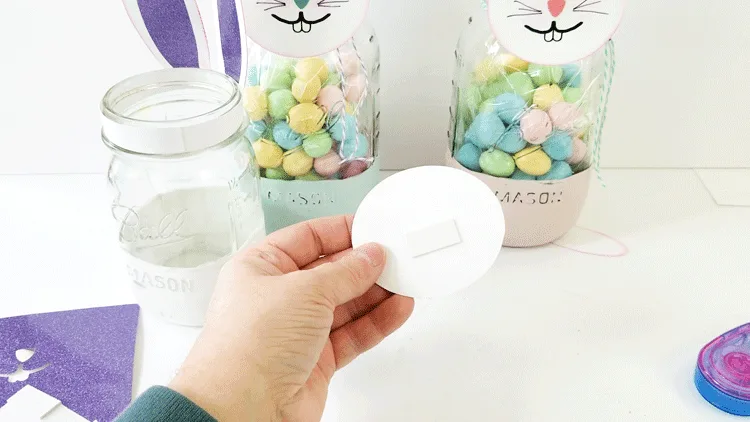
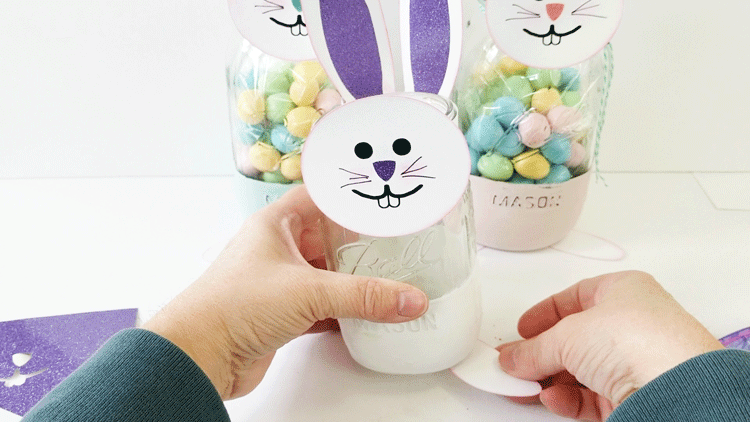
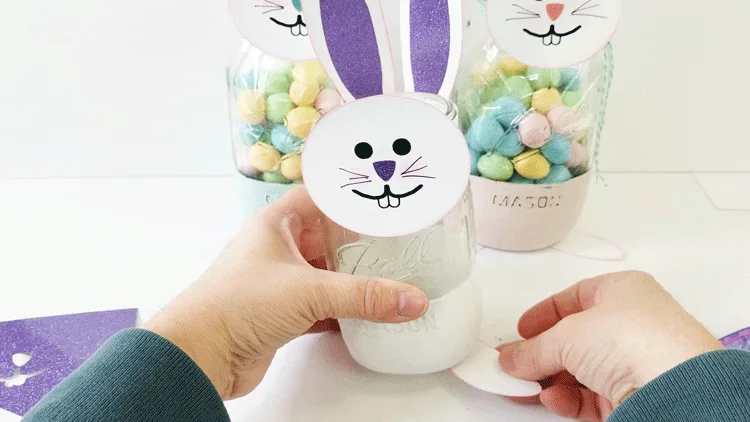
Now you can place a piece of mounting tape on the back of the head and adhere it to the front of the jar.
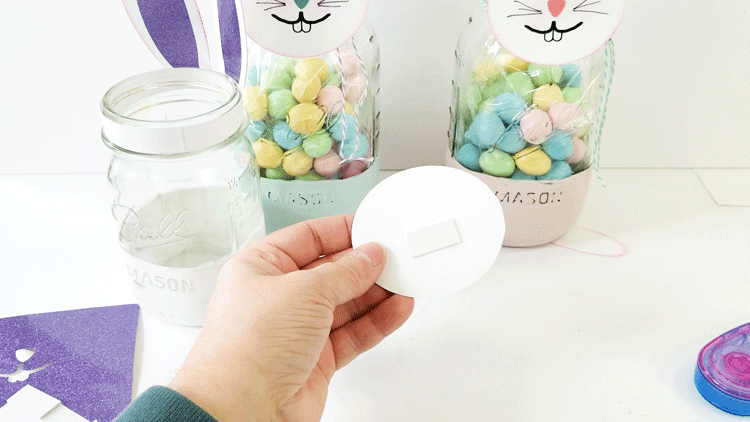
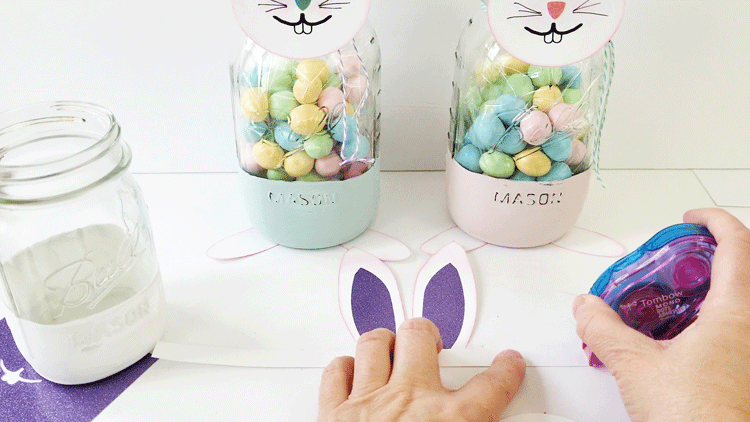
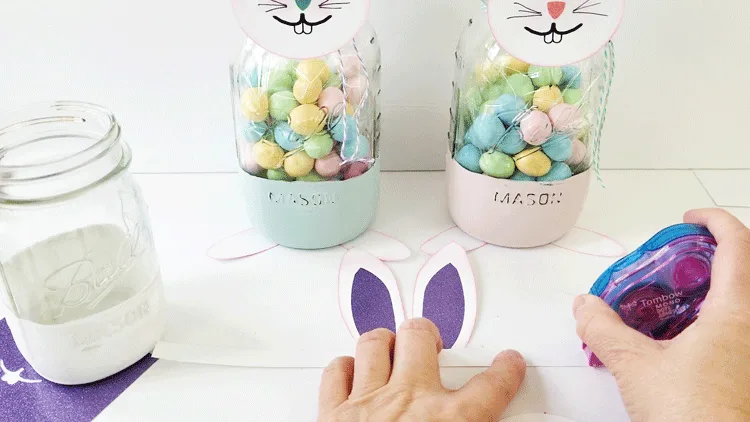
Step 6: The footsies
Take the same steps with the pink ink to create some color on the feet.

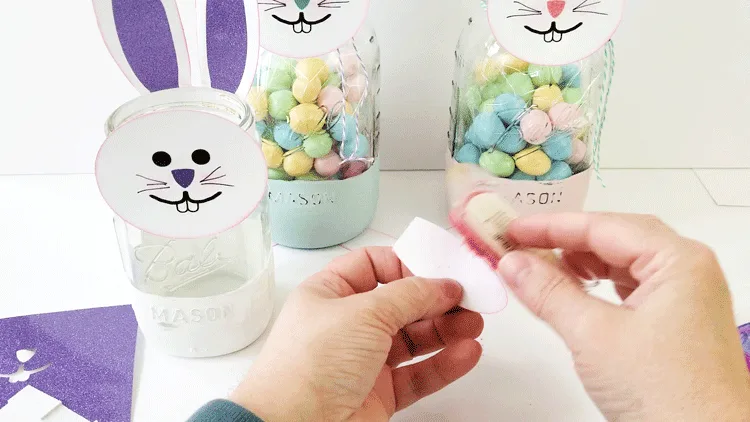
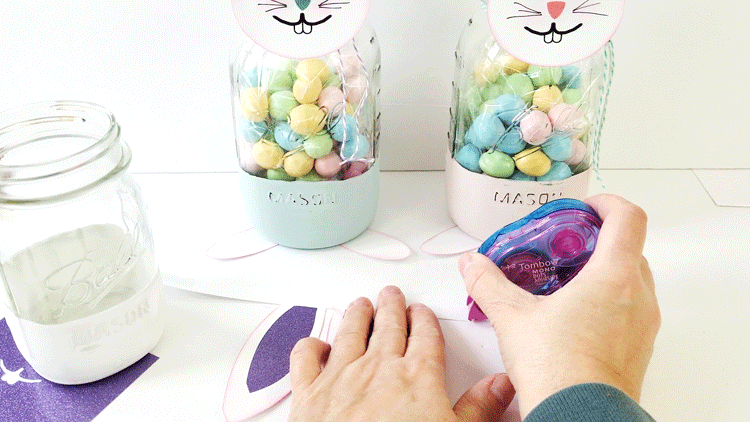
After they are colored they are ready for mounting tape and to go onto the bottom of the jar.

Step 7: The final details
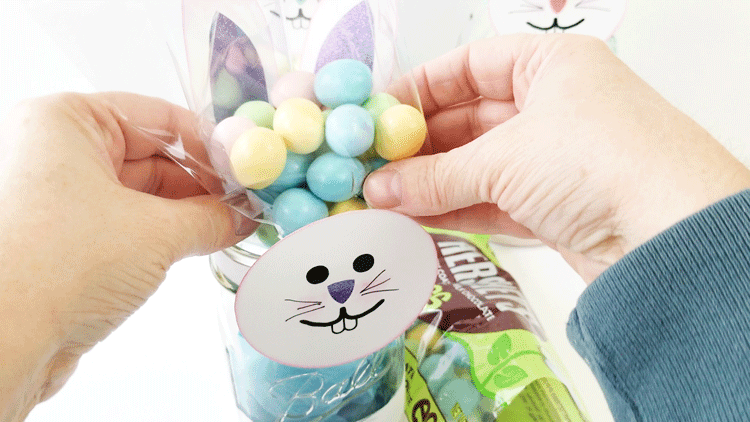
Adding candy is just a must for an Easter mason jar gift right? I chose some chocolate eggs but I don’t like to just put the eggs into a jar. I think it is cleaner and more “gift friendly” to add them to a cello bag and then add them. So, that is the next step.
Only fill the bag part way before placing it in the jar. If you wait too long will be too full to fit. But before you add the bag of candy place a bit of crumpled up tissue paper at the bottom. It adds some color but also allows the bag to sit right at the paint line so the candy can be seen.


For the smaller mason jar I cut down the cello bag.


Close it up with the tie.

Next add some ribbon or bakers twine around the neck of the jar. This just adds to the cuteness!


And last but not least…a cotton ball tail.

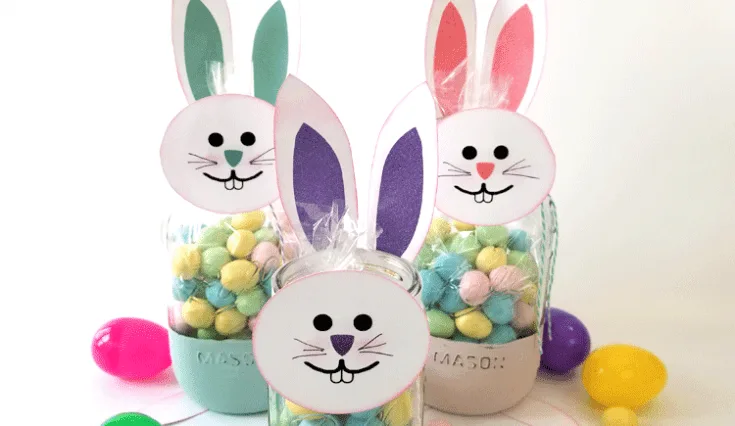
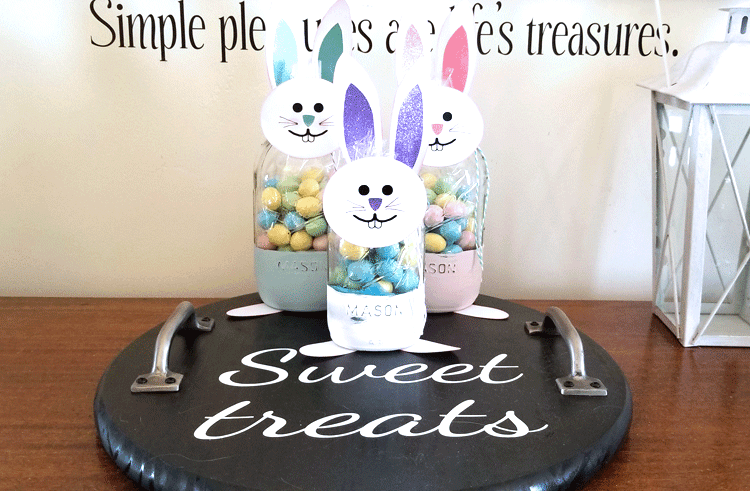
These guys turned out so cute and I can’t wait to give them to friends! What do you think?
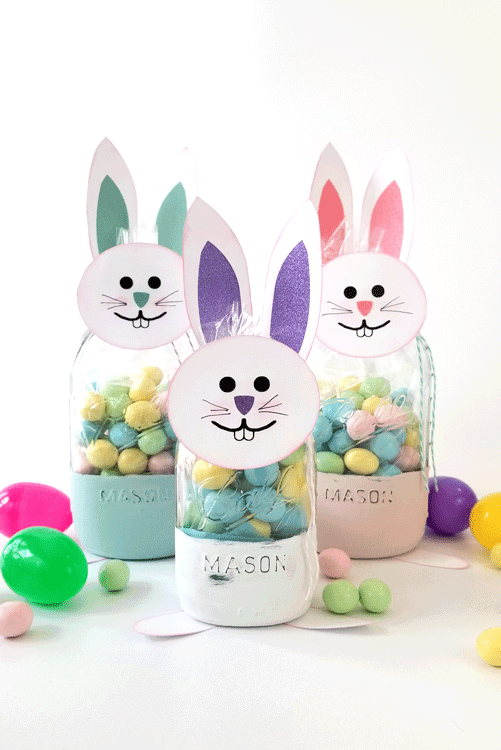


They looked great with my Sweet Treats tray too.

Be sure get the free cut file for this by entering your email below for the password. You will receive an email with the password for instant access to all of my files in my resource library.


Be sure to check out all of the awesome Easter mason jar posts created by my friends!
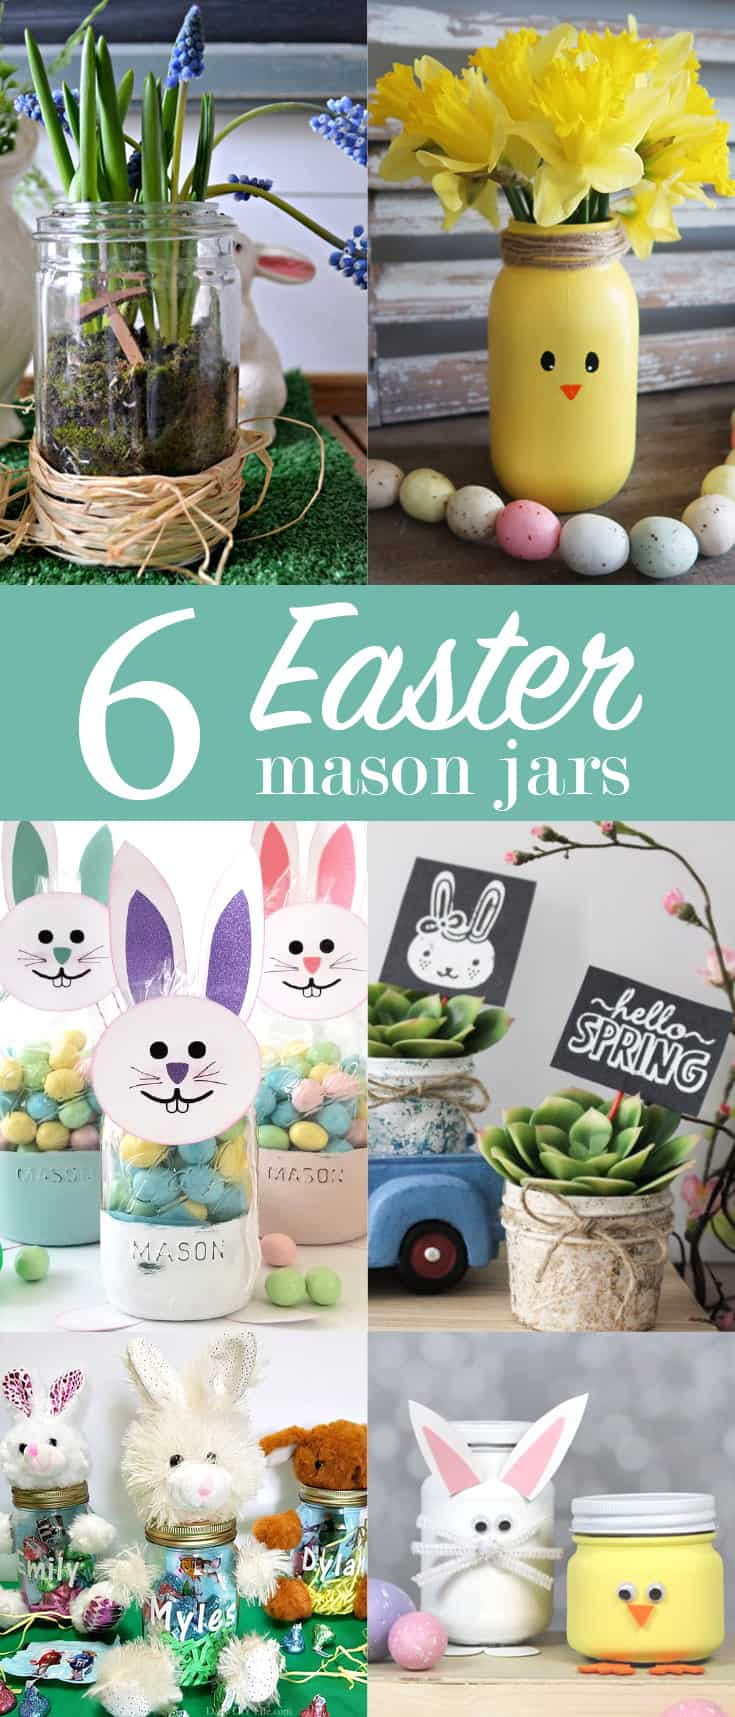

Easter Mason Jar Terrarium from Red Cottage Chronicles • DIY Easter Chick Mason Jar Vase from Weekend Craft • DIY Bunny Mason Jar Craft from Michelle James Designs • Mason Jar Succulent Planter For Easter from Our Crafty Mom • Personalized Easter Gift Idea from Daily DIY Life • Bunny and Chick Easter Mason Jars from Creative Ramblings


Barbara Chapman
Monday 25th of February 2019
Super cute Easter bunny project, Michelle! I love it but I know I'd cheat and pull out the construction paper and glue... ;) I have a Cricut but have seriously only used it for stencils. Great idea for a fun project to do with the kids!!!
Thanks for the tutorial ~ will have to look up again once we are in our new house and I have my craft room set up. Hugs, Barb ,':0) {my bunny emoji... Lol!}
Michelle
Monday 25th of February 2019
Thank you Barbara. I do love my Silhouette and I use it often but sometimes I think it may be easier to cut it out with a scissors. But then I remember who I do not cut straight very good. LOL! I bet you are looking forward to getting the craft room set up. It is hard to be without. Have fun with it.
Patti
Monday 25th of February 2019
These are adorable Michelle. I love the way you coordinated the cut out with the pretty chalk paint and distressed it. Pinning.
Michelle
Monday 25th of February 2019
Thank you Patti. The paint and the vinyl do match perfectly but I think they blend enough to make it look nice. Thanks so much for pinning! I appreciate it.
Nancy Lou
Monday 25th of February 2019
Pretty adorable! I like the idea of personalizing them (for kids) also. Another very creative project, Michelle; I love it.
Michelle
Monday 25th of February 2019
OOOOh personalizing them is a fabulous idea Nancy! You should make these with the grands. That would be fun!
Sarah
Sunday 24th of February 2019
I just love these jars, the paint on the bottom is so perfect.
Michelle
Monday 25th of February 2019
Thanks Sarah. I love this Chalked paint. I have had these quarts for a while and I have a lot of paint left. I need to find more to paint. LOL!
Michelle from Weekend Craft
Sunday 24th of February 2019
Too cute! I love the chalk paint you used. The colors are perfect for Easter and you found easter candy!
Michelle
Monday 25th of February 2019
I did find some candy. Then the next day my local grocery store had it too. I love this paint and brand. I always love Rustoleum!