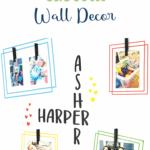
Make your own custom wall decor using StyleTechCraft vinyl. You can create your own gallery wall with photos of kids and grandchildren.
Ever since my grand babies were born I have a tremendous amount of pictures on my phone and computer.
I need to find ways to print some photos and display them as part of my home decor. But…I also love to change them out and keep them current.
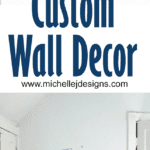
A little display area or small gallery wall in our room was what I decided to do so I could look at them all of the time.
If you like the frame designs you will want to download the free design. Just add your name and email in the box below and you will get the access code to the Resource Gallery!

Custom Wall Decor
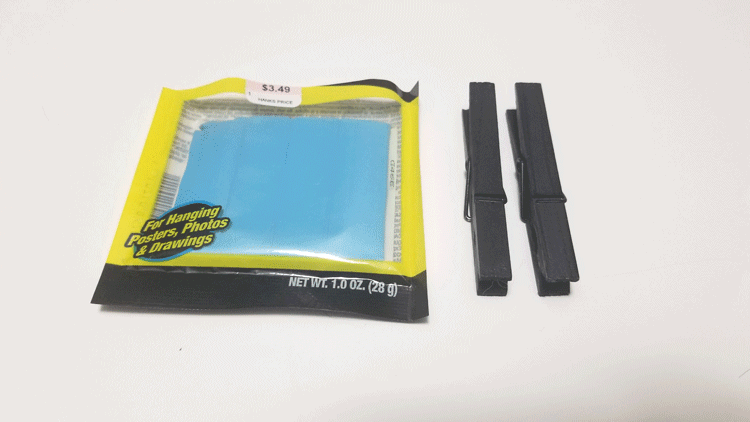
You don’t need a ton of supplies for this project but you do want to use the removable vinyl. Just in case you want to take it down later.
If you have been here before you know I am on the design team for StyleTechCraft vinyl. The removable vinyl that I used from them for this project was a dream.
It cuts so nicely and weeds easily. And that is exactly what I want when I am making anything with vinyl.
Materials Needed:
I have added some affiliate links for your convenience. You can see my full disclosure here.
- SVG Design download – this will take you to the email opt in box
- Removable Vinyl – Green, Yellow, Blue, Orange and Black
- Transfer Paper
- Cricut Maker
- Scissors
- Clothes Pins
- Black Spray Paint
- Blue Wall Tack
Step 1: Upload the svg file to Cricut Design Space
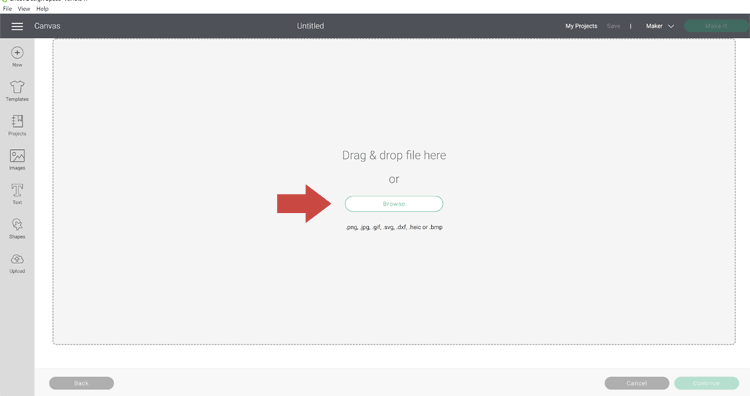
Click browse and find your SVG file.
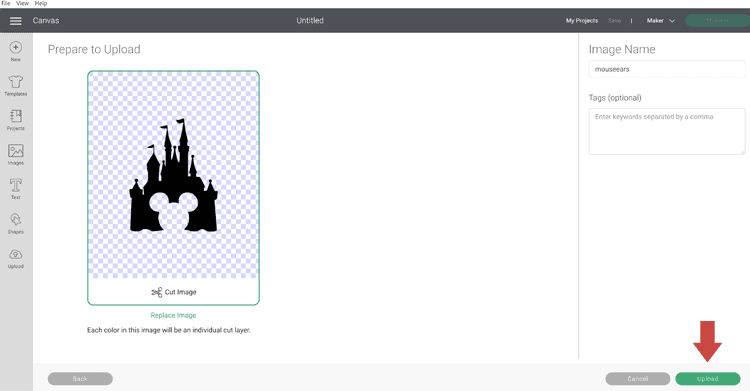
Click upload and that is it. (this is not the svg file we are using but the steps are the same)

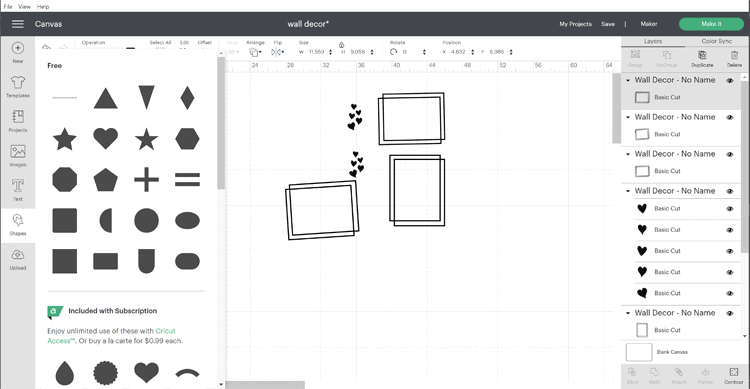
Step 2: Resize your design
You will need to resize your frames to be the size you want for your photos. My original idea was to use frames but I decided I wanted an easier way to change out the photos.
This is when I decided to use the clothes pins instead of the frames.
I also loved the idea of having one frame that can house two photos. So I needed to make one of the frames a larger size.
First click on the design. If all of the frames are selected then choose the “ungroup” on the right side at the top of the screen.
Then they will all be separate and you can resize each one. I liked the smaller frames to be the same so I make them about 5 x 7 so that a 4 x 6 pic would have plenty of room.
The larger frame ended up being larger than my 12 x 12 piece of vinyl and the mat. So what do you do now?
We have to slice…of course. LOL!
Step 3: Slicing in Cricut Design Space
What does slice mean? Well, when your design is bigger than your sheet of vinyl, the slice feature will cut it into two smaller designs so you can cut each section on a different mat.
Here is how you can slice a design to make it work.
You need to grab two layers from the layers palette in order for the slice feature to work. So….
First, open the shapes tool and and choose the square.
Use the square to cover a portion of the frame.

Then you can duplicate the square or grab a new square. Place it right next to the first square to cover the last part of the frame.
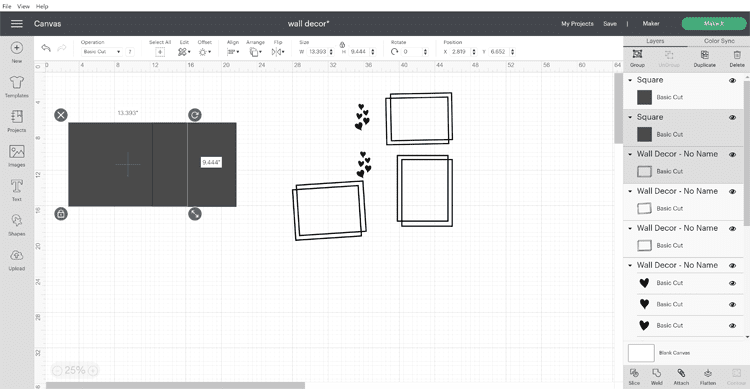
Now, select the first square and in the layers palette choose the frame. Since you have these two layers selected you can click on “slice” at the bottom of the layers palette.
This will cut your original frame.
Repeat this step for the second square and the frame.
Then you can delete the extra layers.
Then you are left with your two pieces and can cut it on separate mats.

Step 4: Adding your colors
This is an optional step but sometimes it is easier to see the different colors you want and have the separate on different mats for color.
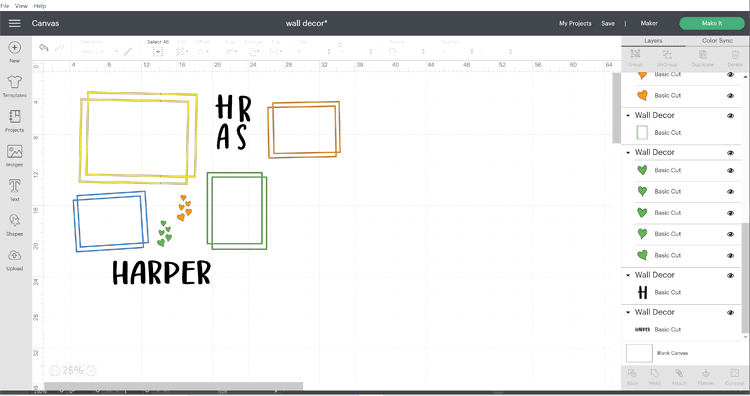
This is how mine looked after changing the colors.
I also used the text tool to add the names of my grand kids.
Harper will go across and Asher will be vertical and they will share the E. Like a scrabble type of thing. You can see how it turned out below.
Step 5: Cut and weed the design
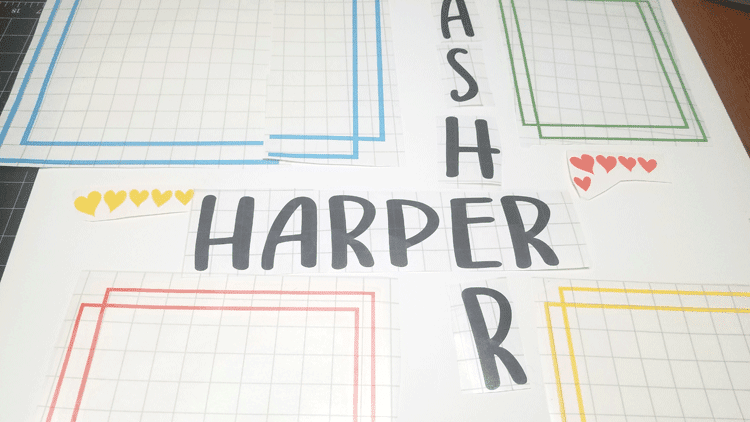
My design was on six different mats and used five colors of the removable vinyl.
Here it is all laid out on my table after weeding and adding the transfer paper.
Now all I had to do was get it up onto the wall.
Step 6: Apply the vinyl to the wall
This is the fun…and the hard part. LOL! I am not used to larger designs let alone putting them on a wall. So…the first two frames were a tiny bit of a struggle but I got them done.
Here is the blue frame after it was applied to the small wall space in our room. The walls are a really, really light blue. It is hard to see in this light.
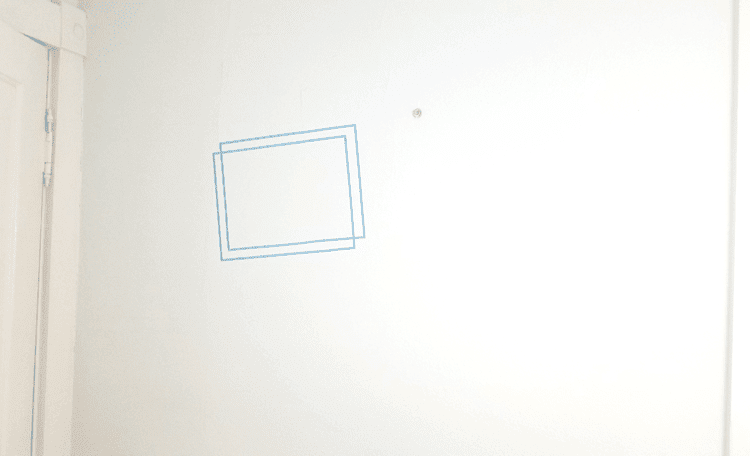
Then I wanted to get the names added. This would have been a great place to use a yard stick or something to get the names straight on the wall.

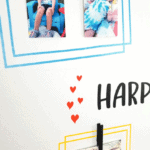
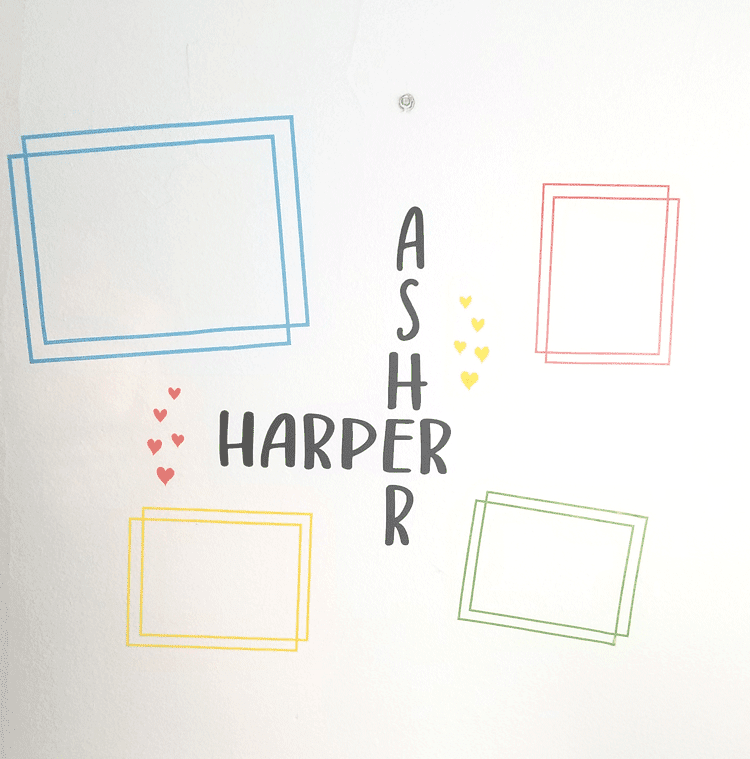
The rest of the frames and the hearts were applied until I had this design.
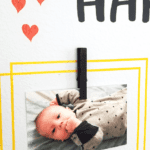
Step 7: Add the photos
As I mentioned before I have a lot of pictures of my grand kids. I got on the printer and printed off five photos to add to the custom wall decor or gallery wall.
Before I could hang them I spray painted five clothes pins and used small pieces of the blue tack to hang them on the wall.
Now I was ready to put it all together.
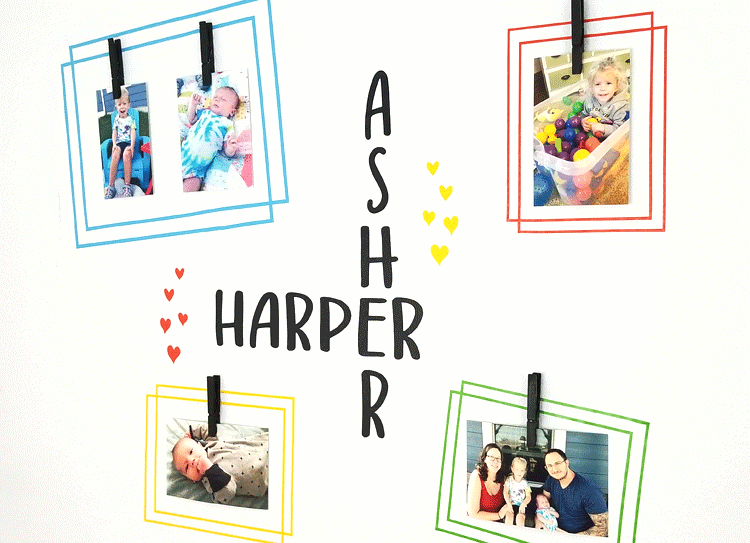
It is just a small space of wall but I can see creating a larger gallery wall in a hallway or up a staircase that would be so fun.

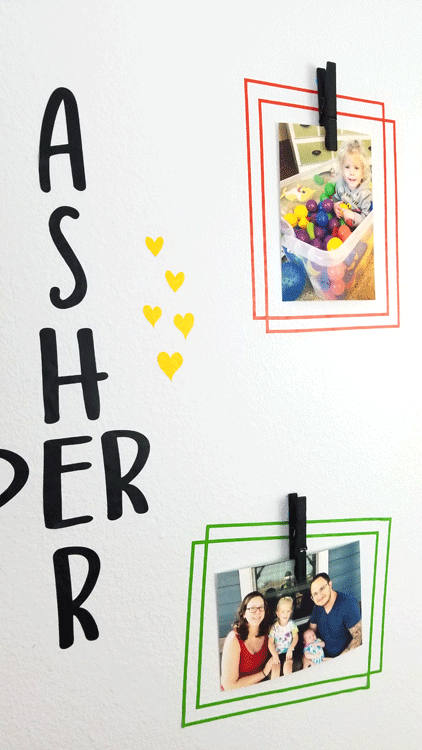
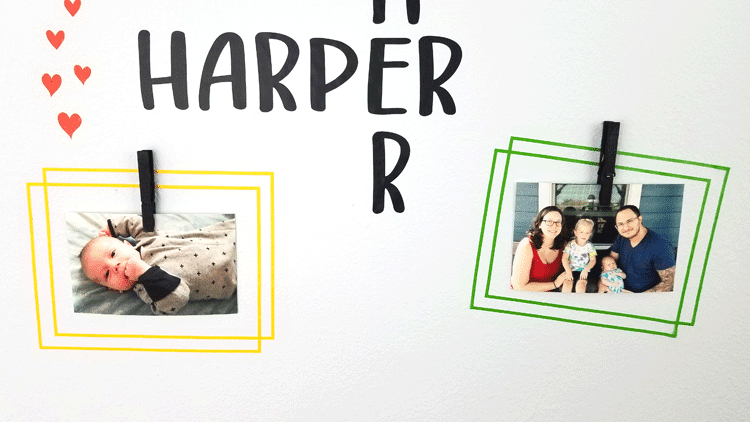
Here are some close ups of the different frames and names.

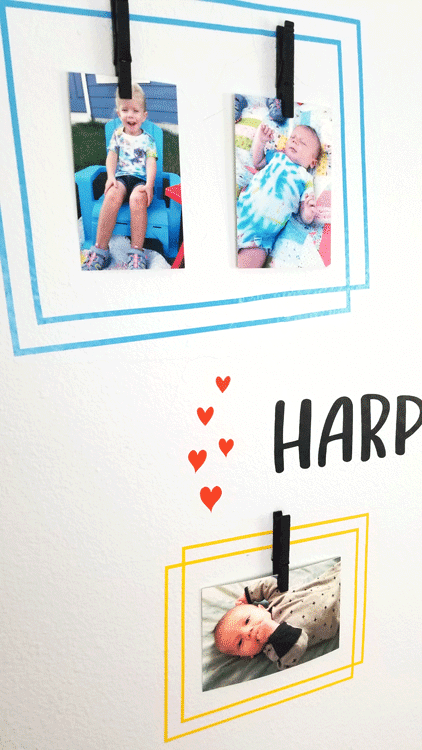
I think it came my custom wall decor came out really cute and I am happy with the overall look. What do you think?
Thank you so much for stopping by!
Michelle