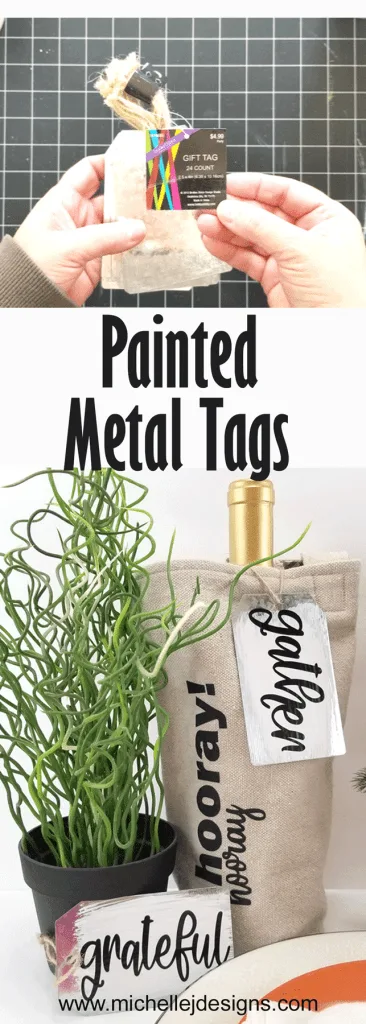
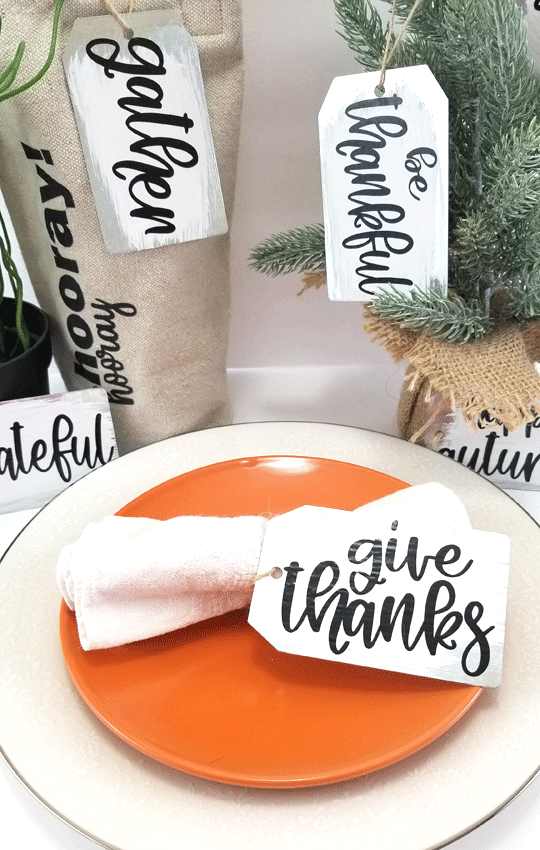
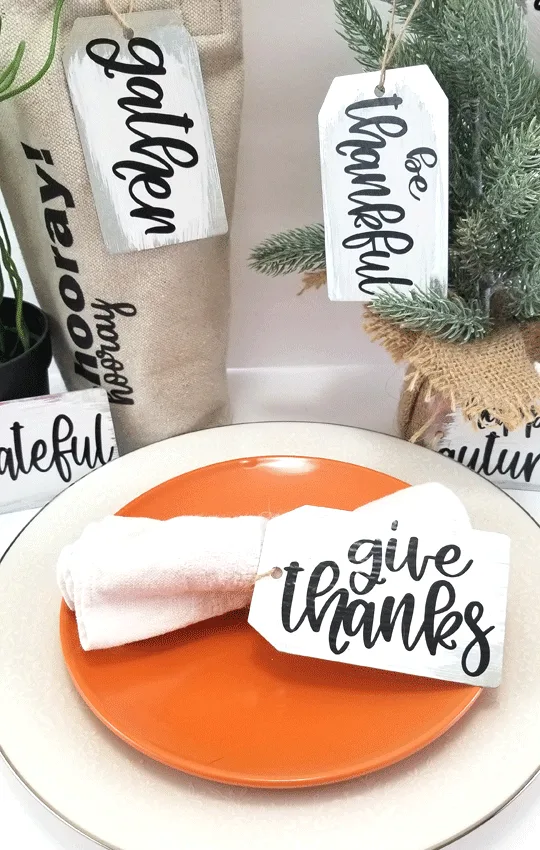
Hi and welcome back to the blog. I found some really cool farmhouse section at Hobby Lobby and created some rustic painted metal tags to include on packages OR to use as place cards. Wait til you see how cute they are.
Yes, you can paint metal and it is a lot of fun and depending on how you paint them can look very rustic with a distinct farmhouse look. I know I love the farmhouse look. Do you?
These galvanized metal tags would look good painted in any color or decorated with any theme. How cute would they be with a Grinch face on a Christmas package? I think I will make some of those. I have extra tags left over from this project.
If you love painting metal be sure to check out these DIY metal projects for your home.

If you like to watch a video of the step-by-step process you can click on the link below. PLEASE SUBSCRIBE TO MY CHANNEL WHEN YOU ARE OVER THERE!
If you would rather read the instructions the steps are all written out below.
Step 1: Paint the tags
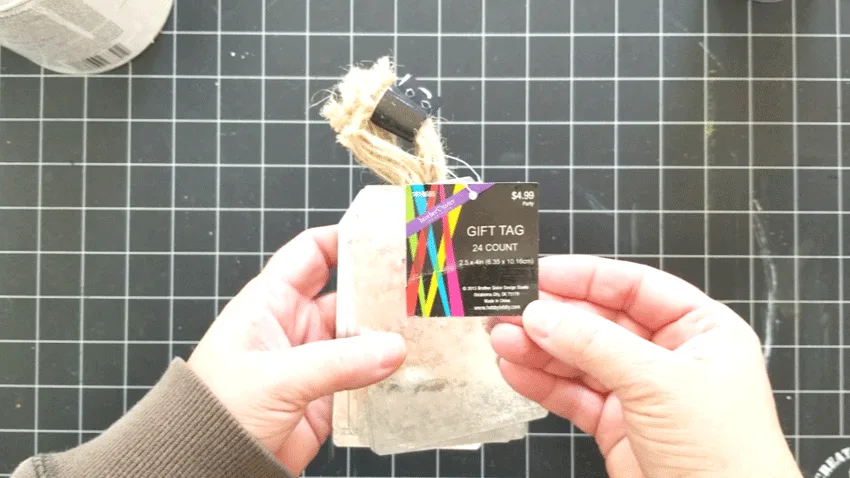
These tags start out as a plain galvanized metal tag.

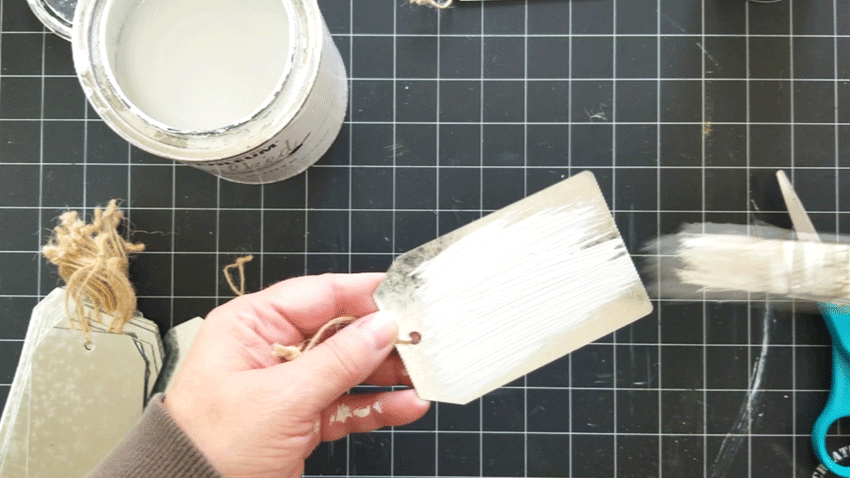
I used Rustoleum chalked paint in linen white for the tags. This paint is great and it happened to be what I had on hand.
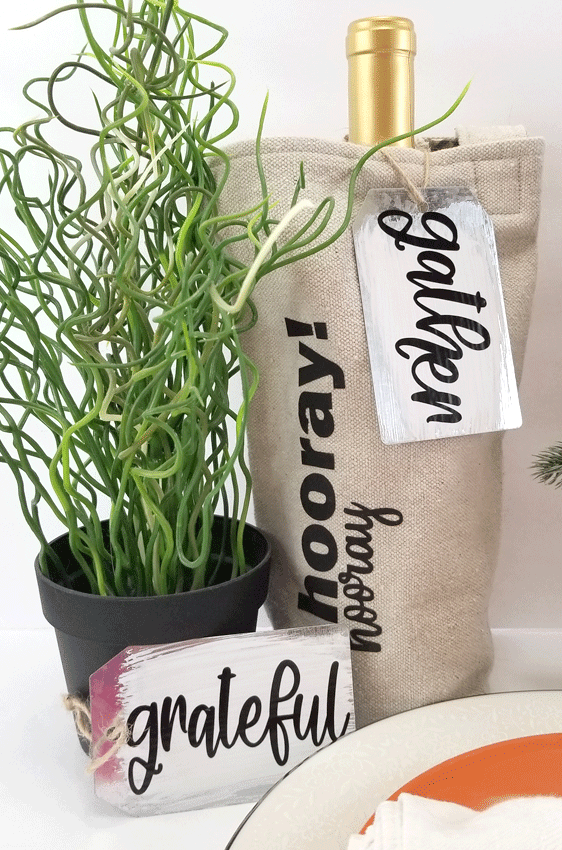
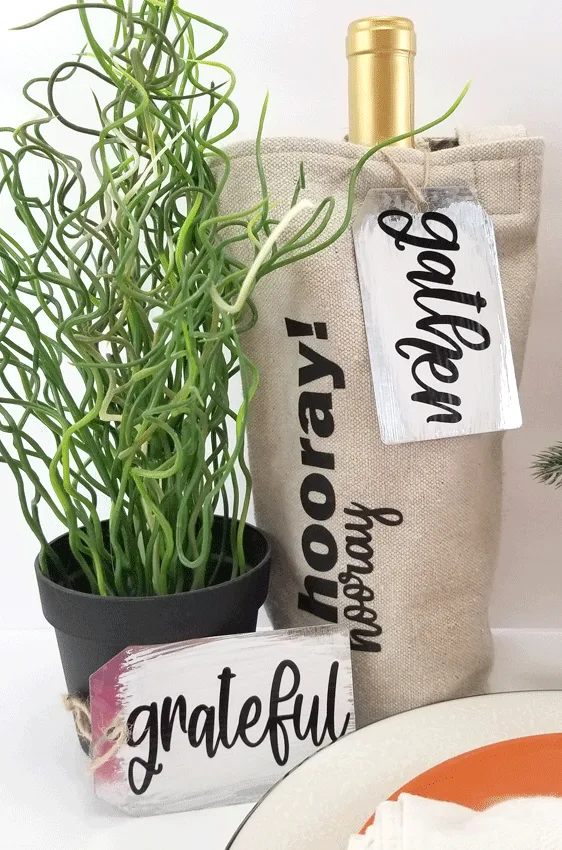
Painting the entire tag was not what I wanted. A “smattering” of paint to make it feel rustic was just the right look.
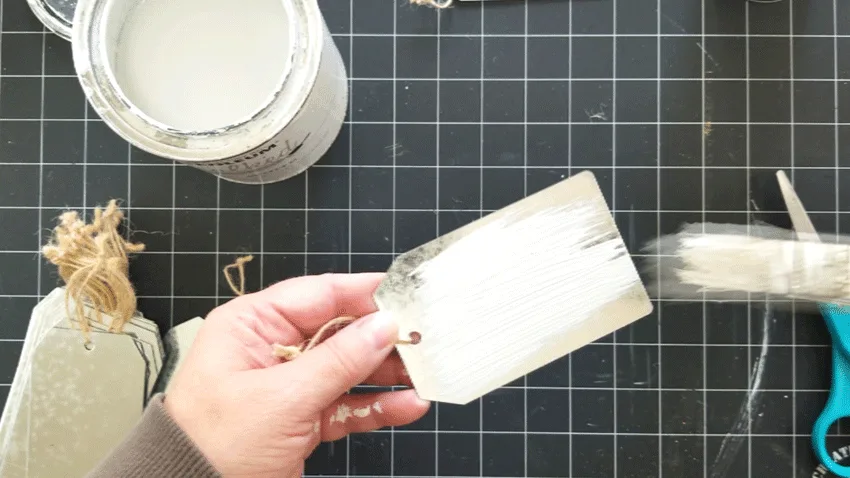
Let this coat dry completely before going over the paint with a second coat.
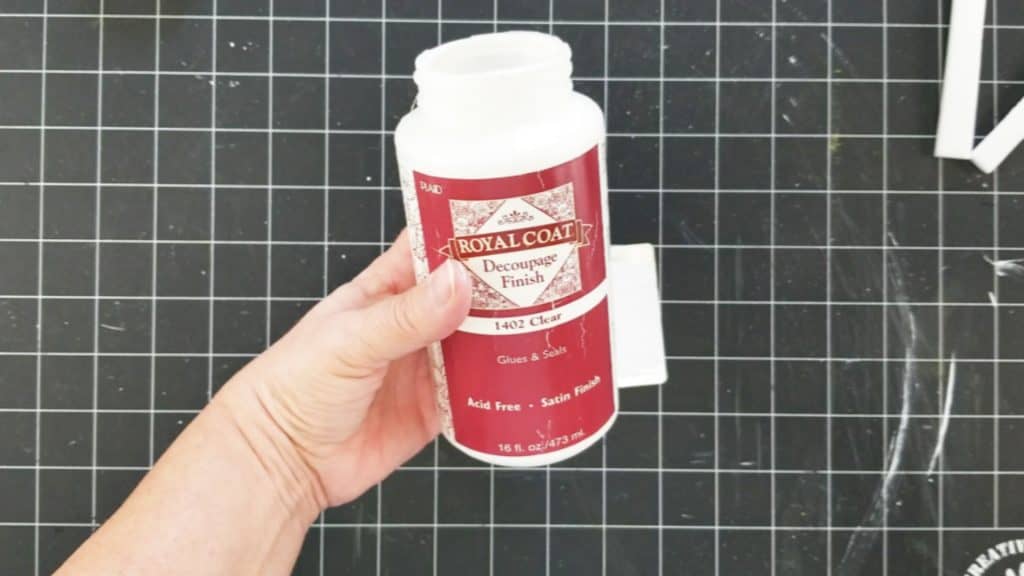
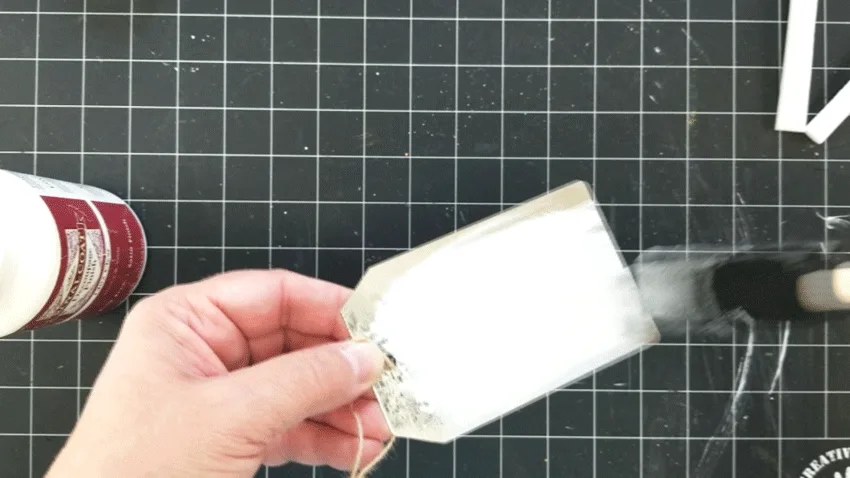
Step 2: Add the Mod Podge
Apply one coat of Mod Podge (I don’t have Mod Podge but this is the same thing.) over the paint when it has dried. This helps to seal the paint.
We don’t want the paint to peel up when we add the vinyl.


Step 3: Cut out your designs
I created these designs and they are super fun. You can find them in my Etsy shop, Michelle James Digital.
Download, cut them out and weed them to be added to your tag.
You can design your own using Design Space and your favorite fonts.
Adjust the size to fit your tag. I wanted mine to be as big as possible. LOL

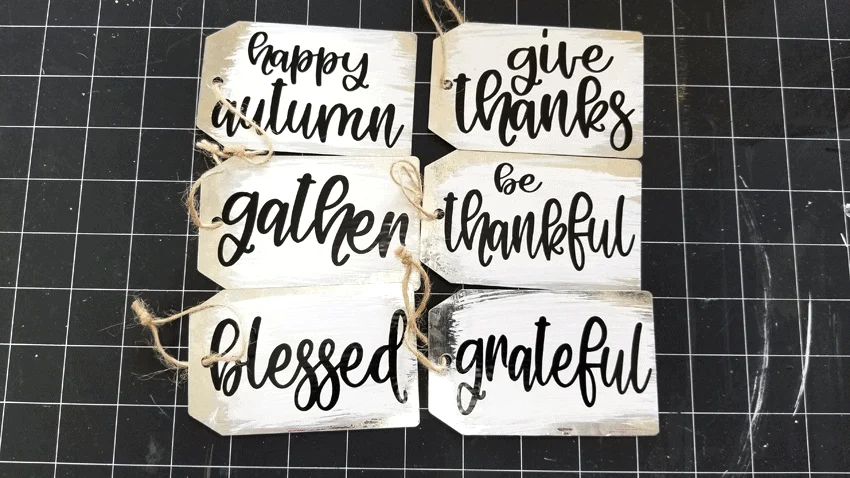
Step 4: Apply the designs to the tags
Place the transfer tape over the cut design and remove the backing. Then place it onto the tag and remove the transfer tape.
You are good to go!
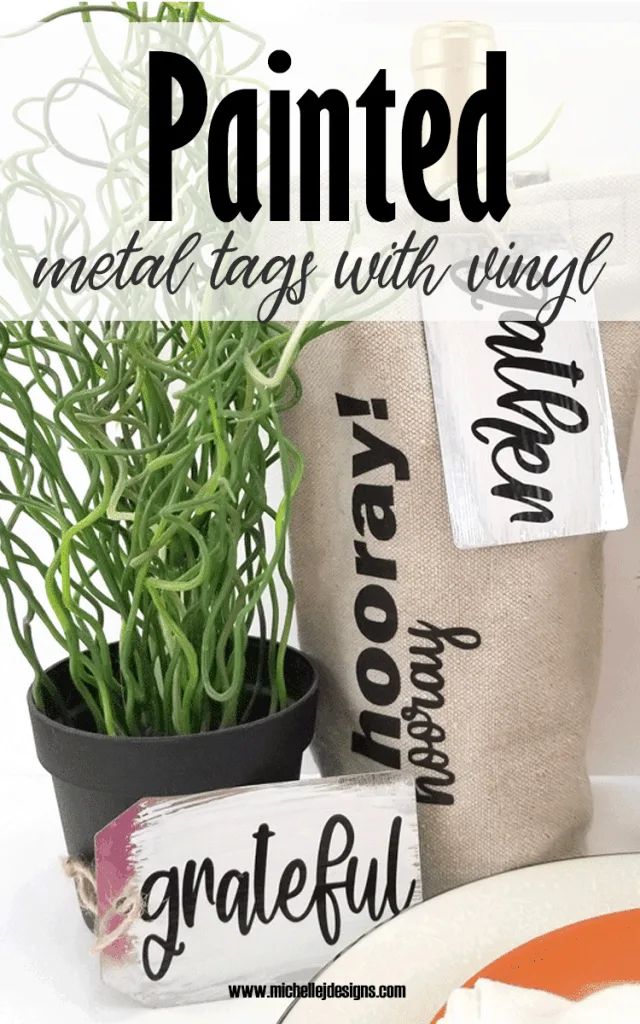
They look so good and are perfect for so many things.
Materials Needed
I have added some affiliate links for your convenience. You can see my full disclosure here.
Rustic Painted Metal Tags


I used chalk paint and vinyl to create these rustic painted metal tags for gifts, ornaments or even place cards.
Materials
Tools
- Paint brush or foam brush
- Cricut Maker
Instructions
- Use the Linen White chalked paint to add two coats to the metal tags. I didn't paint the entire tag. I wanted it to look slapped on. I wanted a rustic, almost sloppy look.
- When they are completely dry, add a coat of Mod Podge over the paint and let it dry.
- Use the Circut Maker to cut out your designs. Weed the designs.
- Place the paper transfer tape over the designs and remove the backing.
- Place the design over the paint and the Mod Podge
- Remove the transfer tape
- Repeat for all 6 designs.
Recommended Products
As an Amazon Associate and member of other affiliate programs, I earn from qualifying purchases.
-
 Fuyit Natural Wood Slices 30 Pcs 2.4-2.8 Inches Craft Wood Kit Unfinished Predrilled with Hole Wooden Circles Tree Slices for Arts and Crafts Christmas Ornaments DIY Crafts
 -
 RAZ Imports Vintage Metal Enamel Gift Tag Holiday Ornament 12-in (Jingle All The Way)
 -
 Brownlow Gifts Tag-Shaped Metal and Wood Sign Wall Décor, 5 x 8-Inches, His Mercies
My first idea was the place cards at our Thanksgiving meal but then the ornaments came to mind as well. These words are usually mainly during Thanksgiving but some of them work well for Christmas too. Don’t you think?
They would also be really cute on cloth napkins using the iron on vinyl.


I hope this post has inspired you to create your own metal tags. The chalk paint is perfect and for this project….no sanding was required. That is always a plus in my book.
Thanks again for stopping by!
Michelle