I am so in love with this project. It is first and foremost a Dollar Tree DIY, which you know I love and I am using chalk paint on glass which is another fun way to dress up some glassware.
This glassware won’t be used the way it was intended. This glassware has been incorporated into the tiered tray made from Dollar Tree items. I used some chalk paint on the glass then gave it a distressed look.
This is easy to do and you will love the final look! All you need is a sanding block to get just the right amount of distress.
If you LOVE Dollar Tree crafts and gifts then you are definitely in the right place.
And, if you love DIY glass projects then you can always find more here!
If you like to watch a step-by-step video then just click on the link below. BE SURE TO SUBSCRIBE TO MY CHANNEL WHILE YOU ARE THERE!
DIY Tiered Tray Using Chalk Paint On Glass Video
DIY Tiered Tray Using Chalk Paint on Glass
Well this was just an all around fun project. Except I had to make it two times.
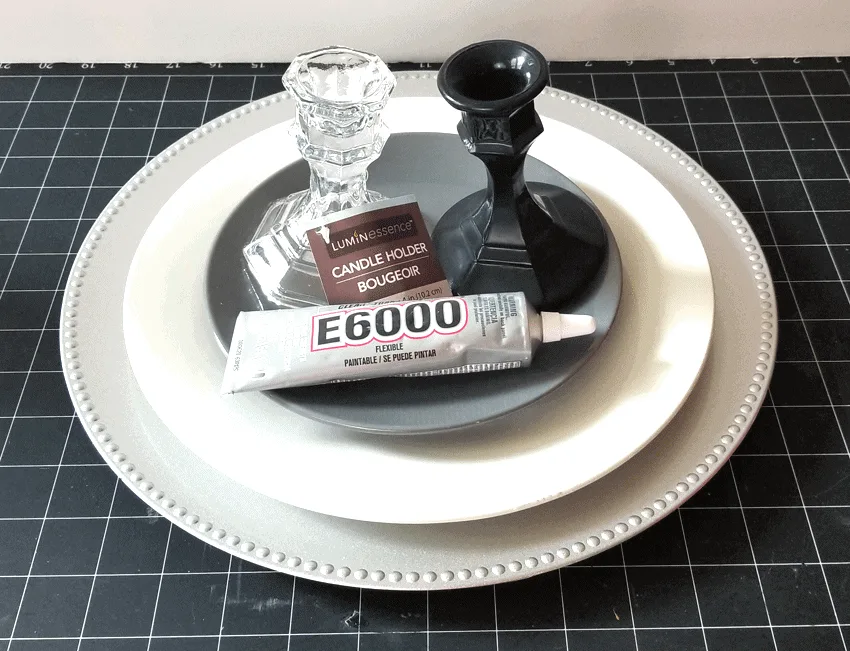
You will notice in my video and my photos I used glass candlesticks as the parts between the tiers. They ended up being too short to add the decor I wanted on my tiers so I went back to the Dollar Tree, bought new items and made a second tiered tray. (does anyone want the first one?) Luckily these items are only $1 each.
But the process was the same…so I figured you guys would let me get away with posting the candlestick pics even though the final outcome will look different.
Materials Needed
I have added some affiliate links for your convenience. You can see my full disclosure here.
DIY Tiered Tray Using Chalk Paint On Glass
Create your own DIY tiered tray using Dollar Tree items and chalk paint. They are easy to make and you can decorate it for each season and holiday!
Materials
Tools
- Sanding Block
Instructions
- Using the Chalked spray paint, spray the vase and the drinking glass until covered. I needed to add two coats.
- Distress the chalk paint in the raised areas on the vase and the glass by using the sanding block. Wipe off the sanded paint with a cloth.
- Add some E6000 glue to the bottom of the drinking glass and place it centered on the charger plate.
- Apply more glue to the top of the glass. Place the dinner plate, centered, on top of the glass. If you look under the plate you can get a better sense if it is centered.
- Add some glue to the bottom of the vase and place it in the center of the dinner plate.
- Then apply glue to the top of the vase and add the salad plate as the top tier.
- Let it sit for a few days to cure. The E6000 needs to be fully cured before you start moving it around
- Deocrate and enjoy! These are so fun!
Recommended Products
As an Amazon Associate and member of other affiliate programs, I earn from qualifying purchases.
Step 1: Paint the Glass
Can I use chalk paint on glass?
The answer is YES! And it works well.
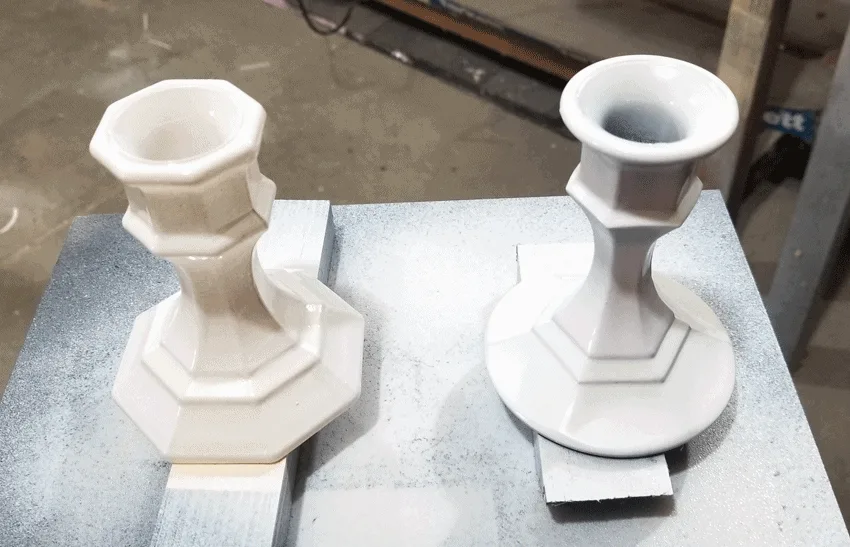
I have used several types of chalk paint on glass but I like this process the best so far. I used Rust-oleum Spray Chalk Paint in Aged Gray.
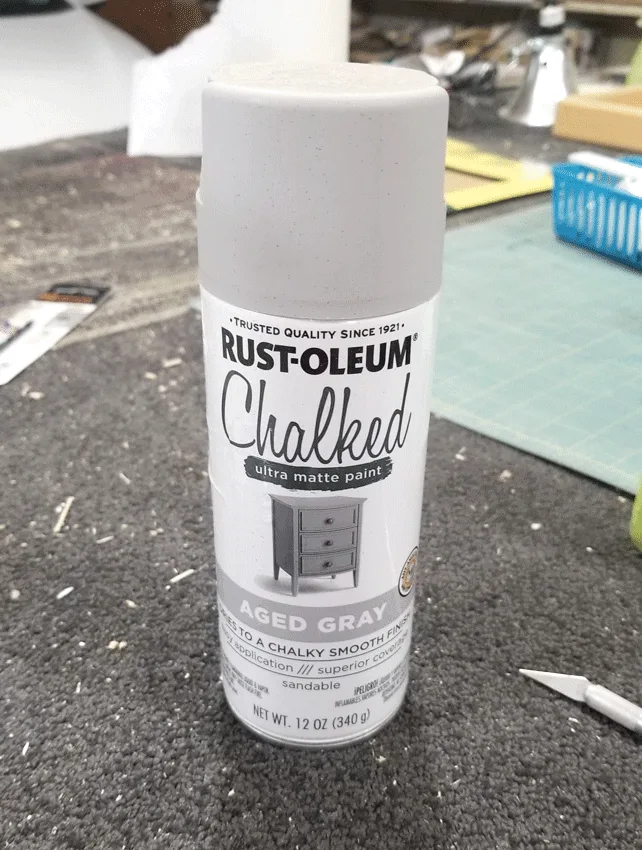
It was so easy to spray the paint directly onto the glass. I used two coats of paint to get the glass pieces covered all of the way.
They look different because the candlestick on the right was already painted black. I was painting over that with the chalk paint.
Step 2: Give the glass a distressed look
When you are looking for glass pieces to paint, try to find some with interesting lines.
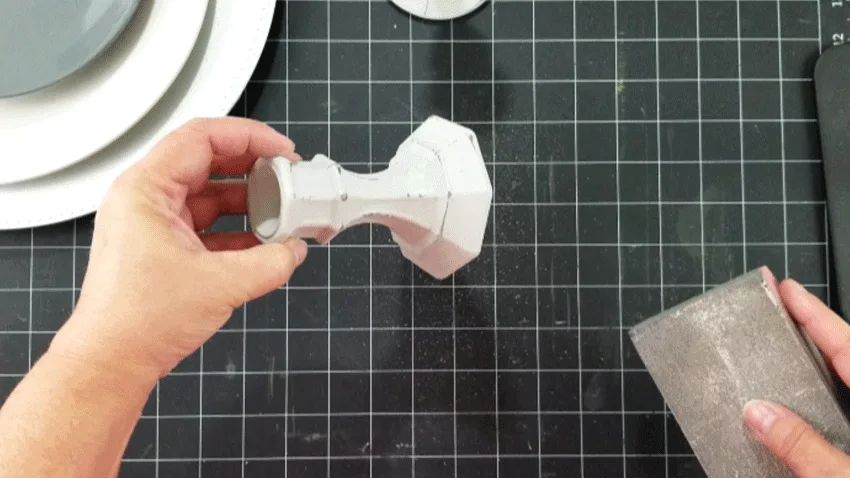
This makes it easy to sand because there are some lines to sand. These would be the natural places that distressing would occur over time.
The candlesticks were perfect and I was sad that I didn’t get to use this tray.
One of the pieces I replaced them with was a drinking glass with some nice cut lines and a great pattern for sanding.
The other was just a plain vase. It looks nice but not as good as the patterned pieces. You will see in the final look.
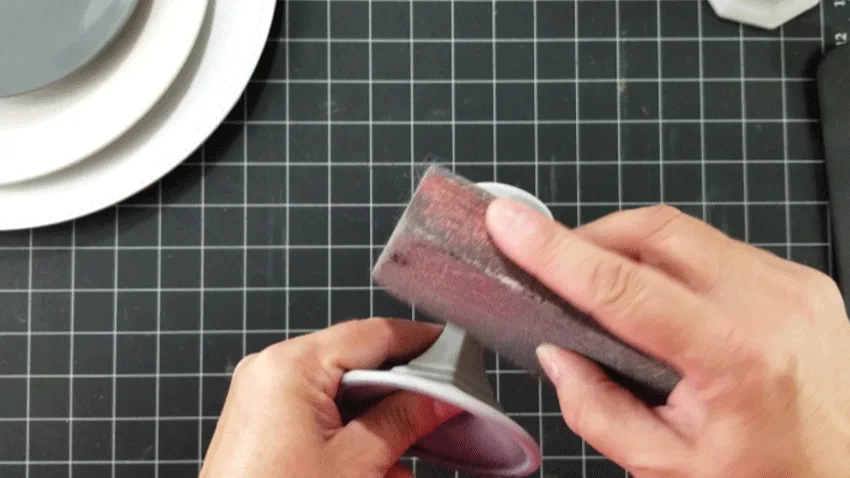
To distress the glass just use your sanding block and sand over the “raised areas”
Step 3: Glue it all together
Now we are ready for the fun part.
Tier 1
Start with the largest plate (the charger plate).
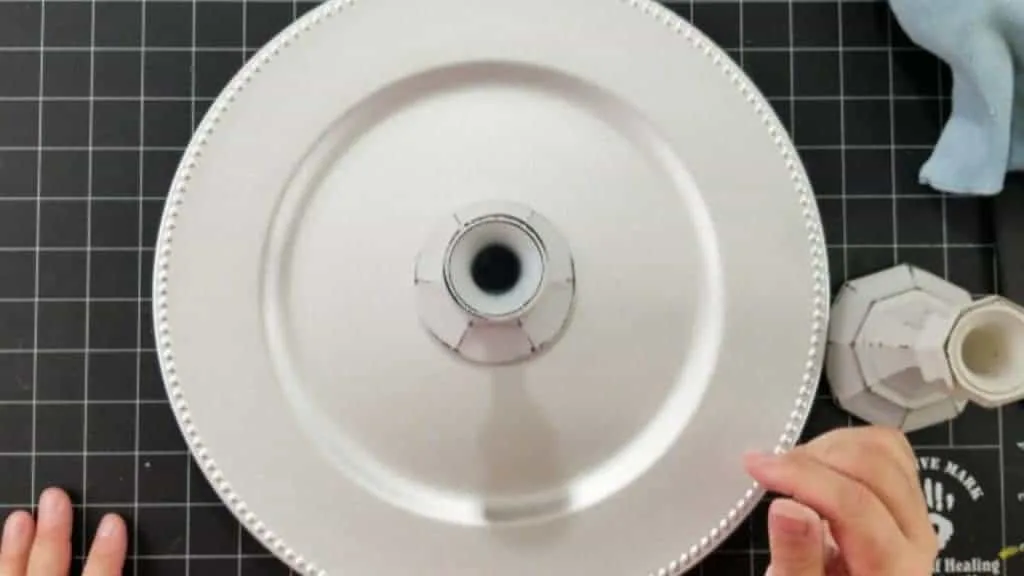
Figure out where you are going to place the candlestick. You can measure but I just eye-balled it. Try to get it exactly in the center of the plate.
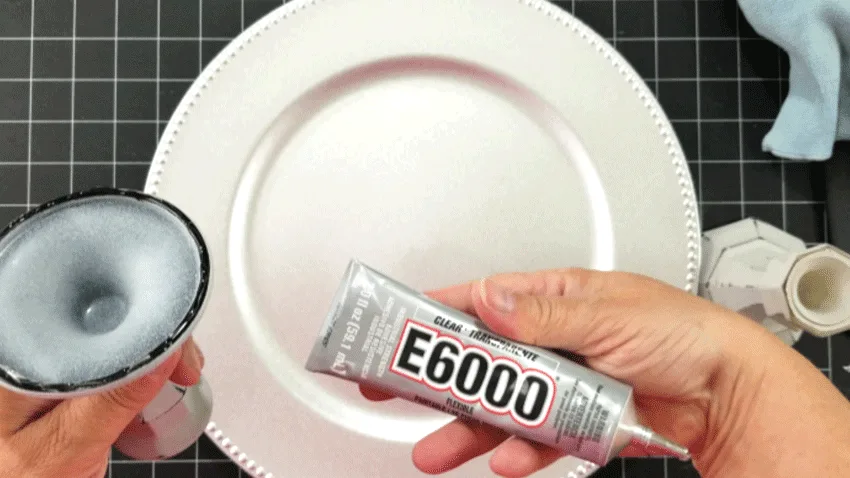
Add a bead of the E6000 glue around the bottom edge of the candlestick and place it onto the plate.
This glue does not dry right away so you have some time to move things around a little if you need to.
Tier 2
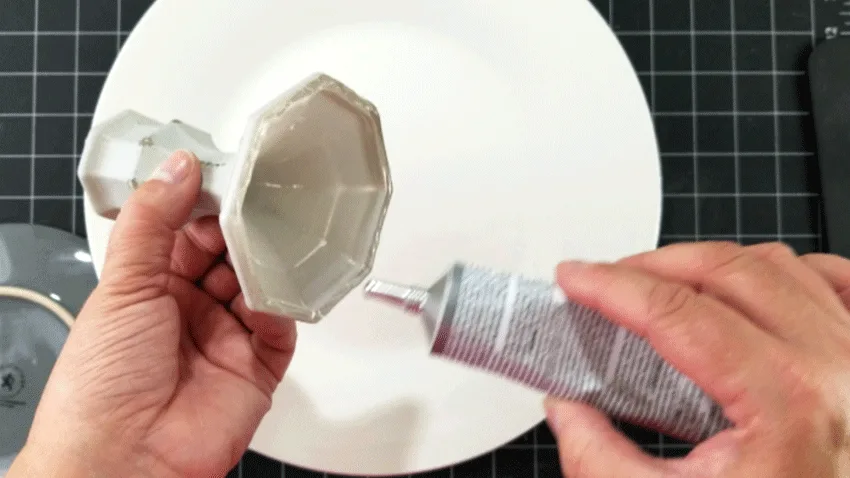
Add more glue to the top of the candlestick and place your second tier, or dinner plate, on top. Again, try to get it centered.
I found it was easiest to look from underneath the plate to place it onto the candlestick.
Tier 3
Repeat these steps to add the second candlestick and the top tier or salad plate.
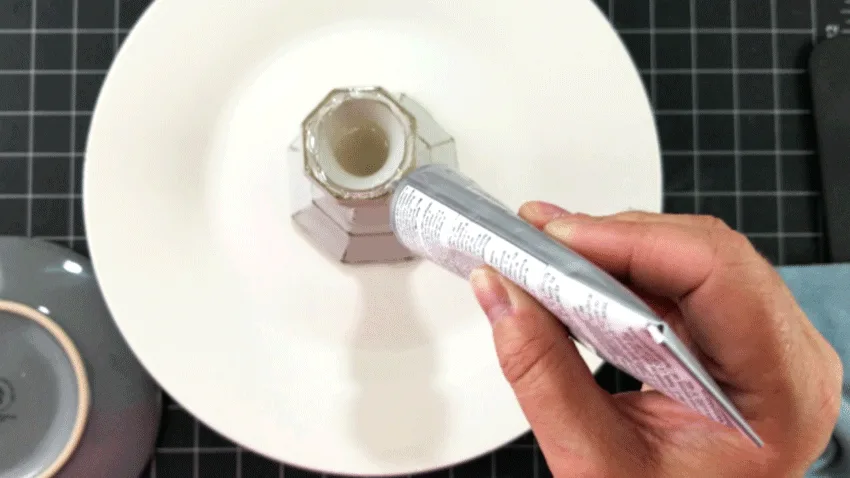
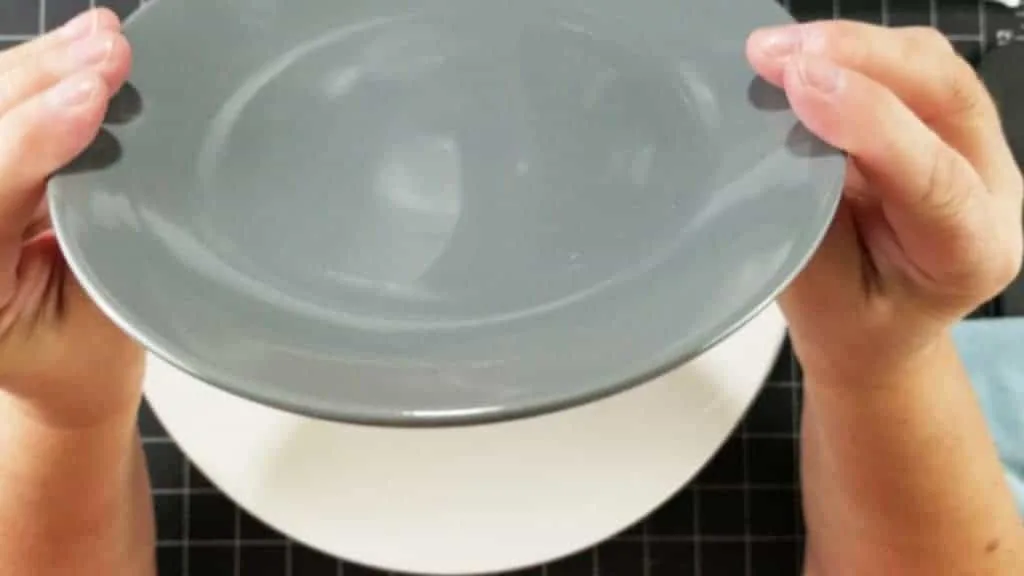
Stand back and look at the candlesticks to make sure they are aligned with each other and adjust them if necessary.
Once it is perfect, or close to perfect, let it sit for a couple of days to cure. Be patient.
This was my final DIY tiered tray.
I love it but I wish the candlesticks would have been taller. They looked better. I may have to make a third. LOL
But when this is all decorated the middle parts won’t show very much at all.
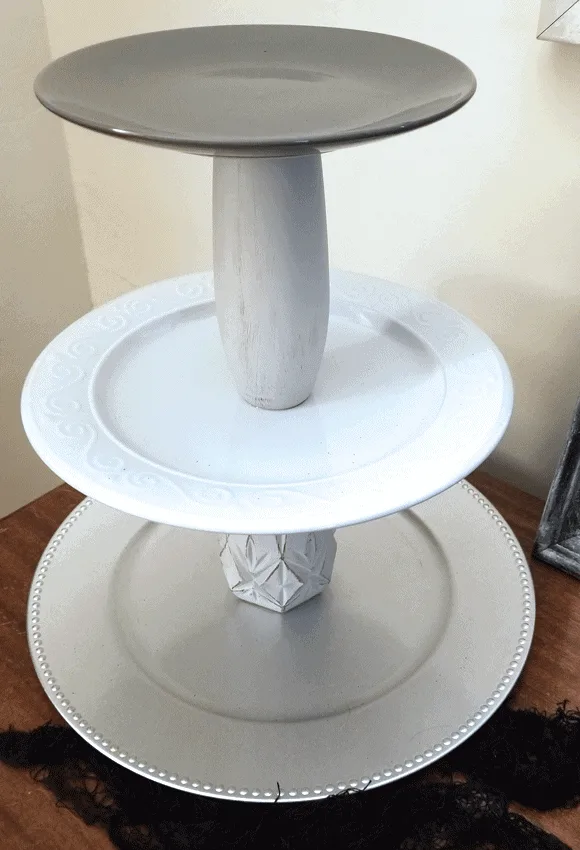
I love the distressing on the glass pieces. I did not do anything to cure the chalk paint on the glass because this is not going to have food on it and will not be “washed”.
It will probably be wiped down and dusted but that is it.
If feels strong too. The E6000 glue is perfect for this.
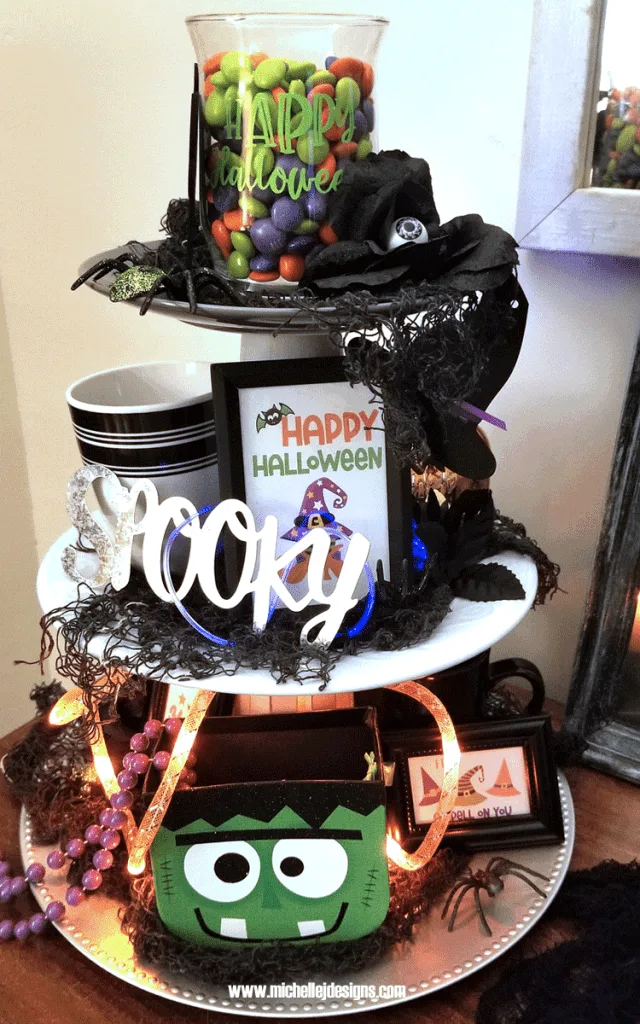
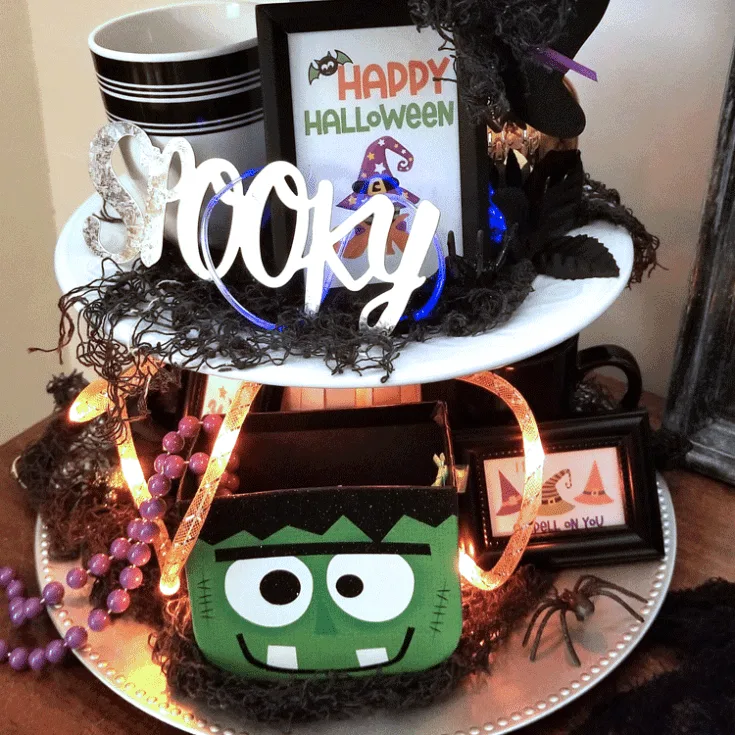
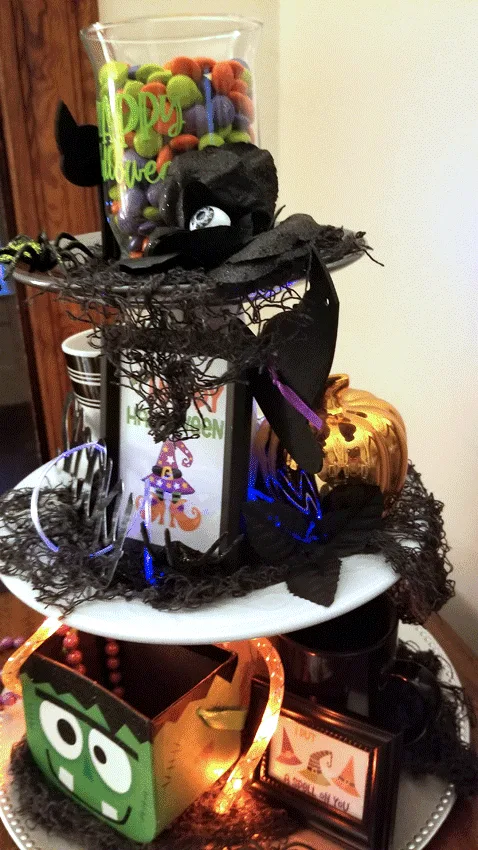
Styling it was a lot of fun too. I started with some Halloween decor. I had to do two versions to see which one I liked best. This is the whimsical version with some fun greens, purples and oranges and great lights. Everything is from the Dollar Tree.
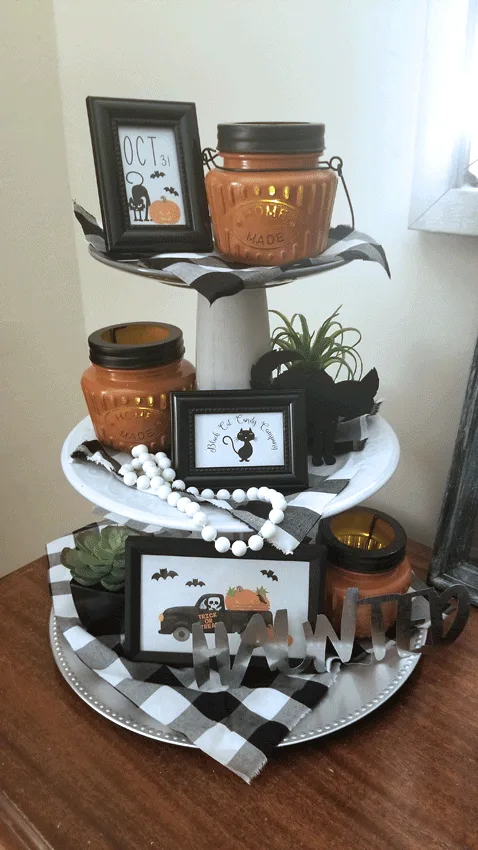
And this is my farmhouse Halloween version complete with a little printable of a haunted vintage truck and the classic buffalo check fabric. Again, all of these items, except the fabric came from the Dollar Tree.
And you can actually purchase one of the buffalo check scarves from the Dollar Tree and cut it up to create this same fabric look.
Which version do you like the best? I love them both.
While I was decorating these I noticed that my decor items were tilting inward due to the shape of the plates.
To remedy this you could use burner covers and paint them before covering them or a pizza pan on the bottom and burner covers on the top two layers.
The chalk paint can also be used on the metal so it would be the perfect choice.
I loved creating this tiered try but if you aren’t ready to make one or just want to save yourself some time check out these fun tiered trays from Amazon!

Check out more Dollar Tree posts from my friends.
This month in our Dollar Tree Facebook group we started a product challenge. We voted on a few different Dollar Tree products and the pizza pan was the winner.
We were supposed to use a pizza pan in this post but I could not find one single pizza pan in the two stores I visited.
If we were unable to find the product then we were supposed to use something similar so I chose the charger plate as my substitute!
Dollar Store Halloween Welcome Wall Hanging – Across the Blvd
Dollar Tree Pizza Pan Fall Welcome Sign – Daily DIY Life
Hocus Pocus Sign From A Dollar Tree Pizza Pan – Our Crafty Mom
Vintage Halloween Pizza Pan Wreath – Craftrocker.com
Fall Dollar Tree Pizza Pan Craft – Cookiescoffeeandcrafts.com

Thanks so much for stopping by!
Michelle


