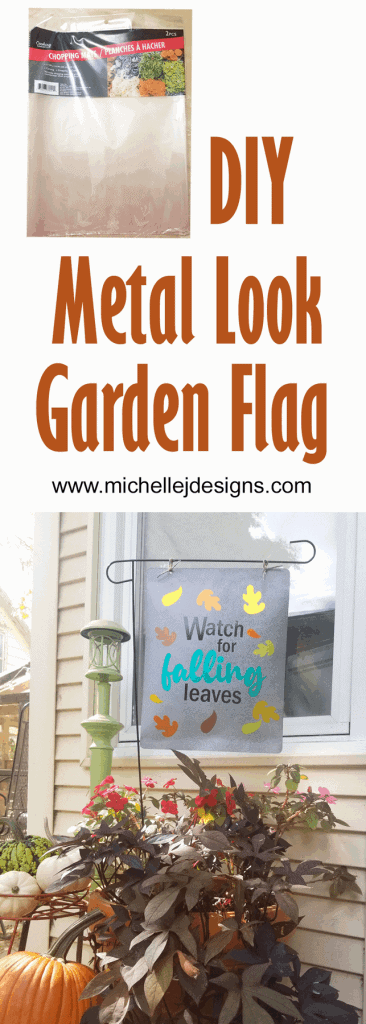
Hey there! Welcome back to my blog. Today I want to show you how to create a DIY metal look garden sign. It is great if you don’t want to actually work with a piece of metal. This lightweight sign gives the look of metal but is much easier to craft with.
With the right paint we can create a realistic metal sign that works perfectly in any outdoor space.
The other great thing about this is that it is made with my favorite vinyl from StyleTechCraft and Dollar Tree items. Plus I have a free SVG cut file for you to download and use!
If you love DIY metal projects you can click here to find more metal crafts inspiration!
If you love Dollar Tree crafts and gifts you can find a lot of inspiration here.


DIY Metal Look Garden Sign
If you like a step by step video version of the post you can find my video on You Tube by clicking this link: DIY Metal Look Garden Sign Video! BE SURE TO SUBSRIBE!
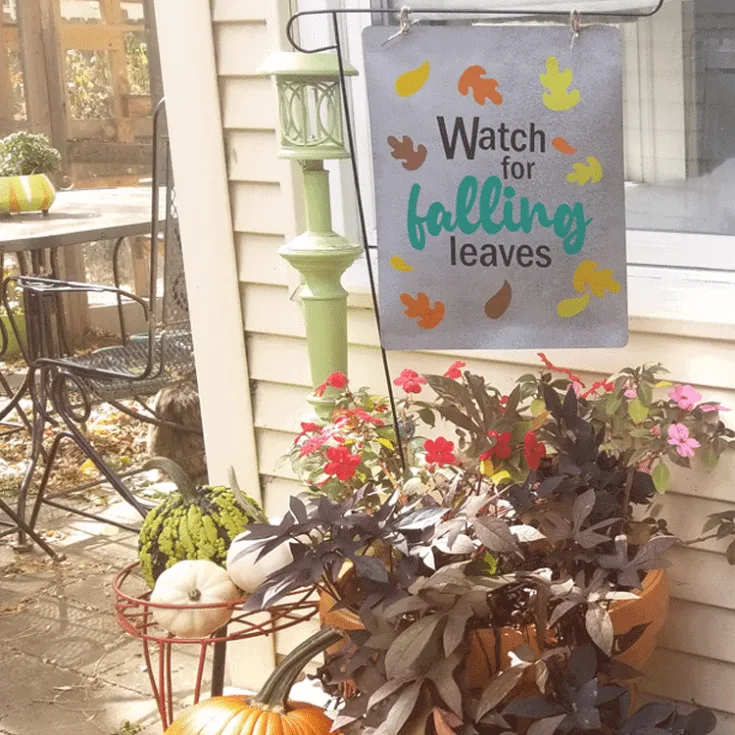
I have seen these super fun garden signs on Facebook and I wanted to make my own. BUT I wanted mine to look like metal.
You can cut a piece of metal and make the sign but it is easier and more fun (in my opinion) to create a metal look.
Paint that looks like galvanized metal
Yes, there is a paint that you can purchase that, when sprayed onto any surface can look like metal.
This is how I made this awesome DIY metal sign!
Materials needed:
I have added some affiliate links for your convenience. You can see my full disclosure here.
DIY Metal Look Garden Sign

Use paint to create a metal look for a garden sign made from a Dollar Tree kitchen cutting mat and StyleTechCraft vinyl
Materials
Tools
- Foam Brush
- Cricut Maker
- Hole Punch
Instructions
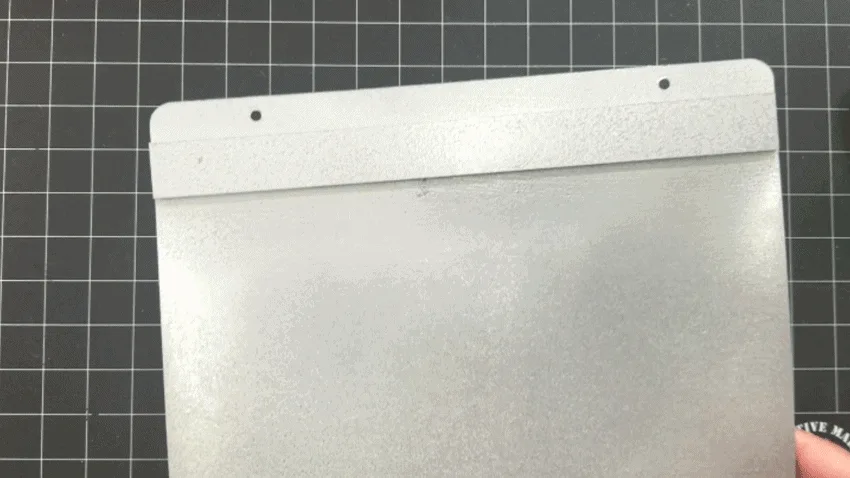
- Cut two pieces of the pvc ceiling tile that are the width of the cutting mat and approximately one inch wide.
- Use the hole punch to add two holes to the top of the cutting mat.
- Adhere the two pieces of the PVC tile to the top (under the holes) and the bottom of the mat.
- Use the black primer on the back side of the cutting mat.
- When the primer is completely dry spray the first coat of hammered spray paint over the primer on the back of the mat. Spray another coat if needed.
- When the back is dry, turn the mat over and spray the hammered silver paint on the front. The black primer shows through so there is no need for another coat.
- Add another coat if needed of the hammered paint if needed.
- Add a nice, even coat to the front of the mat over the paint when it is completely dry. This will keep the paint from peeling off when we add the vinyl design.
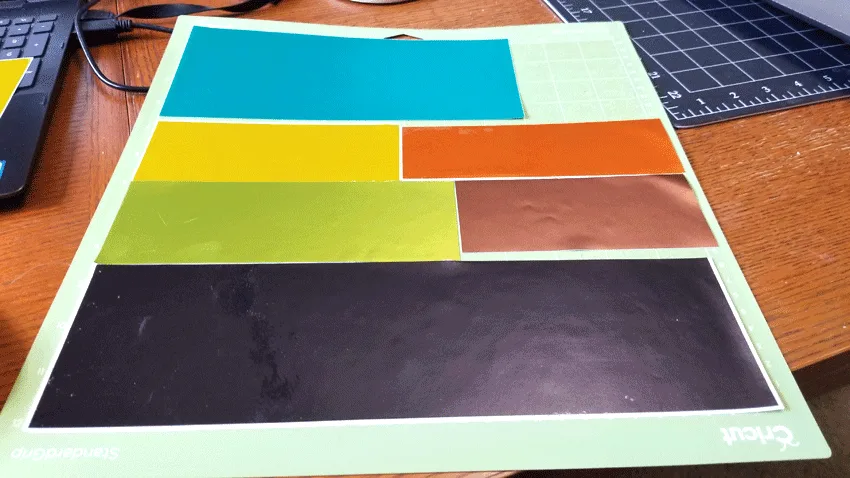
- Download the SVG file from the Resource Library
- Cut out the SVG file using polished metal vinyl from StyleTechCraft. I used several different colors for the leaves and the text.
- Weed the text design and cover with the paper transfer tape.
- Add the design onto the painted metal look cutting mat.
- Use twine or S hooks to add it to the garden stand.
Recommended Products
As an Amazon Associate and member of other affiliate programs, I earn from qualifying purchases.


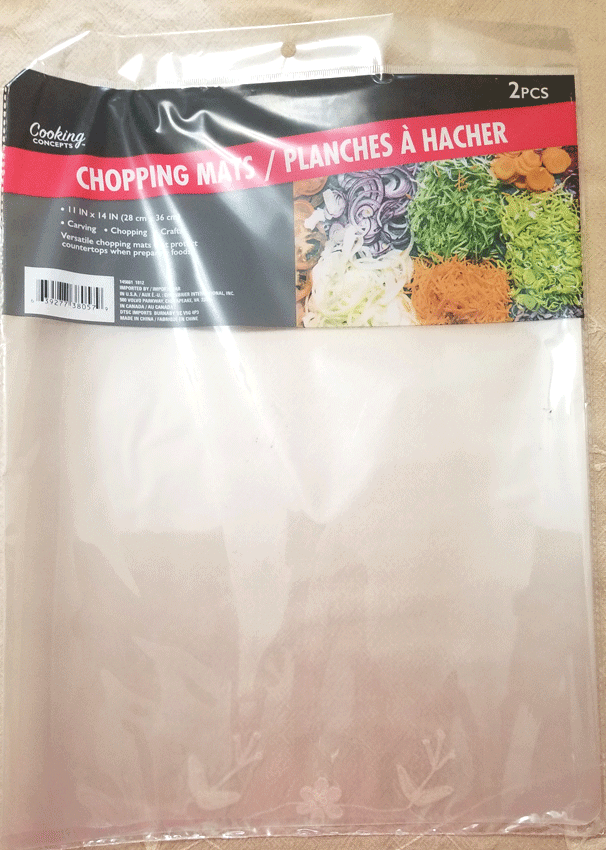
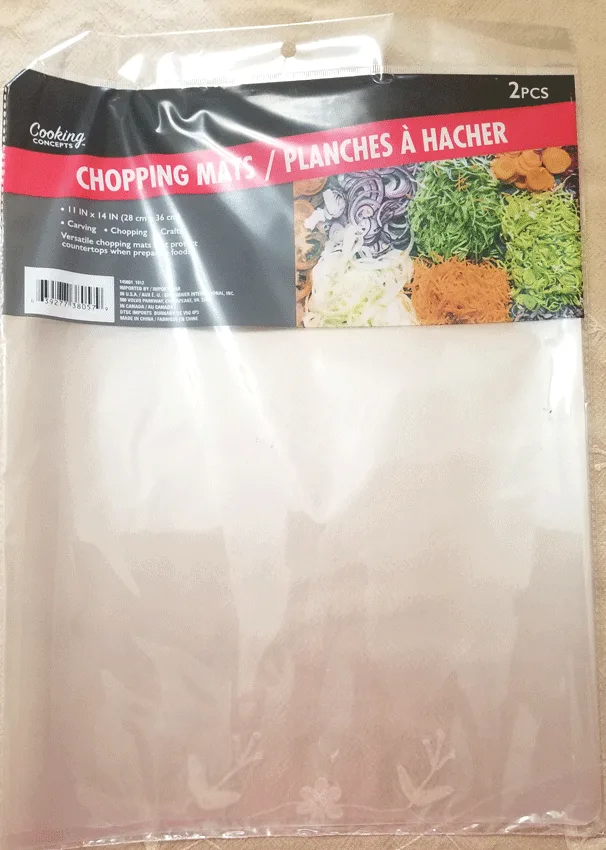
Step 1: Gather your materials
Use the list above to gather your materials. These are the cutting mats from the Dollar Tree.
They are the perfect size for a garden sign and can be used for so many other things besides a kitchen tool.
Use a hole punch to add holes to the top of the mat. (I totally forgot to do this at the beginning so these pics show the mat already painted!
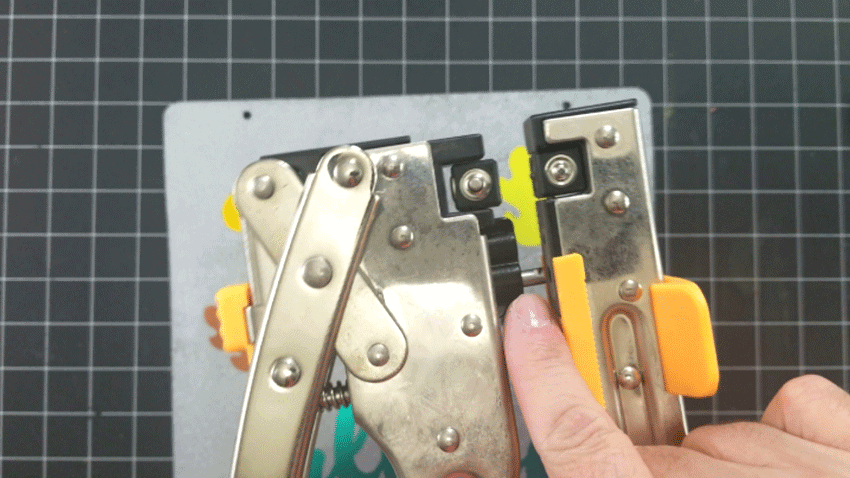
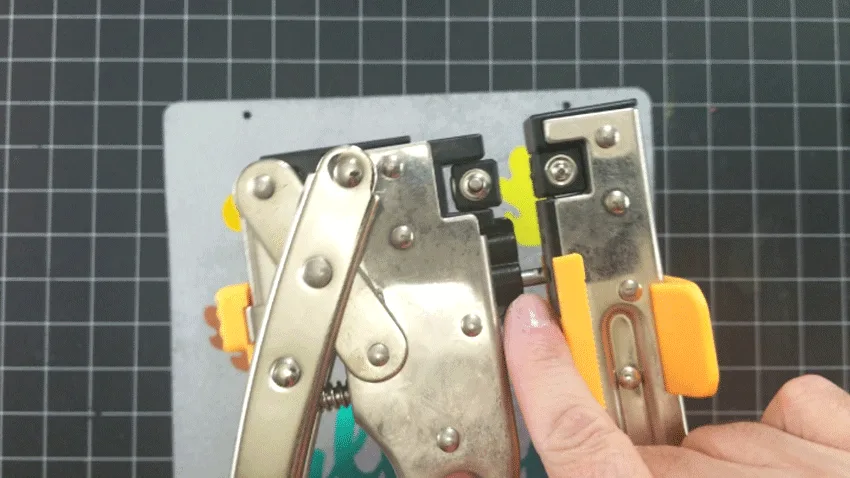
Step 2: Cut the PVC piece
If you have scrap wood or other material that would work for this you do not need to purchase the PVC piece. We use this a lot and it is good for so many things.
They come in 2′ x 2′ pieces so they go a long way for crafting. And they are smooth and easy to work with.
Anyway, cut 2 pieces the width of the mat or just slightly smaller by about 1 inch.
Glue them with the E6000 to the top and the bottom of the mat.
This was an after thought for me. The vinyl was bending a little bit and I thought these would help. They sure did but the photos show me adding them after the mat is painted then painting over them so they blend in.


Step 3: Paint the cutting mat
This paint is pretty amazing. I looks like hammered metal and it is spray paint so it is very easy to use.
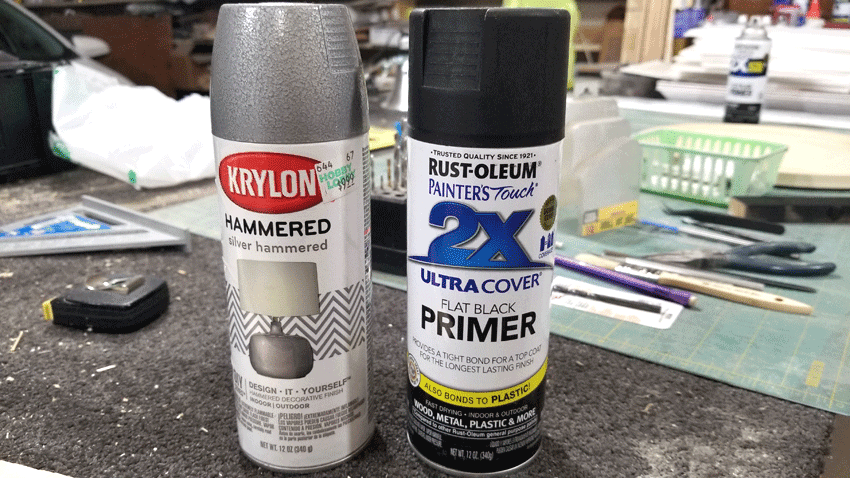
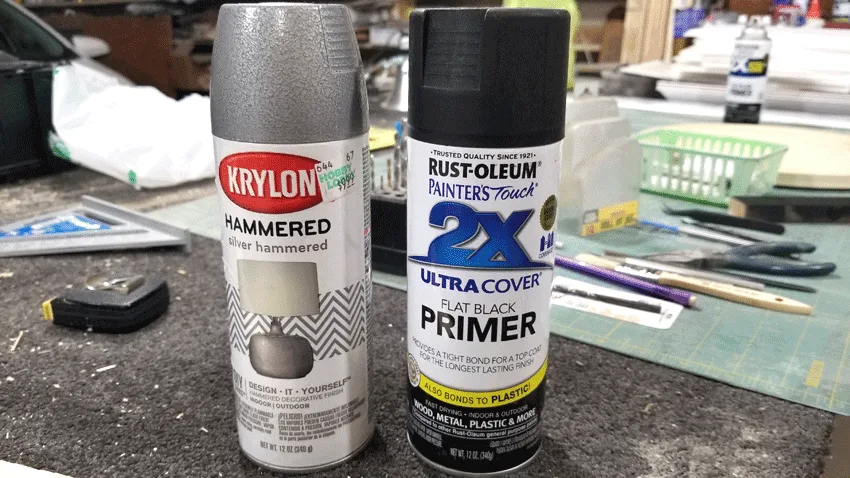
Before we use it though, we want to add a black primer to the back of the mat (the rough side).
Once that is completely dry add two coats of the hammered paint over the black primer.
Then turn it over and add the hammered paint to the front of the cutting mat. The idea of the black paint is create a dark base. If we wanted to distress the paint the black would show through.
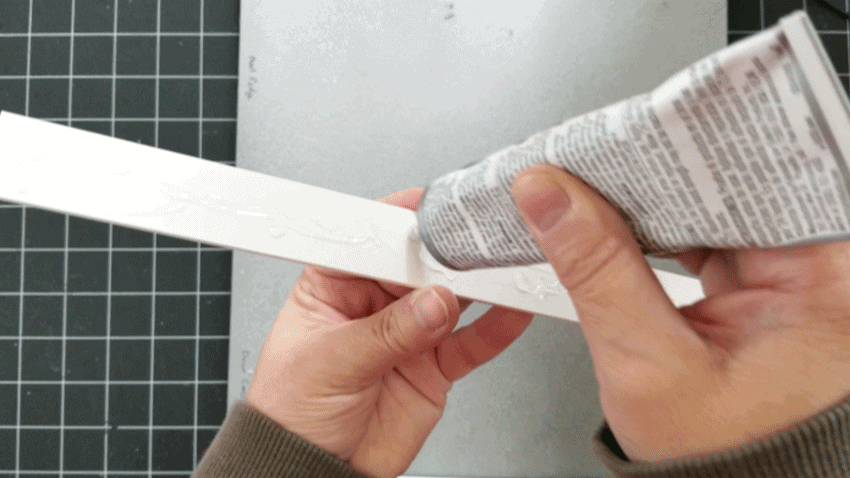
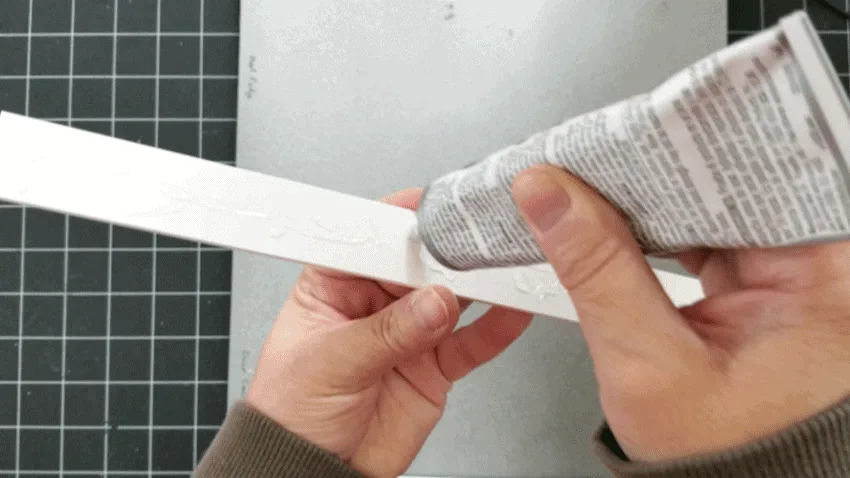
Step 4: Add the Mod Podge
This step is very important.
I did a little test for you to see what happens if you don’t add the Mod Podge.
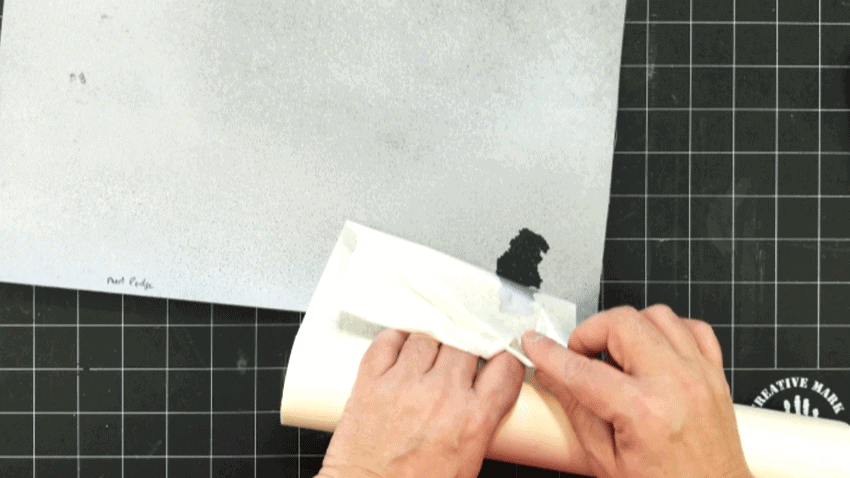
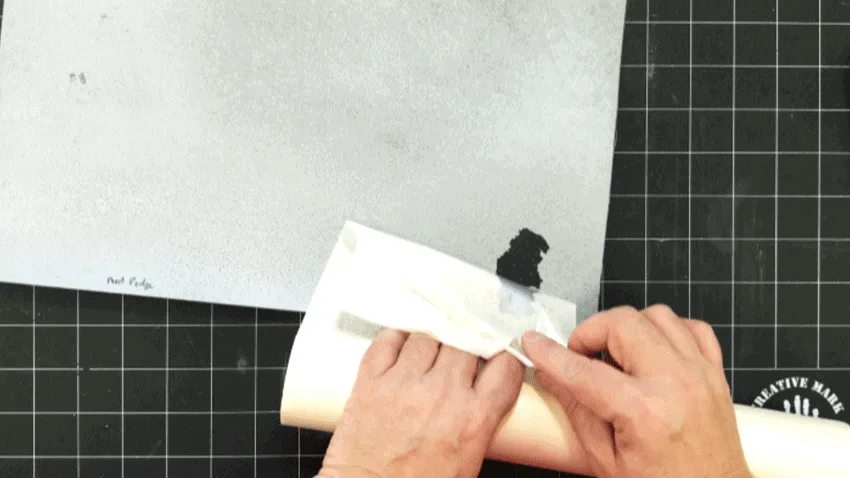
This is a picture of the sprayed mat before any sealer. I used the paper transfer tape that we need to add the vinyl and placed it onto the mat and peeled it back up.

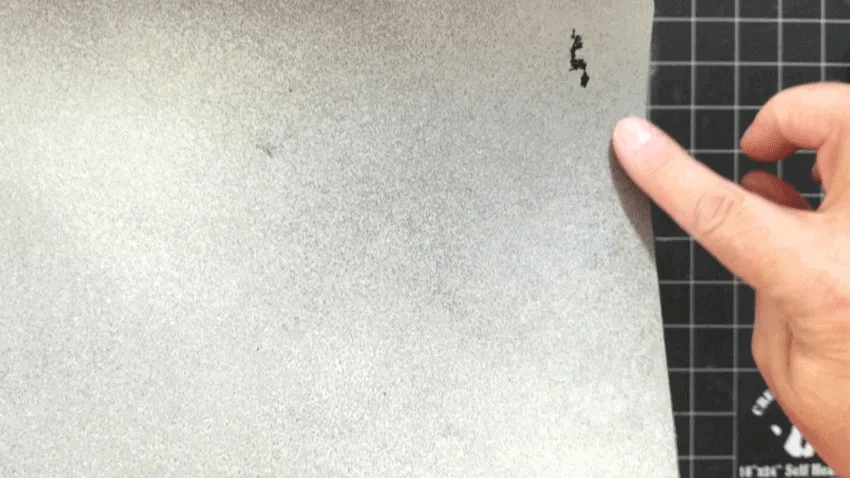
As you can see it pulled the hammered paint off with it. We need to avoid this on the front when we add the design with the transfer tape.
Will the paint pull off with the transfer tape?
I did a little experiment to see if I could find something that would help.
I sprayed half of the mat with a clear coat sealer from Hobby Lobby.


The other half was covered with a good coat of Mod Podge.
The Mod Podge was the better product. As you can see in the photo below the clear coat did nothing to stop the paint from pulling off with the transfer tape.
But in this next photo, on the Mod Podge side no paint pulled off.

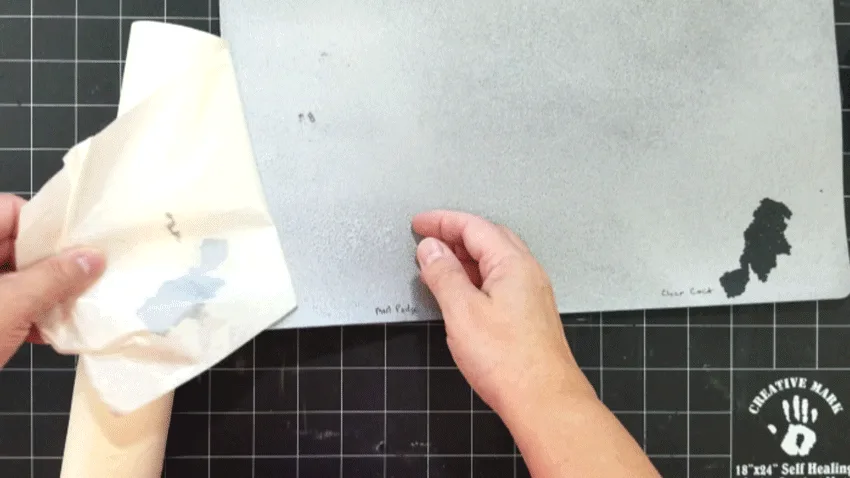
After this little test, I covered the entire front side with the Mod Podge. You can use the foam brush for this.
Do not skip this step!
Step 5: Download and cut out the design
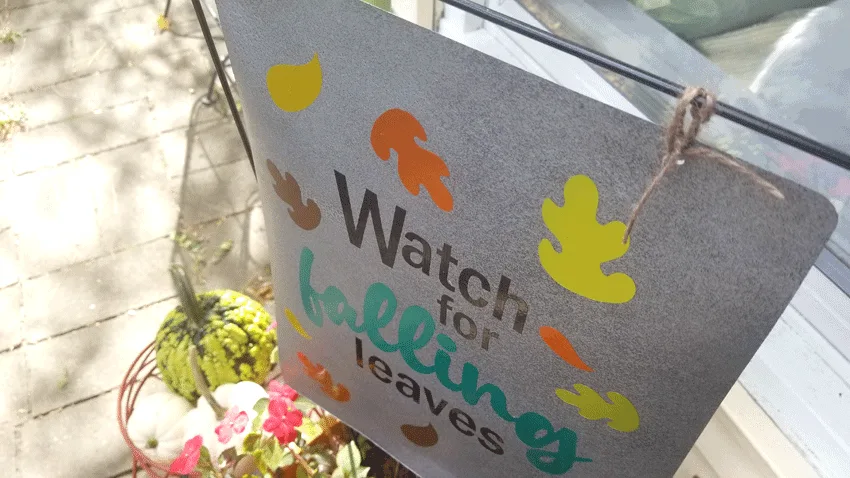
Head over to the resource library to download the SVG cut file. It is called “Watch for falling leaves”. It is in the Silhouette/Cricut Cut Files section of the library.


Once you have downloaded the file open up your Cricut Design space and upload the design.

Ungroup everything by clicking on the “ungroup” button at the top right corner.
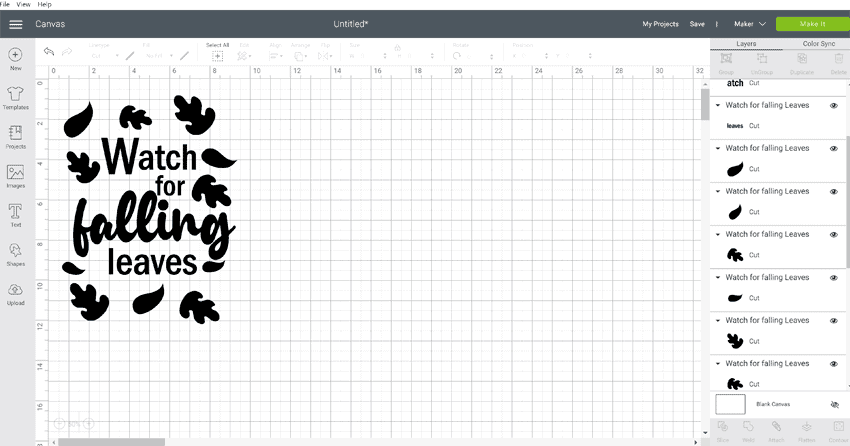
Click ‘make it” in the upper right corner of the screen. You will see a screen like this.


I wanted to cut my colors of vinyl all together to save a little time so I reconfigured the design right on the screen.
Just click on the item you want to move. It adds a blue box and you can move it to anywhere on the screen.
I moved them to small groupings that could be the same colors.
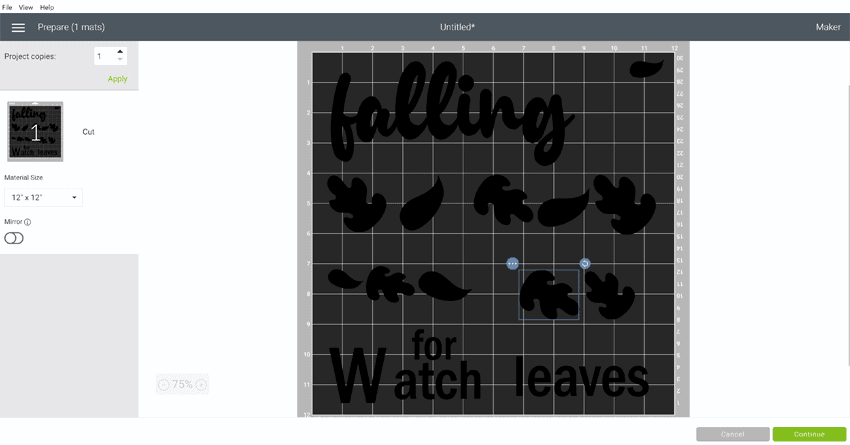

This is what I ended up with and here is what the mat full of vinyl looked like.

Now it can be cut in one swoop!
Step 6: Weed and apply paper transfer tape
Once the designs are all cut out weed all of the text and the leaves.
Then we are ready for the transfer tape. This time I used the paper transfer tape. It is a little less tacky than the regular transfer tape.
It is still tacky enough to pull the paint off of plastic or metal so be sure to add the Mod Podge.
I cut really close to the text so I would not have a lot around the words and I did not add any to the leaves at all.

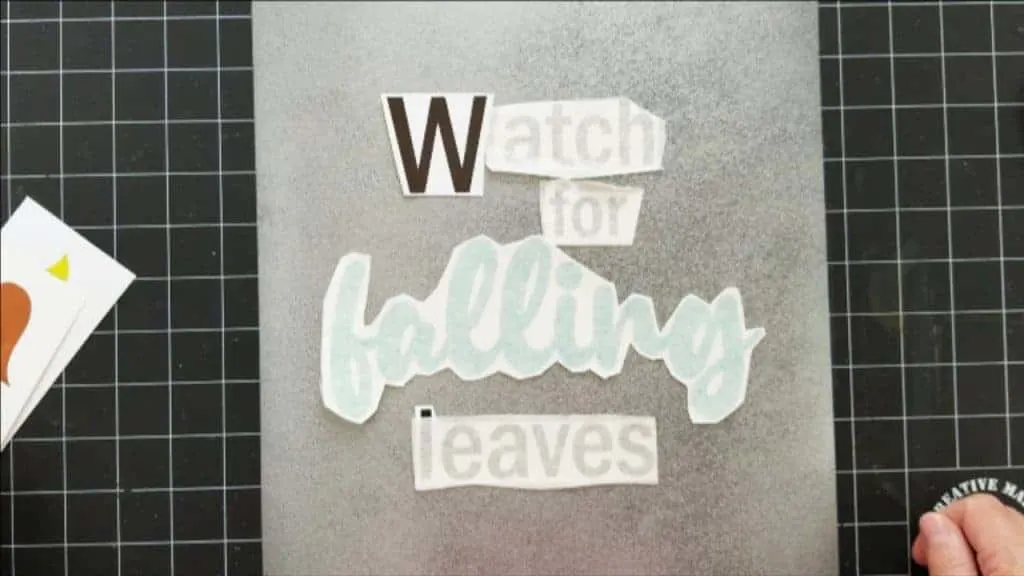
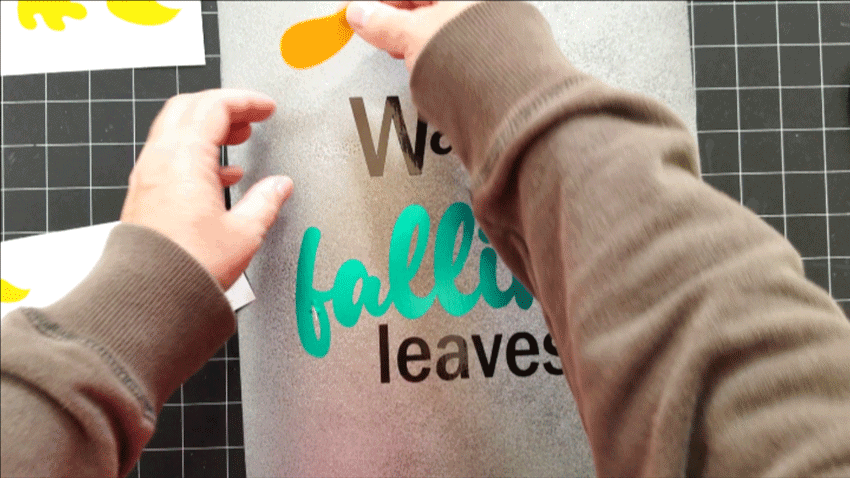
Once I had the text centered and placed exactly where I wanted them I started to peel the design from the backing.
Once I set it it down onto the mat I was very careful to rub directly over each letter instead of the entire word around the outside edges.
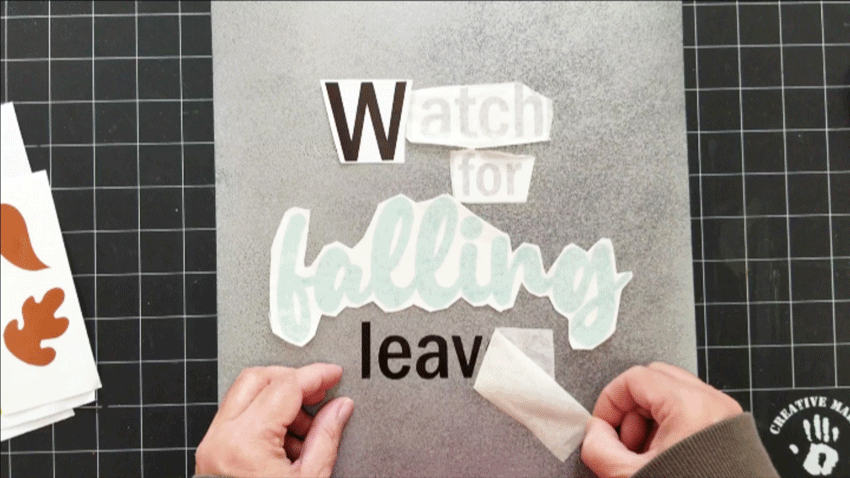

Being careful and taking your time will save your project!
Next add the leaves.

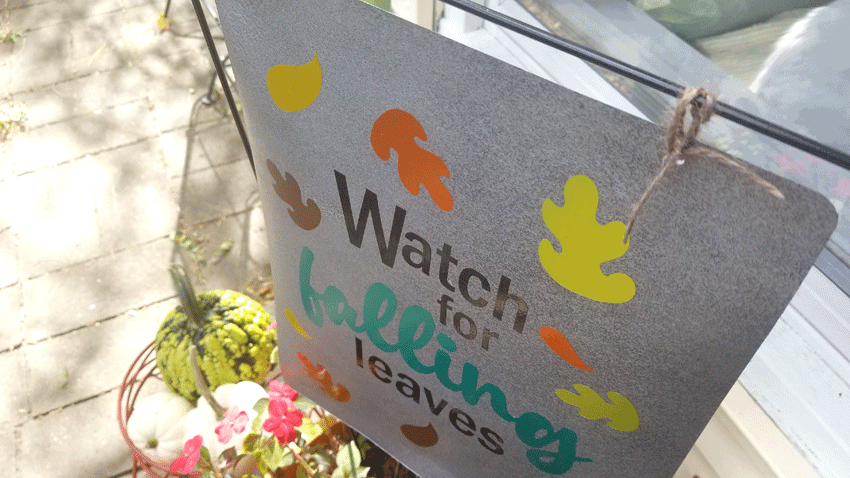
Step 7: Add the twine and add to flag stand
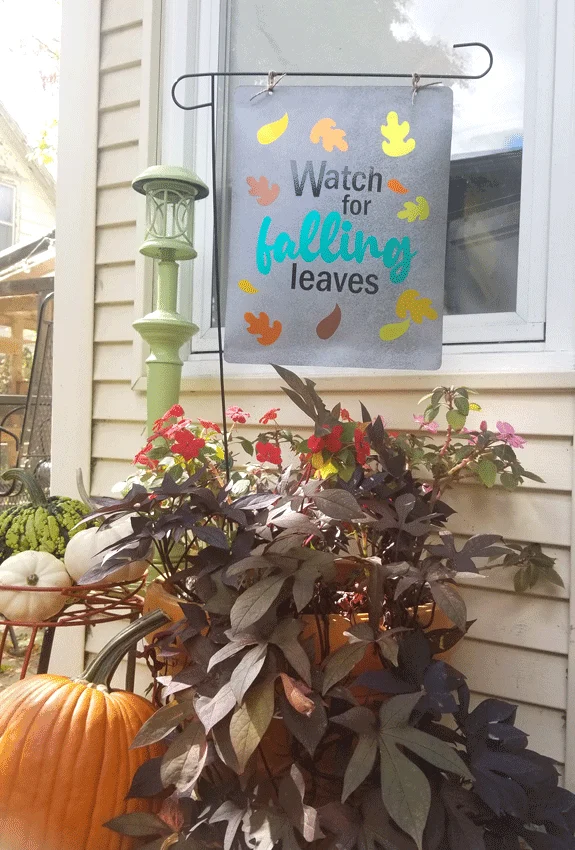
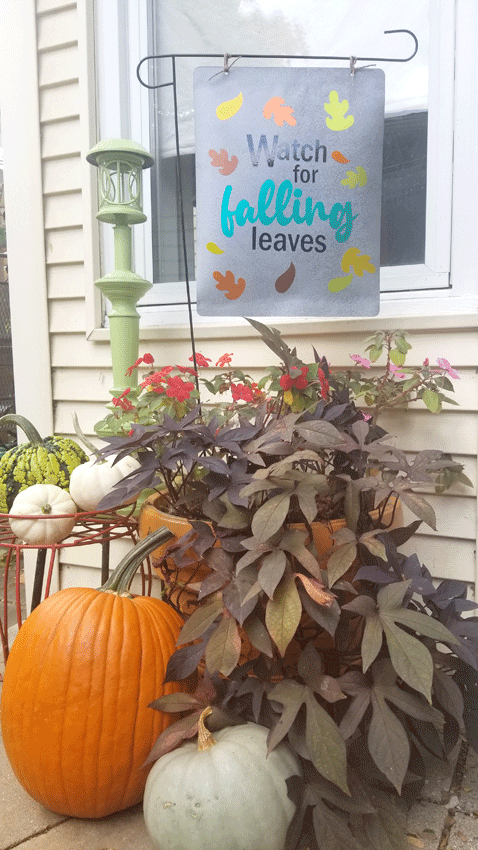
The only thing left to do is add the twine or the S hooks and add it to the flag stand!
See how easy that was?
And look how great it turned out. It really does look like real metal.


I love this StyleTechCraft design team. Everyone always comes up with the most creative ideas. It is crazy.
You can follow them and see the projects yourself on their Facebook page. Just click on this link: StyleTechCraft Facebook
I hope you like this project as much as I do. Thanks so much for stopping by!
Michelle