Welcome! If you are a fan of the farmhouse look you will absolutely love today’s post! I love painting and today I am showing you how to paint a white wash metal farmhouse truck.
I am not actually using white but the painting technique gives a white wash metal look and that is the ultimate goal.
There are so many fun metal “things” on the market right now. Hobby Lobby has a lot of them and they are really cute. Get them on sale or with a coupon and they are even a great deal. Any of them would look great with this white wash painting technique.
So even if you are not a fan of the farmhouse look you could find a different piece and still use this technique to decorate your home.
If you love DIY metal projects you can click here to find more metal crafts inspiration!

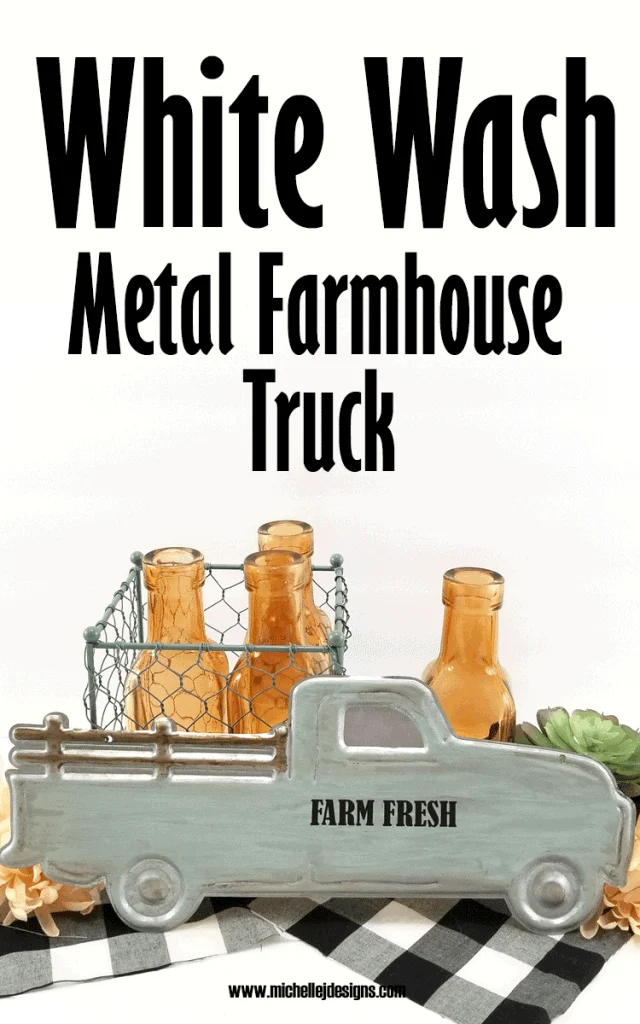
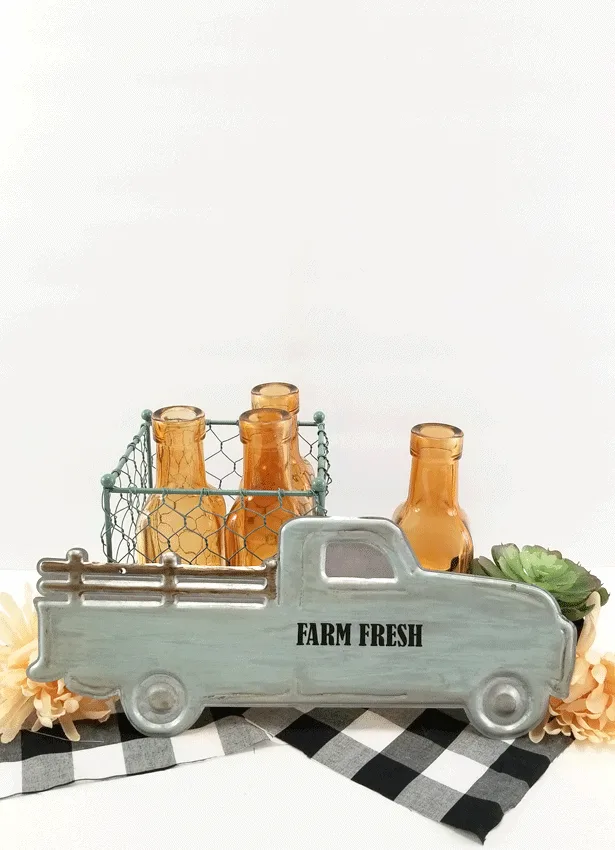
White Wash Metal Farmhouse Truck
You will love the look of this metal farmhouse truck after using this painting technique.
Let’s get started.
Materials Needed
I have added some affiliate links for your convenience. You can see my full disclosure here.
White Wash Metal Farmhouse Truck

This white wash painting technique is perfect for that old, rustic metal farmhouse look.
Materials
- Metal Farmhouse Truck
- Americana Decor Vintage Paint
- Burnt Umber Acylic Paint
- Mod Podge
- Black vinyl
- Transfer Tape
- Farm Fresh SVG File
Tools
- Foam Brushes
- Water
- Cricut Maker
Instructions
- Remove the twine string for the wall hanger.
- Use the vintage paint to cover the body of the farmhouse truck
- After it is covered and while it is still wet, clean the foam brush. While it is still wet, not soaking, use the wet brush to lightly "paint" over the blue paint. It will remove some of the paint. Just enough to give it a watercolor look.
- You don't have to wait for the vintage paint to dry before starting the burnt umber.
- Clean the foam brush and start with the brown. Paint the "wooden" railings on the truck bed then add some brown detail everywhere there is a detail part of the truck. (where the indents are in the metal)
- Then use a bit of water on the brush to blend the brown into the vintage a little more.
- Let it dry.
- Use Mod podge and a foam brush to cover the entire piece. This will seal the paint but will also allow you to add some vinyl without peeling the paint away.
- Cut the Farm Fresh from the Cricut or Silhouette machine.
- Add transfer tape to the design.
- Place it on the door of the farmhouse truck and apply. Remove the transfer tape.
Recommended Products
As an Amazon Associate and member of other affiliate programs, I earn from qualifying purchases.
-
 Dahey 2 Pack Galvanized Metal Wall Planter with Artificial Eucalyptus Farmhouse Style Hanging Flower Holder Rustic Home Decor for Living Room Kitchen Bedroom Apartment Office
 -
 Vintage Red Metal Truck Christmas Decor with a Lit-up Removable Christmas Tree Wrapped Around by LED Lights String, Farmhouse Look Pickup Truck Decorations, Great (Large Size)
 -
 Glitzhome Galvanized Metal Tray Set of 2 Farmhouse Tin Trays with Wooden Handles Rectangular Decorative Trays Rustic Serving Trays Farmhouse Table Decor Galvanized Home Decor
White Wash Metal Farmhouse Truck
This is a two step project . We are making the white wash metal farmhouse truck today then I will come back next week to finish the entire wall hanging.
If you want to see a step-by-step video of this white wash metal painting technique, click the link below. BE SURE TO SUBSCRIBE TO MY CHANNEL!
White Wash Metal Farmhouse Truck You Tube Video
Step 1: Paint the body of the truck
Before we paint remove the twine from the top of the truck.


Use the Americana Vintage paint and a foam brush to apply paint to the body of the truck.

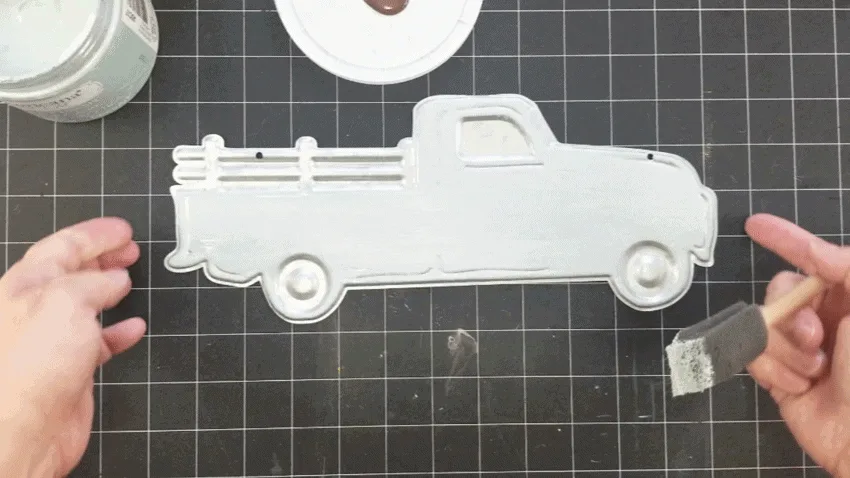
It is hard to see the paint in this photo but the body of the truck is painted.

Clean the foam brush but come right back with a wet brush and go over the body of the truck again. This removes a bit of the paint and gives it a watercolor look.
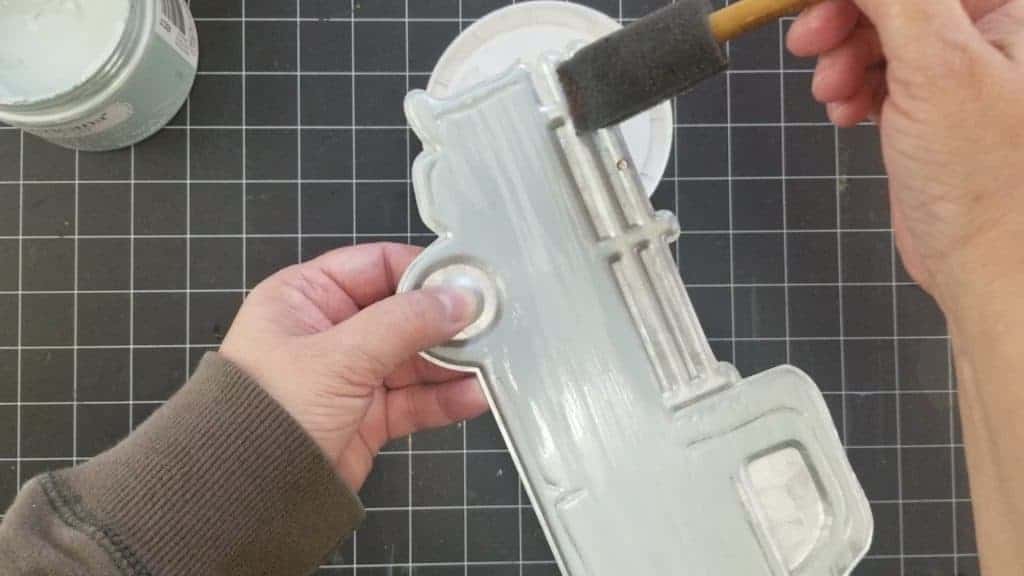
Step 2: Add the brown paint
Grab the Burnt Umber brown paint. After cleaning the Vintage paint off of your brush use it, a little bit wet, to apply the brown paint to the railings of the truck bed and the detail areas where there are indents in the metal.
This creates a nice shadow, detail.


But we aren’t done with this brown yet.
Use a little more water on your brush to blend the brown details a little more into the Vintage paint.
This helps to blend and make the brown paint look more like shadows or a little bit of dirt that may be on an old farm truck.
I also added a little bit of the brown paint, very lightly, onto the body of the truck.
Step 3: Add Mod Podge
The next step is to add a sealer over the paint. Not only does this protect and seal the paint but it allows us to add vinyl over the paint without fear of it peeling up with the transfer tape.


I did not use Mod Podge but this is what most people know and the decopauge product that I used is the same as Mod Podge.
All you have to do is use a foam brush and add it over the top of the entire truck.
Then let it dry. Easy peasy!
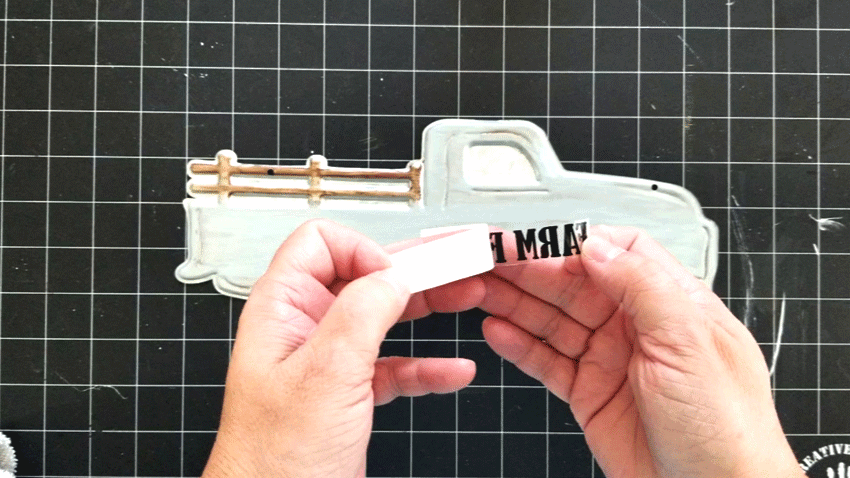
Step 4: Add the vinyl detail
Download the Farm Fresh file from the resource library.
You will find it in the Silhouette and Cricut Cut files section – right at the top!


Once you have downloaded the Farm Fresh cut file, bring it into Design space on your cutting machine software and make it the size you want.
Mine needed to be pretty small so I deleted the “daily deliveries” part of the design. It just would not cut very well.
I think part of the problem is that I need to replace the blade in my Cricut Maker.
If it doesn’t work for you either just remove that part for the cutting and just use the “Farm Fresh” part.
Weed the design and add transfer paper.
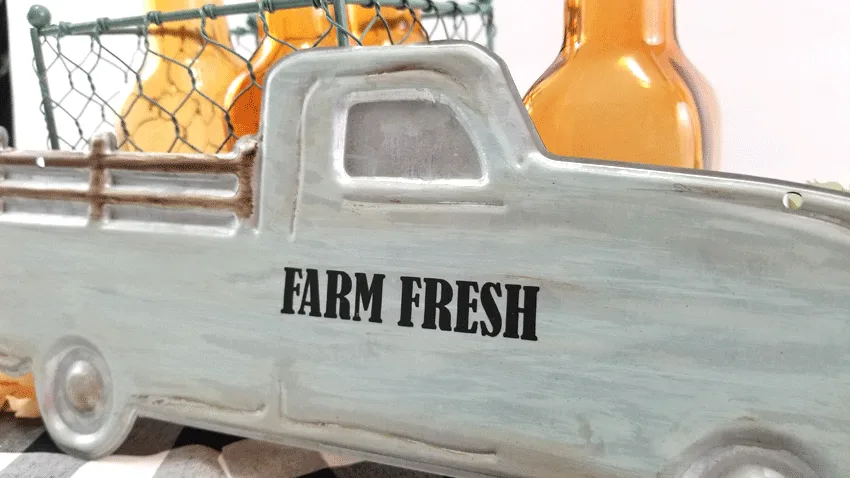
Then apply it to the door of the metal truck.


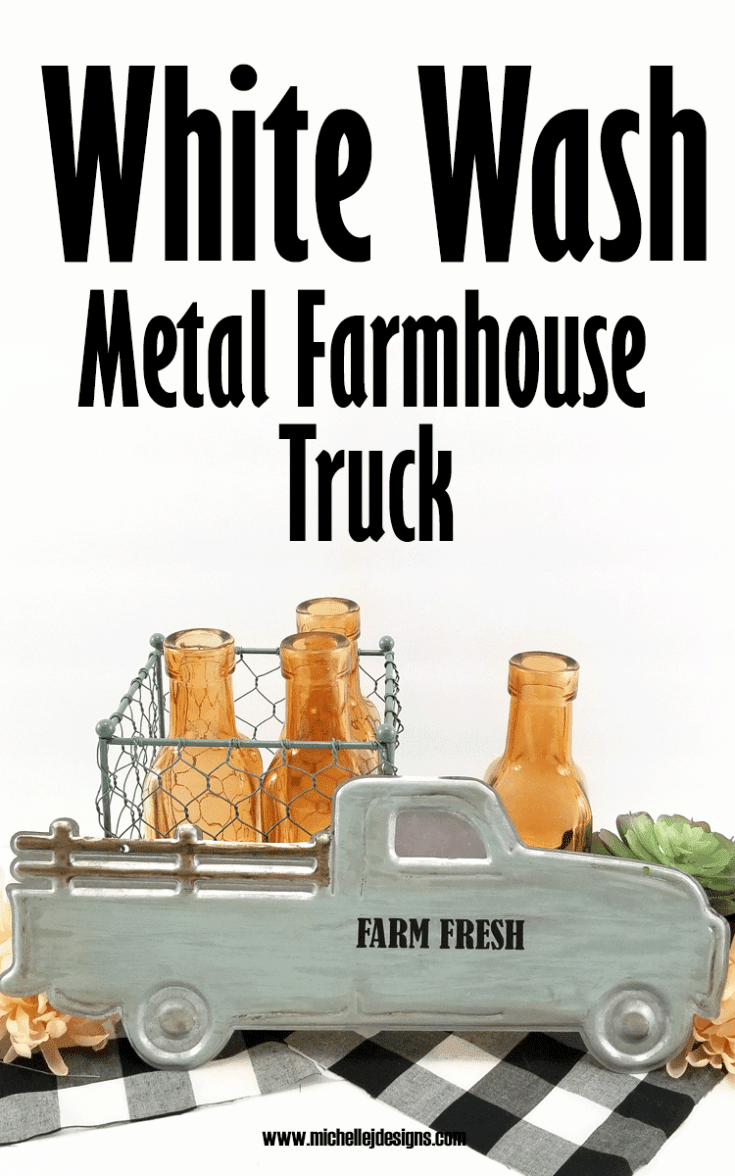
You have finished the white wash metal painting of your truck. Isn’t it cute?
I love the way it turned out.


I hope you like this project and will be inspired to do your own white wash metal project!
There are so many cute things to paint out there and now you have the knowledge to create a fun paint technique on whatever you want. I love that.
My friend Michelle over at Our Crafty Mom has a great post on aging galvanized metal with a heat gun. Check out her post by clicking on this link: https://ourcraftymom.com/how-to-age-galvanized-metal-with-a-heat-gun/
Thanks so much for stopping by!
Michelle