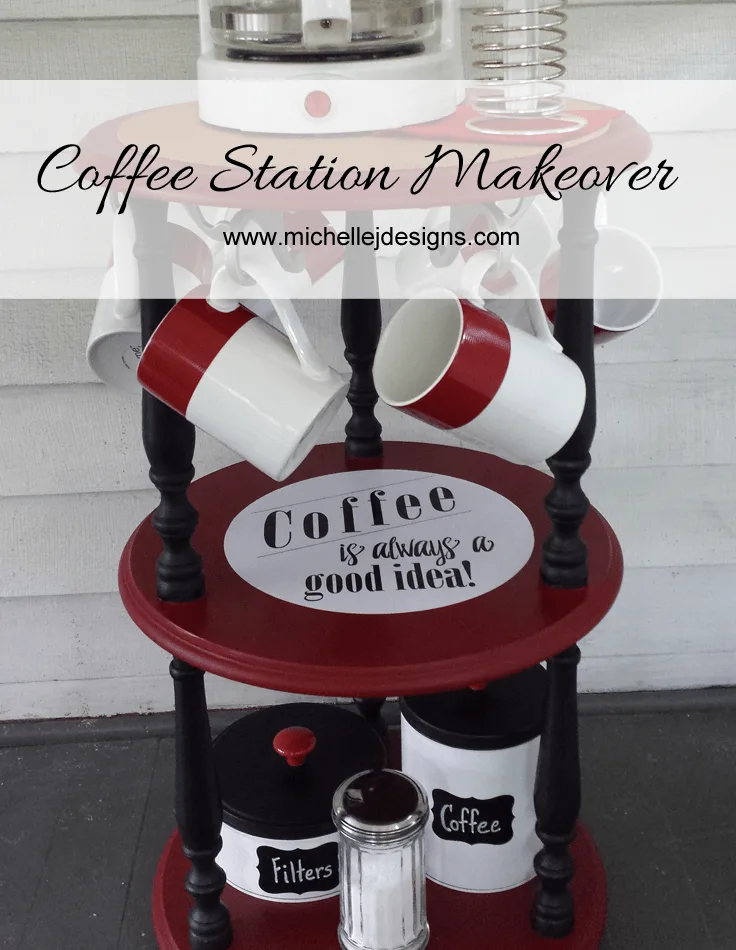
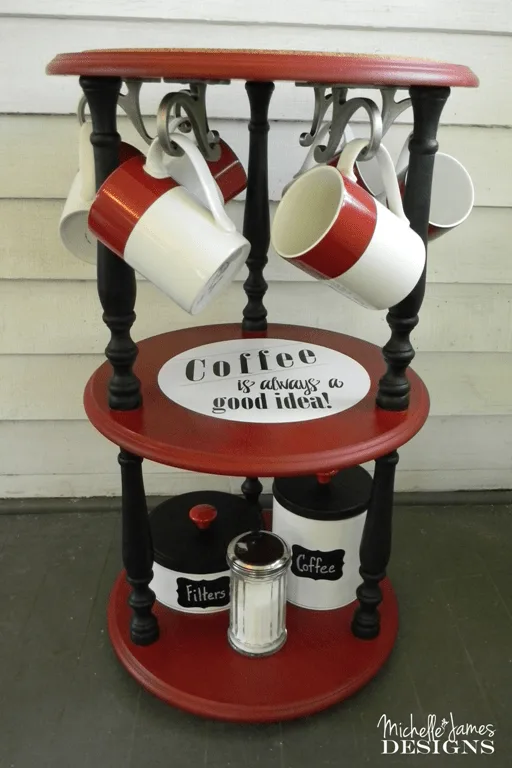
Welcome to another entry into the Fab Furniture Flippin’ Contest. I am really excited to be part of it again this month. This time I have created a coffee station for my son for his college dorm room.
Some or all of the hosts of the The Fab Furniture Fippin’ Contest receive monetary and/or product compensation from the sponsoring brand, D. Lawless Hardware, in order to complete their themed projects. D. Lawless will also provide the prize package for the contest winner.
The theme for August is “Icing On The Cake” and the sponsor for this month is D. Lawless Hardware.
http://www.dlawlesshardware.com
When we talk about Icing on the Cake we mean all of the fun, fabulous hooks, knobs, drawer pulls and other hardware that make furniture pieces and cabinets unique and functional. D. Lawless Hardware offers them all at very reasonable prices. Be sure to check out their site.
I had fun ordering my hooks and pulls and was hoping the project would come together. What do you think of my Coffee Station?
Coffee Station Makeover
As I mentioned earlier this is part of the August Fab Furniture Flippin’ contest.
Two of our hosts for this contest are:
Michelle at Dandelion Patina – http://www.dandelionpatina.com/homework-room-cubby/ and
Evey at Evey’s Creations – http://sweetsongbird.eveyscreations.com/2015/08/icing-on-cake-august-fffc-buffet-and.html
You can take a peek at their projects for the contest and look around their sites for a while by clicking on each of the links. Such talent!
This is my coffee station makeover story…
When Brian was about 2 or 3 years old my mom, a major coffee drinker, started giving him tiny bits of coffee with large amounts of milk. As he got older the milk was reduced and the coffee was increased. To this day he is a coffee lover.
When he was home he always had access to the coffee maker although he preferred to have us make it for him. (What teenager wouldn’t, right?)
Last year he went to college and his brother bought him a coffee maker to have in his dorm room.
If you have kids in college or remember your college dorm room there isn’t a lot of counter space or desk space for a coffee maker. He didn’t even set it up for a long time. When he did it was awkward. The only space he had was on his desk or by the sink where they shaved and brushed their teeth.
This year I thought I could make things a little easier for him by creating a small coffee station that he could have in his dorm that wouldn’t take up a lot of space.
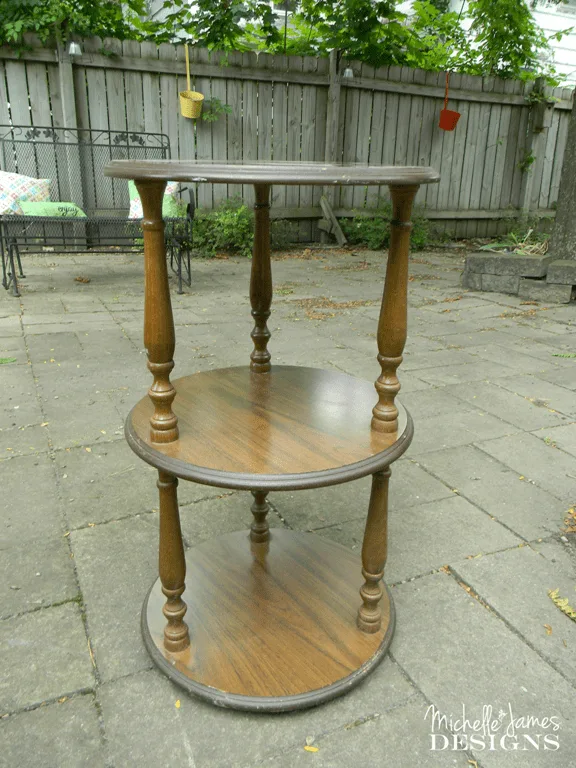
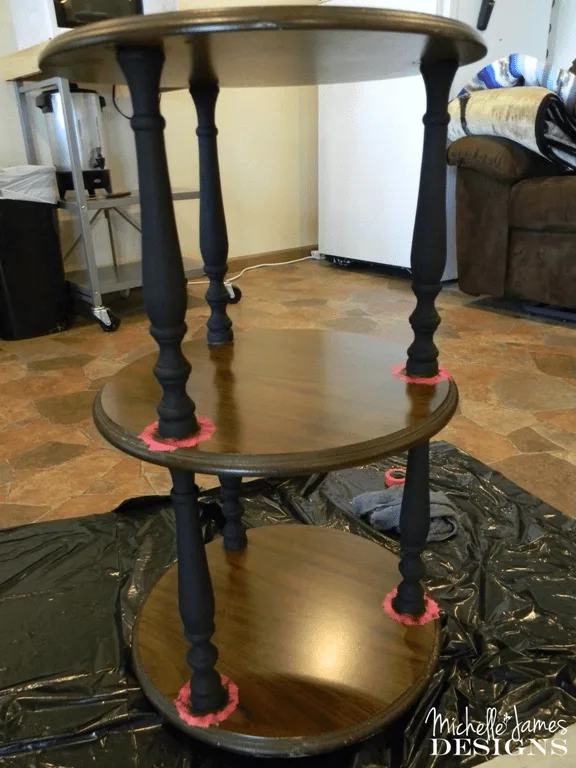
I found this table at our local Horizons Second Hand Thrift store for $5 and knew it would be perfect.
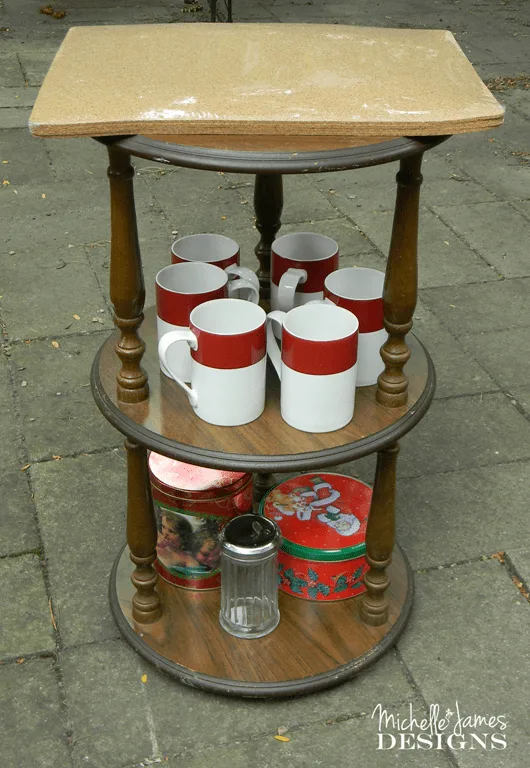
Then I started gathering supplies:
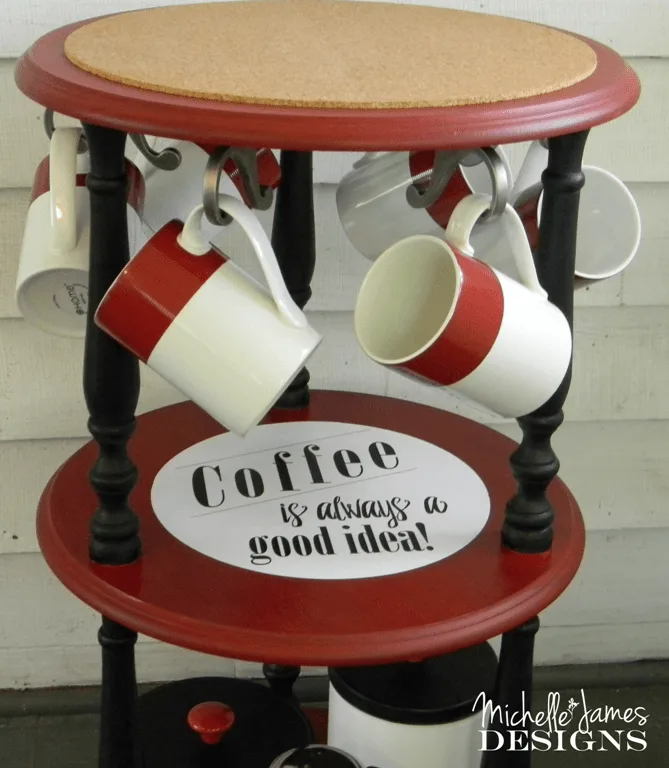
Mugs – My mom and I found these at the Goodwill in Minneapolis for .99 each
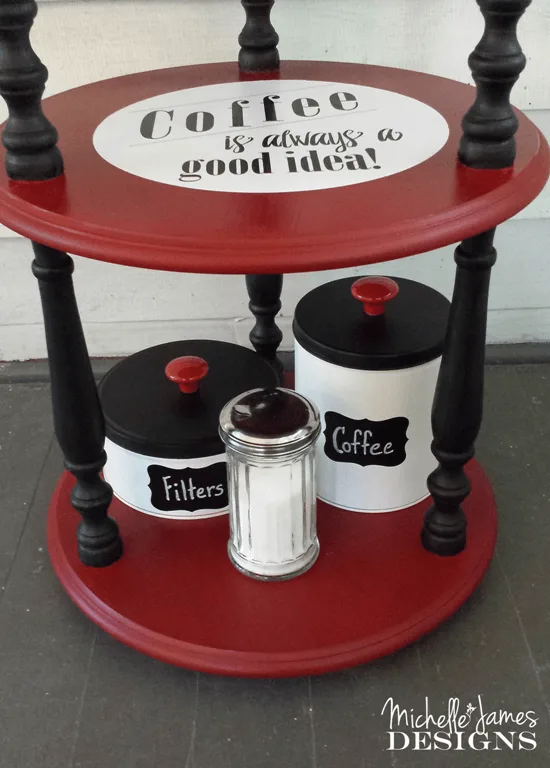
Tins – Again from the Horizons Second Hand Store for .50 each
Sugar Shaker – This also came from the goodwill for $1.5o
Cork – Peggy gave me some cork placemats that she got at Ikea. I am not sure of the price.
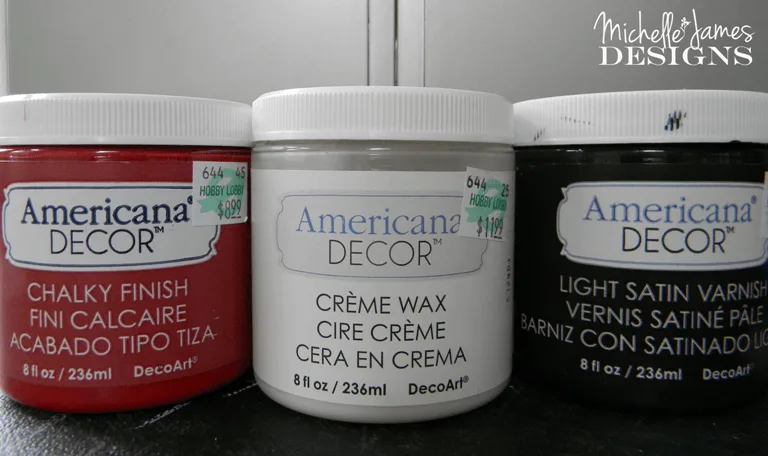
Paint – Brian said his favorite color was red so I purchased my favorite Americana Décor Chalk Paint in Rouge and the Light Satin Varnish in Carbon (black) and the Crème Wax to finish it off.
Mod Podge – I used this to adhere/decoupage the coffee graphic
Coffee Hooks – provided by D. Lawless Hardware
Drawer pulls – provided by D. Lawless Hardware
I could picture it in my head and I was hoping it would turn out just as I imagined…and it did!
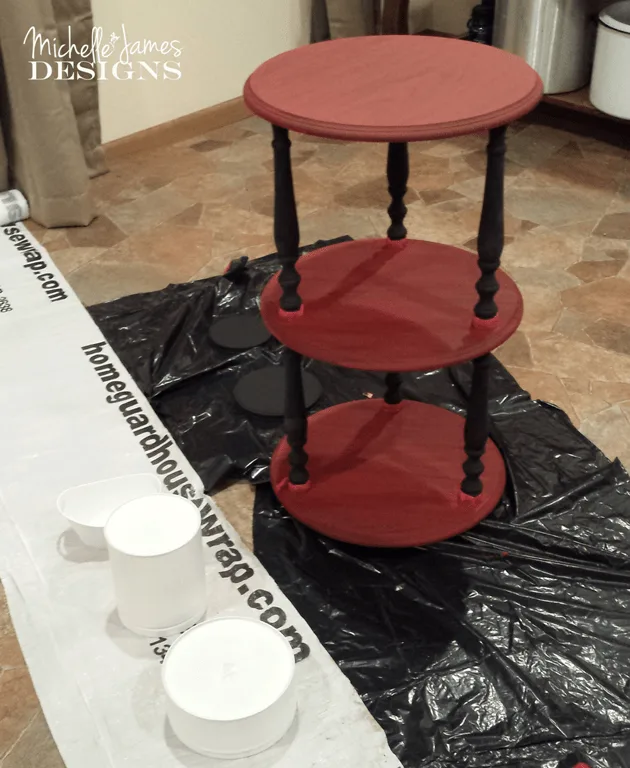
I started by painting the table. I used the red (rouge) on the top and the shelves and the carbon on the legs.
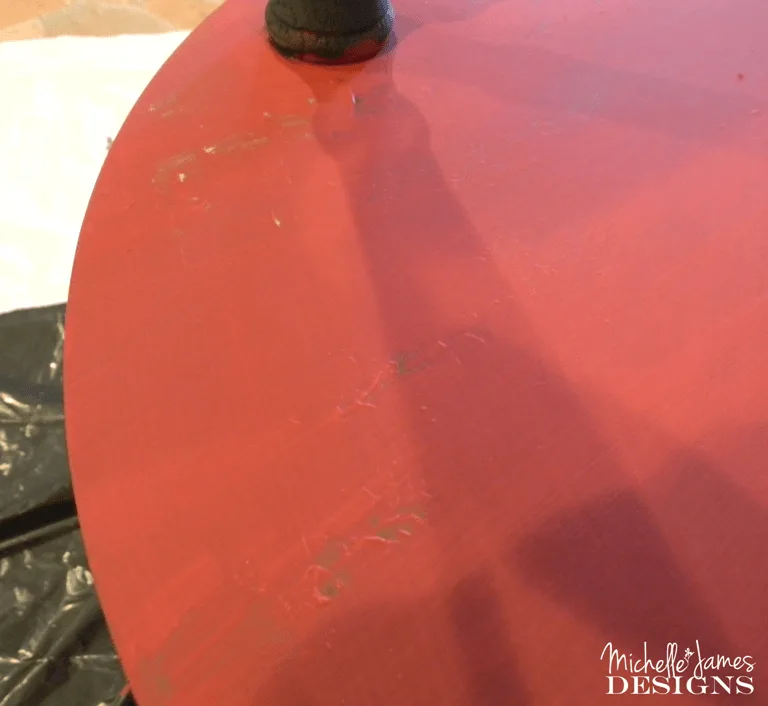
I had an issue with the red paint and luckily it was on the underside of one of the shelves. I am not sure what happened but I think there were two things. First I did not wait long enough between coats and second I did not stir the rouge chalk paint enough.
When I went back to it after a day of drying, it worked great.
As these were drying I was spraying the tins with a white paint/primer from Valspar. You all know how much I love the spray paint.
And I used the carbon light satin varnish to paint the lids of the tins. This varnish was purchased by mistake. I thought I was getting black chalk paint and as it turns out (I found out later) this was labelled wrong by the company and it was, in fact the black chalk paint. So weird!
I knew I wanted a fun graphic on the middle shelf because the mugs would be hanging from the fabulous hooks and there would not be enough room to really place anything on this shelf.
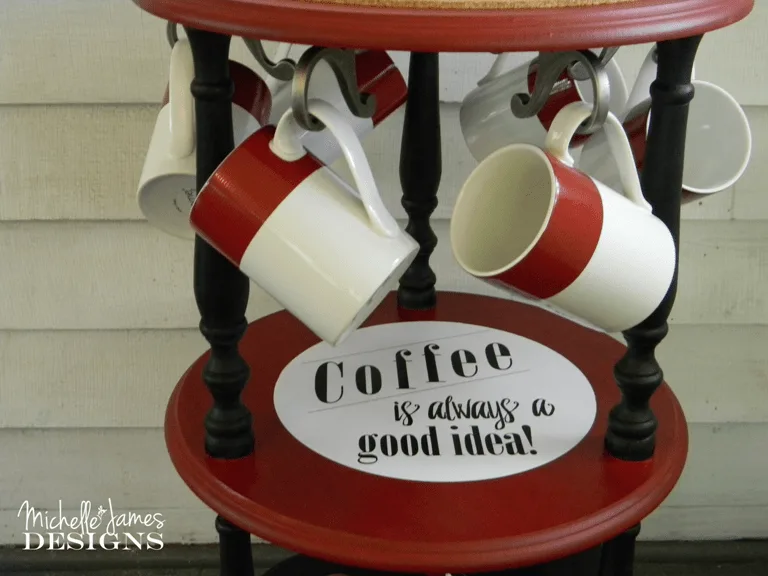
I created this “Coffee is always a good idea” print.
You can download this graphic for yourself by heading over to my resource library! Or click on the image below! It is located in the “printables for the home” section.
If you already know the password you can go directly to the library!
I brushed on the Mod Podge in a large enough circle for the graphic. Then I placed the paper down and brushed more Mod podge on top. Then I just continued the Mod Podge on the entire shelf. It turned out really nice.
After the Mod Podge was dry I used the Crème Wax over the rest of the piece and buffed it with a soft cloth to a light sheen.
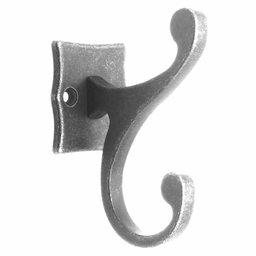
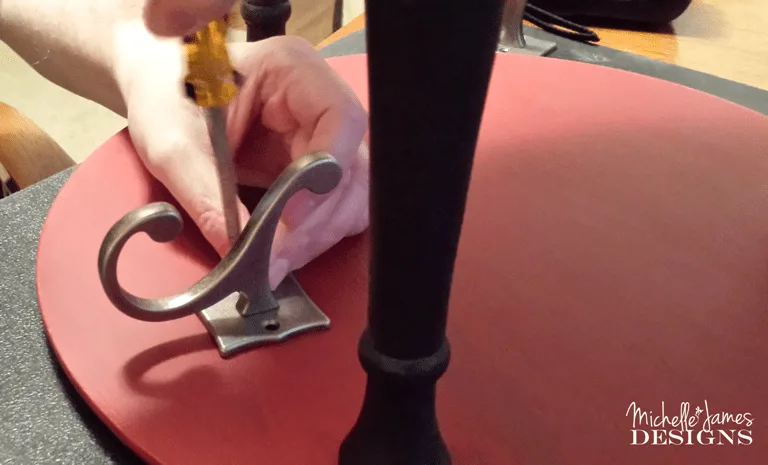
Then it was time to add the hardware. I chose the
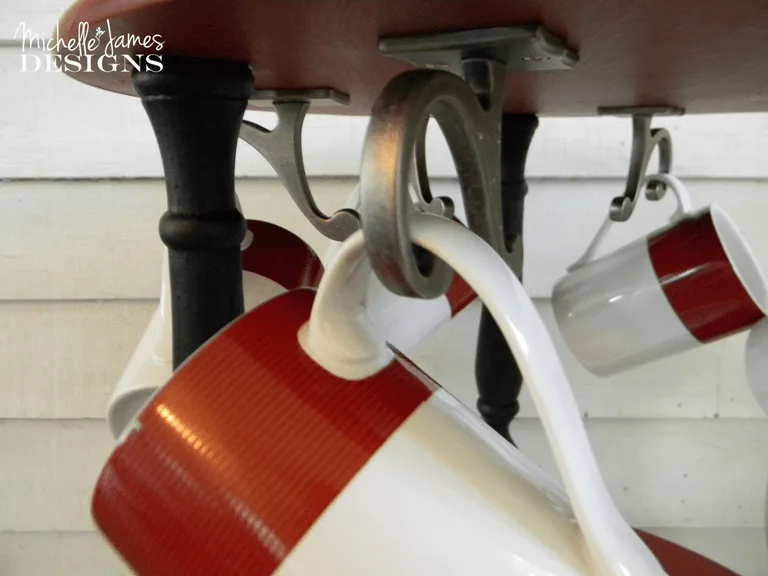
Antique Iron Two Prong Scroll Hook.
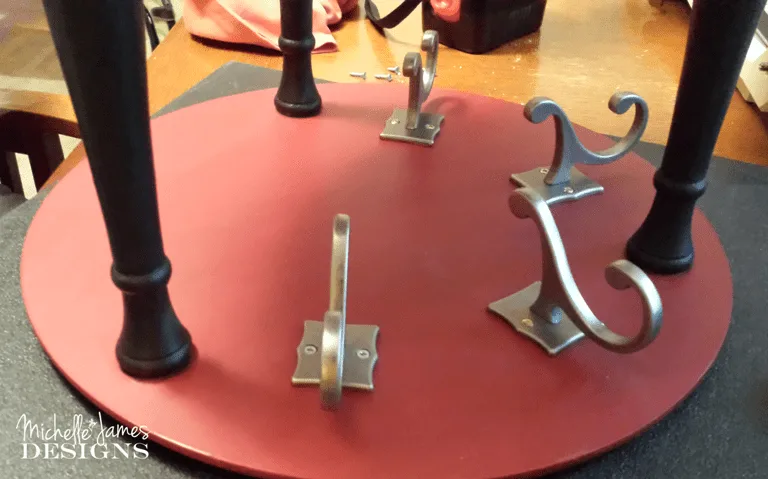
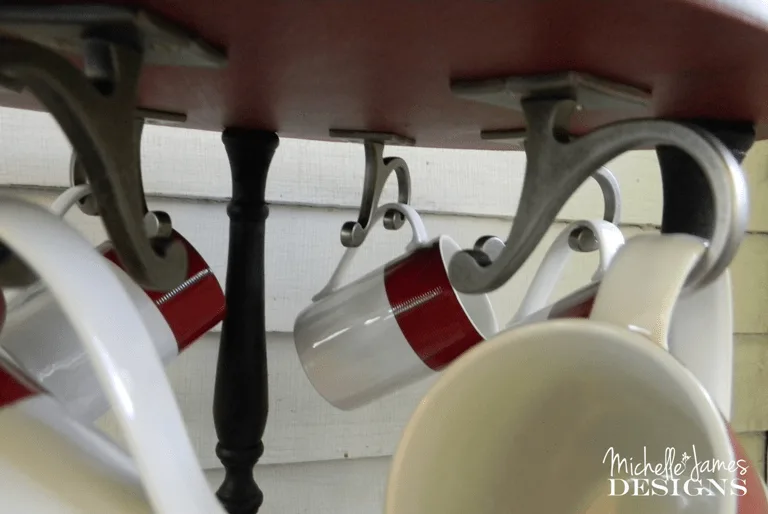
I needed the hook to be able to hang the mug from the underside of the top shelf so it had to have the right type of end that would hold the mug from a horizontal placement instead of the normal vertical placement for a coat. These were perfect and I loved the look of them. They are still on sale for $3.25 each.
Jeff helped me with the placement of the hooks.
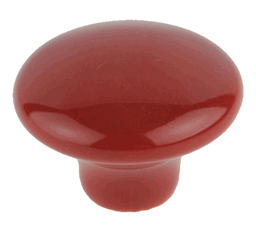
I used the red knobs on the black lids of the tin. This gave them more of a canister look. The knobs are Coca Cola Red Ceramic knob for .89 cents each.
Nice right? They matched perfectly with the paint and the mugs.
I found some chalkboard sticker labels at Hobby Lobby and used a chalkboard pen to write “Coffee” and “Filters”. They turned out pretty good despite my horrible writing.
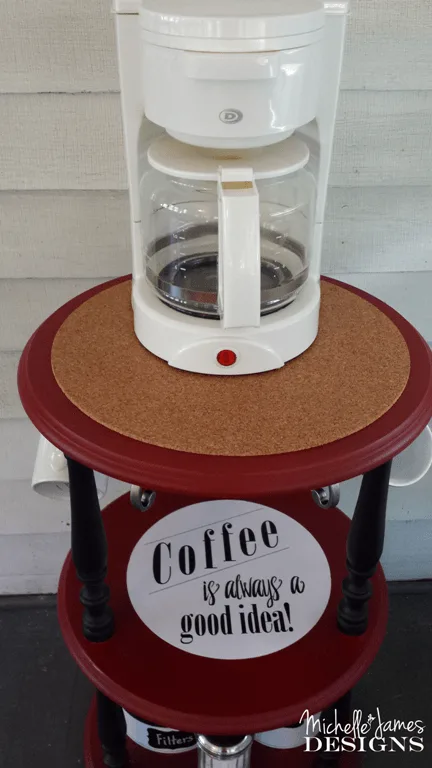
The last thing we did (I say we, but Jeff took over this part for me) was to cut the cork and adhere it to the top of the table. I thought this would protect the table top from the coffee pot.
He cut out two halves of the circle and used spray adhesive on the backs to adhere them to the table. He did a perfect job , as always.
I used two coats of the crème wax on the cork to give it a seal so if coffee dripped it can be wiped off with a damp cloth.
What do you think of the final product? I am in love with it and am not sure I still want to give it to Brian. I hope he likes it as well.
If you like it, please feel free to share with your friends on social media. You can follow me on Facebook, Pinterest and Twitter.
Or, sign up for my mailing list to have new posts come directly to your email. You can do this at the top of this post! I love to connect with new friends.
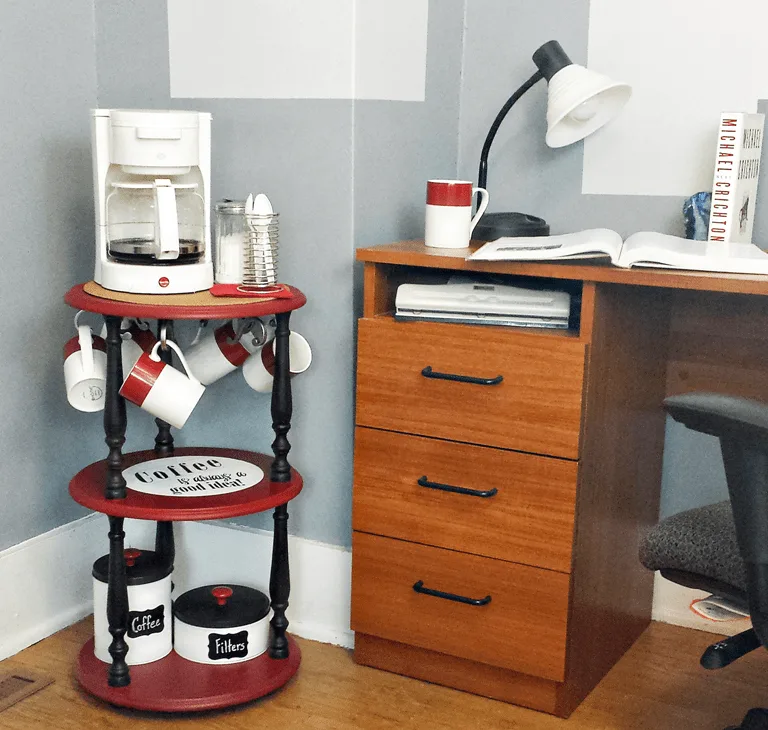
Here is sort of a dorm setting! Brian hasn’t sent me a photo yet!
If you are interested in participating in the Fab Furniture Flippin Contest you can email:
Stacy at: [email protected] or
Evey at: [email protected]
It is great fun and stretches my imagination. This is my second month and I hope I get to participate next month as well!
Thanks so much for stopping by!
Michelle





Shin Canady
Saturday 25th of January 2020
Hi! I could have sworn I've been to your blog before but after looking at many of the posts I realized it's new to me. Anyhow, I'm certainly delighted I discovered it and I'll be book-marking it and checking back frequently!
Michelle
Saturday 25th of January 2020
Hi Shin. Thank you. I am glad you like the blog!
Leona
Friday 16th of August 2019
How amazing. Your creativity and the whole look is awsome. I think this would be great for my daughters small kitchen. Thanks for sharing.
Michelle
Friday 16th of August 2019
Hi Leona! I am so glad you like it and I hope you can replicate it for your daughter! Thanks so much.
Daylen
Friday 20th of October 2017
I just never have an imagination to think of things like this until I see things like your. Excellent Ideas Keep it up, you are my inspiration...Love it all
Michelle
Friday 20th of October 2017
Thanks. I usually get inspiration for other places as well. I am so glad you like it!
Sam @ Raggedy Bits
Wednesday 22nd of February 2017
What a brilliant idea Michelle! I love it!! My hubby would love this in his office!!
Michelle
Wednesday 22nd of February 2017
Thanks. You better get making him one then huh? LOL! Brian used it for a while in his dorm room and now it it home with me. Although college kids aren't so great with cups and mugs so you can imagine what happened there. Oh well. That is an easy replace! We still love it though!
Leanna
Tuesday 21st of February 2017
This is absolutely perfect for the office. I use to work where they had the worst coffee in the world so I brought a thermos every day. This would have been a much nicer alternative. Great idea!
Michelle
Tuesday 21st of February 2017
Would you put it right next to your desk? That is a great idea. I am so glad you like my little coffee station and thanks so much for stopping by!