I love cork crafts and this one is a fun and easy one. You need a few materials for this cork keychain craft but they are pretty inexpensive and available in most craft stores or on Amazon.
I gave this to a friend and she really loved it but this wine cork keychain would also make a great tag to add to a gift or check out my wine cork ornaments. They are fun too.
I love to repurpose items and wine corks are one of my favorites.
If you love to diy, upcycle and repurpose check out these projects for inspiration. Upcycled and Repurposed Projects.

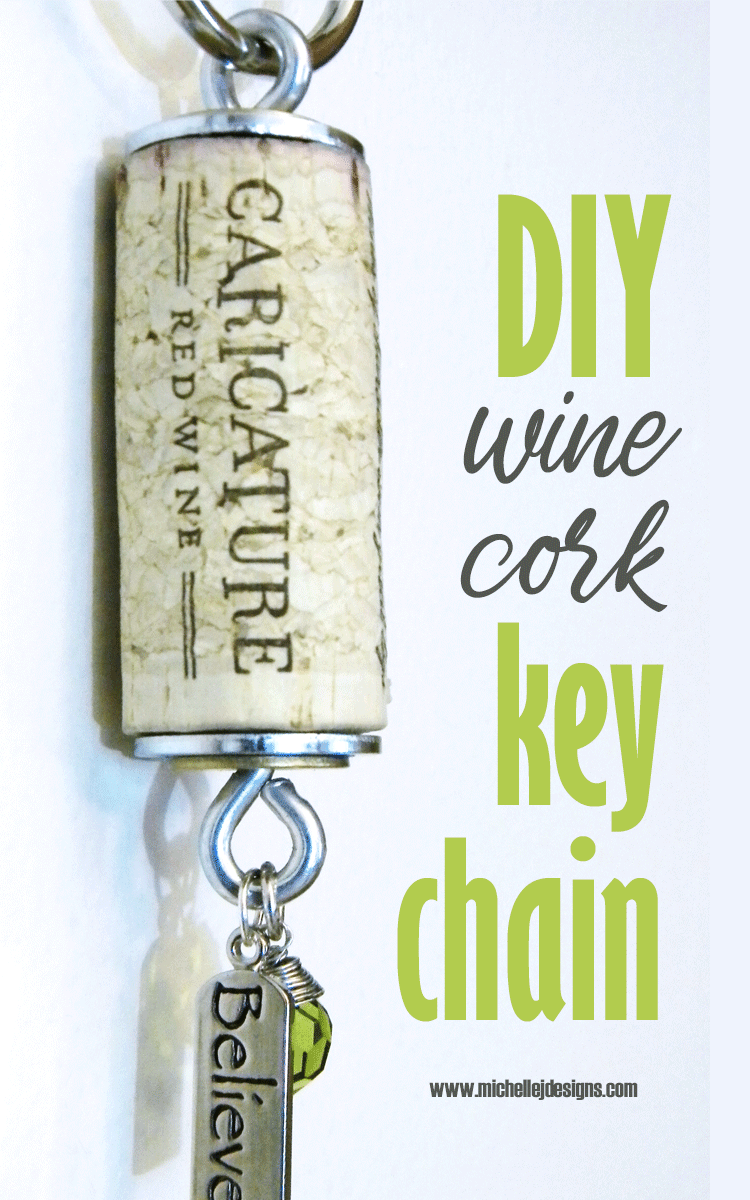
Cork Key Chain Tutorial
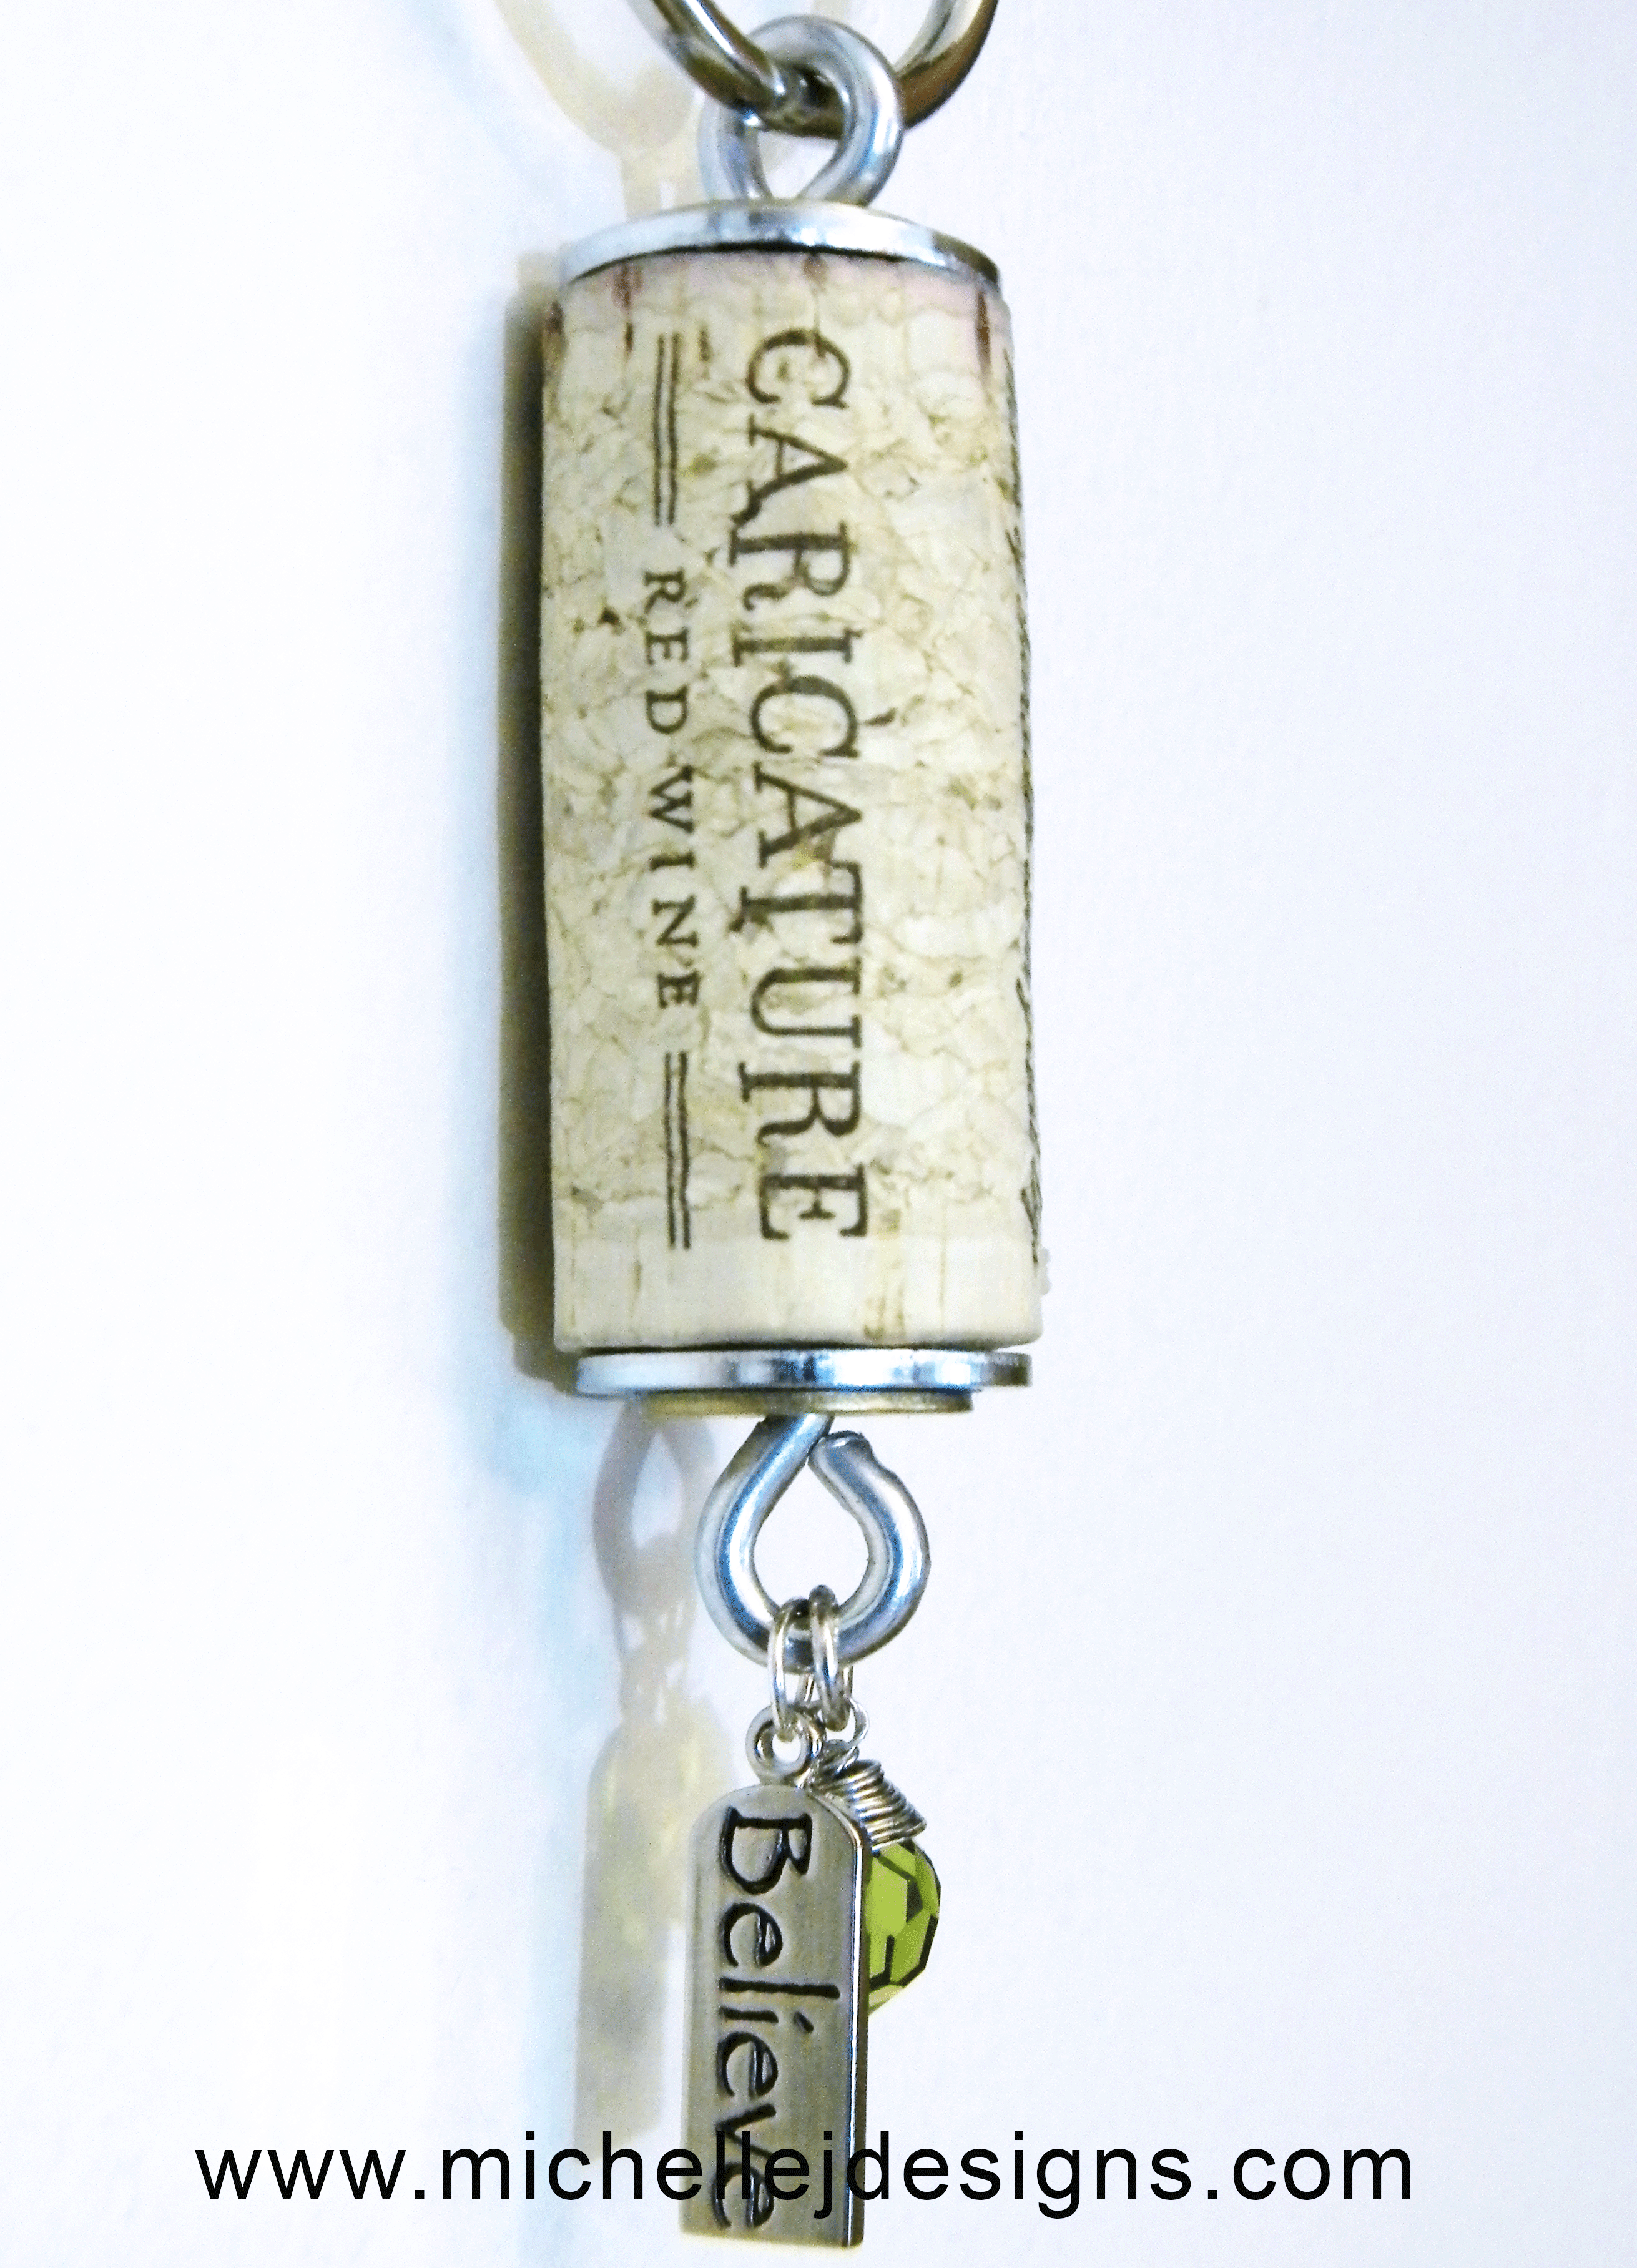
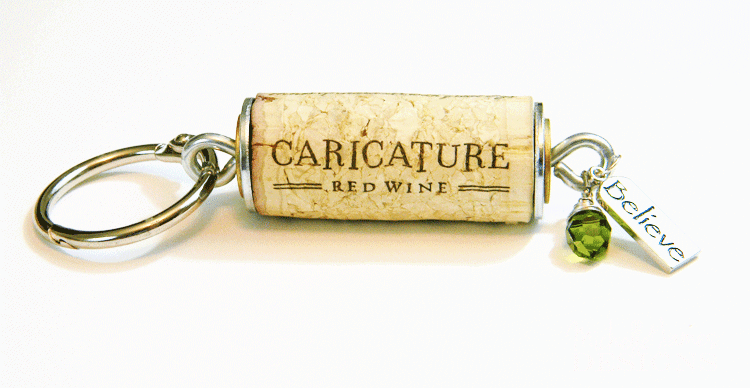
You may be asking how do I make wine cork keychains. I am going to show you how I made this super cute keyring for my friend.
My favorite cork so far is from Cupcake wine but I have noticed they are moving over to some twist off tops now. Boo! I usually buy a bottle if it has a cork so I can keep using them.
You can purchase corks as well if you are not a wine drinker or you want to make several keychains and just don’t drink THAT much wine.
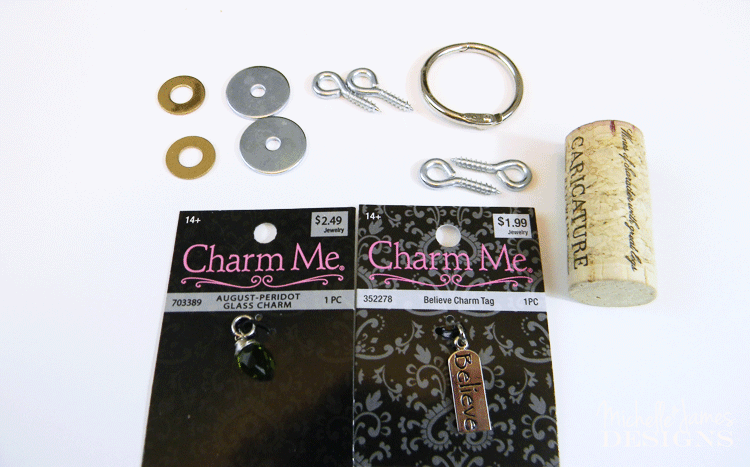
Materials Needed
I have added some affiliate links for your convenience. You can see my full disclosure here.
- wine corks
- eyelets
- washers – Size depends on your cork. I like to find two sizes. One about the same size as the end of the cork and one a little smaller in a different metal tone
- Beads and/or charms
- head pins
- wire cutters
- small pliers
- E6000 Glue
- ring key holder
I have one of these 3 piece jewelry kits and I use it a lot. It includes wire cutters and some pliers. It also has the round nose pliers that are perfect for making your own jump rings or creating a round piece at the top of a bead with the head pin if you are creating your own bead charm.
If you are using a ready made bead charm as shown below you won’t need the head pins.

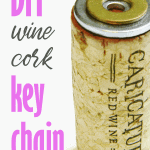
Step 1: Add washers to the ends of the cork
The top and the bottom of the key chain is where we add the eyelets and 2 washers.
The key holder goes at the top and the beads and charms at the bottom.
Add some of the E6000 on the smaller washer and place it on top of the larger washer. I like to purchase the two different color washers. I think they look nice.
Glue both of these onto the ends of the cork. The washers are super cheap at the hardware store. I think .10 each for the silver ones and .06 each for the gold ones. The larger washers I used are 1 inch and the smaller one is 1/2 inch.
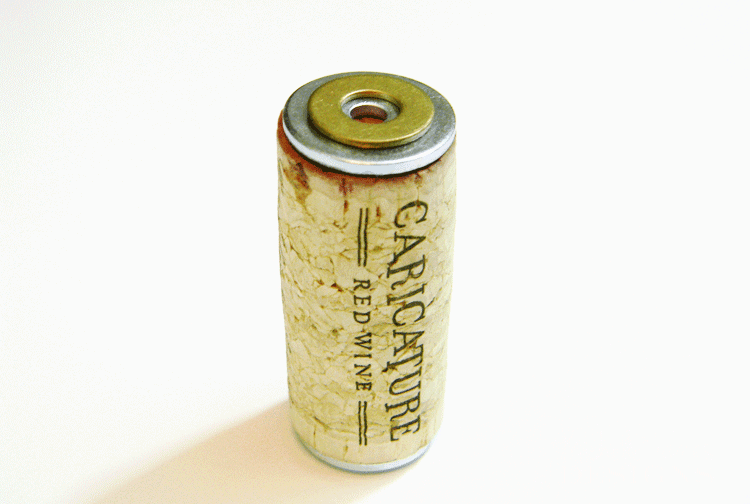

Step 2: Add the eyelets
Screw the eyelets into the top and the bottom of the cork.
Try to make them straight. I usually have one that is a little crooked. I don’t know why.


Step 3: Add the charms and beads
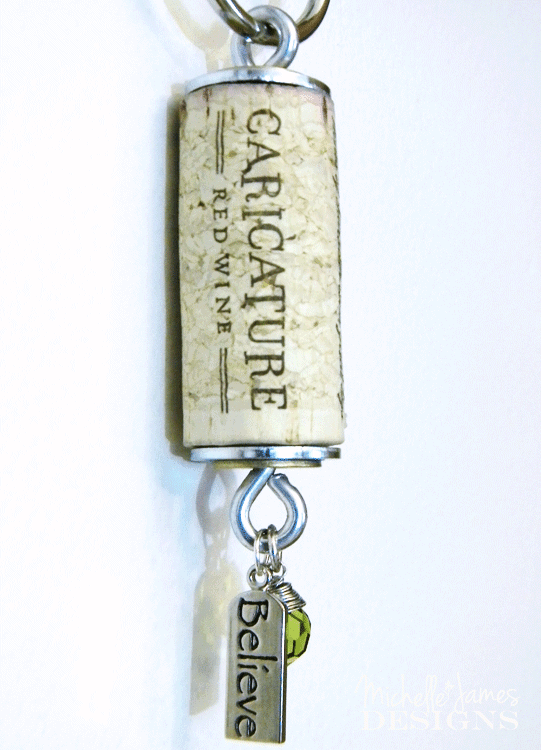
The bottom of the cork is where you get to add the fun stuff on the key chain.
I love to use a bead and a charm but you can use whatever you like at the bottom. This is where you can really personalize the cork key chains if you want.
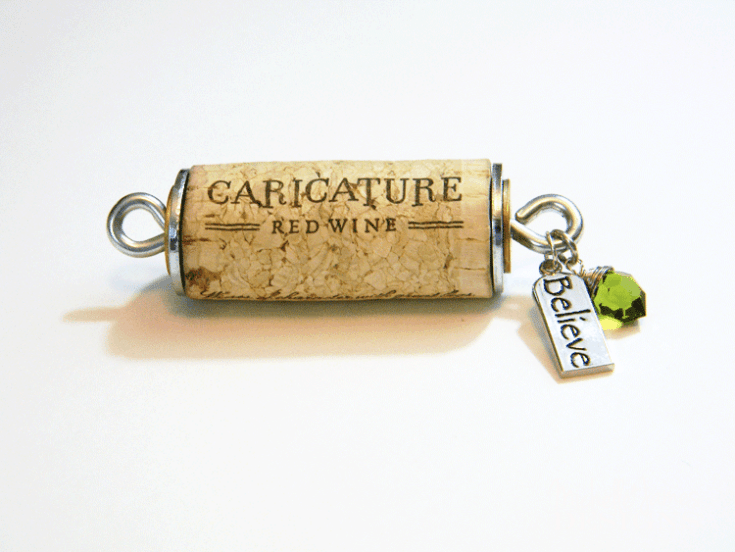
Attach your fun stuff to the eyelet with jump rings. I chose the green bead because my friend is Irish and she loves all things Irish.
This is what makes this so fun.
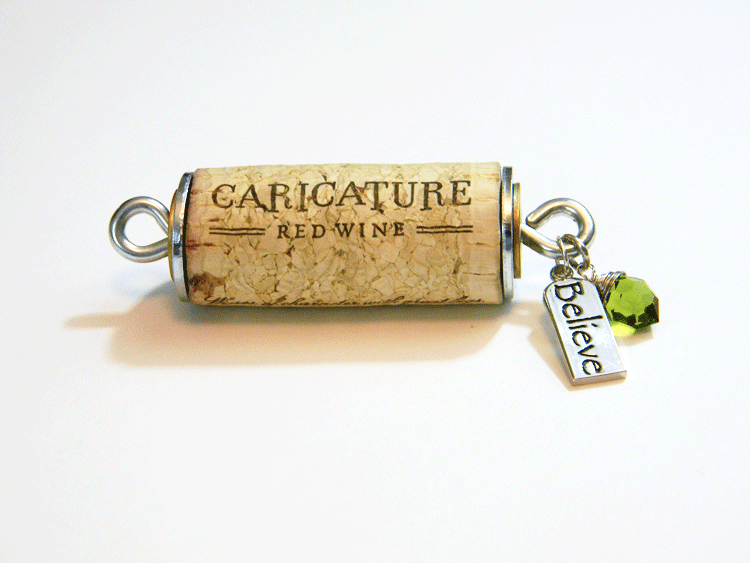

Step 4: Add the key ring
Add the key ring and it is all done. There are a couple of different kinds. Some are easier to add than others but all of them will work!


What do you think? The hard part is drinking the wine just so you can keep the cork. Have fun with this one and add some fun charms and beads.
Wine Cork Key chain Tutorial

Create a fun key chain using wine corks, beads, charms and washers from the hardware store. These look fantastic and make a great gift.
Tools
Instructions
- Use the E600 to glue the smaller washer on top of the larger washer. Make a set for each end of the wine cork
- Glue the washer sets onto each end of the cork
- Add the eyelet into the center of the washer. It is best to add a little glue to the eyelet so it won't come loose later
- Use the pliers from the tool set to add a bead and a charm to the bottom eyelet
- Add a key ring to the top eyelet
Recommended Products
As an Amazon Associate and member of other affiliate programs, I earn from qualifying purchases.
-
 Shintop 10pcs Jute Wine Bags, 14 x 6 1/4 inches Hessian Wine Bottle Gift Bags with Drawstring (Brown)
 -
 Premium Recycled Corks, Natural Wine Corks From Around the Us - 250 Count
 -
 WOCRAFT 80 pcs Inspiration Words Charms Craft Supplies Beads Charms Pendants for Jewelry Making Crafting Findings Accessory for DIY Necklace Bracelet (M384-80pcs)
Thanks so much for stopping by.
Happy crafting,
Michelle


Sherri Sisk
Thursday 11th of December 2025
What gauge of jump rings do you use? I made several and find that the charms fall off with use.
Michelle
Thursday 14th of May 2026
Sorry, I am not sure what gauge they were. I don't think any of mine fell off.
Patti
Wednesday 16th of August 2023
I have a lot of Swarovsky beads left over from some crafts I used to do. How do you attach them to the jump ring? Thanks.
Michelle
Wednesday 6th of September 2023
Hi Patti, this is where you use the head pin. You place the head pin in the bead then use the tool to create a loop. Then attach that loop to the jump ring. I hope this makes sense.
Karen
Saturday 12th of November 2022
I love this key chain idea! Can you please post a tutorial using the head pins? Thanks
vicki gentry
Monday 21st of December 2020
WHat size screw eyelet do you use??
Michelle
Wednesday 23rd of December 2020
I Vicki!
I usually use what I have on hand but it needs to be big enough to hold the charms. I think I vary depending on what I have. As small as I can to make it work if possible. LOL!
Anita
Wednesday 2nd of September 2020
Hi Michelle, I sell wines and love your idea. One question about linking beads and charms to the headpin under the cork. You mentioned jump rings but they are closed. You probably cannot bow the headpin . So do you mean spit rings? Lookin forward to your reply .
Michelle
Thursday 3rd of September 2020
Hi Anita,
I have never heard of split rings and the rings I was using were called jump rings. They are closed but are not solid so you can open them with little needle nose pliers then close them back up. I hope this helps.