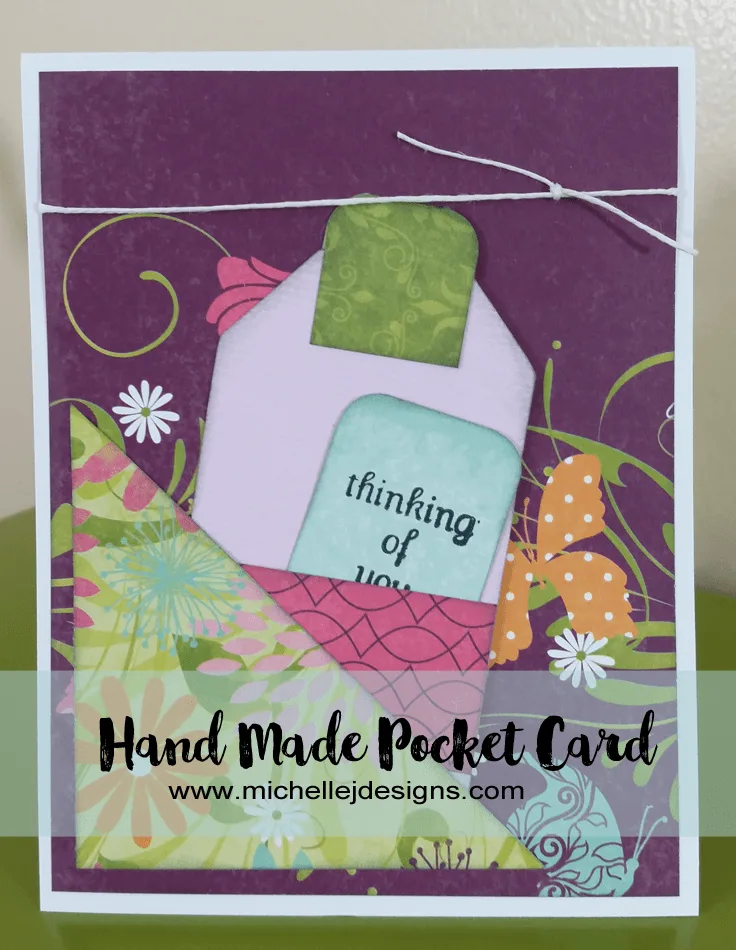
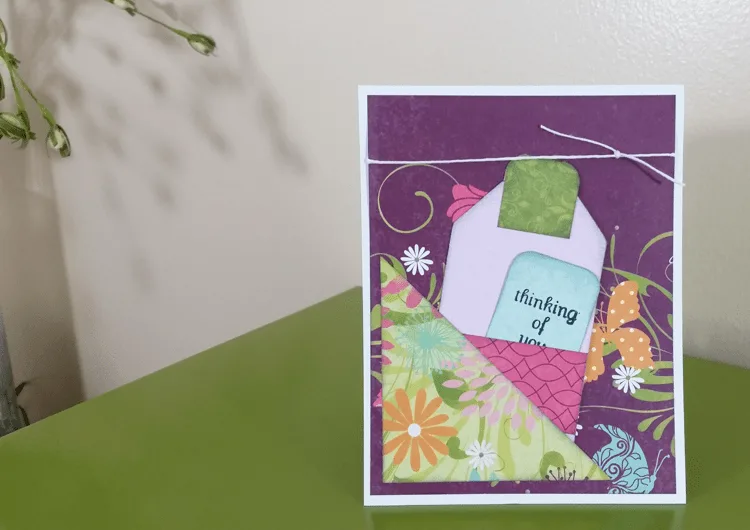
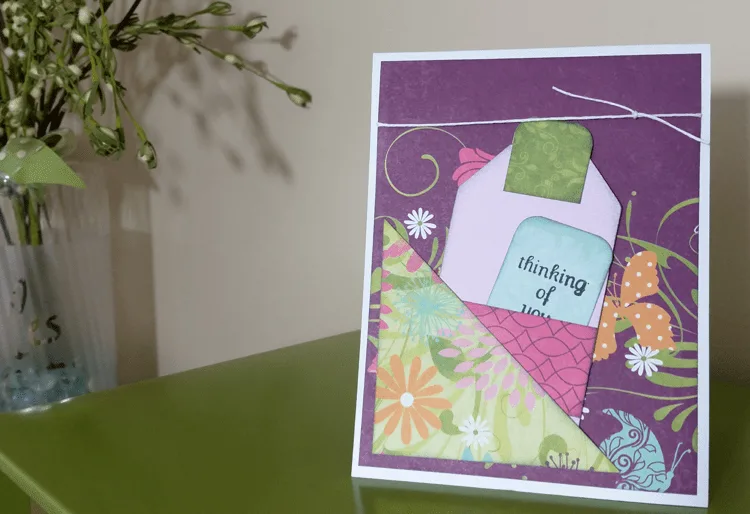
Hi friends. I am excited about my post today. First of all it has been a while since I created a handmade card let alone a hand made pocket card, and secondly, not only is this a tutorial but a short video that Brian helped me create.
He is uber talented and deserves a shout out for his hard work on this first, I hope of many, card/craft videos. Seriously, he didn’t even laugh at me when I did something stupid. Well not out loud anyway. Enjoy!

How To Create A Hand Made Pocket Card
Let’s jump right in shall we?? Here is the lost of supplies for this hand made pocket card. Some of these are affiliate links for your convenience. You can see my full disclosure here.
Supplies list
White card stock
Pink card stock cut into a tag shape
Powder puff ink – midnight black
Thinking of you stamp
scissors
Scotch Tape

Instructions:
Step 1: Cut the paper pieces as follows:
White card stock to 4.25″x 11″ for the card base. Fold it in half and set aside.
Moxxie patterned paper (or paper of your choice) to 4″x 5.25″ for the background piece.
A 3″ square from another coordinating patterned paper. Cut the square in half diagonally to form a triangle.
A 2″x 3.5″ piece of solid card stock to form a tag. Cut the corners at the top to give it the shape of a tag. You could also use a purchased tag that is already cut.
A patterned piece of paper to 2″ x 1.25″ for the pocket piece on the tag.
A 1″ x 2″ piece to fold over the top of the tag
A 1.25″ x 2″ piece for your sentiment
There is a video below that shows all of the following steps!
Step 2: Using the Powder Puff ink, ink the edges of all of the pieces.
Step 3: Using the adhesive tape runner, adhere the triangle piece to the lower left corner of the background piece. (I left about a 1/4 of an inch of the background piece showing in the corner) This is the pocket piece so be sure to only put the adhesive on the two corner edges.
Step 4: Assemble the tag – Start by adding the pocket piece. Be sure to only adhere the two sides and a thin area of the bottom. Place it just about 1/4 ” from the bottom of the tag (mine is just a little higher than the 1/4″).
Round the corners of the piece that will be stamped. Stamp your sentiment then go ahead and place it onto the pocket. Cute right?
Fold the piece that goes at the top of the tag in half. Round the top two corners (on the fold). Open it up and place adhesive on the inside then adhere it to the tag folding it over the top.
Step 5: Cut a piece of the off white twine to 7.25″. Lay this across the front of the background piece about 1″ from the top. Tape the ends onto the back of the card.
Cut another piece of the twine about 3″ long. Tie this piece onto the other piece into a knot. (this creates a cute faux bow of sorts)
Step 6: Adhere the entire background piece to the white card base. Add the tag to the triangle pocket!
YOU ARE ALL DONE!!!! Yay You! Do you love your hand made pocket card? I hope so!

If you liked this post please give a pin! If you would like to receive my emails be sure to sign up at the very bottom of this post to receive some awesome wine labels to create a wonderful, relaxing gift! You will love it.

Thanks so much for stopping by!
Michelle


Nancy
Saturday 16th of July 2016
Great video! Thanks for the easy flow instructions.... almost as easy to follow as when I took classes from you. Just missed you! :)
Michelle
Sunday 17th of July 2016
I am glad you liked it Nancy! I am hoping to get one out each week. But I have to learn to edit. Brian did this for me and he is leaving soon. I want to get some more done while he is still here. The pressure! LOL! I am missing my classes at the store a lot. They were always a good time. I hope to see you sometime when you are out. I would drive to the Lakes if that is where you are staying! Maybe I can get out to San Diego sometime this winter or Sprint. I miss my sissy and could visit you too! Thanks for stopping by the blog!
Carolann
Friday 15th of July 2016
You did an amazing job on the video Michelle. I love this cute pocket card too its so cute and a great idea!
Michelle
Friday 15th of July 2016
Thank you Carolann! Brian helped me do the video. He is very nice to help!