This etching metal tutorial is a great start for making DIY metal crafts. It is as easy as stenciling and the outcome is amazing!
I never thought that etching metal would be something I could do but when I saw a You Tube video about it I knew I could do it. Turns out….it is pretty easy.
I chose Dollar Tree items for my DIY metal crafts because I love them and I love turning something ordinary into something extraordinary. This includes personalizing or adding a great design to make it unique and a one of a kind item or gift. But you can use any metal surface so if you purchase something else or already have something you can etch, that is perfect.
If you LOVE Dollar Tree crafts and gifts then you are definitely in the right place.
AND…
If you love DIY metal projects you can click here to find more metal crafts inspiration!
DIY Metal Crafts – Etching Tutorial

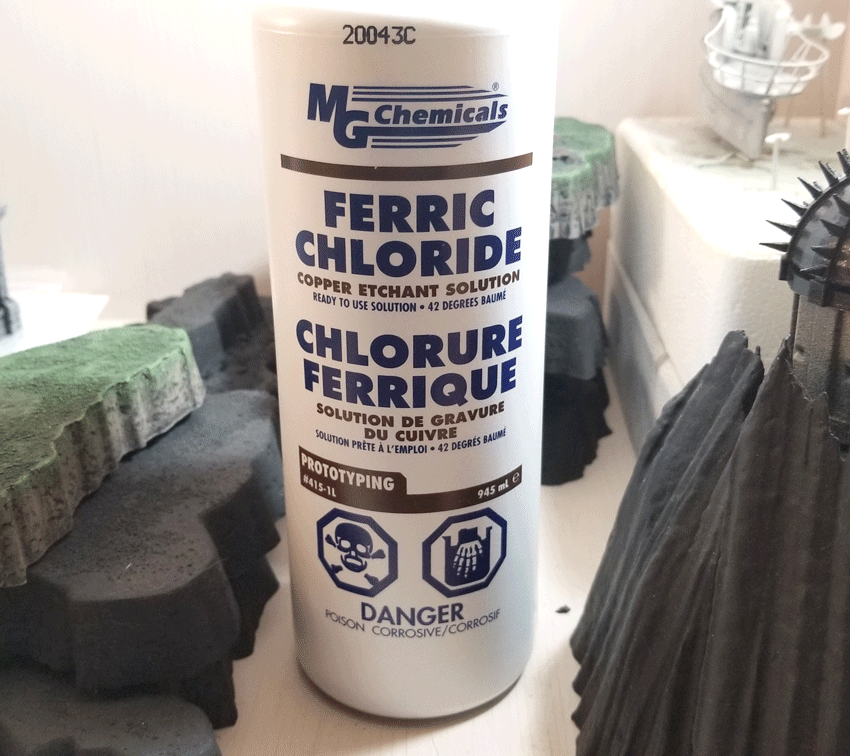
You are probably wondering…can you etch into metal? Well, yes you can with a product called Ferric Chloride.
Ferric Chloride is highly corrosive to most metals and needs to be used with safety in mind. I wore gloves when I was using it and baking soda to neutralize it when I was done. These are important things to remember.
Sometimes crafting can be dangerous and precautions need to be taken.
Before we get started let me answer a few questions you may have spinning in your head.
1. Can I use etching cream on metal?
The answer is no. The etching cream is and acid that attacks the glass but it does not work the same way on stainless steel and other metals.
2. What acid is used for etching metal?
There are a few acids that will etch stainless steel including hydrochloric acid, nitric acid or sulfuric acid. But the Ferric Chloride is a stronger acid so it works faster. This is a good thing for crafting but you have to keep safety in mind by wearing gloves.
3. How do you etch designs on metal?
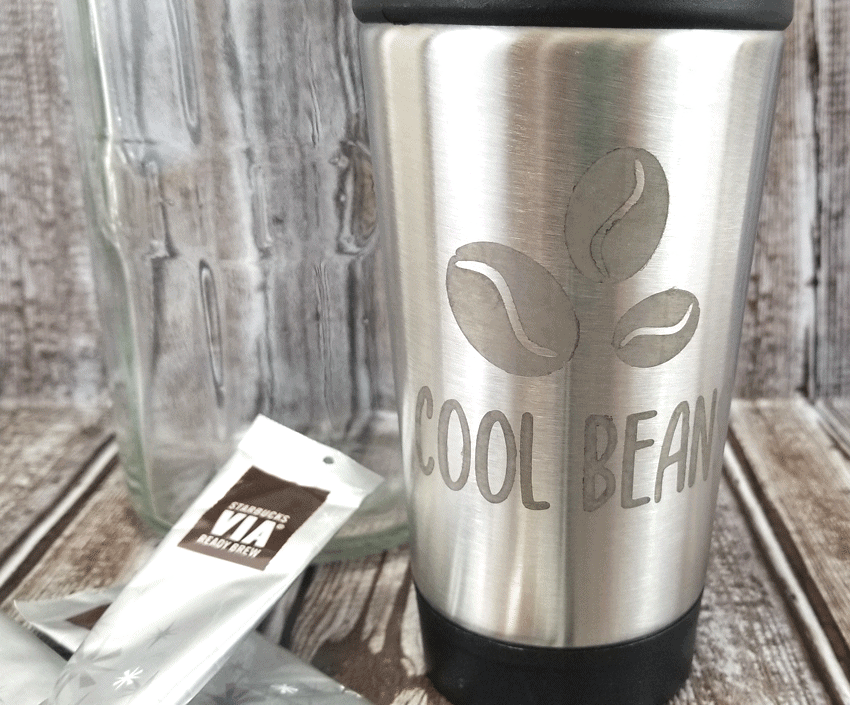
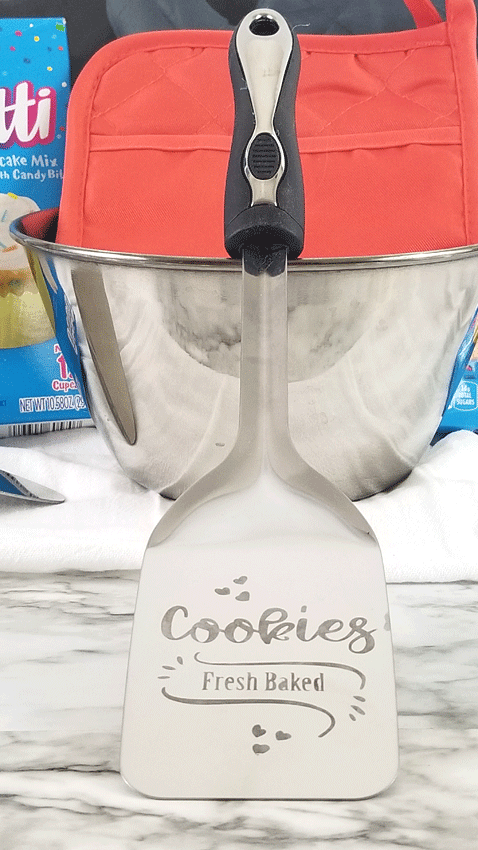
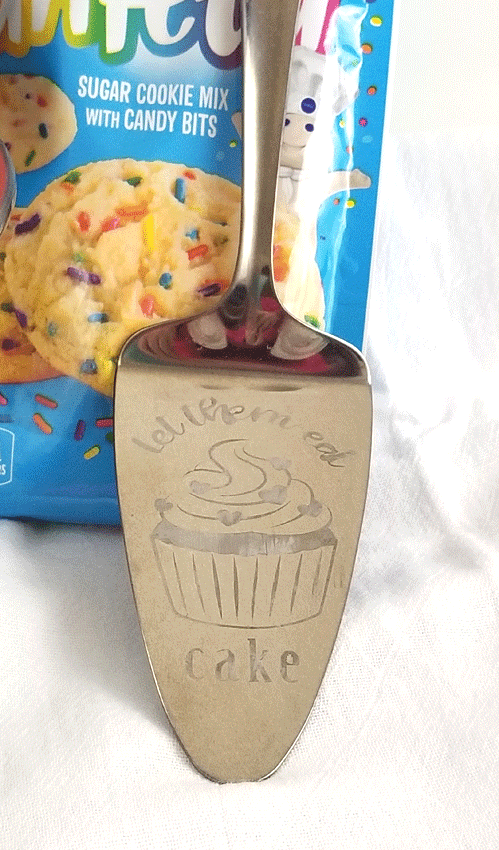
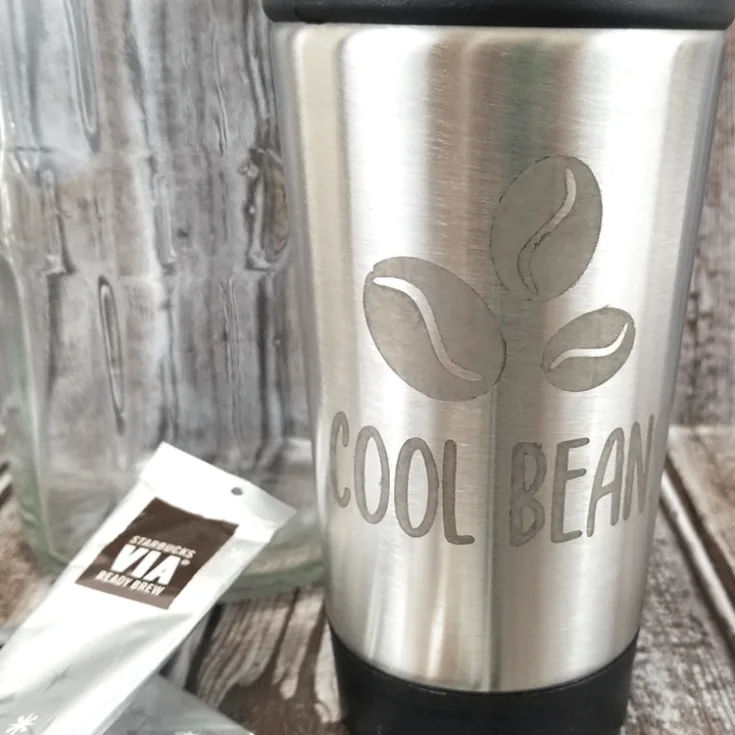
Let me show you how I made these awesome metal etched coffee tumbler, stainless steel spatula, cake server and the flower bucket.
Materials Needed
I have added some affiliate links for your convenience. You can see my full disclosure here.
- Ferric Chloride
- Metal pieces to etch
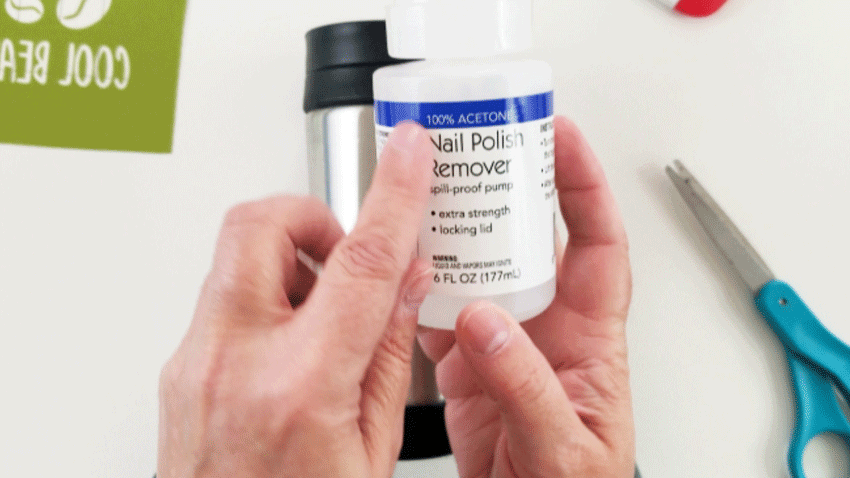
- Nail polish remover (Acetone)
- Cotton balls
- Baking soda
- Cricut Maker or cutting machine
- Scrap Vinyl – I used permanent glossy craft vinyl
- Weeding Tool
- Transfer Tape
- Bowl to place the cotton balls in after they are used
- gloves
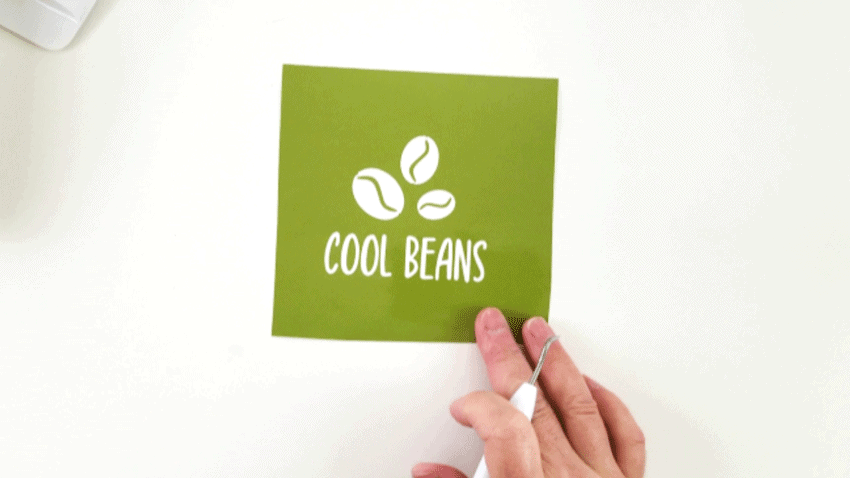
Step 1: Cut out your stencil
I used my Cricut Maker and some permanent vinyl to make my stencil.
If you don’t have a cutting maching you could make your own stencil by tracing onto the vinyl and cutting out the design. Or you could purchase a stencil. Make sure it is going to be secure and the Ferric Chloride will not bleed underneath it.
These designs are free to download in my resource library. If you already have a password you can use this link!
Look for them in the Cricut and Silhouette SVG files section.


After you download the design, upload it into design space.

You will want to adjust the measurement to fit your project.
Then keeping them grouped, click the “attach” button in the lower right corner of the screen.
When you get to the screen with the mat, you can move the design further from the edges so you have vinyl around the design. This will ensure that the Ferric Chloride will stay only in the cut areas and not sneak out over the edge of the vinyl.
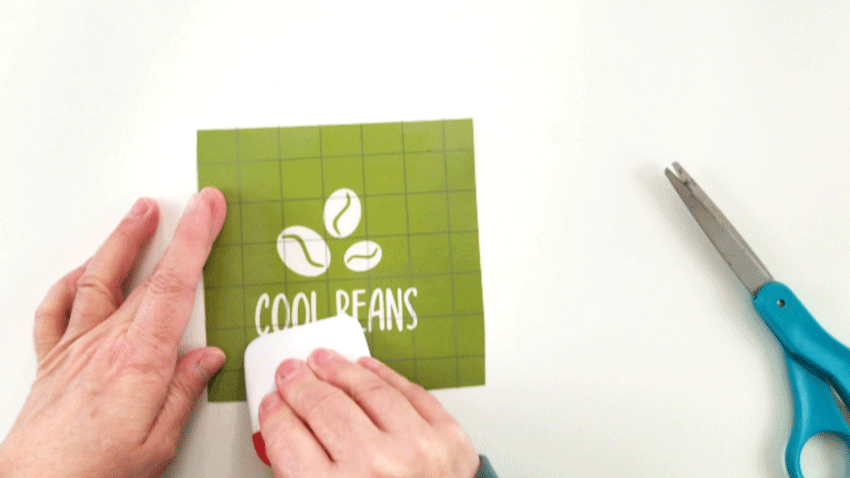
Step 2: Weed the design and add the transfer tape
Use a weeding tool to remove the design. Remember this is a stencil so what we would normally keep to add to the design we are removing.
Normally I would add the transfer tape to the top of the cut design but this time a placed the stencil design face side down onto the transfer paper. Whatever is easier for you.
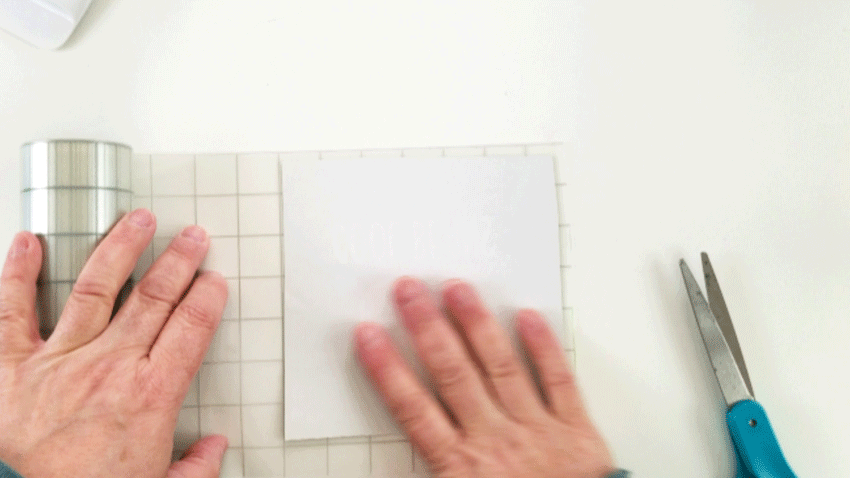
Use the squeegy tool to “burnish” the transfer tape. This helps to keep those little pieces from lifting off when you don’t want them to.
Step 3: Preparing the metal surface
Make sure the metal is clean and ready for the metal etching chemical.
To do this use nail polish remover (Acetone) and a cotton ball to clean the surface where the design will be.

Step 4: Place the stencil and start etching
Now you are ready to place down the stencil.
Remove the backing from the vinyl and carefully place the stencil onto the metal surface.

Once your design is where you want it place the entire vinyl piece down to keep the acid away from the extra metal. Use the squeegy tool again to make sure all of the edges are stuck down.
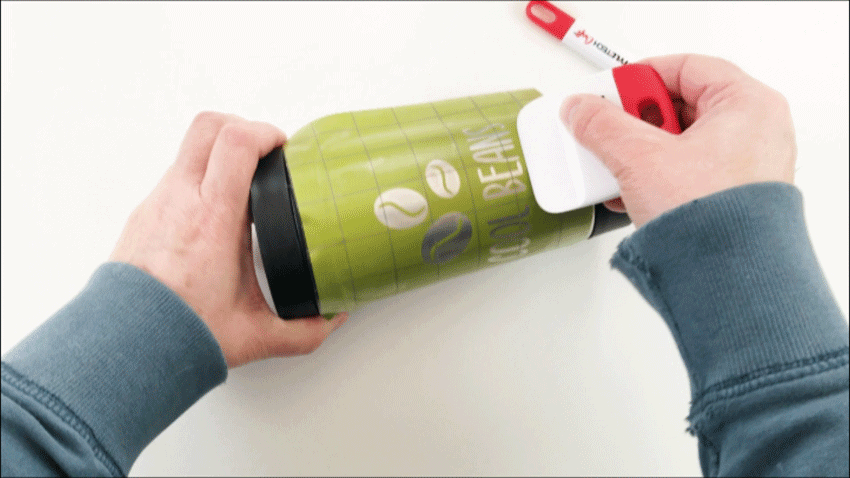
Remove the transfer tape to reveal the design ready for acid etching.
Grab your gloves, your bowl and your baking soda. Oh…and the Ferric Chloride.
Put on the gloves and put some of the Ferric Chloride on a cotton ball. Pat the Ferric Acid onto the design until it is completely covered.
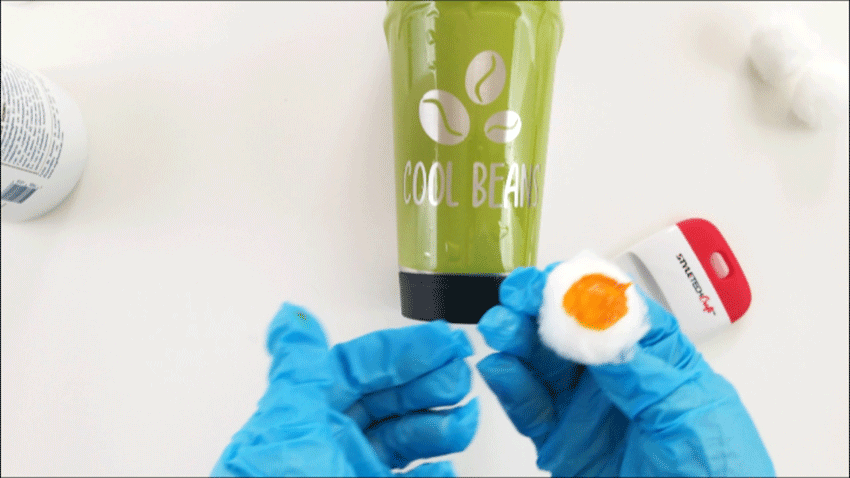
When you finish with the cotton ball place it into the bowl.
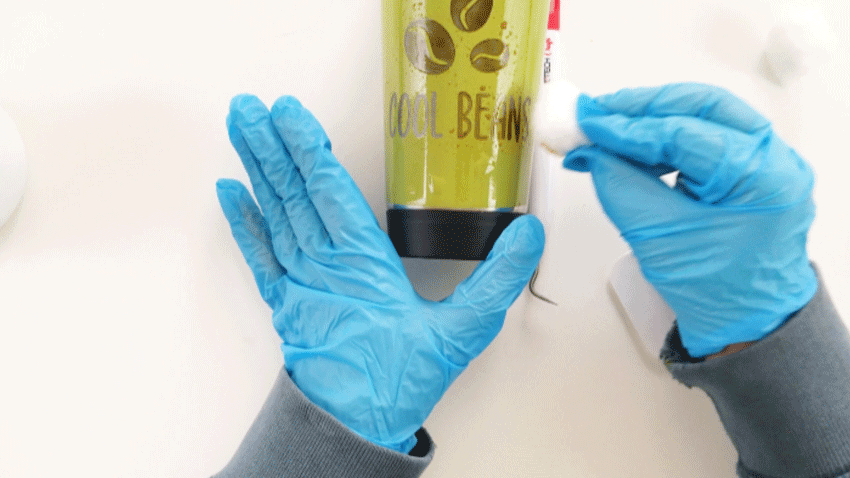
Wait about 5 minutes or so, grab a new cotton ball and do it again.
After that….one more time for a total of about 15 minutes.
The last cotton ball should go in the bowl with the others. Then add baking soda to to all of the cotton balls in the bowl to neutralize the acid. You will need to neutralize the metal pieces as well. Add some baking soda to the top of the metal piece right over the design then rinse it off in the sink.
Then you can remove the vinyl for the stencil to reveal the etched design. This is always my favorite part!
Here is my coffee travel cup.
I also made a spatula and a cake server. These will be great gifts for birthday or Christmas.
The flower bucket didn’t come out as crisp as the others. I think because it is galvanized. But I still love it!

Here are some printable instruction if you want them.
DIY Metal Crafts - Etching Tutorial

This etching metal tutorial is a great start for making DIY metal crafts. It is as easy as stenciling and the outcome is amazing! #metalcrafts #diymetalcrafts #dollartreecrafts
Materials
- Metal Item to Etch
- Designs for Stencil
- Ferric Chloride
- Nail Polish Remover (Acetone)
- Cotton Balls
- Scrap vinyl
- Transfer paper
- Baking Soda
Tools
- Cricut Maker or cutting machine
- Weeding tool
- Gloves
- Bowl to set cotton balls in
Instructions
- Download the designs for the stencils from the resource library
- Upload the design into design space
- Adjust the measurements of the design based on your metal piece
- Use the attach feature to keep the design as is when cutting
- Move the design away from the corner of the mat so there is vinyl around the design
- Cut the design
- Weed out the design removing the pieces that we usually keep in to create a stencil
- Add transfer tape to the design
- Clean and prepare the metal piece with the nail polish remover and a cotton ball
- Remove the backing from the stencil and carefully place it on the metal piece
- Burnish the edges really well to make sure the Ferric Chloride won't bleed under the vinyl
- Put on your gloves and add some of the metal etching chemical to a cotton ball
- Pat the chemical over the design until it is completely covered
- Set the cotton ball in the bowl
- Get a new cotton ball and repeat this process. Each time the Ferric Chloride should set for about 5 minutes.
- Repeat the process a third time. The solution should be on the design for about 15 minutes total
- Sprinkle some baking soda over the cotton balls to neutralize the acid
- Sprinkle more baking soda over the design then rinse off with water
- Remove the vinyl to reveal your awesome etched metal design
Notes
The cost of the entire bottle of Ferric Chloride is not factored into the cost of this project since the bottle will do many, many projects.
Recommended Products
As an Amazon Associate and member of other affiliate programs, I earn from qualifying purchases.
-
 ShabbyDecor Galvanized Metal Trough Succulent Planter Farmhouse Metal Tray Rustic Tabletop Centerpiece Décor Set of 2
 -
 Stainless-Steel Kitchen Utensil Set - 10-piece premium Nonstick & Heat Resistant Kitchen Gadgets, Turner, Spaghetti Server, Ladle, Serving Spoons, Whisk, Tongs, Potato Masher and Utensil Holder
 -
 Stainless Steel Coffee Mug with Lid, Set of 2 - Premium Double Wall Insulated Travel Mugs - Shatterproof, BPA Free Spill Resistant Lids, Dishwasher Safe
I hope you liked this DIY metal crafts – etching metal tutorial and will give it a try. It was amazing how these turned out.
Thanks so much for stopping by!
Michelle


Melizza Cary
Saturday 25th of January 2025
Could you use this ptocess on glass?
Michelle
Sunday 26th of January 2025
Hi. For glass there is an etching cream you can purchase. It is a different product but comes out nicely.
Melizza Cary
Saturday 25th of January 2025
Could you use this process on glass?
Rebecca
Tuesday 8th of October 2024
How do you make sure your metal utensils are food safe since you’re etching with acid? (You mention a clear sealer - what kind of product would that be?) thanks!!
Michelle
Monday 25th of November 2024
Hi from what I read as long as you neutralize the product with the baking soda and clean it well it should be fine. But definitely do your own research. They are fun projects.
Handcrafted Metalworks
Thursday 1st of February 2024
Best blog that i have read on this topic.
Michelle
Friday 2nd of February 2024
Thank you. Your comment made my day!
Christine
Thursday 2nd of March 2023
Hi Michelle! Great tutorial! What type of metal do you use? I would like to try this out on an aluminum clipboard..
Michelle
Friday 24th of March 2023
Hi! I just used the Dollar Tree Utensils. I am not sure what kind of metal. I would definitely give it a try.