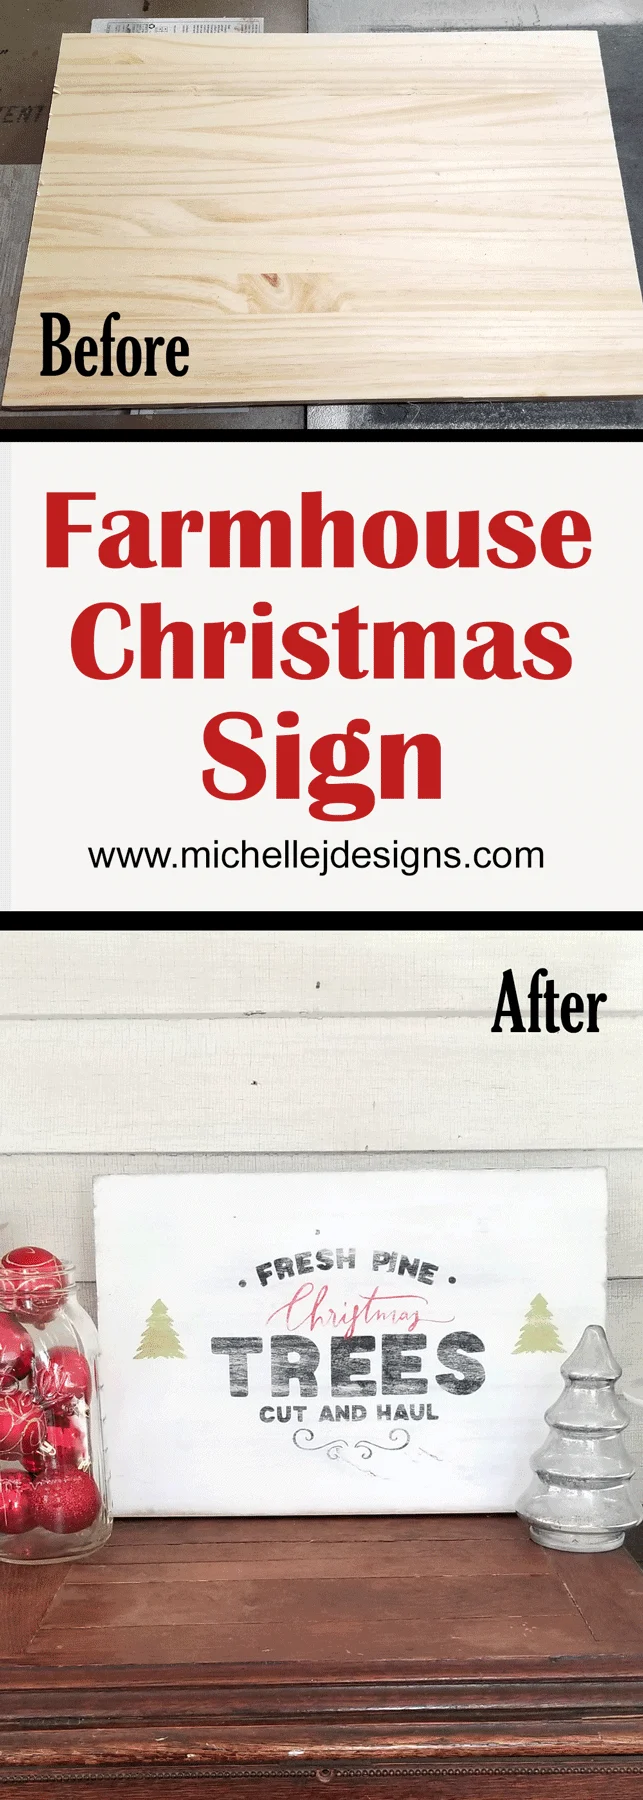
Hi! This farmhouse Christmas sign started out to be more trouble than it was worth. Then I changed my tactic and it turned out perfectly! I am going to show you how all this happened.

Farmhouse Christmas Sign – The First Attempt
Let’s jump right in! I started this project wanting to use a photo transfer product from DecoArt. So I read the instructions and followed them to a tee.


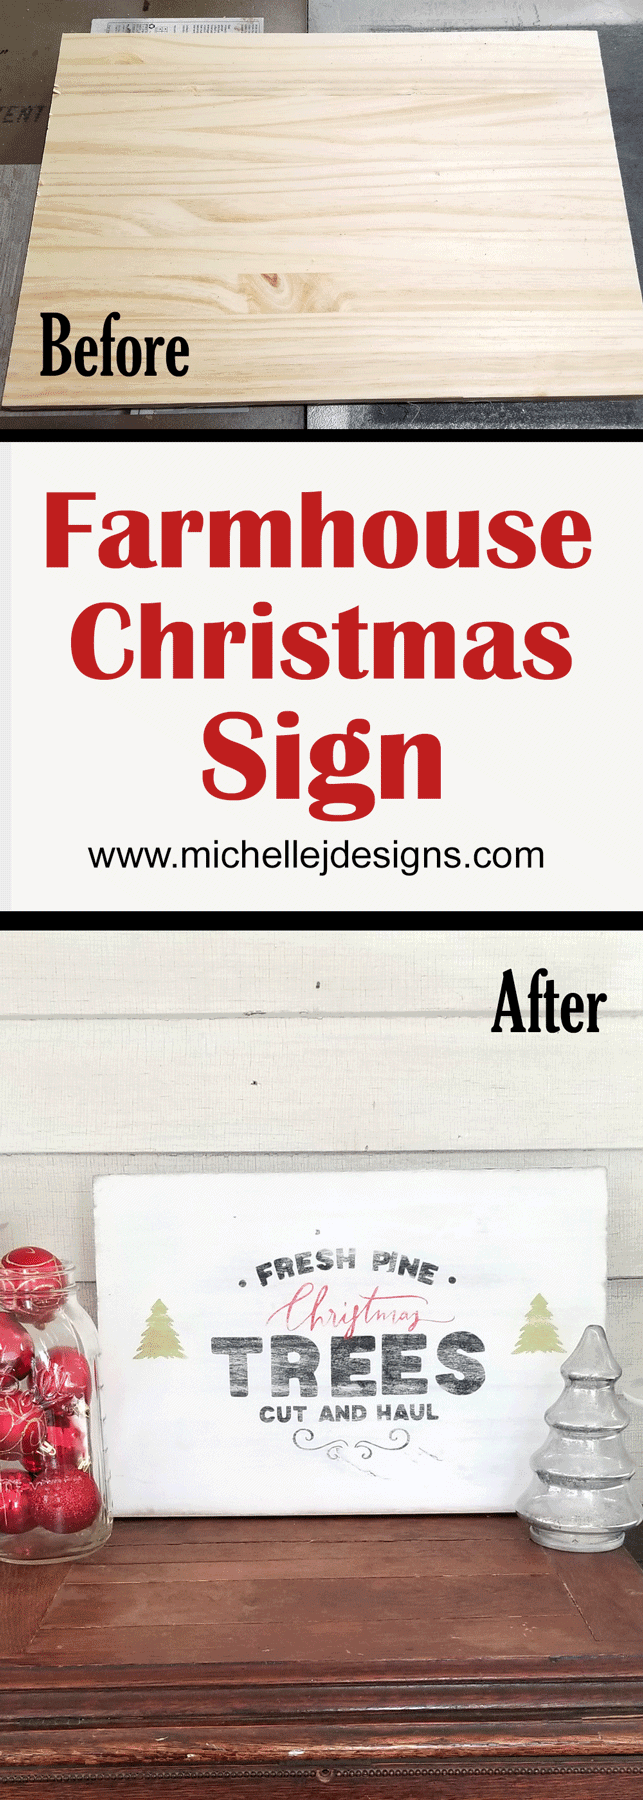
I started out just fine. I purchased a piece of wood. It was 12 x 36 so Jeff cut it in half for me so I could make two signs that were each 12 x 18. After they were cut I chose one and sanded, stained and painted it white.
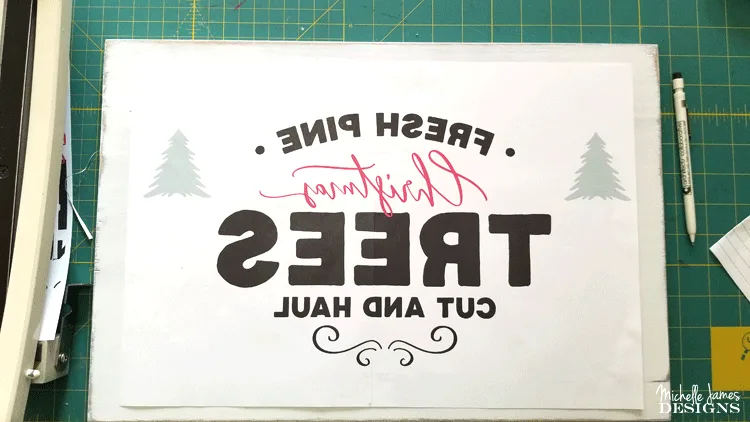
Then I was ready for my transfer design. I purchased an awesome Farmhouse Christmas Kit from Creative Market. I chose one of the designs from the kit and created my image. Because there are letters and words involved I reversed the image on my paper then printed it on a friends laser printer. This is what it looked like.
I had to print it on two sheets of paper because the design was larger than an 8.5 x 11 sheet.

Then I cut around the design so there wasn’t so much paper. I knew I would be peeling this off later so I thought the less of that the better.

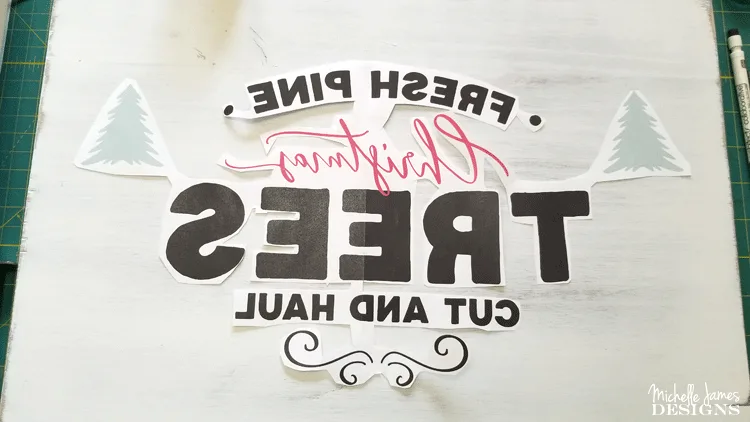
When my design was ready I followed the instructions on the bottle and placed the photo transfer material onto the board and onto the design and placed it down. It was very hard since I had cut the design. It wanted to twist and move. I finally got it down but it was totally off center.
See how the tree on the left is much closer to the edge of the wood than the tree on the right? So bad! I thought I could save it by cutting the wood down after this process was done.

Then I waited. It has to dry for at least 8 hours. So the next morning I started up again.
Peeling The Paper
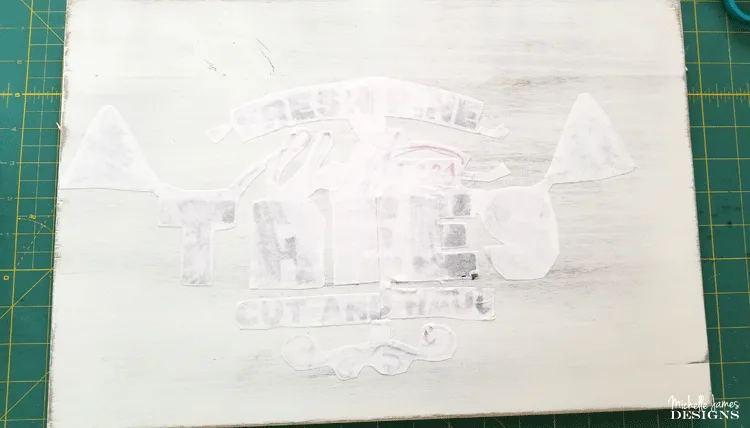
Now I was supposed to use a wet sponge or my fingers and get the paper wet and “roll” it off until the paper is gone and the design is left on the wood. Well, this part was even worse.

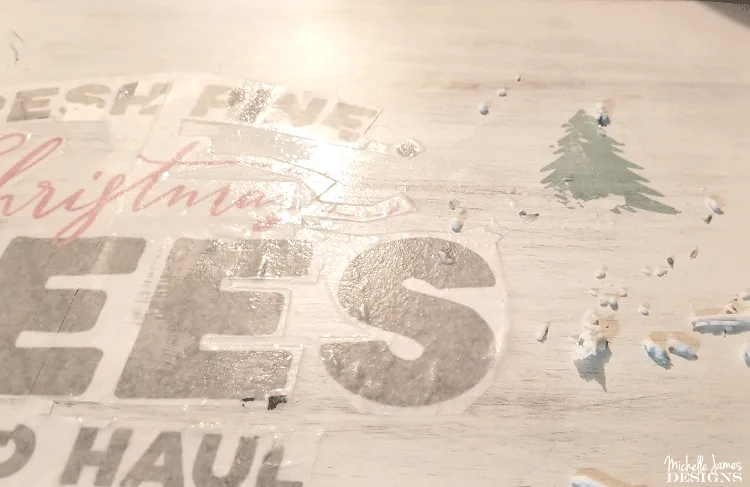
You can see how the paper is coming off for the most part but so is a lot of the ink. Now I wanted this to be a rustic looking sign so it was fine for this project but what if I wanted a nice, clean look? I would have been even more disappointed. Even after I got most of the paper off it was looking awful.
It is had to tell is the picture below but the outlines of the paper was still showing.

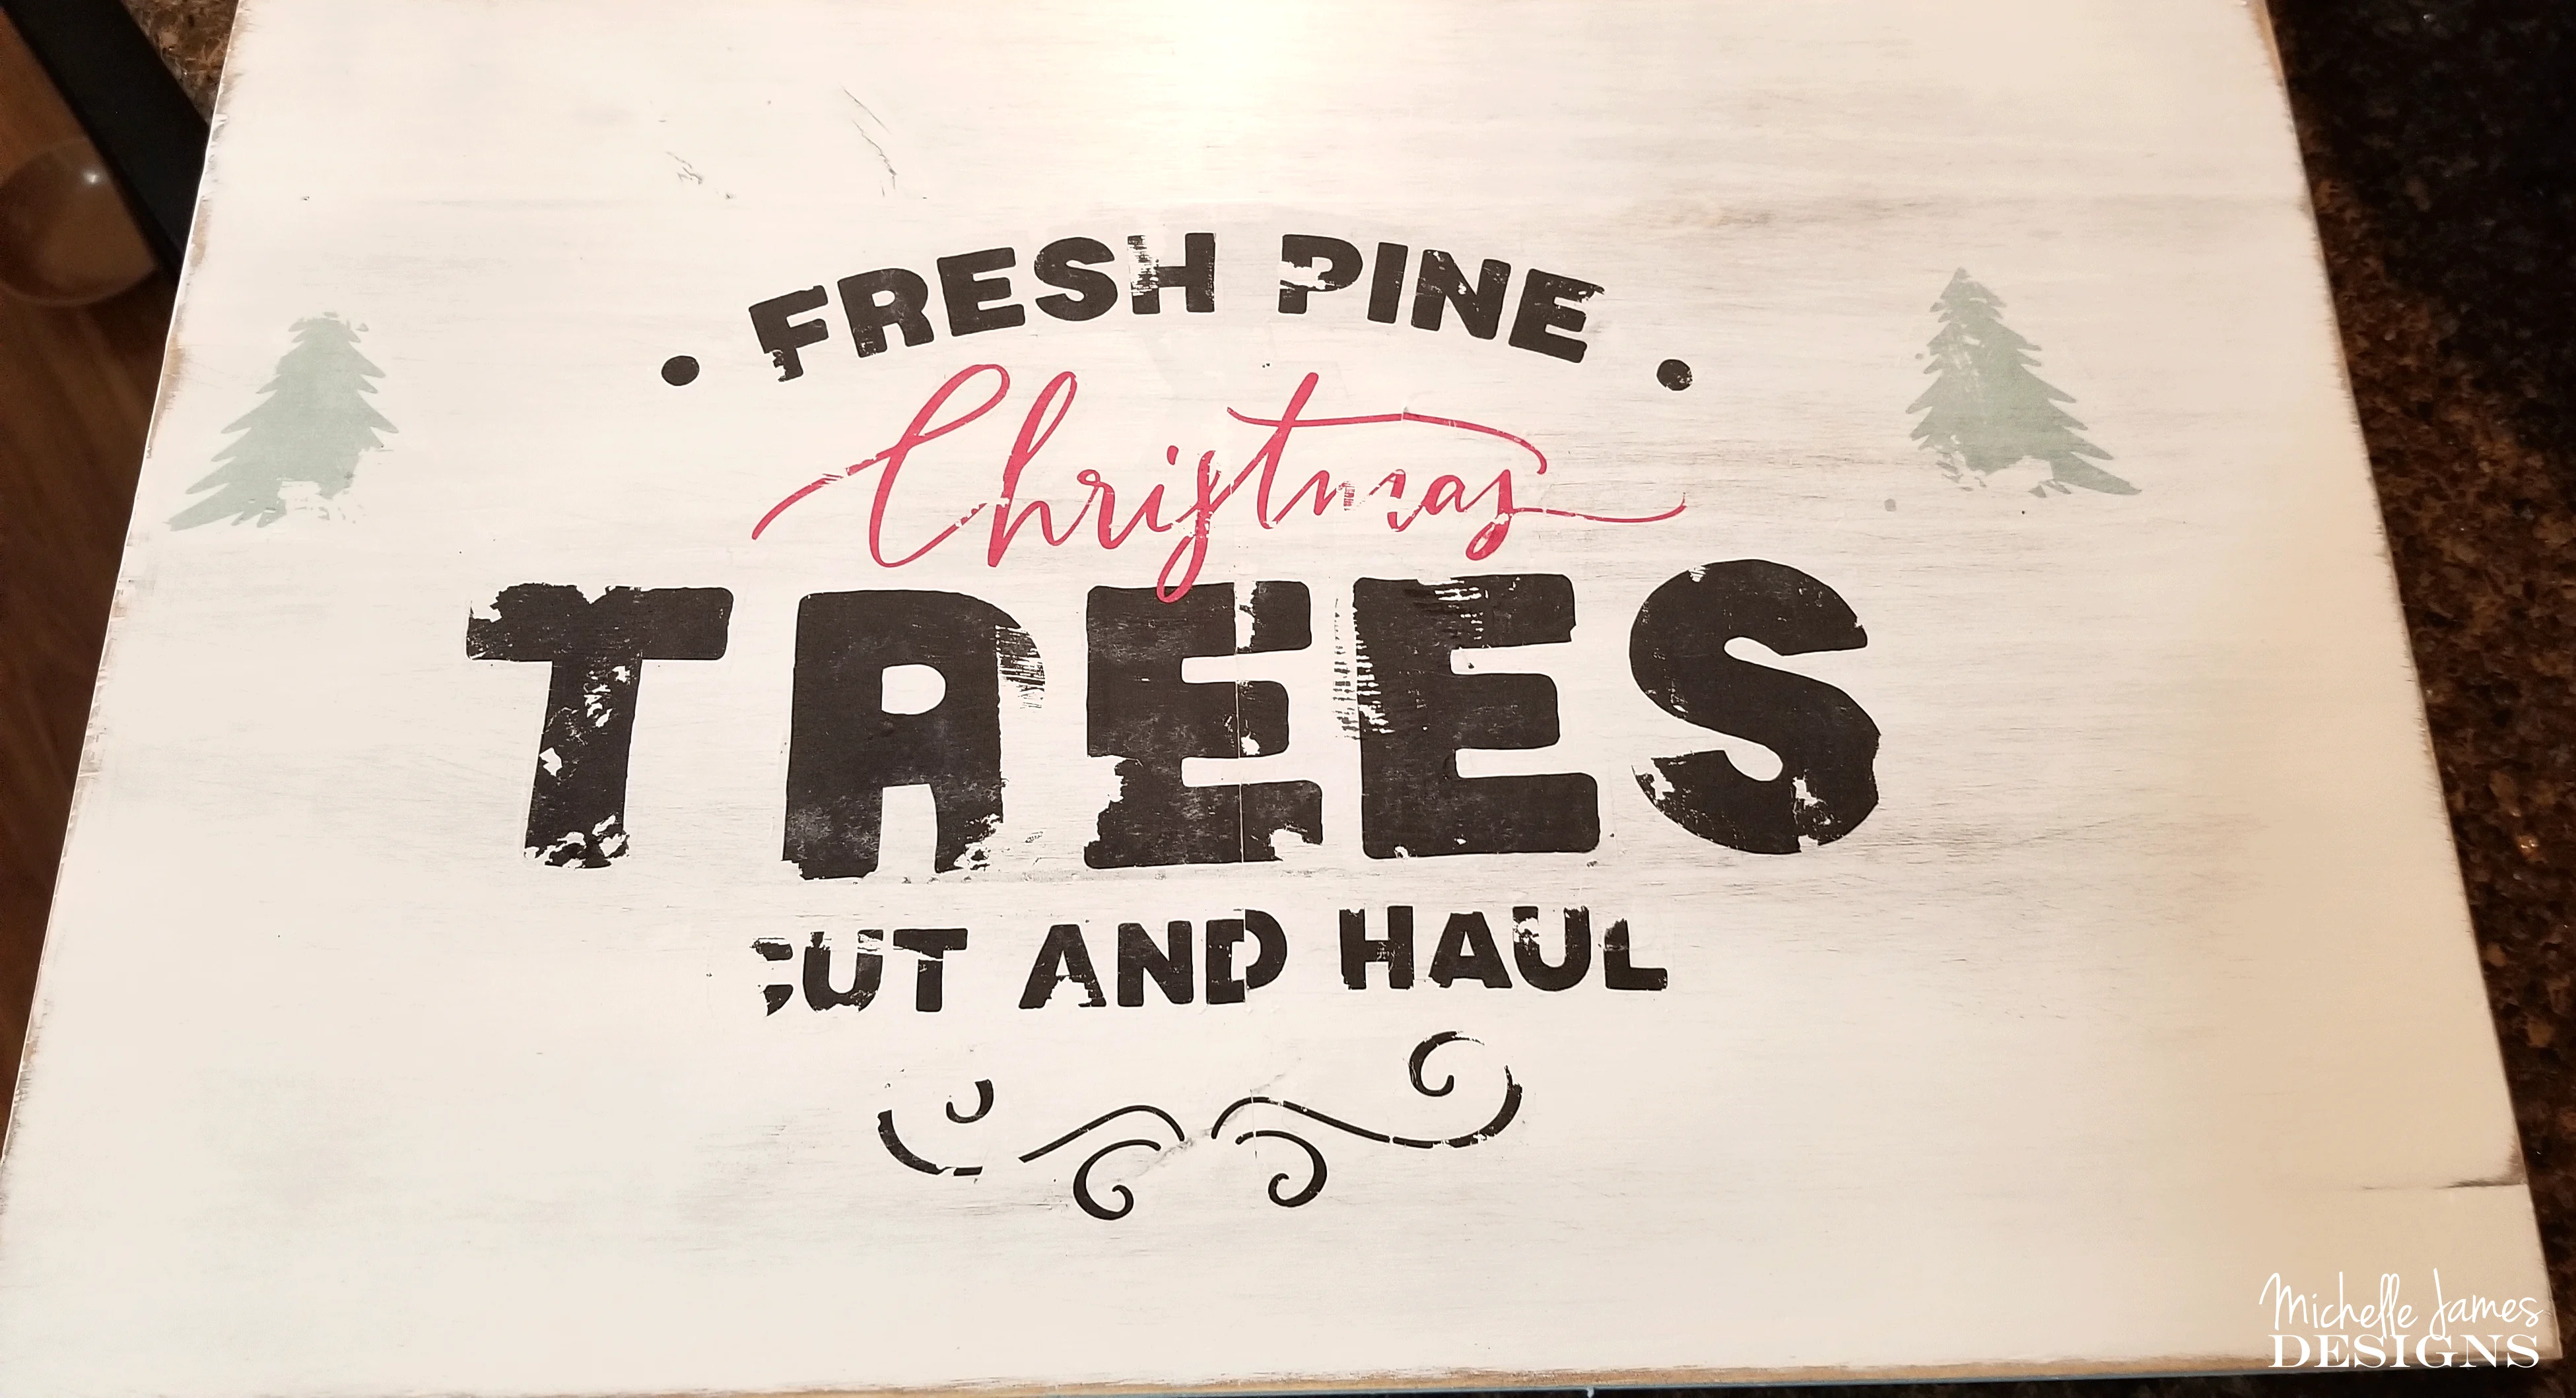
It looked horrible. I am not sure if the design was too big, if the wood was the problem, if I used too thick of printer paper or what. The product is from a great company so I am not giving up on it. Maybe I need to try it on a smaller scale with a different material and it may take some practice.
Starting Over
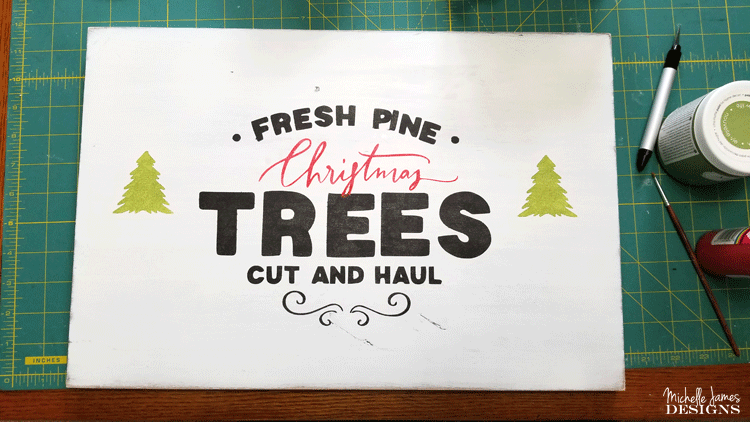
So to fix this I turned the board over and started again. I made a stencil from the design and cut it using my Silhouette Cameo. You can check out the video below to see how I made a cut file from the PNG files in the Silhouette design program.
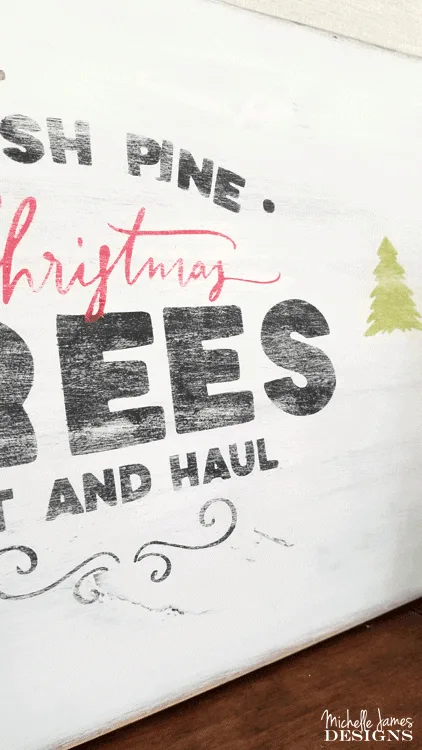
Then I followed my usual stencil process. You can find the full tutorial in my Farmer’s Market Sign post. The sign came out much better this time.

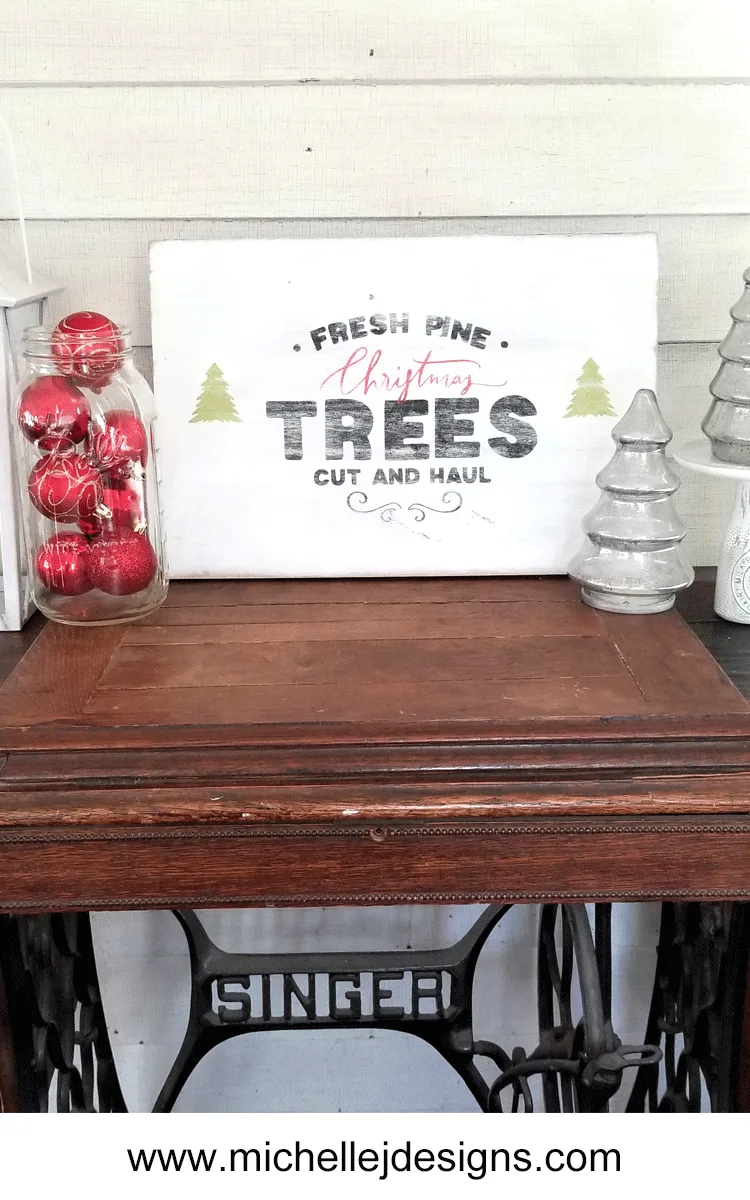
I sanded over the design once it was completely dry to create the rustic look and I really love it now.
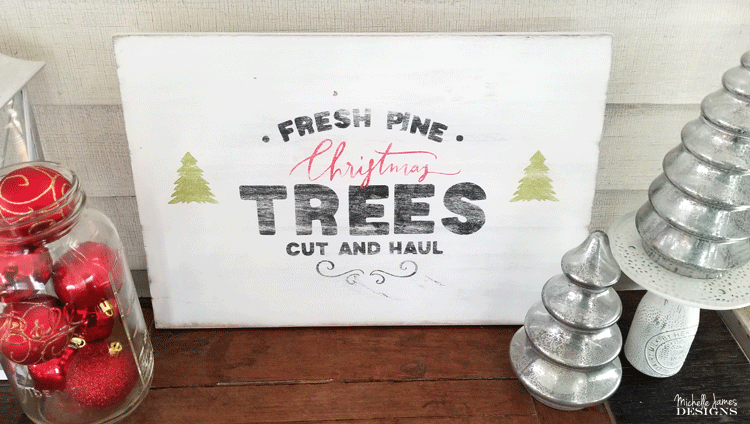


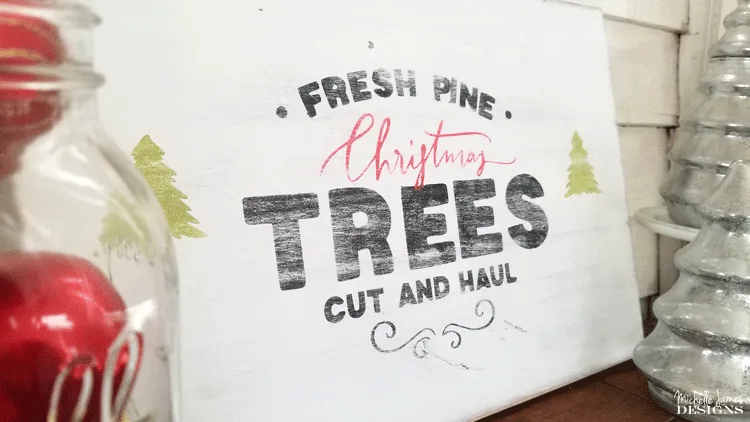

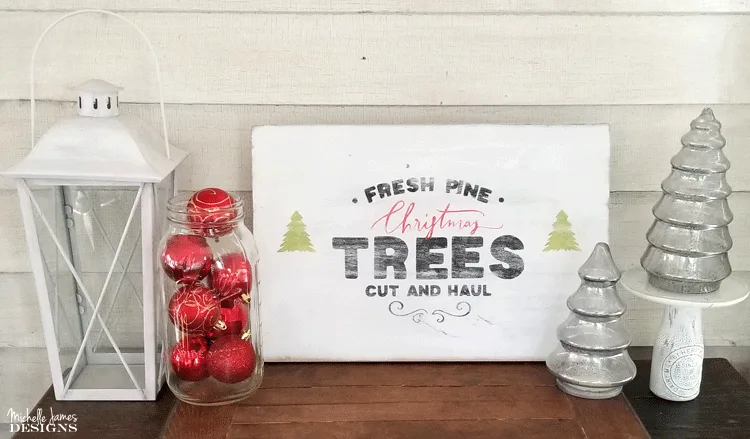
What do you think?


Thanks so much for stopping by!
Michelle
Carolann
Tuesday 28th of November 2017
I just love this sign, Michelle. I can't believe the transfer method didn't work out. I was about to grab a bottle. in the end, it turned out so very beautiful!
Michelle
Tuesday 28th of November 2017
Hi Carolann! I know I was really disappointed too. I will try it again on something else. I am glad you like the sign. I really love it.
Peggy
Monday 27th of November 2017
i'm so glad it turned out cute in the end...so you didn't end up using the transfer method, huh? THat's a bummer! I say we try it again on a different project.
Michelle
Tuesday 28th of November 2017
Hi Peggy! I definitely want to try it again. It says it works on wood but I am not sure the wood was the best choice. It ended being what I wanted using the stencil.