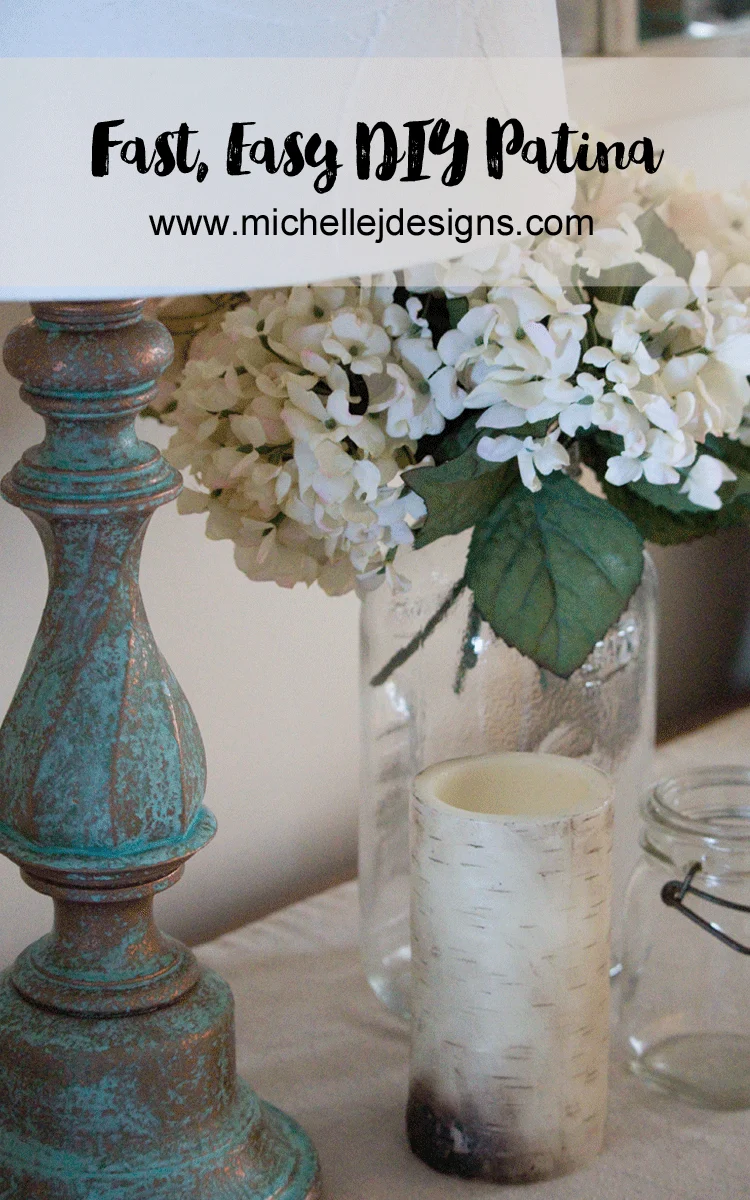
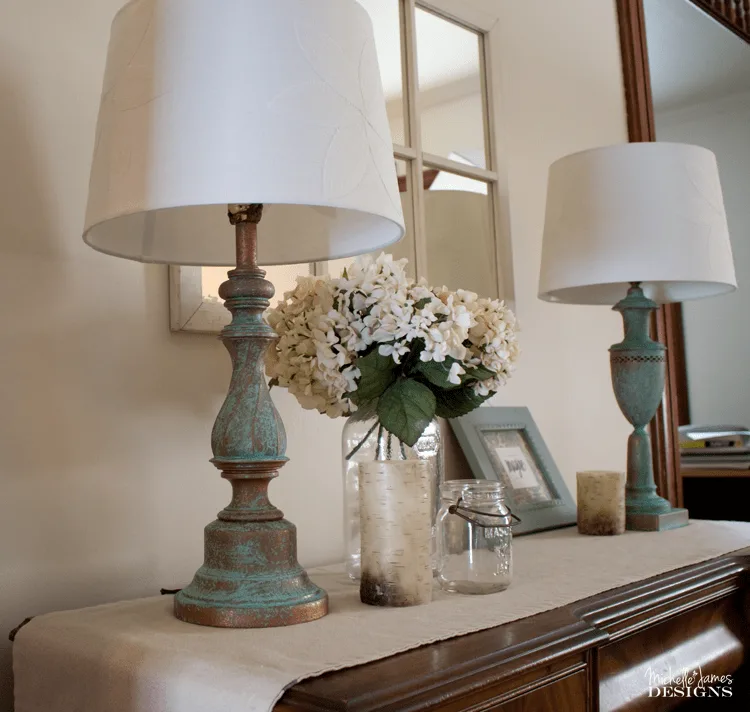
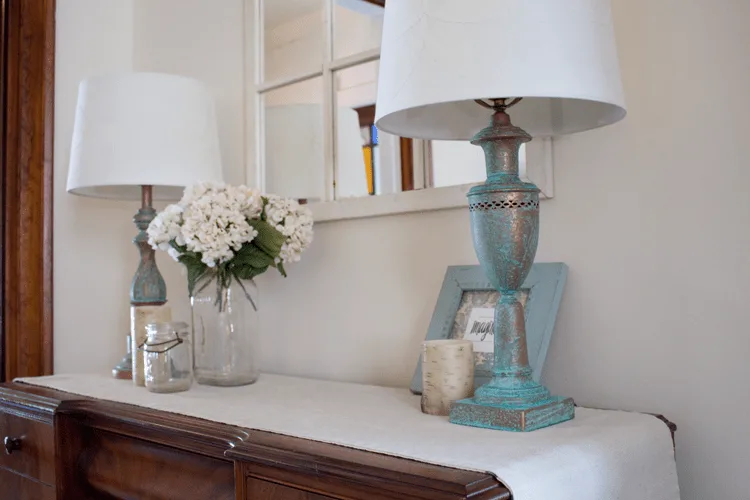
You guys this Patina Kit from Modern Masters will blow you away! Wait until you see how amazingly easy it is to create a patina effect on just about any object. I chose two lamps that were outdated brass and transformed them into old world treasures.
I used the green patina kit but it also comes in a blue and a rust. They are so cool. Modern Masters was nice enough to send me this kit and let me try it out but all opinions are 100% my own. You should really check out all of the amazing products that they offer. I would LOVE to use the door paints. My home really needs an outdoor spruce-up and this would be the perfect project.
Using The Patina Kit
I have included affiliate links for your convenience. You can read my full disclosure here.
This Patina Kit comes with the primer, the copper paint, the patina spray, two chip brushes, two stir sticks and the directions. It has everything you need to finish the job.
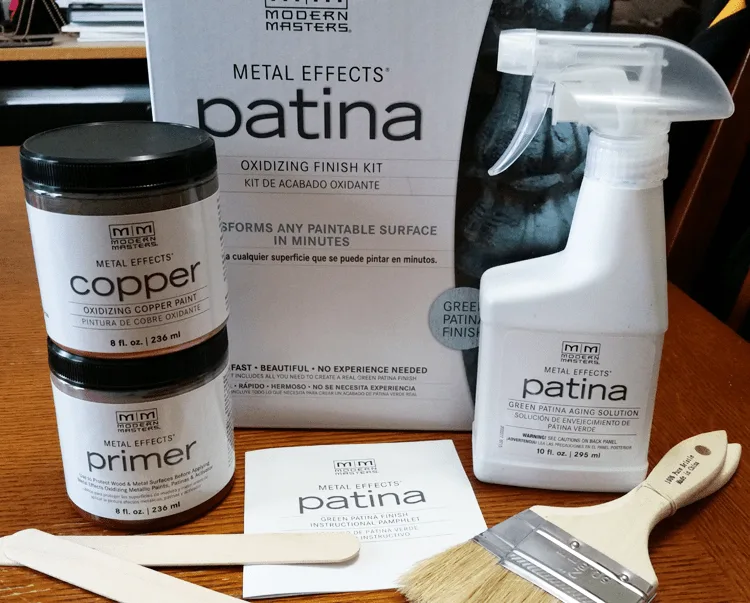
As I mentioned above I chose the green kit. It is more of a teal green and that is what I loved about it.
I purchased two lamps at the thrift store and brought them home specifically for this project and I was so excited.
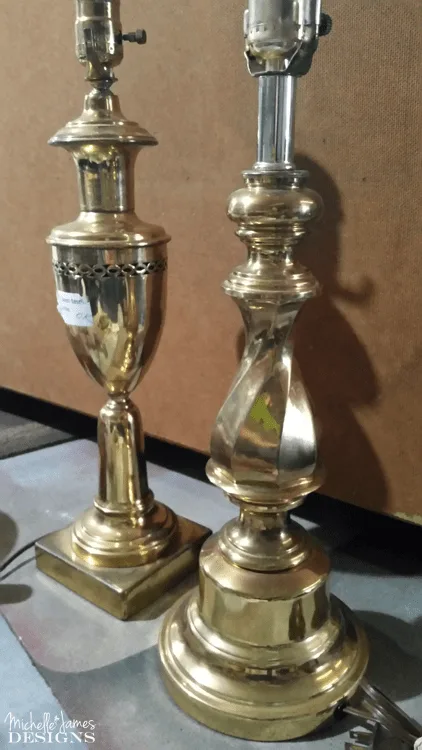
Beautiful, right down to the gazillion stickers they put on them. I don’t know why they do this but there always seems to be at least 2 price stickers and the lamps have a “tested on ____date” sticker too. It is large and doesn’t seem to come off easily at all. I had to break out the Undo to remove them completely.
Three Easy Patina Steps
Step 1: Prime your piece
After removing the stickers and cleaning off the lamps they were ready for the primer. After the first coat has dried for about 30 minutes apply a second coat. This will dry for 12 hours.
Step 2: Paint your piece
The kit includes the copper paint that will react with the spray in step 3. Paint the first coat and let it dry for about 30 minutes. Then apply the second coat.
Step 3: Use the Patina Spray
While the second coat of copper paint is still wet, spray a light mist of the Patina spray onto the paint. You will start to see the reaction in a few minutes.
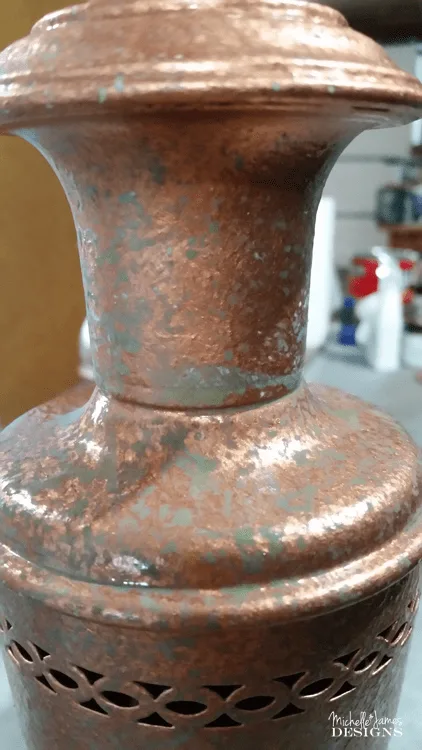
This was after about 4 or 5 minutes.
There were some areas that did not seem to react at all. For these parts I added a little more copper paint, then re-sprayed. It did help but they still did not seem to react very well. I am not sure if it was something on the brass or what. Jeff kept telling me that Patina is random and this is how it looks. I finally listened to him and stopped messing with it.
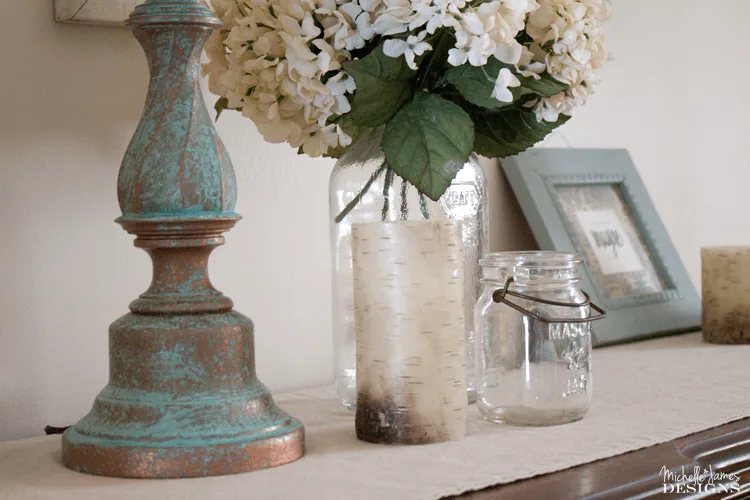
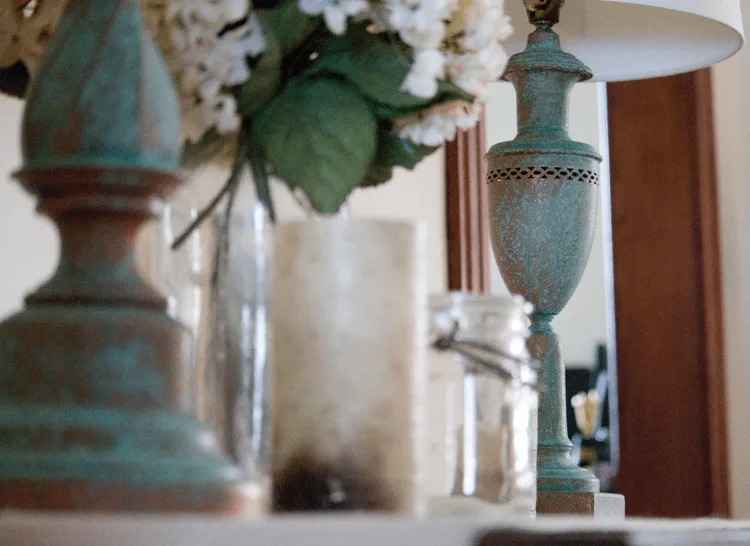
The final effect is pretty amazing.
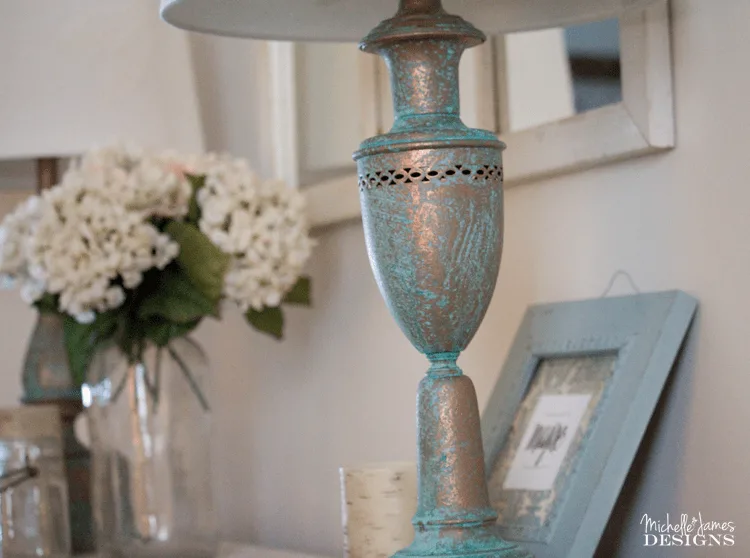
What do you think? Here are the steps one more time!
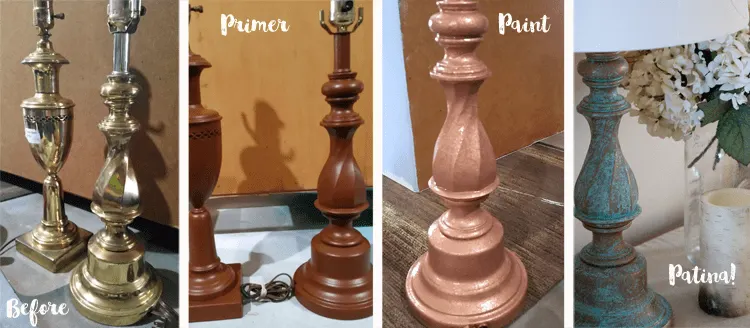
Do you love it? It was so easy to do myself and the effect is pretty, darn cool!

Be sure to visit the Modern Masters website to see at all of their amazing products. Here is what some of my friends did with them.

Sassy Townhouse Living – Metallic Bar Stools
Makin’ My Apt A Home – Front Door
The Chelsea Project – Baking Tray for Storage
Have a great day and thanks for stopping by!
Michelle


Laurie Kollins
Sunday 19th of February 2017
I often use a patina on my jewelry designs....never thought to do this on any thing else. I'm off to the flea market this summer. Beautiful look, thank you for the ideas.
Michelle
Sunday 19th of February 2017
Hi Laurie! Thanks so much for hopping over to the blog. I had a lot of fun with this kit. I need to try it on some jewelry too. Thanks for that idea!
Joyce Lane
Sunday 19th of February 2017
I have several lamps, I will have fun!
Michelle
Sunday 19th of February 2017
You will have fun. Thanks or stopping by Joyce! I appreciate it.
Elaine
Sunday 29th of January 2017
These are beautiful! I have used Modern Masters paint and love it. I wonder if the lamp must be metal? I have a ceramic lamp I spray painted, and want to give it a new look. I love the way we can change our things with paint. If I don't like it, I put it in a yard sale. Someone will love it!
Michelle
Sunday 29th of January 2017
I don't think they do have to be metal. I am pretty sure the primer and the copper paint along with the patina spray causes the forced patina look. I am not sure it matters what is underneath. I am so glad you like them. It was a fun project. Thanks so much Elaine.
Susie from The Chelsea Project
Thursday 29th of December 2016
Your lamps are amazing! Love the color with the rest fo your decor. Great job!
Michelle
Friday 30th of December 2016
Thanks Susie. I am not sure what room they will call home yet but it will most likely be the new guest room. But they do look pretty on this desk. I appreciate your nice comments. Thanks again.
Heather Northington
Thursday 29th of December 2016
Loving this look! The patina gives it such a unique finish. Great job Michelle as always.
Michelle
Friday 30th of December 2016
Thanks Heather. I really loved what you did with the trunks. That was very creative. I am loving this product.