It is always fun to make things for baby’s rooms and this baby furniture was no exception. And it was even more fun because I had a little help.
These pieces belong to my friend Barb and she was there during every step of the painting process to help transform these pieces for her new grand baby! It was also the perfect project for this month’s Furniture Refresh Challenge. Each month I get together with some blogging friends for a little furniture refresh challenge. It is a lot of fun! These guys are really talented.
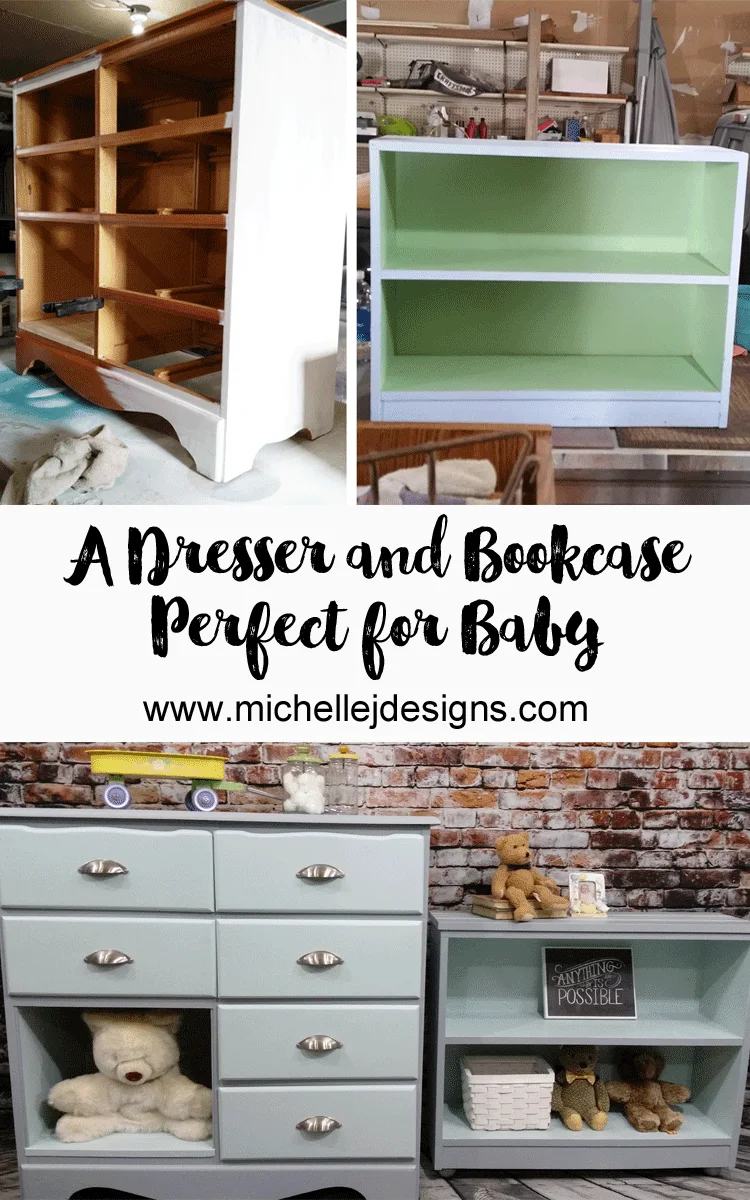
Baby Furniture Update
When Barb called me to ask if I would help her makeover a dresser and a small bookcase for her new grand baby I was beyond thrilled. I new it would be a lot of fun to paint with her and spend a little time with my friend I hadn’t seen in a while. We had a great time.
The baby furniture pieces started out like this.
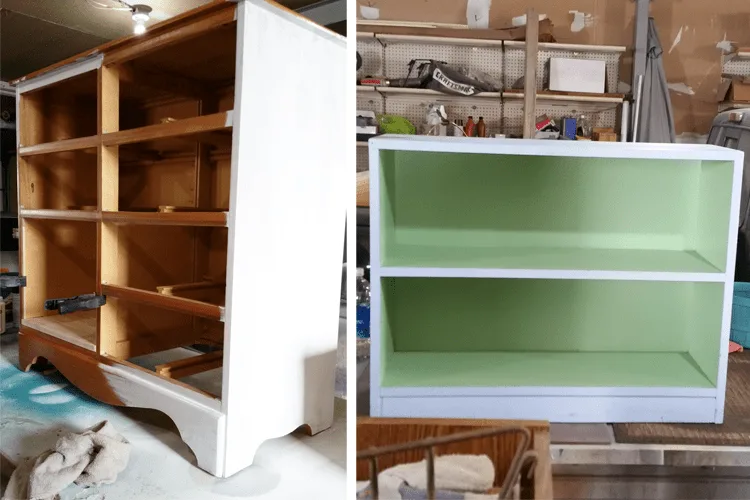
I was very excited to get going that I forgot to take a before pic of the dresser with all of the drawers. But you can see what the wood looked like. It was a brownish redish color.
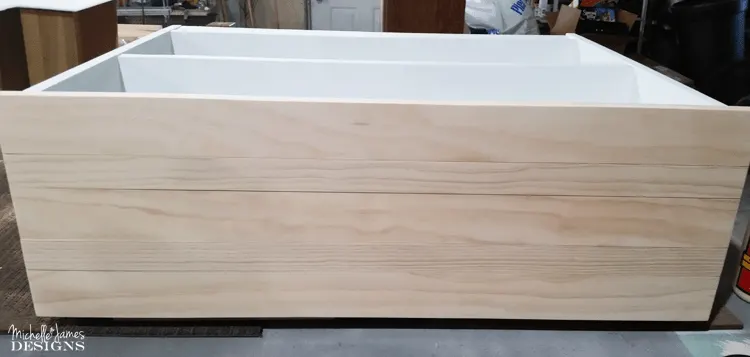
We added white primer to start on both pieces. At one time someone had placed a sticker on the top of the bookcase and it was not easy to remove. So, we added a some wood to the top which gave it a little more style anyway. But the size of the shelf was such that to get some wood to fit Jeff had to use two different sizes. There was a very slight difference in the thicknesses too. I think it is weird that boards that say they are a certain size can’t actually be that size.
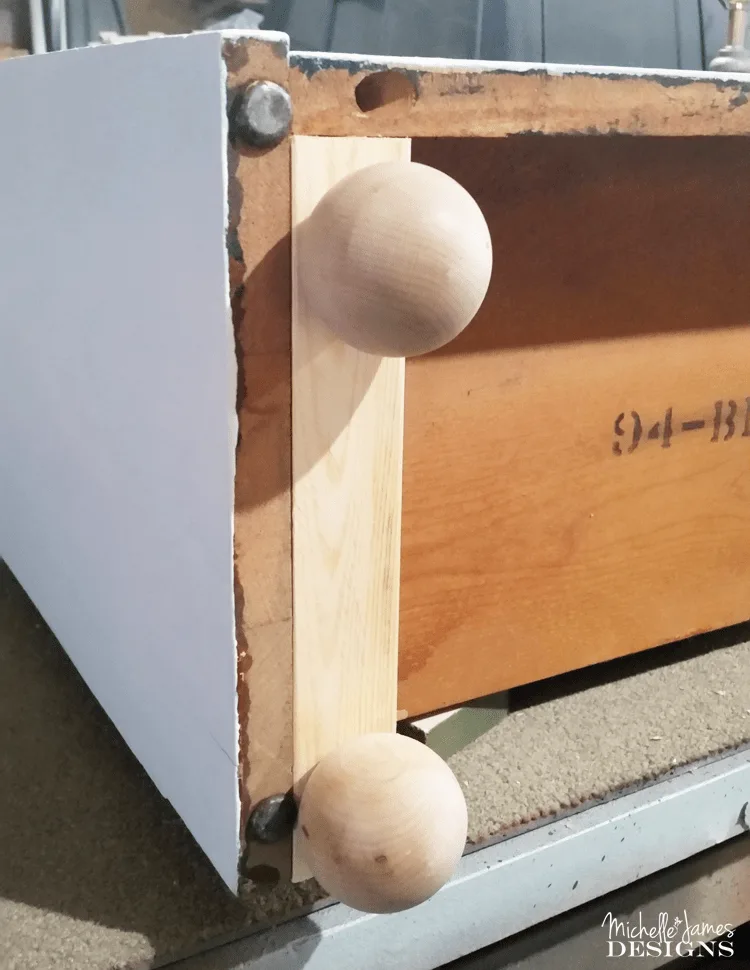
Barb really wanted some round feet for the bookcase too. So we picked up these guys and Jeff mounted them to the bottom for us.
Jeff also made an alteration to the dresser. Barb’s daughter wanted a place for a large basket. He used some 1 and 1/4″ pieces to create a “cubbie” and removed two of the drawers.
The drawer fronts and the cubbie on the dresser were painted with a soft, sort of minty green and the rest was a beautiful gray. These were the colors mom chose and they really were perfect.
The bookcase got green shelves and gray on the outside. Barb had a great idea to paint the cute stripes on the top to help hide the slight difference in thickness.
How It All Turned Out
New hardware was the icing on the cake and both pieces turned out so nice.
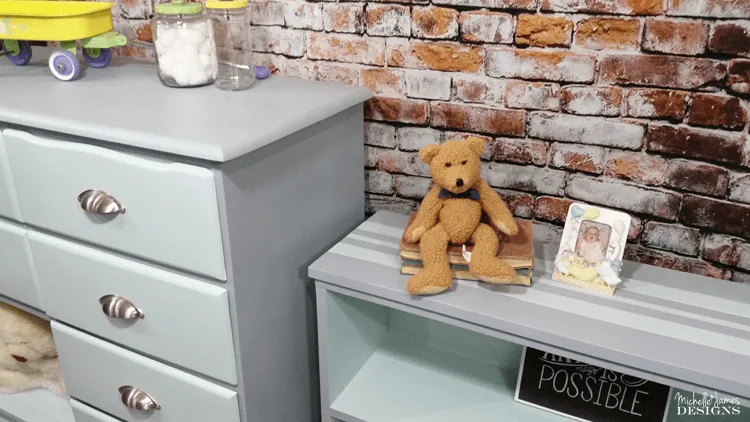
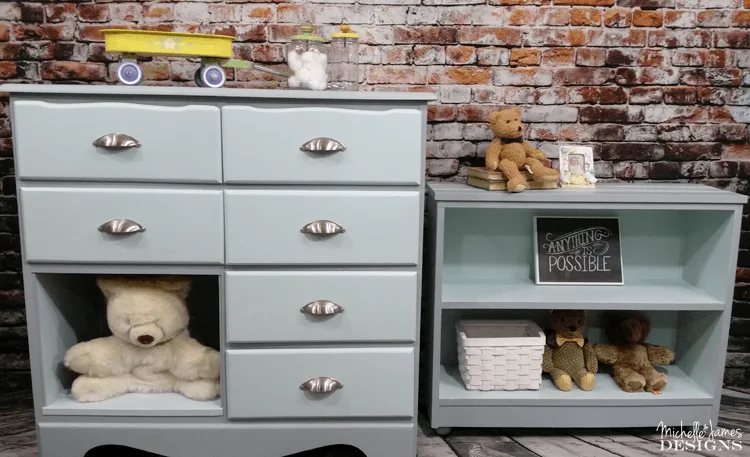
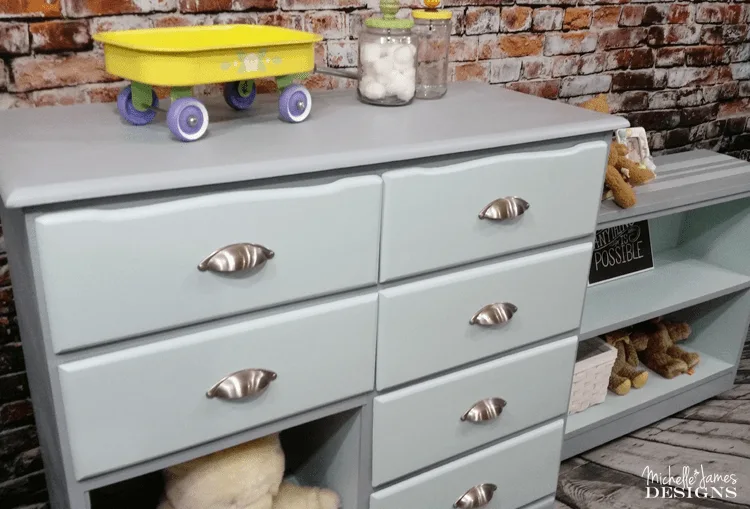
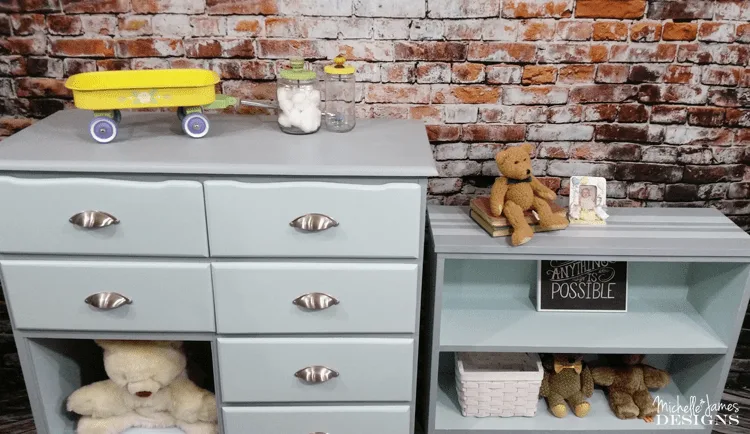
What do you think? Won’t they just be perfect in a baby’s room? I hope I get to see some photos of the entire nursery when it is done. It will be amazing!
These are the talented bloggers!
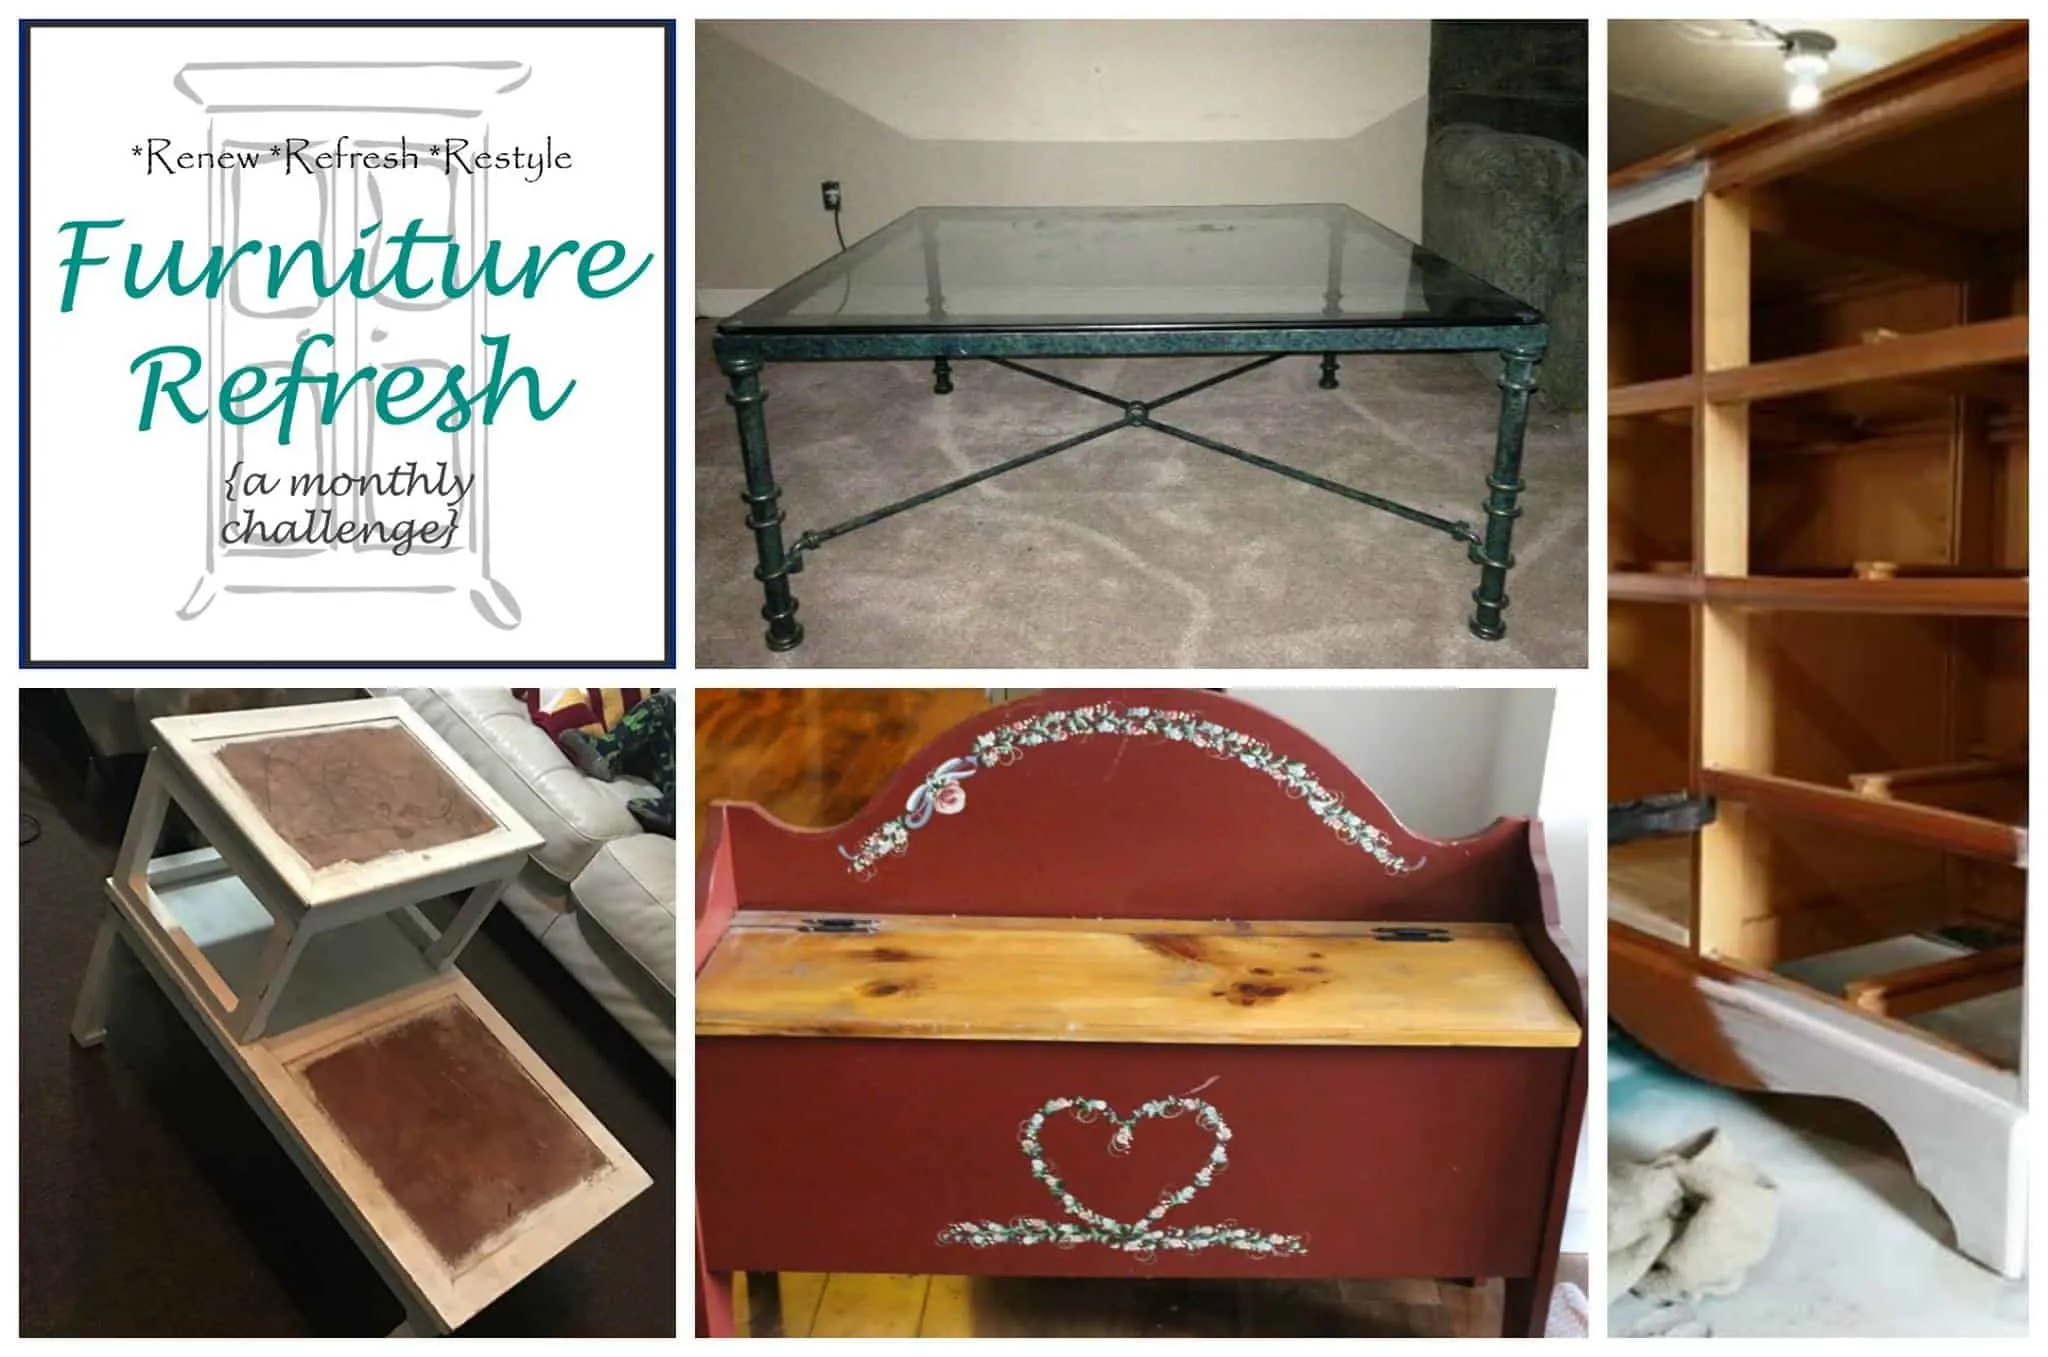
These are the amazing project from this month’s challenge. Please visit their blogs and read their about their furniture adventures.
Makin My Apt A Home – Living Room End Tables
A Purdy Little House – Faux Marble Coffee Table
Shelstring Blog – Magazine Table Refresh
Thanks so much for stopping by today. Be sure to sign up for my email/newsletter so you don’t miss any posts!
Michelle

End Table Makeover Using An Old Map



Michelle James
Saturday 14th of January 2017
Michelle, what a great job you did on these!! The color is gorgeous! What a wonderful addition to any nursery! Also I'm in love with the little yellow wagon!
Michelle
Saturday 14th of January 2017
Thanks Michelle! I love the wagon too. It was a Goodwill find. I will probably paint it sometime but I am glad that I hadn't yet. So glad you stopped by!
Susie from The Chelsea Project
Wednesday 11th of January 2017
How cute! I bet baby and mom will love it!!
Michelle
Thursday 12th of January 2017
Hi Susie! Well I was told that mom loved it...baby...not yet! LOL! Thanks. We loved the way it turned out.
Peggy Stolley
Wednesday 11th of January 2017
Your redos are SO cute! This is adorable!
Michelle
Wednesday 11th of January 2017
Thank you Peggy! That is so sweet!