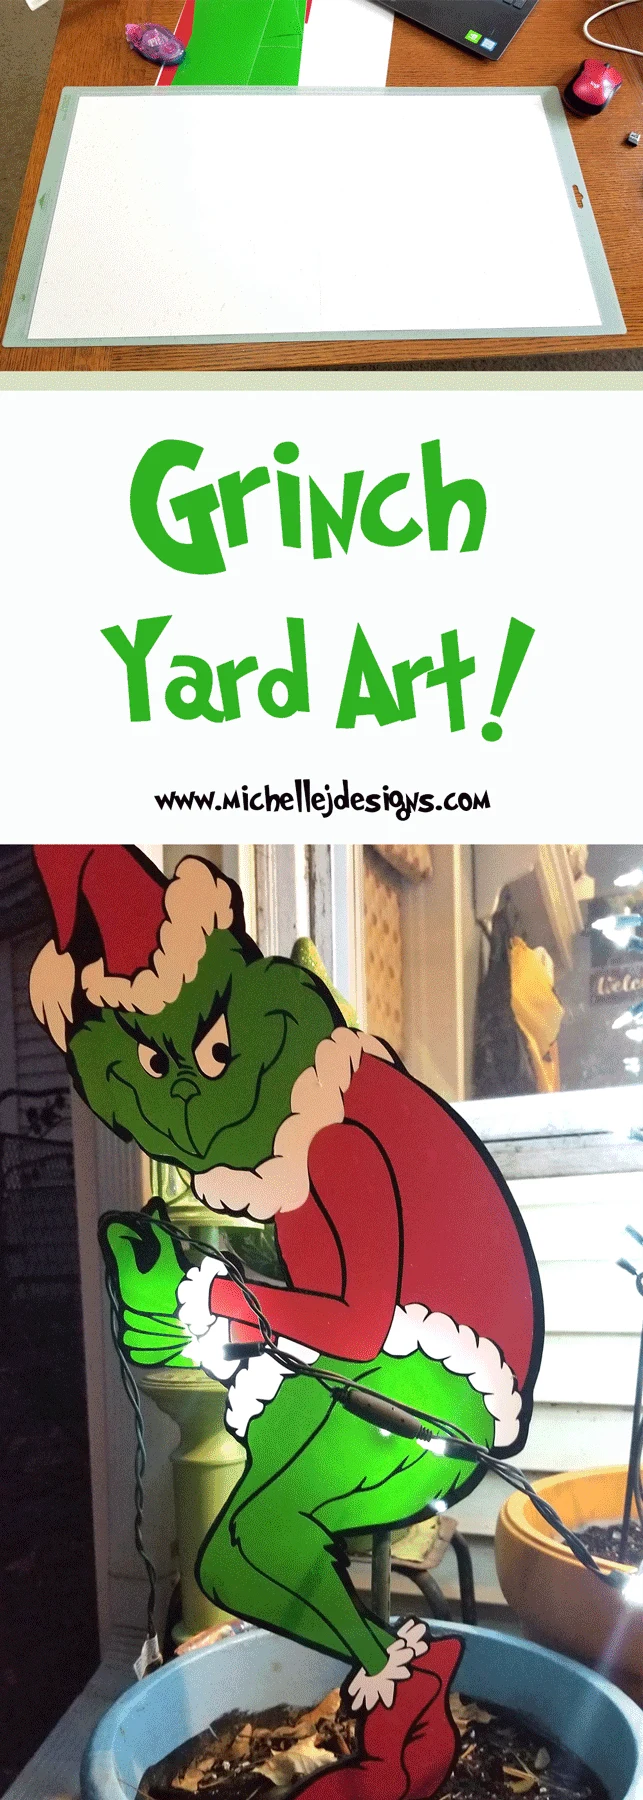
Well, it is only natural that having all of the Grinch decor inside would eventually spill to the outdoors. I decided I needed some fun Grinch yard art outside of my back door to greet visitors.
The StyleTechCraft vinyl was the perfect choice for this larger-than-my-usual-vinyl-project. I wanted Mr. Grinch to be large enough to go with my lighted tree outside.
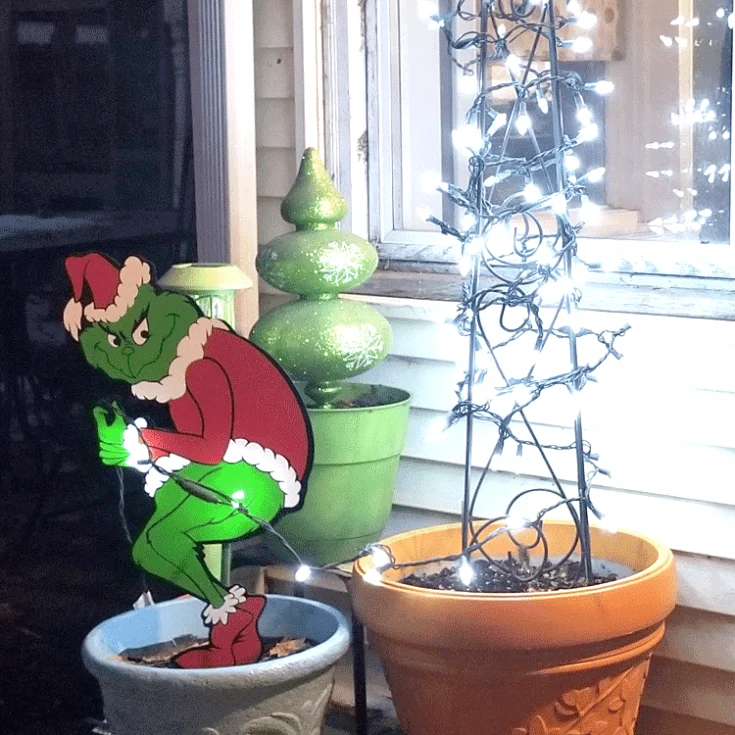
My lighted tree is metal plant climber (sort of like a tomato cage only prettier). I wrap a set of lights around it and it sit in one of the flower pots by my back door.
I may or may not need new pots just for Christmas. My spring/summer colors don’t work very well for the holidays.
Anyway…
I would say the tree is close to 4 ft tall. With the materials I had to work with and the size I can easily cut with my Cricut I decided to make Mr. Grinch about 11.5 inches wide and he ended up being about 21 inches tall.
He just turned out so stinkin’ cute.
If you like to make your own Grinch crafts and decor then you have come to the right place!
Grinch Yard Art
This is a sponsored post from StyleTechCraft. They have been nice enough to provide me with a lot of Red, Green and White glossy vinyl sheets. Actually this project only took one sheet of white, and two sheets each of the red and green. Not too bad.
Let’s get started with the steps to creating this guy.
Step 1: Download and cut out the Grinch
The first step is to get the Grinch and download him. I got mine from Etsy. It was on sale for .79 cents. That is so cheap. You can click on this link to see it:
I will have this link again in the materials list toward the end of the post.
Bring the file into your Design Software for utting and enlarge it to the size you want. As I mentioned above mine ended up being about 11.5 inches wide and about 21 inches long.
Here are some screen shots from the Cricut Design Studio. I snapped these shots after I had cut the pieces and I had moved the black silhouette shape so in these he looks a little off center.
Each one of the squares represents an inch so you can see that it is much larger than anything else I have made.
I wanted to get some screen shots of the closer views but I had to split it up into 3. Here they are.
Cut the white, red and green colors separately. Once everything is cut go ahead and weed the pieces and place the transfer tape on the top.
The black outline piece got cut out of 2 pieces of cardstock instead of black vinyl. You will see why in the next step.
Step 2: Trace Grinch outline onto plastic piece
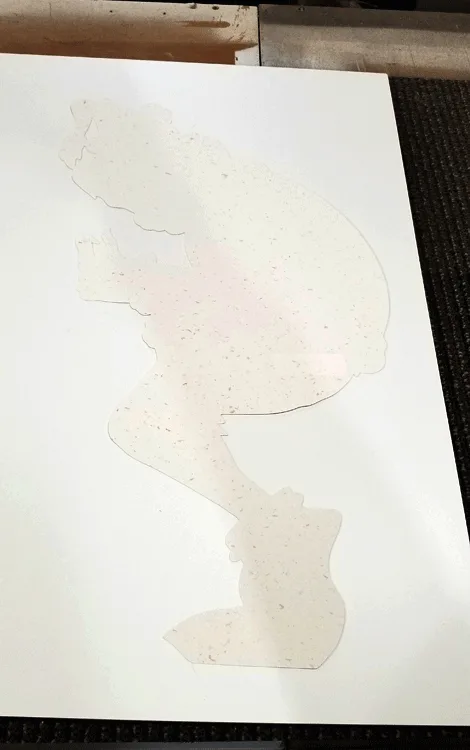
The cardstock is just a template to trace around. The actual Grinch body is made of a PVC material that we get from Menards. I believe it is a ceiling tile. They come in a 24″ x 24″ piece and run about $5 per tile.
We used a sharpie to trace around the design.
I wanted the body to be larger than the vinyl pieces in order to leave a black outline around the entire thing.
Step 3: Cut out the Grinch body
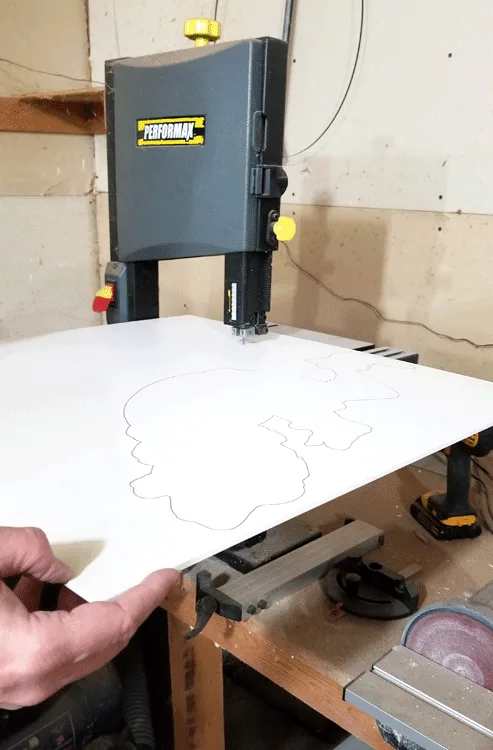
Once you have traced the design it is time to cut it out. This is a plastic piece, sort of foam-like too. So, Jeff helped me with this and used the band saw. It was sort of a tedious job. It was too big to move all the way around in the saw so it was a lot of back and forth and chipping away at the material.
Once it was finally cut out he used the dremmel to sand around the edges. This not only smoothed it out but got rid of any extra chunks that weren’t supposed to be there.
If you don’t have a dremmel then a sanding block would work too. It would just take a little longer.
Step 4: Paint the Grinch Body black
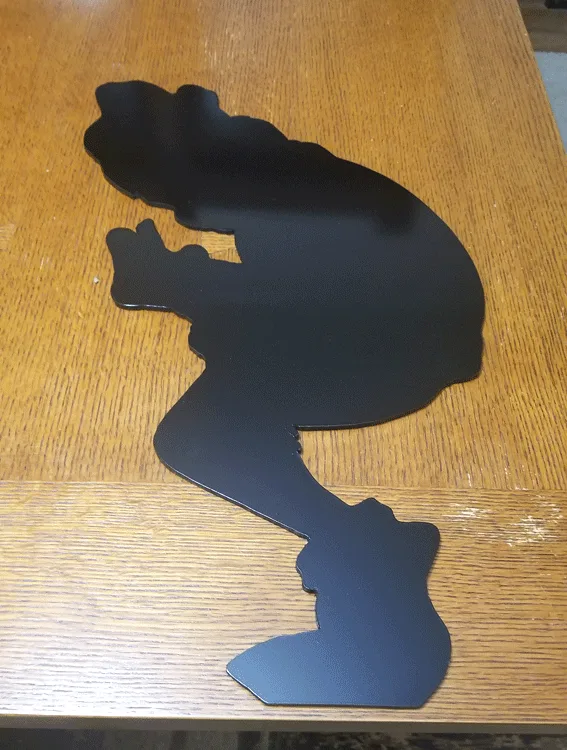
Once he is cut and smooth he is ready for some paint. I used a black, glossy spray paint and it looked great.
Step 5: Apply the vinyl to the Grinch body
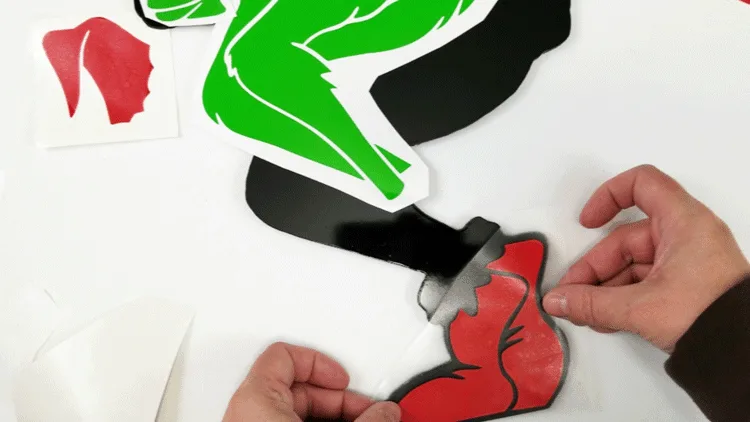
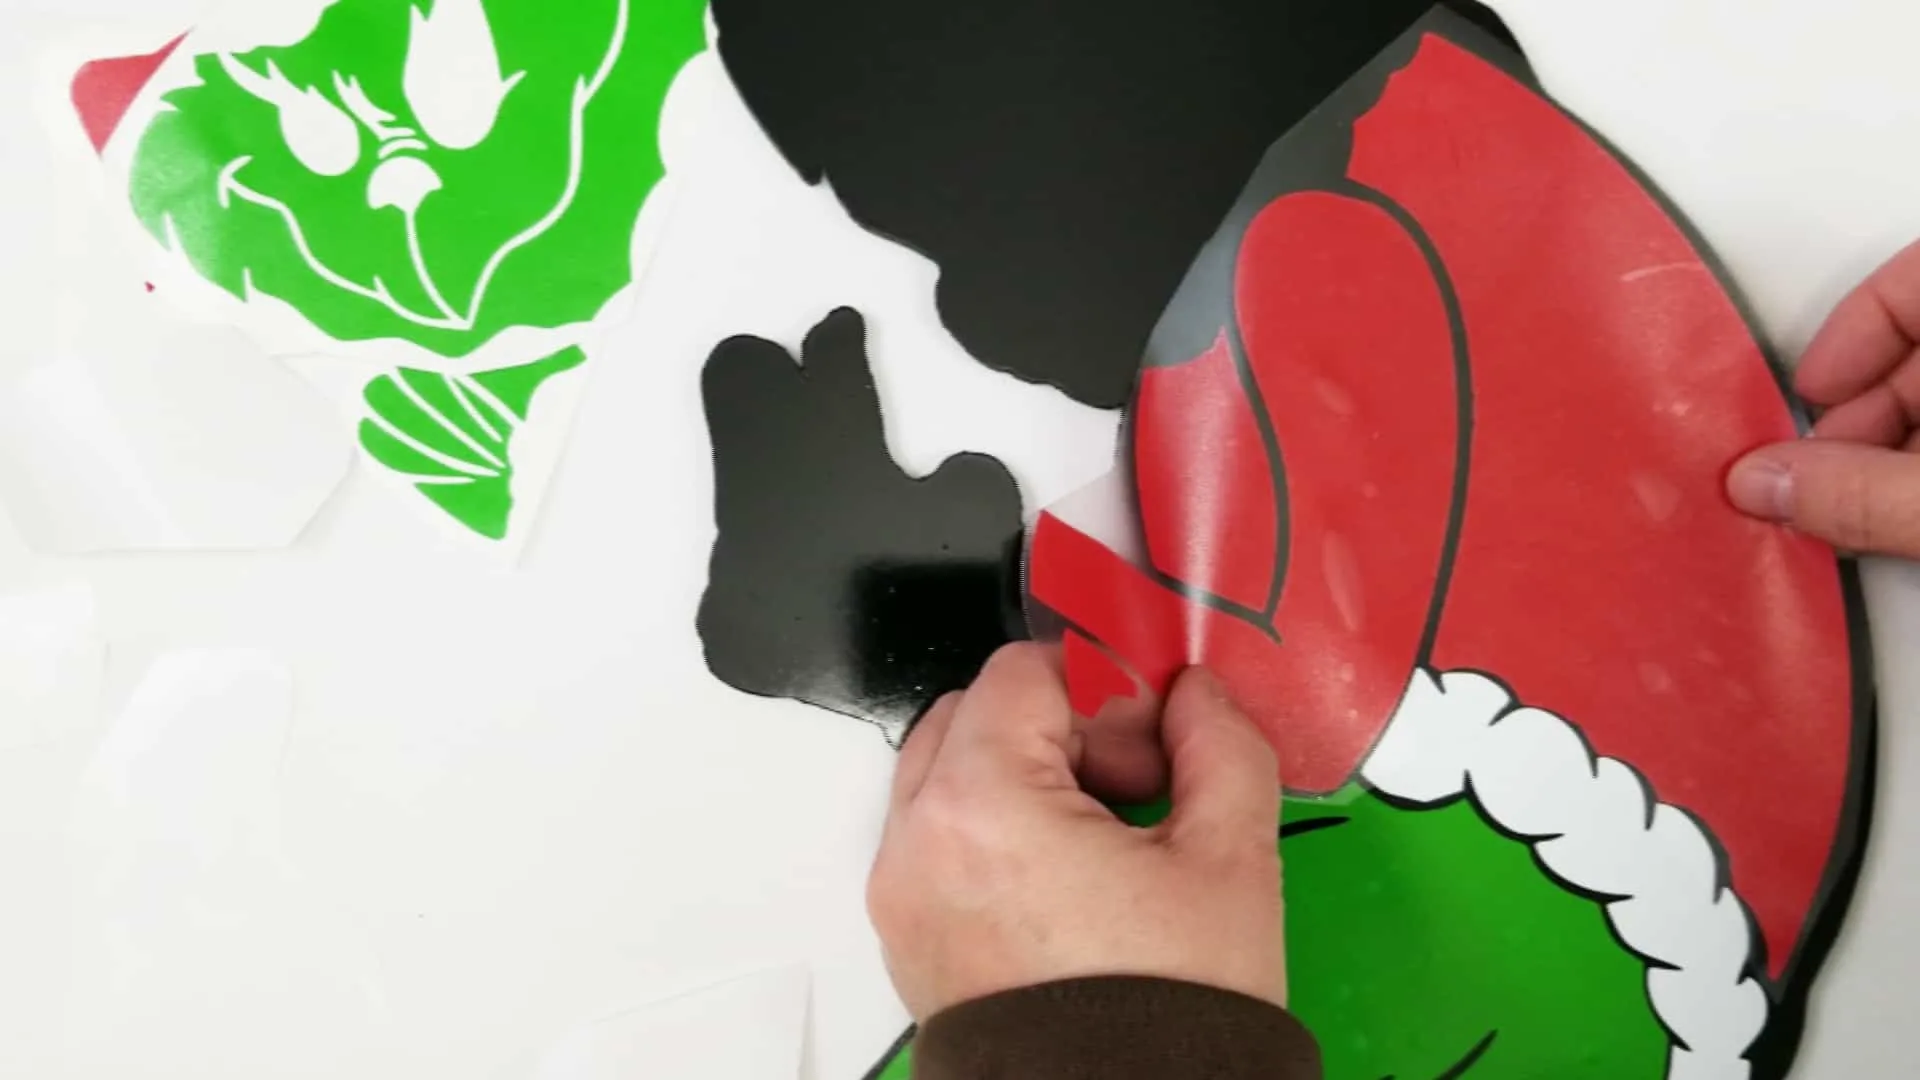
Once the paint is completely dry you can start adding the vinyl to the piece. This is the fun part and you can watch the Grinch come alive.
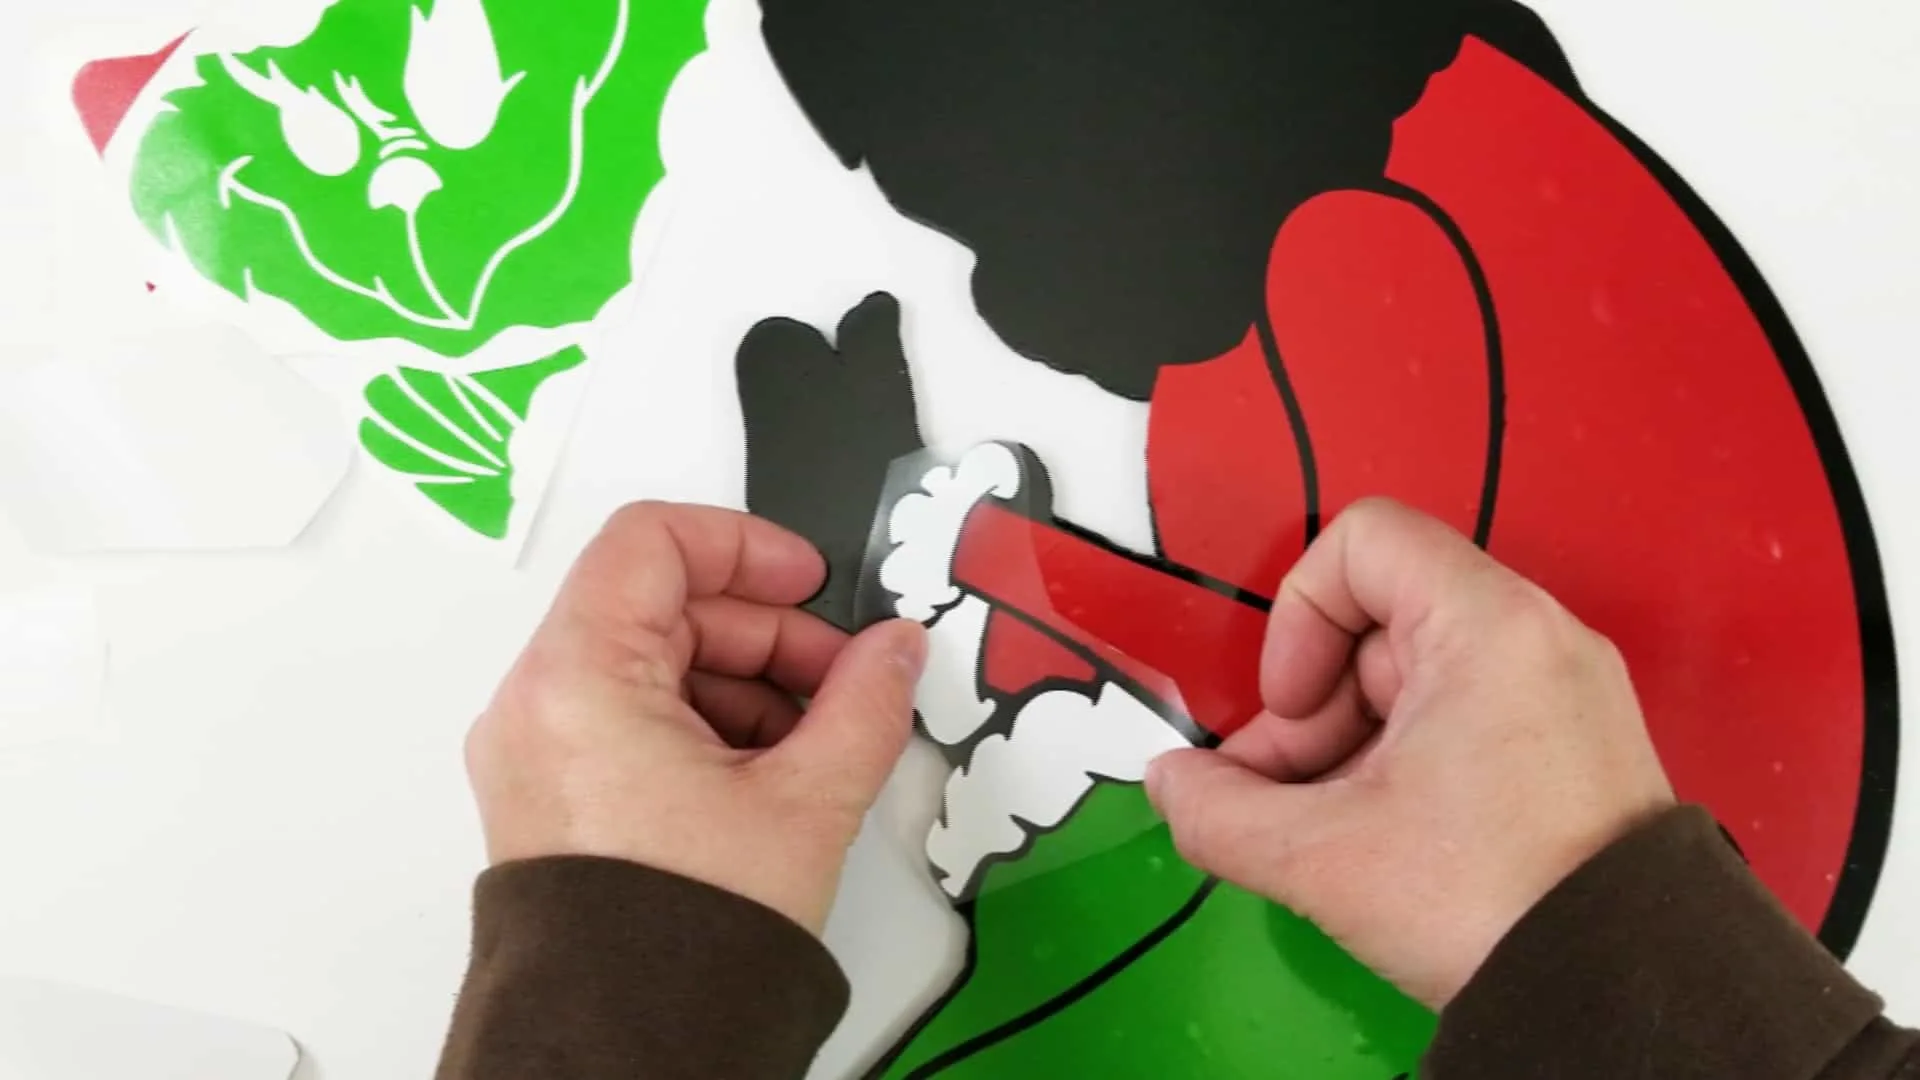
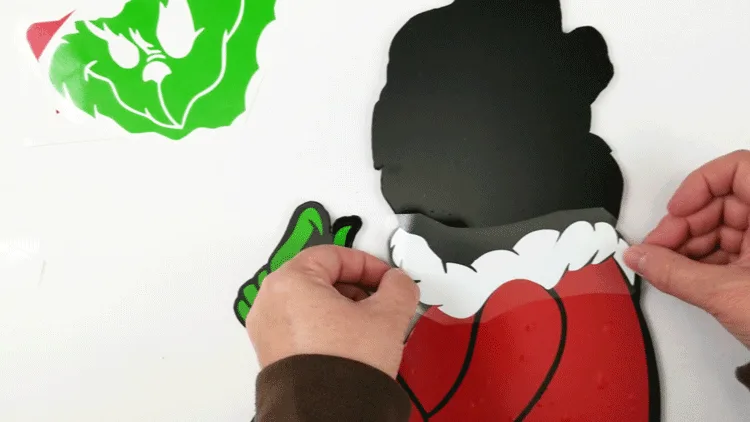
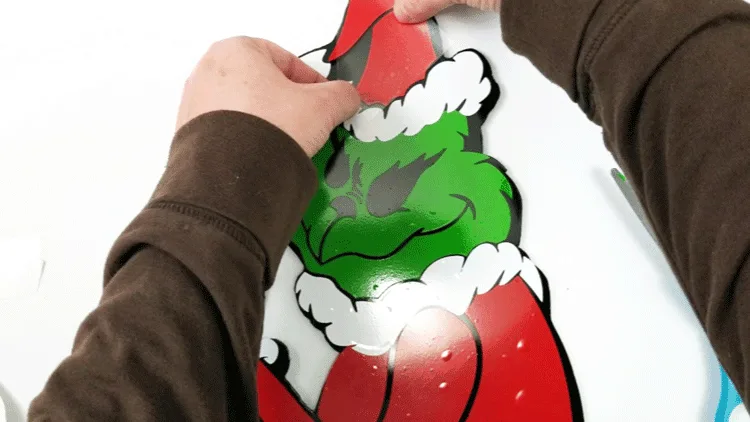
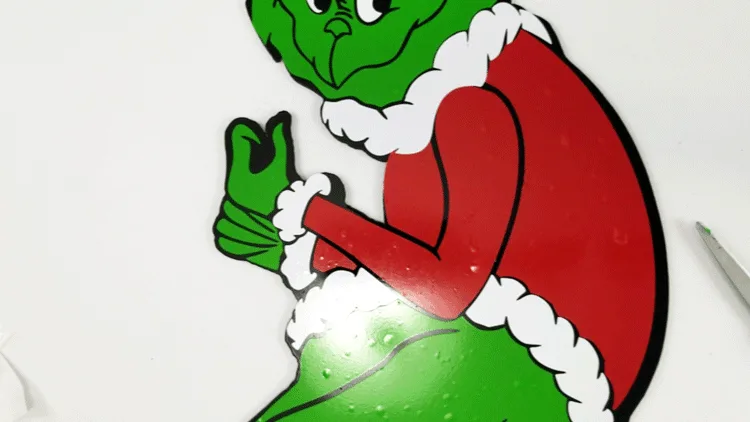
I started at the bottom with his boots and made my way up to his hat. You can see how the black body piece becomes a background and an outline for the rest of him.
As I was moving along I noticed things weren’t lining up as they should. But I kept going as best as I could. You can see in the photo below how big the outline area by his back is.
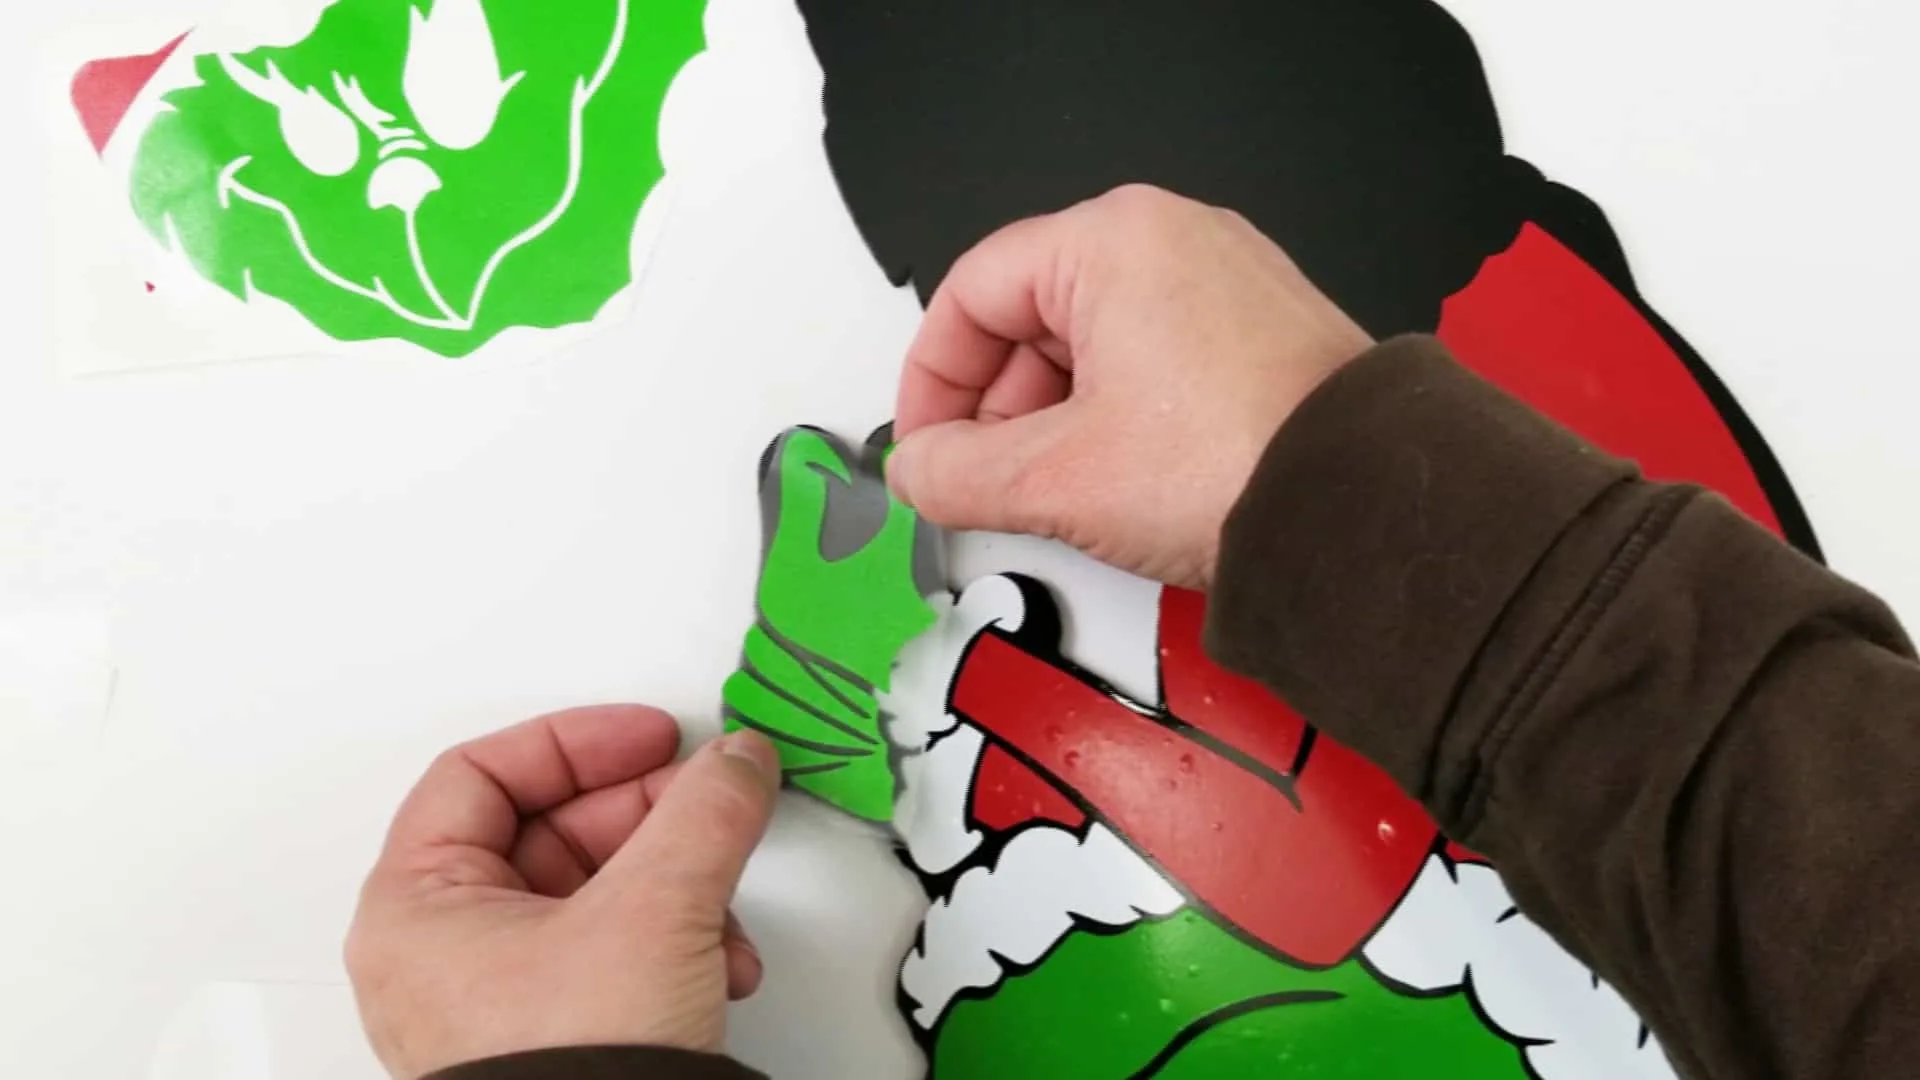
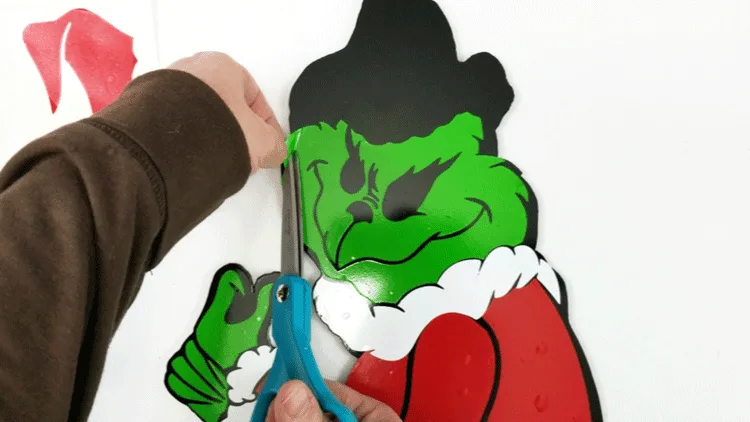
By the time I was adding his green hand there wasn’t going to be enough room without overlapping a little bit. So I improvised. I trimmed the green vinyl to make it work.
The next white piece of fur on his jacket wasn’t lining up well either. There is not much of a separation between the coat and the fur.
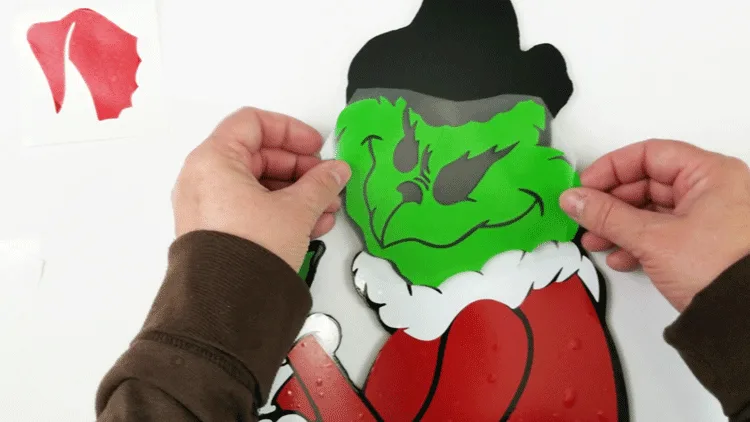
When I got to his face I could tell it was going to be a challenge but I just placed it as best I could then did some more trimming on one side.
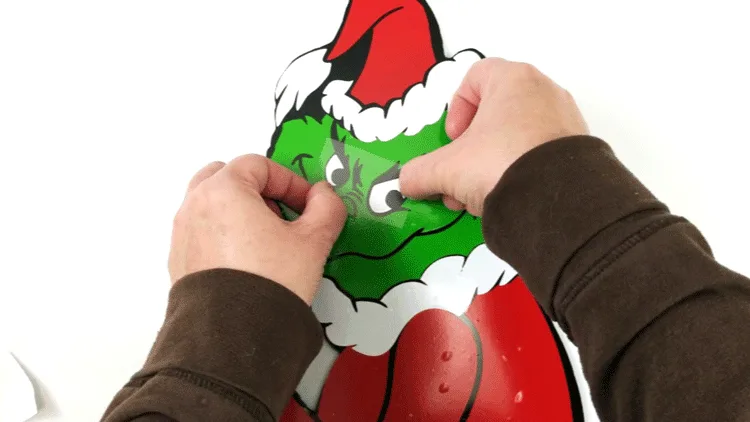
The last bits were his nose and his eyes.
In the end there were some issues but for the most part he looks great. There were some bubbles in the vinyl as well. I tried to smooth them out and I did get some of them but I didn’t worry too much about them.
Step 6: Add the stake to the back
Once he was completely vinyl-ed he just needed a stake on the back to be able to stick him into the dirt in the pot.
Jeff used a piece of plastic rebar and hot glued it onto the back of Mr. Grinch. I was able to just push it into the pot.
The bar does show a little bit but I didn’t bother me. I was just happy he was done.
Step 7: The finishing touches
All I had to do now was to wrap the lights around the tree and make it look like he was stealing them.
This was the most fun part of the entire project.
Doesn’t he look cute? I am so happy with the way it turned out even with the places the vinyl didn’t line up. It is hard to tell when you are looking at it now.
Here is a night time view.
It makes me smile every time I walk up to the house.
Materials Needed:
I have added some affiliate links for your convenience. You can read my full disclosure here.
Grinch Yard Art
This cute Grinch yard art is stealing the lights from the tree on my porch by my back door. He was easy to make with some vinyl and a cutting machine.
Materials
Tools
- Cricut Maker
- Band Saw
- Hot Glue Gun and Glue Sticks
Instructions
- Download the Grinch SVC file and cut out the red, green and white parts using vinyl and the black outline from cardstock. Be sure to size him to the measurements you want.
- Weed the red, green and white pieces and add transfer tape to them.
- Trace the Grinch body outline onto the PVC ceiling tile piece and cut around it using a band saw. Smooth the edges with a dremmel or sandpaper.
- Spray paint the body with black gloss paint and let completely dry.
- Add vinyl parts to the Grinch body starting with his shoes and working your way up to his hat.
- Finish by adding the rebar piece to the back of the body.
- Place it next to a tree decoration or some house lights and make it look like he is stealing the lights from the tree.
- Enjoy.
I hope you like my Grinch yard art as much as I do!
Thanks so much for stopping by!
Michelle


