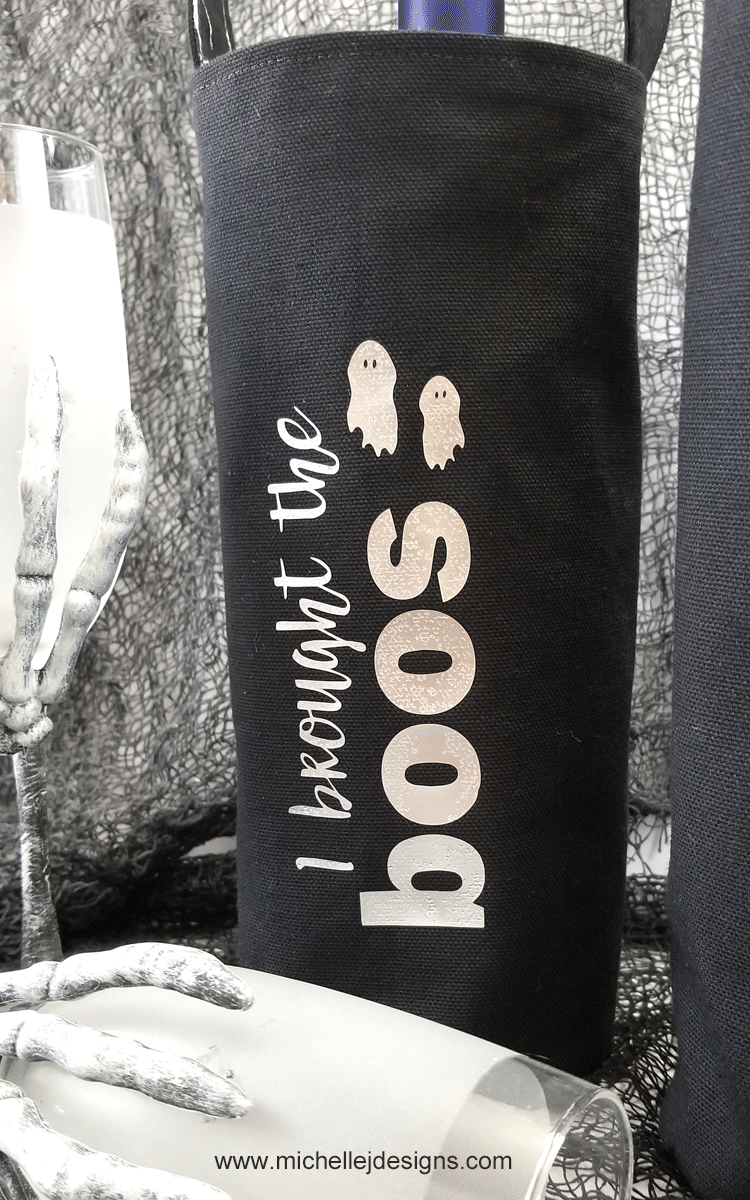
How are your Halloween projects coming along? I have been working hard on Halloween decor but today I want to show you a couple of Halloween Wine Bottle Gift Bags you can make.
These wine bottle bags don’t have to include wine but that is why I am making them. My friends love wine and I love to give it. Plus your friends can re-use the bags and give to someone else. So fun!
All you need for these is a little bit of fabric. Less than a yard of each type, some heat transfer vinyl. You also need to have access to a cutting machine such as a Silhouette or Cricut and a sewing machine.
There is a free cut file for this post. Click the link below to get access to the library.
Resource Library

Are you ready to get started?
Halloween Wine Bottle Gift Bags
I crated a video if you like to watch a step-by-step tutorial. You can click on the video below to see that!
Be sure to subscribe to my channel if you haven’t already!
Materials Needed:
I have added in some affiliate links for your convenience. You can see my full disclosure here!
Halloween Wine Bottle Gift Bags


Create a Halloween Wine Bottle Gift Bag to take to a party or give to a special friend.
Materials
Instructions
- Download the cut file and cut it out using your cutting machine and iron on vinyl. If you are using a Silhouette Cameo machine and the png file follow these instructions to trace the png for cutting. https://www.youtube.com/watch?v=ZkTM0bXvHEM&t=13s
- Cut the fabric pieces.
- The black canvas bag piece is 11" x 16" the the liner is 11" x 17.5"
- Both handle pieces are 13.5" x 2"
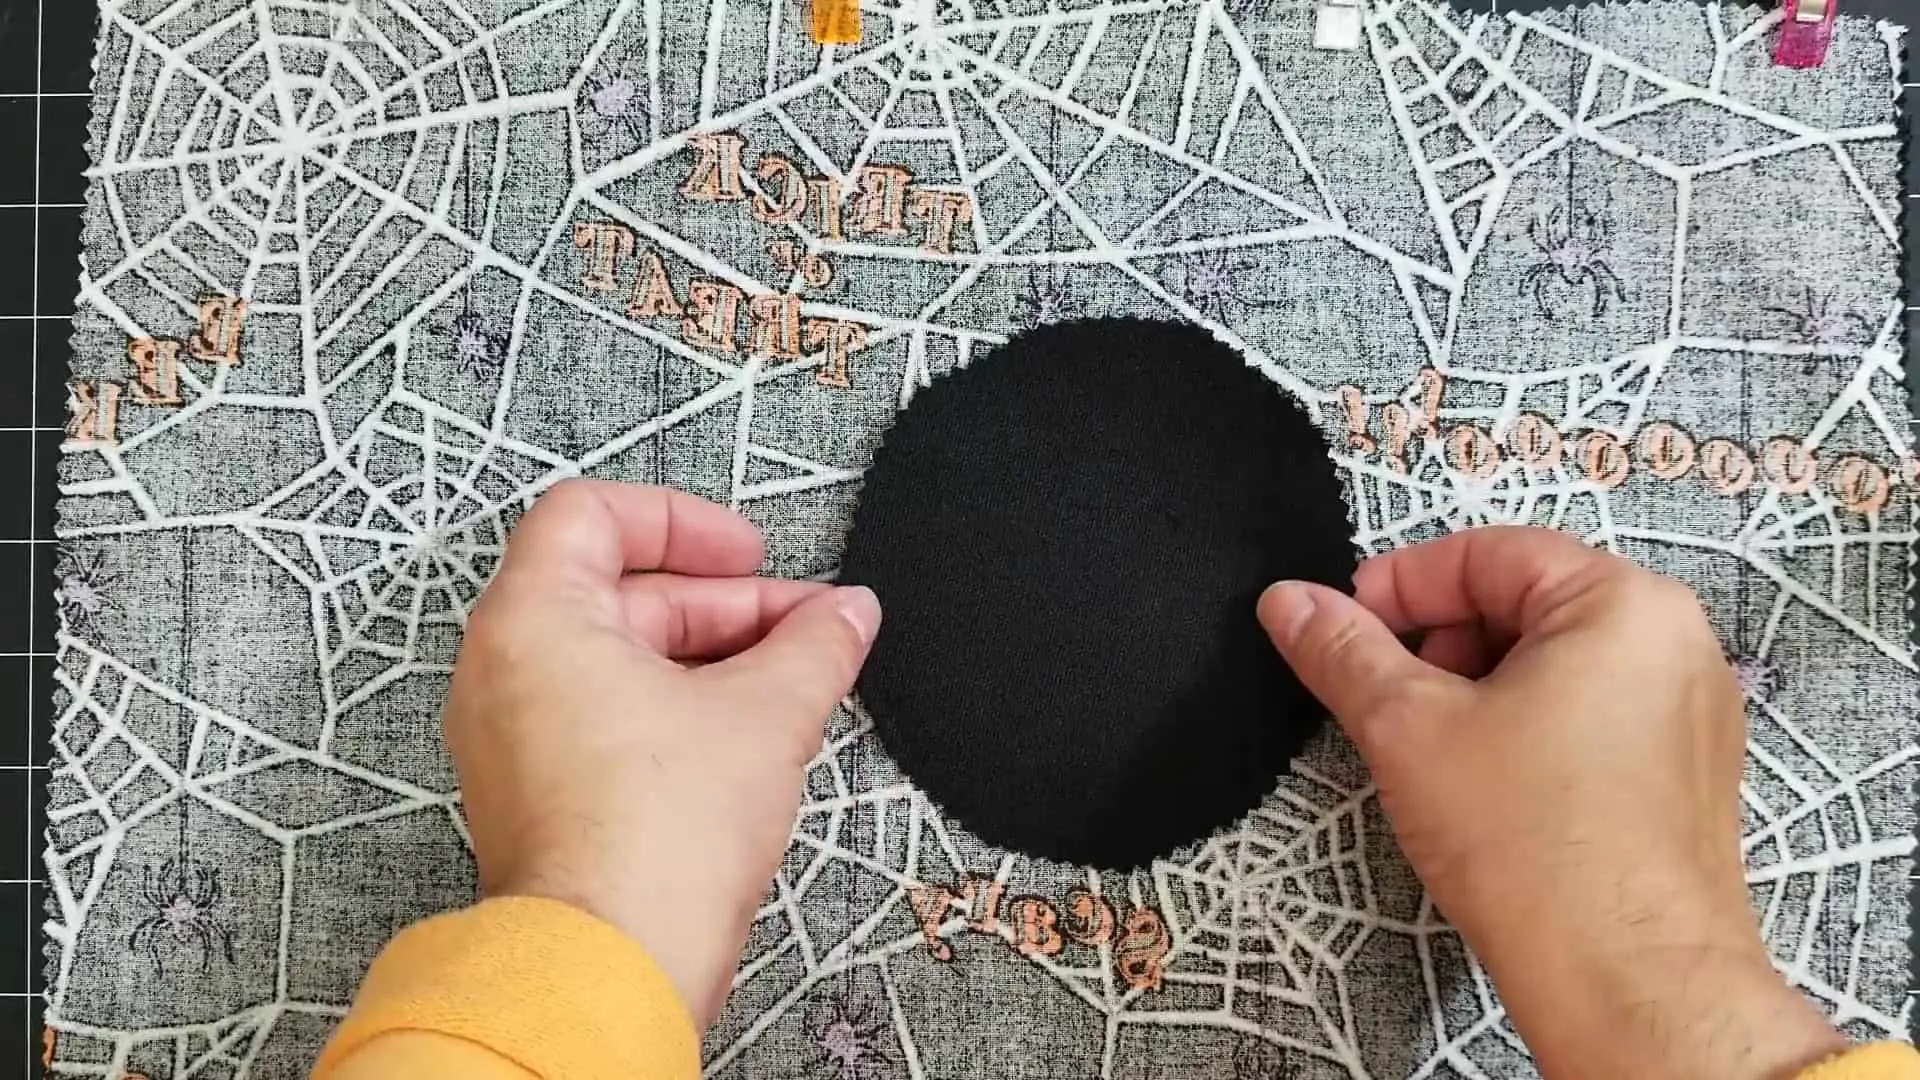
- and the black bottom piece is a 4 5/8" circle.
- Find the center of the black bag piece and use and iron or a Cricut Press to adhere it to the fabric.
- With right sides together, and leaving the liner fabric to extend on one side, stitch across the top using a half inch seam allowance. Stop the seam half inch from the end. (the end where the liner fabric extends longer than the black canvas) Make sure you are stitching the top, not the bottom. (Don't ask me how I know)
- Turn the fabric right sides out and press the top edge.
- Place the right sides of the black fabric together and stitch the side seam. You will be stitching three layers together leaving the extending liner fabric free from this seam.
- Clip the corner off the top of the seam.
- Fold over the extra liner fabric to cover the seam and hand stitch down.
- Top stitch around the top of the bag.
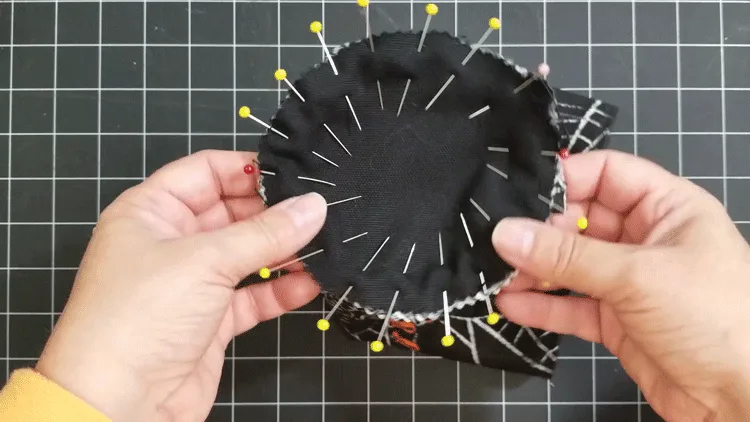
- Leave the bag inside out and pin the circle piece along the bottom edge. I used a lot of pins to help reduce the gathers and puckers.
- Stitch around the bottom. I took my time and removed the pins as I went.
- Clip the seam all the way around from the outer edge to the seam. Be sure not to clip the stitching. You will end up with a hole in your bag.
- Place the right sides together of the handle pieces.
- Stitch most of the way around leaving about a 4 or 5 inch gap on one of the long sides to turn it right side out.
- Clip the 4 corners to reduce the bulk inside the handle then turn it right side out.
- Press it so the edges are even. Then top stitch all the way around.
- Pin each end of the handles evenly inside the bag on the sides.
- Stitch a square to secure the handle to the bag.
- Add a bottle of wine and enjoy!
Step 1: Download and cut your design
You can find the cut file download in my resource library. If you are already a subscriber then you already have the password. If not, click on the image below to sign up and immediately get the password.
Along with these Halloween designs you will find some housewarming and other generic sayings for wine bags. These are fun to make!
Anyway, cut your design from the heat transfer/iron on vinyl. Be sure to mirror the image!
Set it aside and get the fabric cut and ready.
Step 2: Cut the fabric pieces
Black canvas bag piece – 11″ x 16″
Bag liner piece – 11″ x 17.5″
Two handle pieces (one liner fabric and one black canvas fabric) – 13.5″ x 2″
Bottom black canvas piece – 4- 5/8″ circle


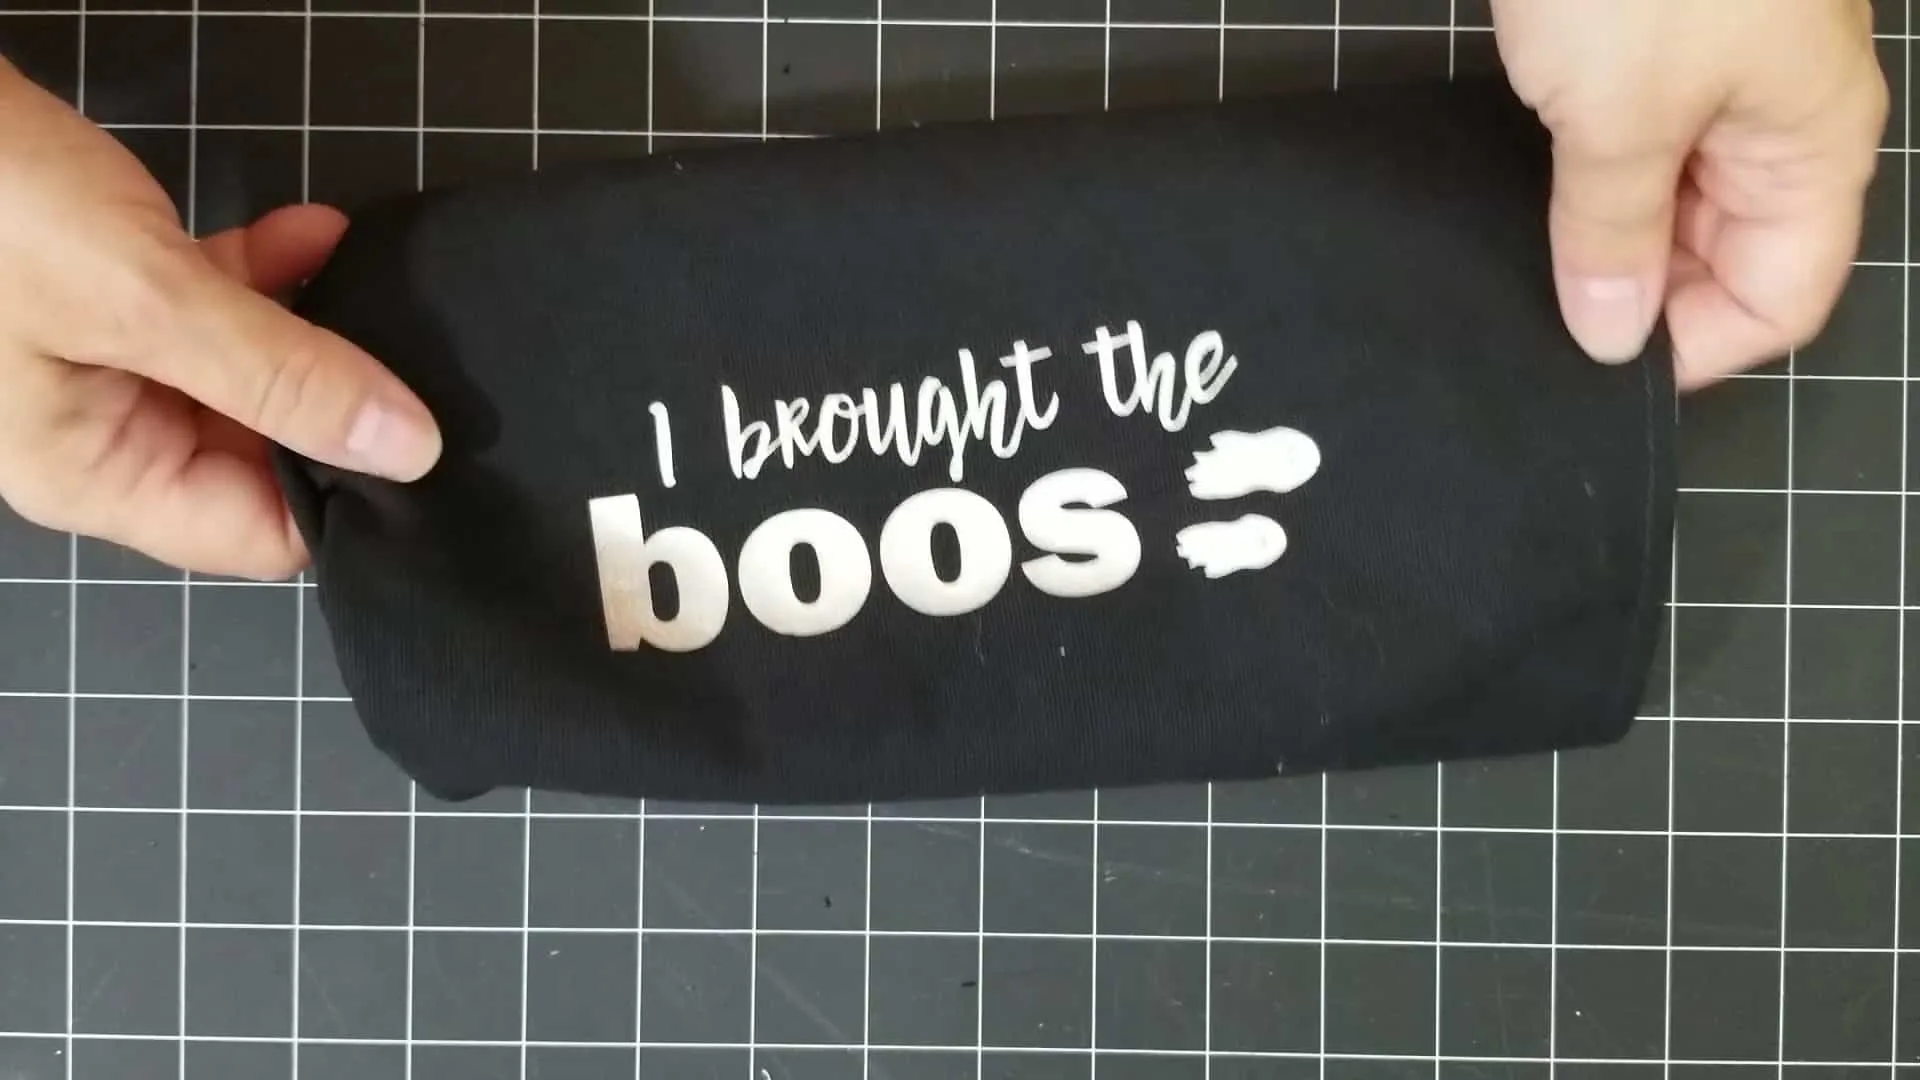
Step 3: Add the design
Before we start sewing we need to get the design added to the front of the black canvas.
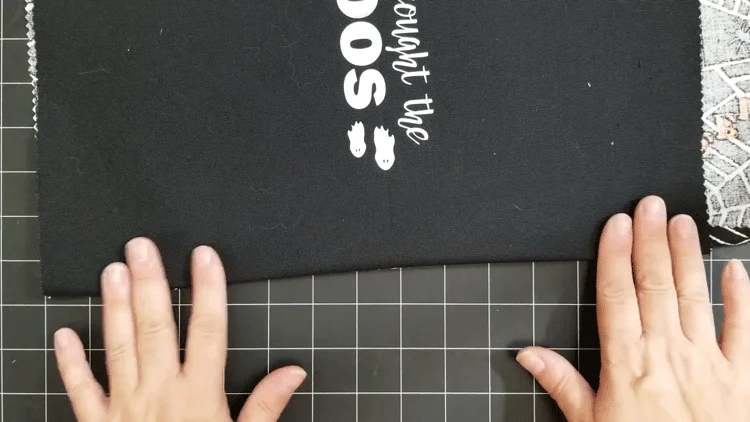
Find the center and use the iron or the Cricut Press to adhere it to the front.
Step 4: Sew the top seam
To sew the top seam put the pieces right sides to together and line up the top and one side seam. The other side of the liner fabric will extend past the black canvas piece.
Make sure you are going to be stitching the top. I am saying this because I mistakenly stitched along the bottom and had to remove the seam. UGH! Anyway, let’s not dwell on that.
Clip or pin the top and stitch. I started at the matching edges. Stop your seam half inch from the end of the black canvas fabric. If you watch the video you can see I stitched a little too far and had to take a few stitches out.


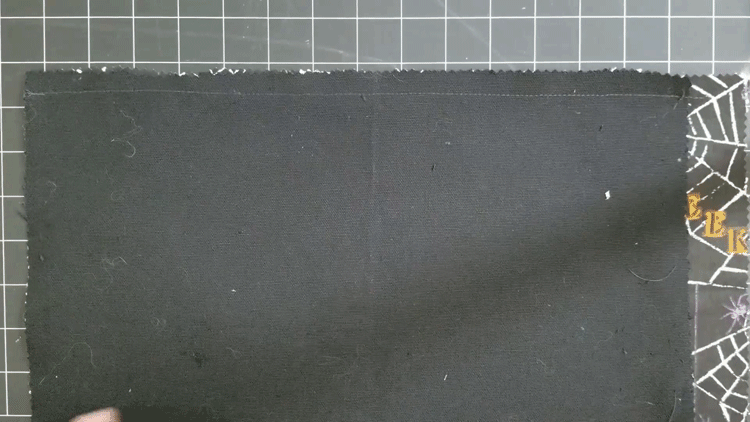
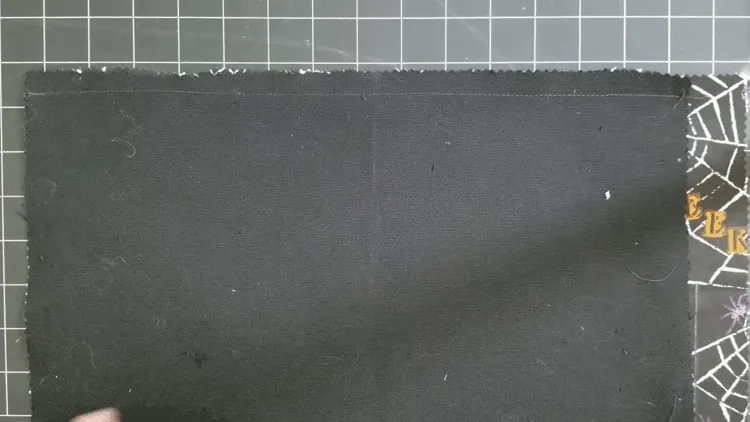
Flip the seam to the inside and press it down nicely. This will be top-stitched in a little bit.

Step 4: Stitch the side seam
To stitch up the side seam, place the black canvas pieces right sides together. You will stitch the two black sides and the one liner side. You can see in the photo below how the liner fabric that extends longer is folded back.
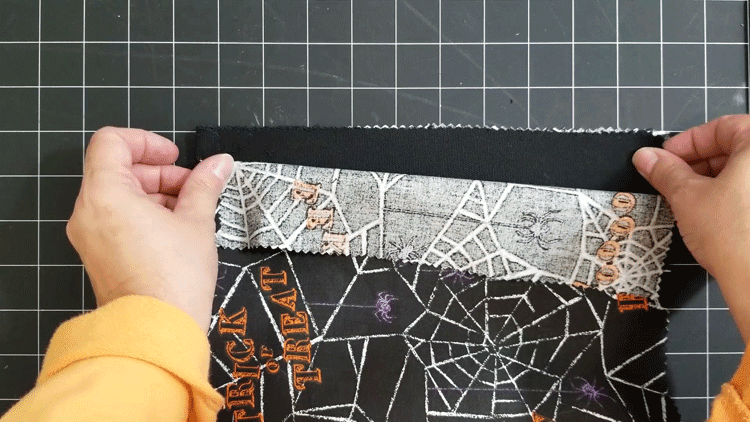
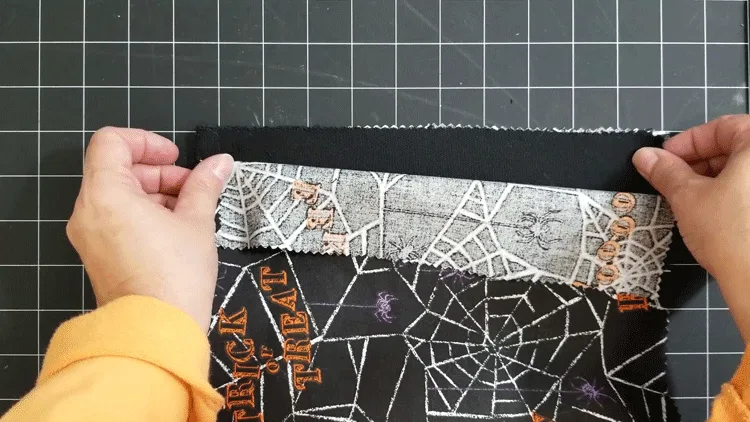
Once you sew this seam, clip off the corner of the pieces at the top of the bag. The reduces the fabric bulk inside the bag.
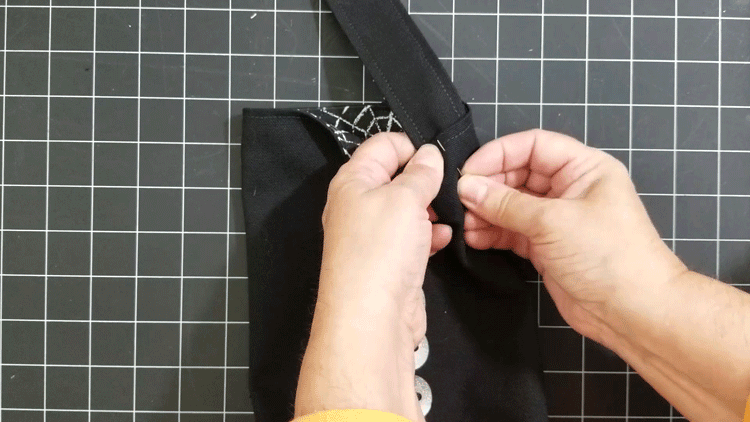
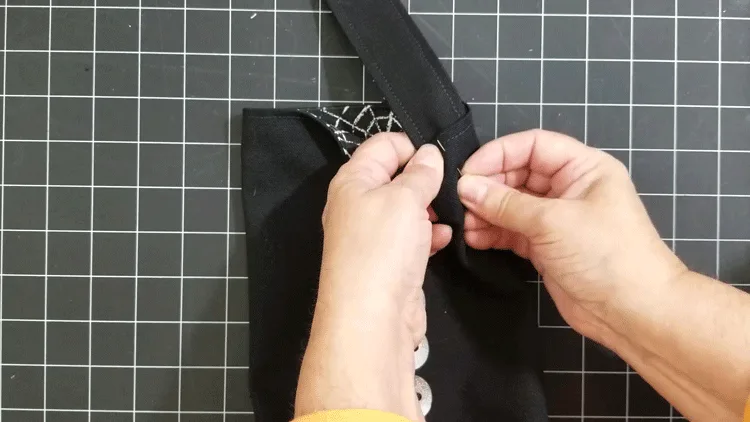
Then, fold over the extended piece of liner to hide the seam. Use a needle and thread to hand sew this so it stays in place.

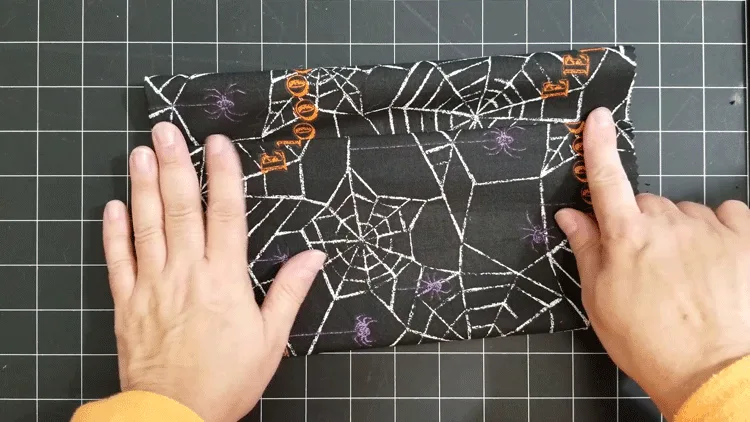
Step 5: Top stitch around the top of bag
The next step is to top stitch around the top of the bag. This keeps the liner in check and it looks great.

Step 6: Add the bottom piece
Leave the bag inside out and grab the round piece of fabric that was cut out.
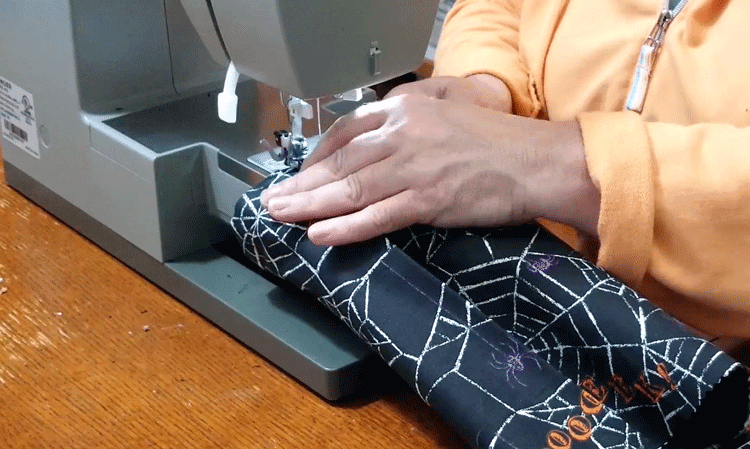
Place it right sides together with the black fabric on the inside. Pin it all the way around. I like to keep my pins close together to help minimize the gathers and puckers when stitching.


Stitch all of the way around, removing the pins as you go. Take your time and work your way around slowly.


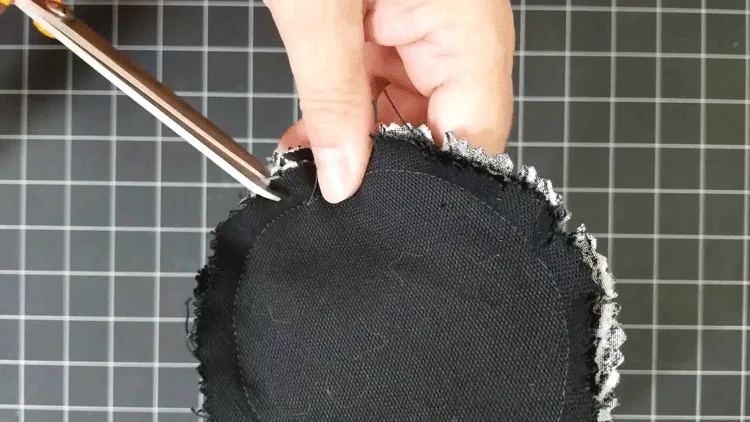
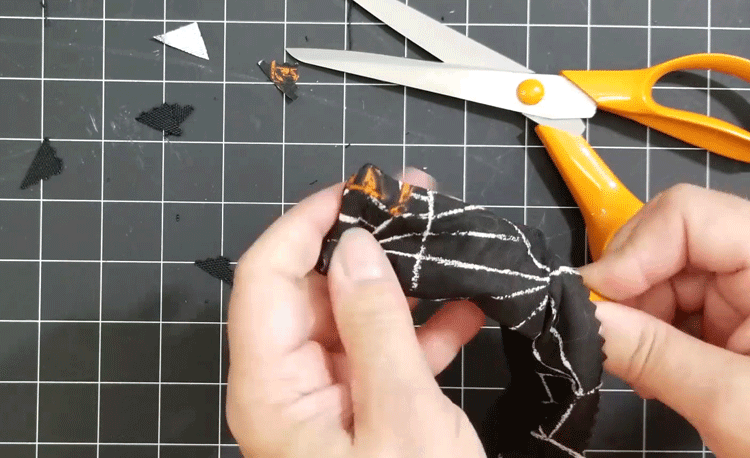
Clip the curve
Once you have sewn the seam you need to clip the curve. So, using scissors, cut a slice in the fabric from the edge up to the stitching or close to the stitching. Don’t cut the stitches or you will end up with a hole in the bottom of the bag.

Turn the bag right side out.
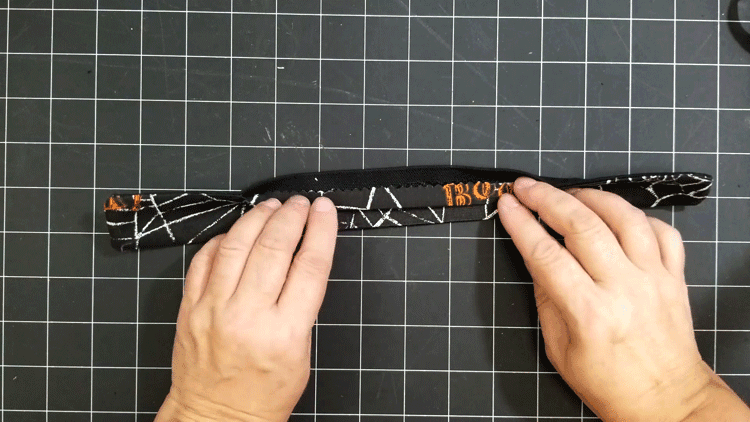
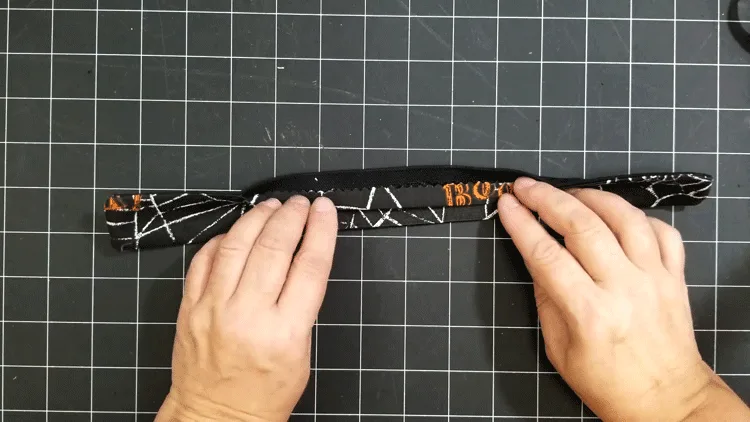
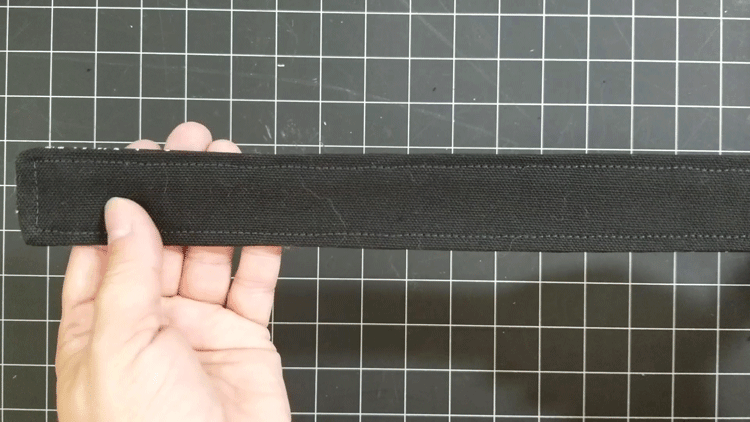
Step 7: Stitch the handle
Grab the pieces you cut earlier for the handles. Place them right sides together and stitch around the edges leaving about 4-5 inches on one of the sides to turn it right side out.


Clip the four corners to reduce the bulk inside of the handle.
Turn the piece right side out.

Press the piece folding the edges in at the open area.
Top stitch around the entire handle.

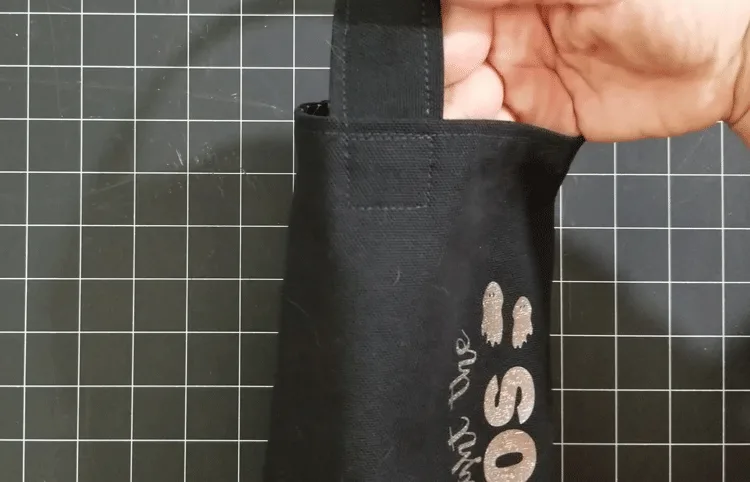
Pin the handle to the inside of the bag centering the iron on image in the center.
Once they are pinned, stitch in the shape of a square to secure the handle.
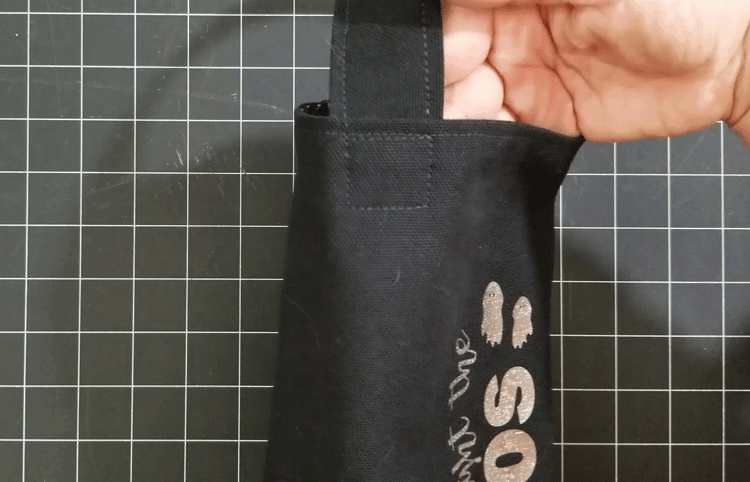
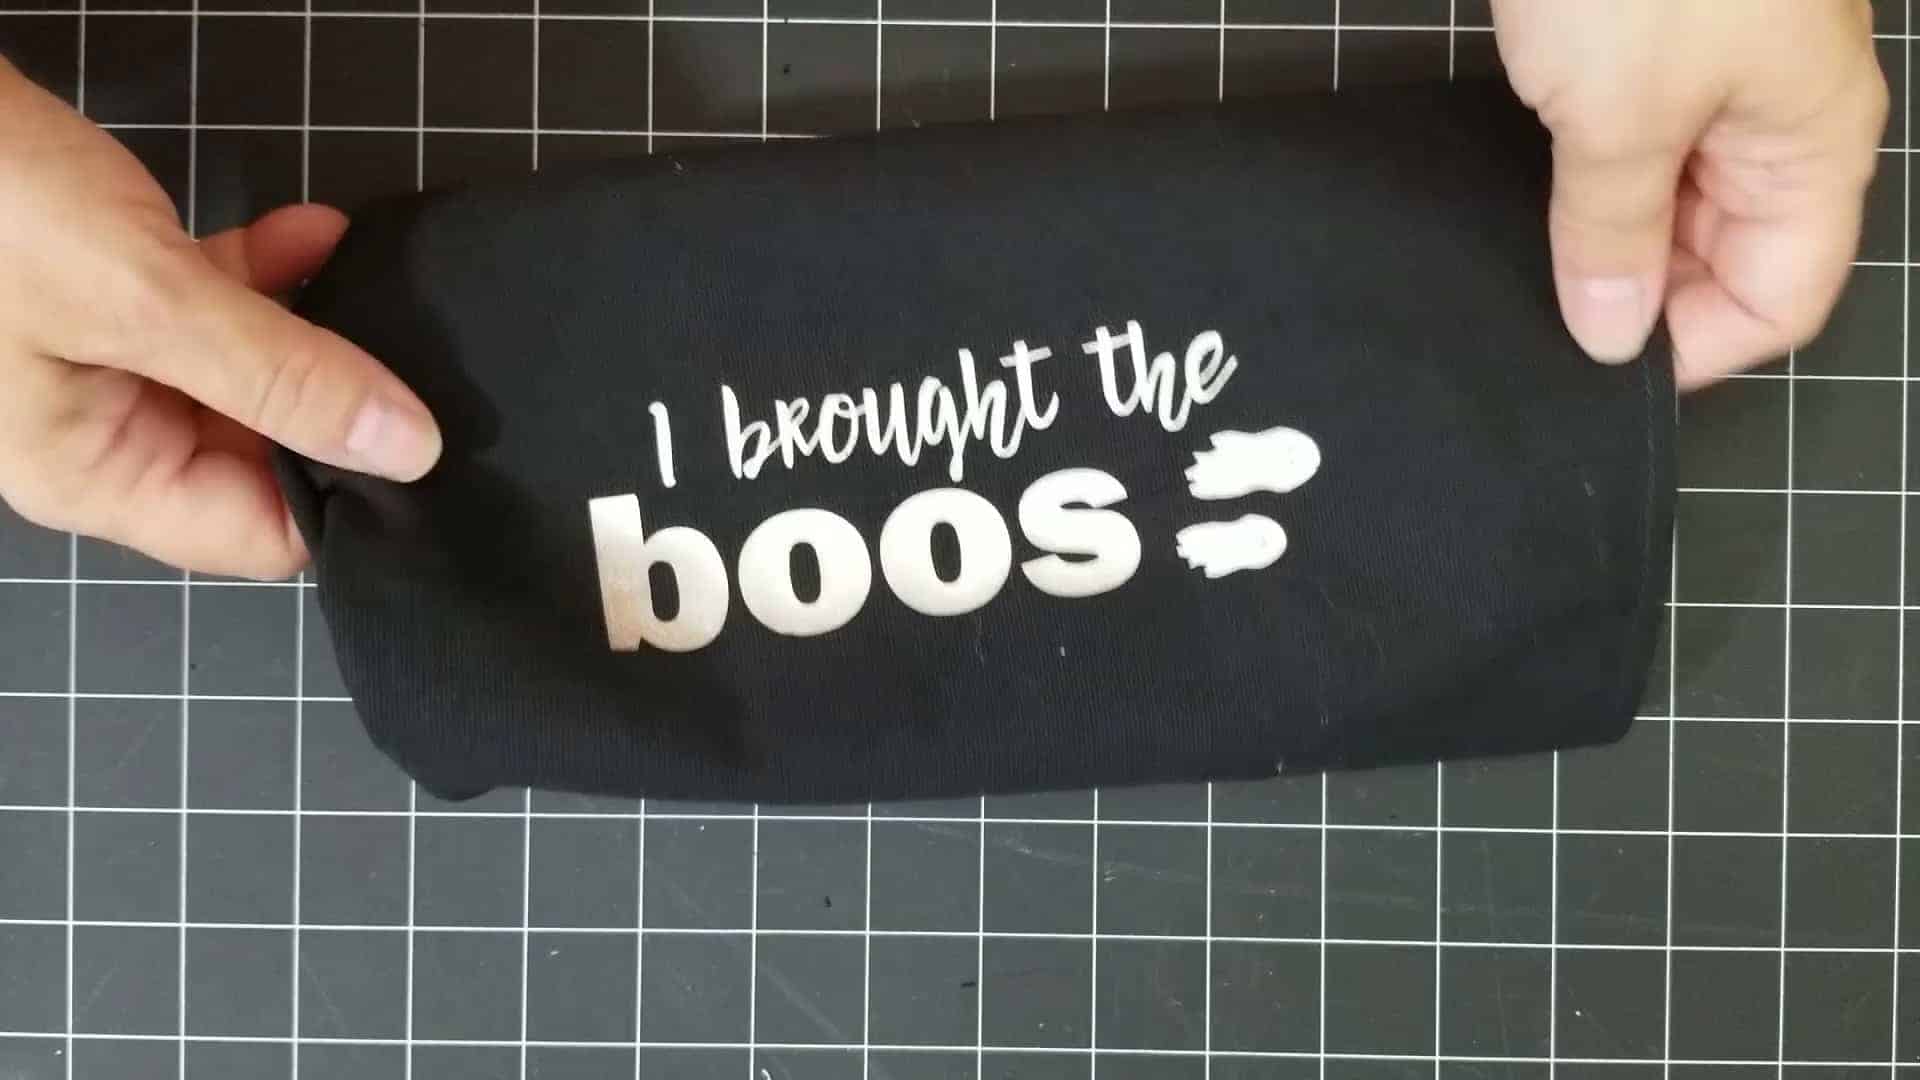
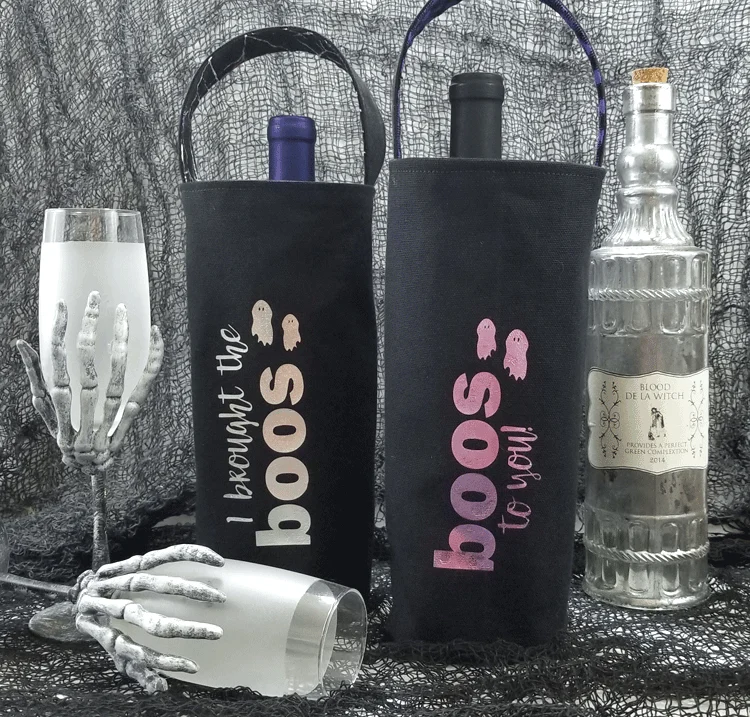
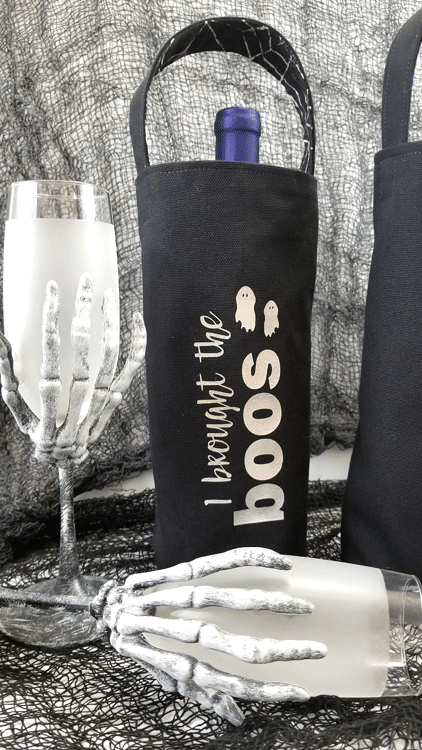
Now you have the perfect Halloween wine bottle gift bag to give!
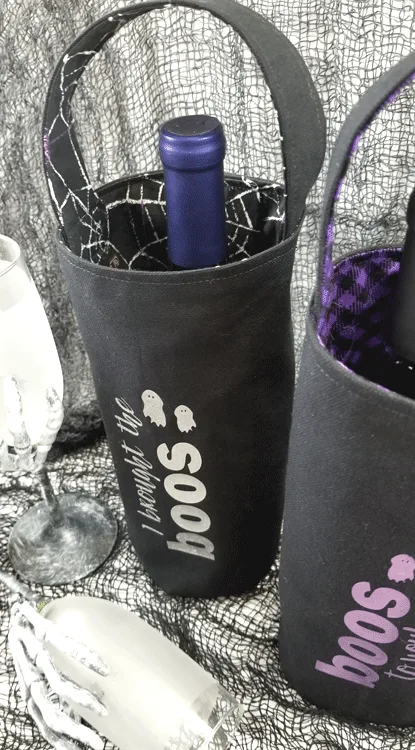
The Finished Halloween Wine Bottle Gift Bags


Thanks so much for stopping by!
Michelle


Michelle James
Sunday 29th of September 2019
You have the coolest Halloween ideas Michelle! Love these! Pinned :)
Michelle
Sunday 29th of September 2019
Wow! Thank you. I just love these and I can't wait to give the gift of "BOOS"!