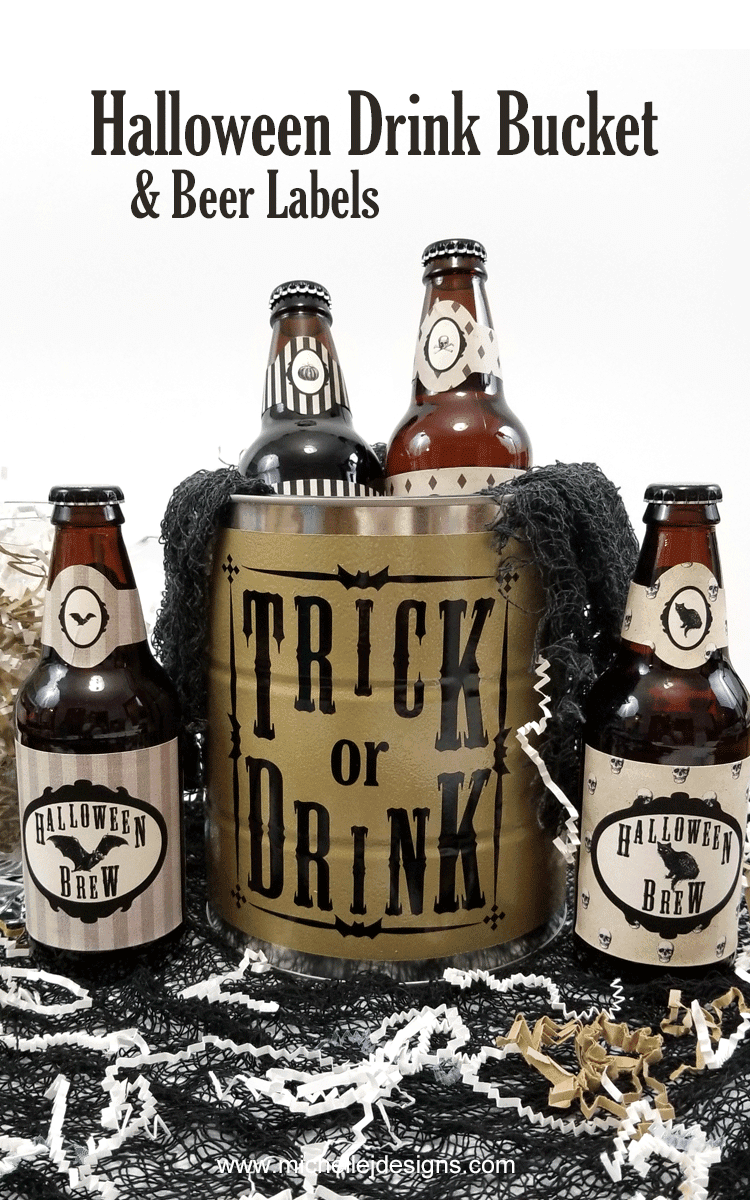
I am having a lot of fun making Halloween projects. It is definitely one of my favorite crafty holidays. Today I am showing a great Halloween bucket and some printable beer bottle labels. Once you start making this Halloween bucket…you may not want to stop.
Related Posts:
I have mentioned in the past that I love to create fun packaging for gifts. It is just special to receive a gift that has been personalized for the receiver or for a Holiday or a special event. Don’t you think? You can check out one of my most popular gifts that I created last winter for my brother and his wife when they moved to Iowa. They loved them! They were winter survival kits and they turned out so cute. The packaging with special papers and ribbons is what did it.
In this post I didn’t use paper or strings but vinyl, paint and some fun printables. Anyone can do this. It takes a little bit of time but the results are worth it!
If you love DIY metal projects you can click here to find more metal crafts inspiration!

Before we get started…be sure to follow me on Instagram, You Tube and Pinterest to keep up with all of my latest DIY projects.
If you like to watch a step-by-step video you can click on the video below.
Are you more into a step-by-step written tutorial? Then keep reading for all of the details.
StyleTechCraft
This is a sponsored post from StyleTechCraft. The vinyl I am using is this post has be graciously provided by StyleTechCraft. All opinions are 100% my own.
StyleTechCraft is a vinyl company that I hadn’t heard of until last October when I applied to be on their Design Team. I was chosen for the team, they sent everyone on the DT some vinyl and the rest is history.
I can truly say this vinyl is awesome. My favorite and most consistent for cutting are the glossy vinyls. There are so many colors and it cuts perfectly every. single. time.
Some of the other such as the glitter had a bit of trouble the first time but after a blade adjustment on my Silhouette, it cut right with the second pass.
I have learned over the years with different vinyl types to keep the mat in the machine and check some random cuts. This way if it didn’t cut well, I can just cut my design one more time and it is still perfectly aligned. But with StyleTechCraft I haven’t had to do this, except with the glitter vinyl. I think it is just thicker and needed a deeper blade setting.
The weeding is also a dream. If you are wanting to check them out and give some of their vinyl products a try you can find it at StyleTechCraft.
Onto The Halloween Bucket and Printable Labels
Materials Needed:
I have included some affiliate links for your convenience! You can read my full disclosure here.
Halloween Bucket and Bottle Labels


Use my free cut file and printable to create this Halloween delight. It is perfect to bring to a party or give as a Halloween gift!
Materials
Tools
- Cricut or cutting machine
- Printer
- Scissor
- Paper Trimmer
Instructions
- Mask off the areas you don't want painted on the paint can.
- Use spray paint to paint the can. Give it a couple of coats and wait about 30 minutes to an hour between coats.
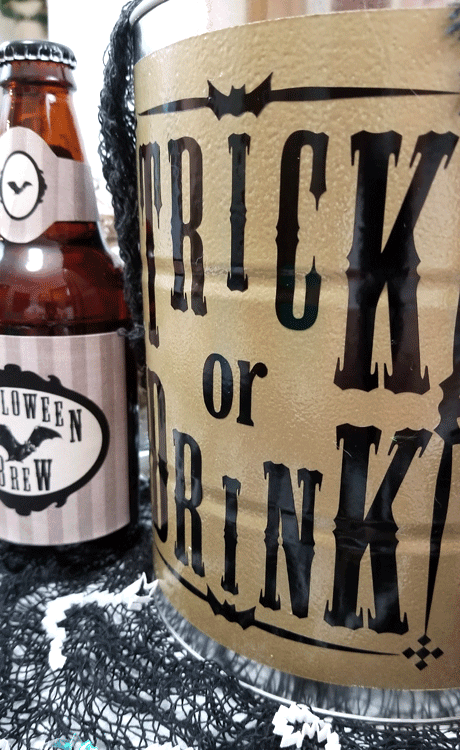
- While paint is drying, download the free Trick or Drink cut file and cut out from cutting machine.
- Weed the design and place transfer paper on top.
- When the paint bucket is dry, place the design on the can and peel up the transfer paper leaving your Trick or Drink design behind.
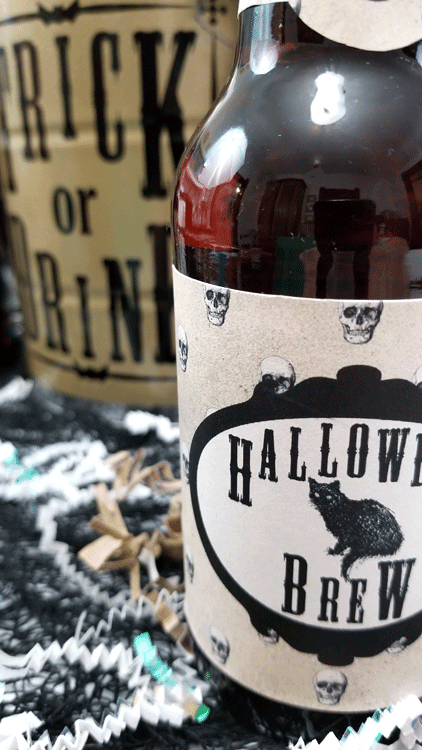
- Download the printable beer bottle labels and print onto sticker paper.
- Cut out the designs with a paper trimmer and scissors
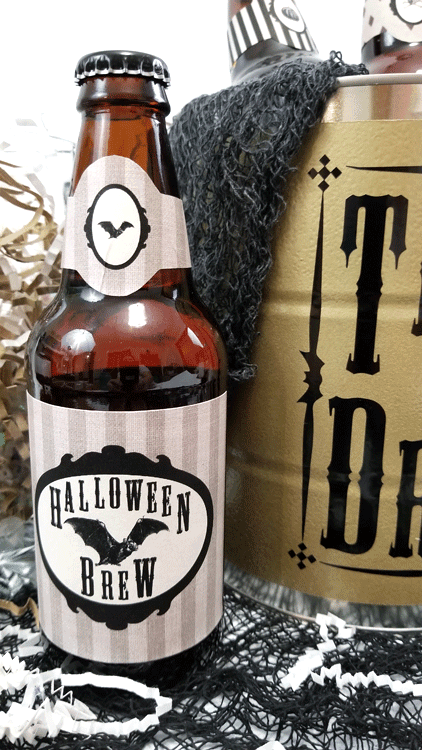
- Remove the backing from the sticker paper and adhere to the beer bottle. Do this for the label on the body of the bottle and the neck of the bottle.
- You are all done! Enjoy!
Step 1: Mask and paint your paint can
If you don’t want parts of the paint can covered when you use the spray paint then you need to mask those areas. You can use painters tape or washi tape…whatever you have on hand.
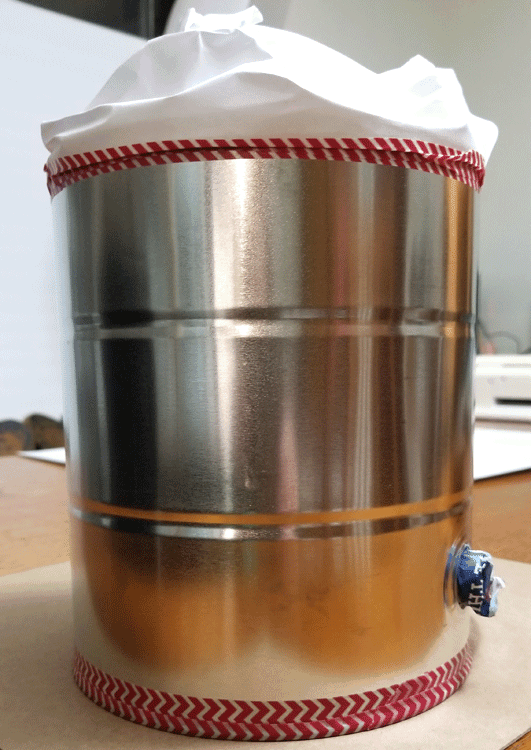
The next step is to use spray paint to paint the cans. I needed two coats and I waited about an hour or longer between coats.

Step 2: Cut your design
Download the free Trick or Drink design from the resource library!


Open the design in the Design Space for your cutting machine. I was using the Cricut Maker. If you are using the Silhouette Design Space and are using the png file included in the download, you will need to trace the design first. This short video shows you how to do that if you need help.
Cut the design

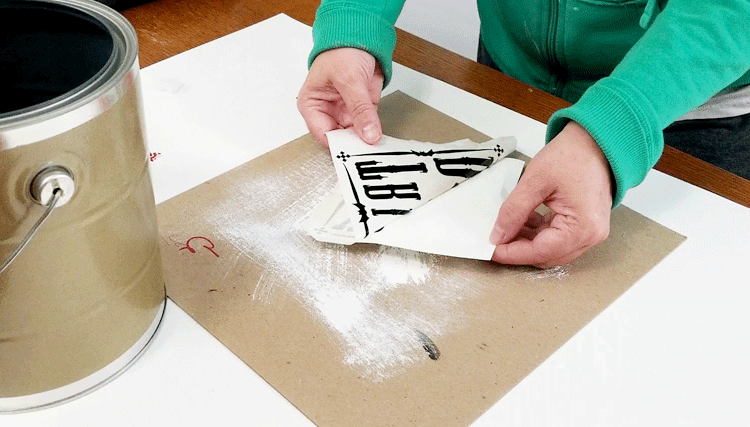
Weed the design then add transfer tape to the top.
Step 3: Add the design to the painted can
Once the paint is completely dry. Remove the mask/tape.

Remove the backing from the design.
Place it where you want it on the paint can and remove the transfer paper.
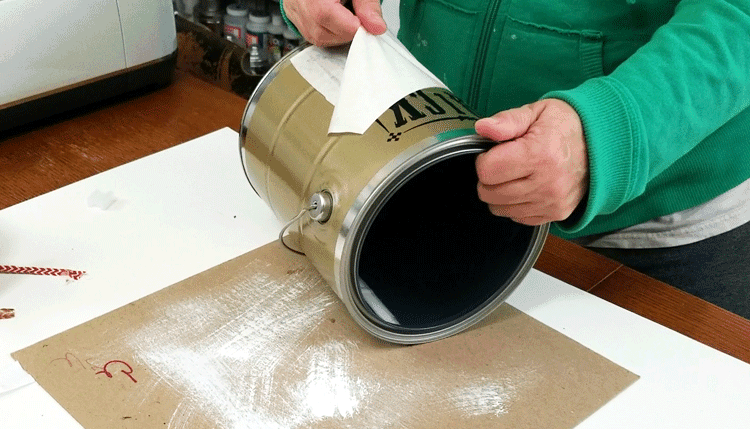
You can see that mine is slightly crooked on the can but I don’t think it looks too bad. This paint can is now my official Halloween bucket for drinks!

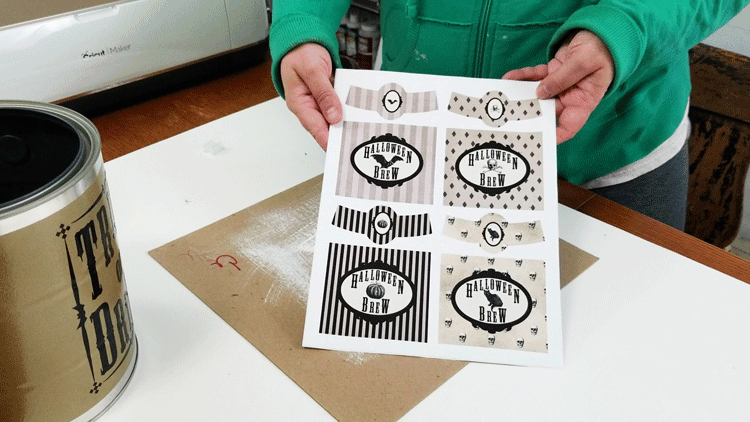
Step 4: Print the bottle labels
If you haven’t already, download the printable Halloween beer labels.


Print out the labels with your printer. I have a very inexpensive Epson ink-jet printer that I really do not like but it seems to print these just fine. I do change my paper setting to “photo matte”. If I don’t do that I get weird stripes in the print.
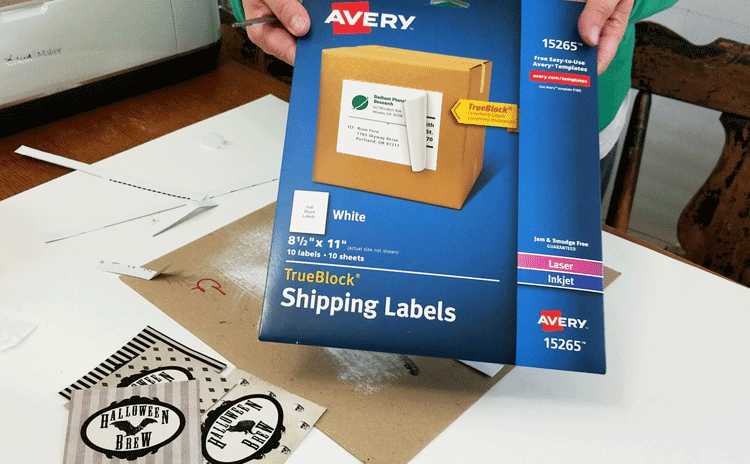
This is the “sticker paper” that I use for these.
Step 5: Cut out the labels and place them onto the drink bottles
Once the labels are printed, use a paper trimmer and/or scissor to cut them. I cut just inside the printed line. No white paper should be showing after they are cut.
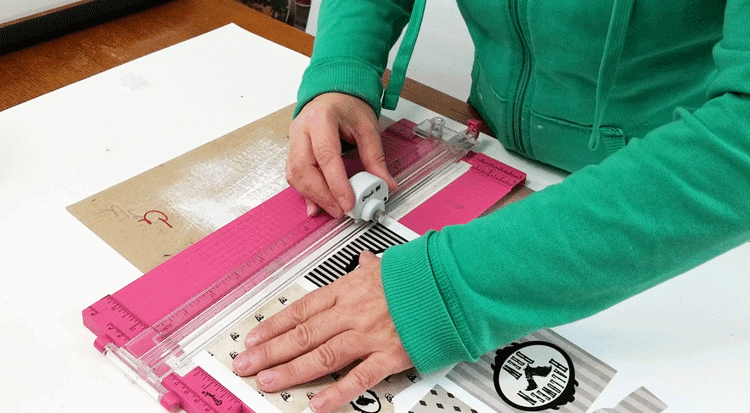
I used a combination of my paper trimmer and my scissors.

Peel of the sticker backing and place them onto the bottle. I used the back side of the beer bottle for 2 reasons:
- This way the recipient still knows what kind of drink he/she is getting and,
- The neck label on the bottle was bigger than my printed version so it wasn’t going to be completely covered. By using the back side it come out looking like a pro!

See what I mean? They look so nice.

Now they are ready to be dressed up, packaged and photographed.
What do you think of this awesome Halloween bucket full of holiday beer?
The Finished Product
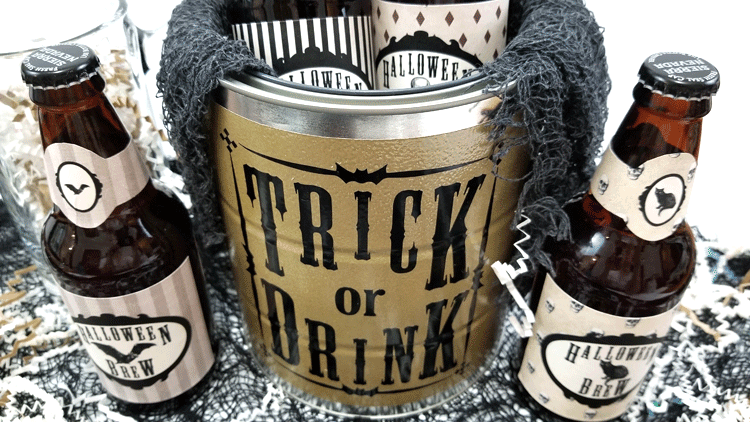

It is fun, festive and ready for a party!


Well, I really hope you like this and will give it a try!


Thanks so much for stopping by!
Michelle


Sue Eldred
Monday 7th of October 2019
I love this cute party prop. I bet everyone loves coming to your parties.
Michelle
Tuesday 8th of October 2019
Haha! Thanks Sue. I love to make things to give and bring but I don't host many parties. I just love cute packaging ideas and I thought this was really fun.