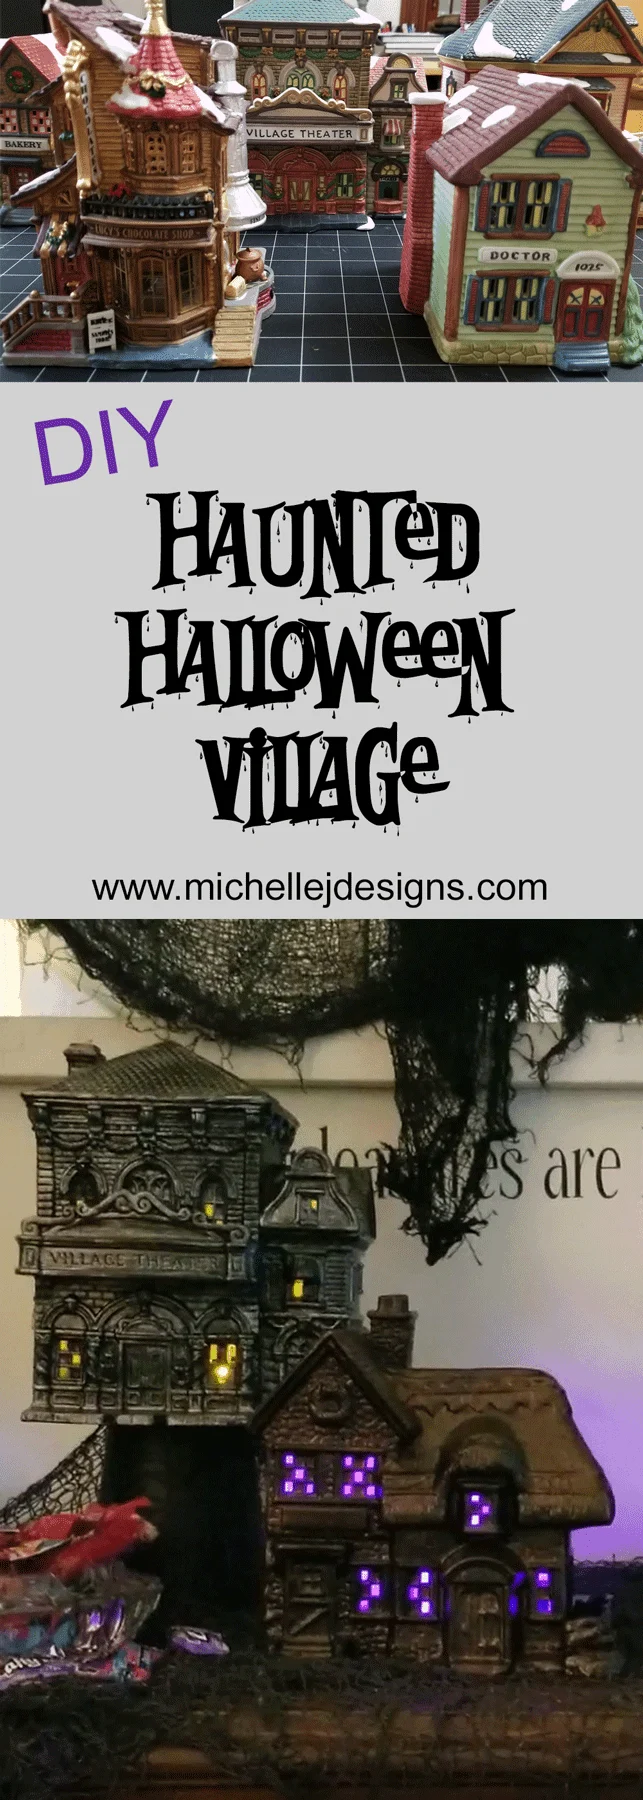
Learn how to easily transform a forgotten Christmas village into a spooky Halloween village set with some spray paint and metallic paints.
I am so excited about this spooky Halloween Village set. It’s been a project I have been wanting to do for a couple of years and I finally decided it was time.
My Christmas village had seen better days. I never really had room to spread it out with all of the other things that come with Holiday decor. So, I decided it was going to become a spooky, haunted Halloween village instead.
This was one of the easiest projects I have done with one of the best outcomes. I am thrilled with the way it turned out!
Creating a Halloween Village Set
This is so easy it will blow your mind. If you would like to see my step-by-step video you can click on the video below!
Please subscribe to my channel and hit the bell notifications too.
You don’t want to miss all of the fall, Halloween and Christmas videos I will be posting this season!
Now, if you would rather read the written tutorial then keep reading below! There are also printable instructions at toward the bottom of the post. You can scroll down and print them out for later!
Related Posts:
Dollar Store Pumpkin Tea Lights
Halloween Wine Bottle Gift Bags
Step 1: Remove the lights and electrical cords from your Christmas village
First gather your Christmas village pieces.
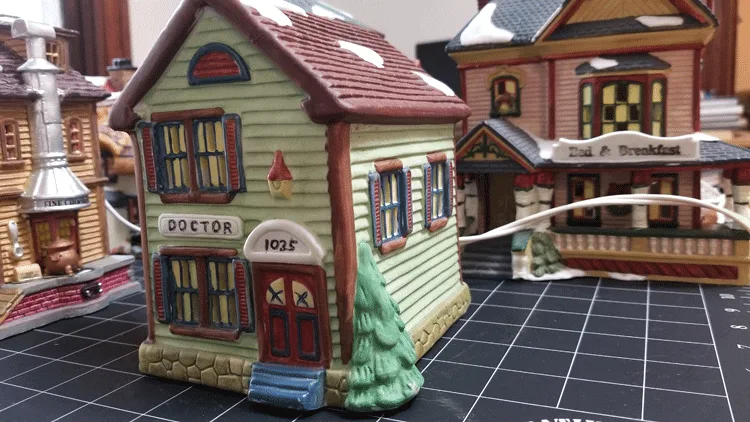
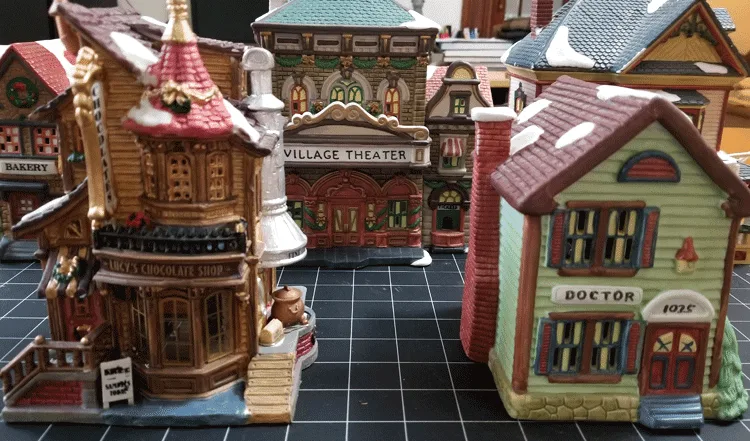
My pieces were not expensive. I have always collected the cheapies. I loved the idea of the festive Christmas village all set up but our old house has electrical outlets in all the wrong places. We had to feed them into one outlet. It looked liked something straight out of “Christmas Vacation” with Chevy Chase. I guess I could have replaced them with little battery lights like I am doing now but I never thought of that back in the day. So, they remained in the tub.
I am not transforming all of them. I just picked out these five plus the gazebo that is featured in my Oscar worthy video.
In order to paint your pieces you need to remove the lights and electrical cords. Then gather your paint supplies. I used a combination of flat, semi-gloss and glossy paint for my pieces. I wanted an assortment of finishes.
Paint the pieces until they are covered completely in black paint. When the paint dries, turn them upside down and paint the underside. Be sure to get under the roof lines and into the grooves.
This is what mine looked like when they were painted.
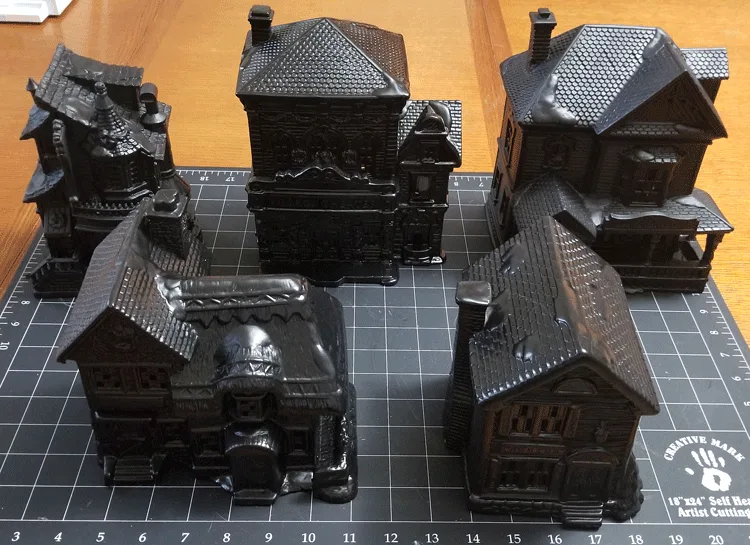
They are definitely looking spooky and Halloween like but I wasn’t done yet. They needed some detail.
Step 2: Adding the dry brush detail paint
This step really adds some highlights and makes them even more spooky. Even my brother said they turned out nice.
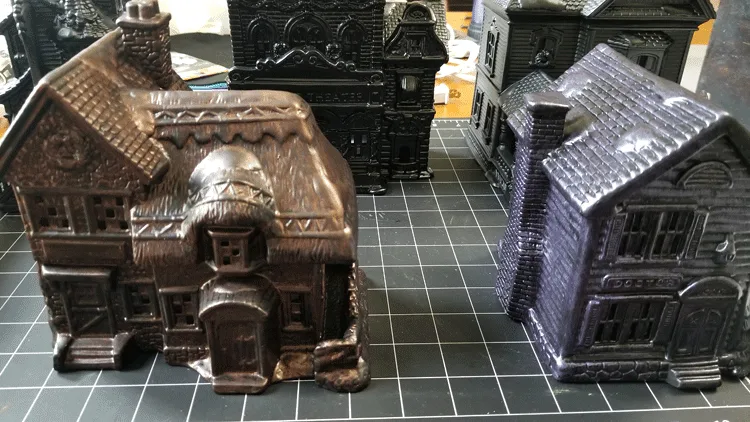
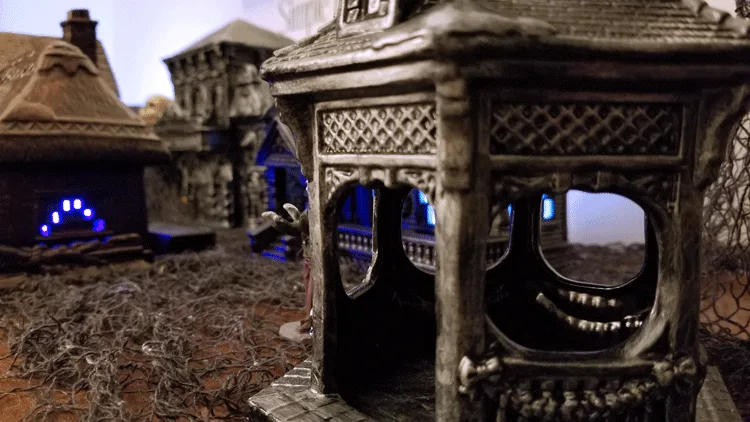
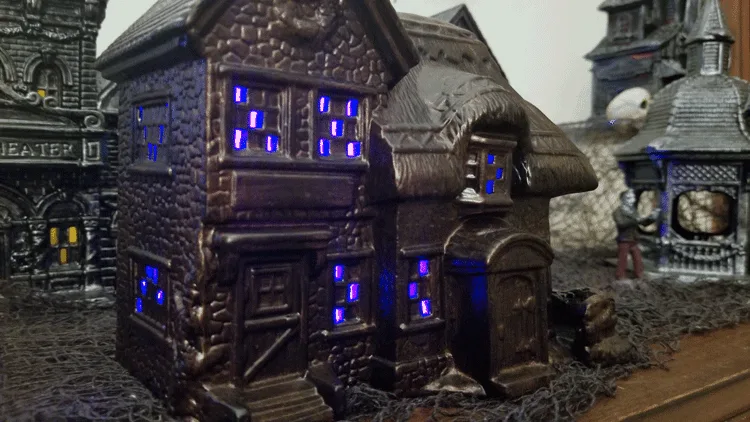
I used some purple, copper, and gold metallic paints for this step. You will also need a small, dry paint brush and a paper towel.
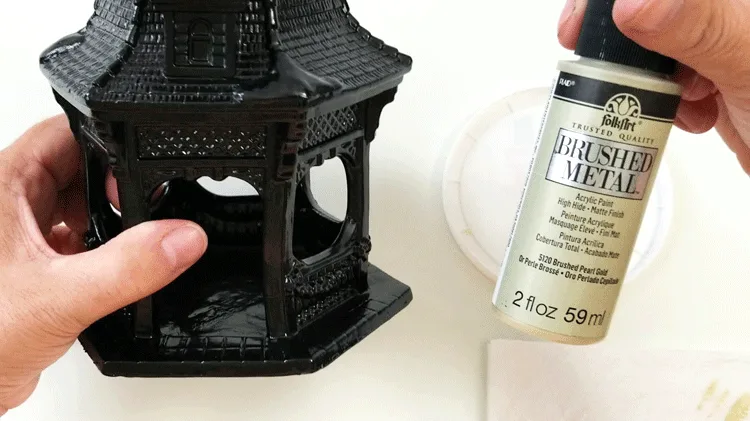
Add the paint lightly at first until you figure out how much you want.
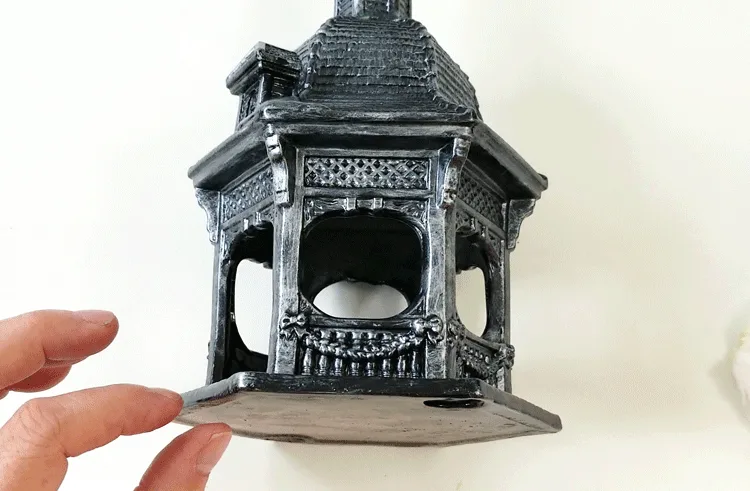
Vary the colors on the different pieces. This brings a little color and interest to the Halloween village as a whole!
Step 3: Set up your village and add colored lights and spooky netting
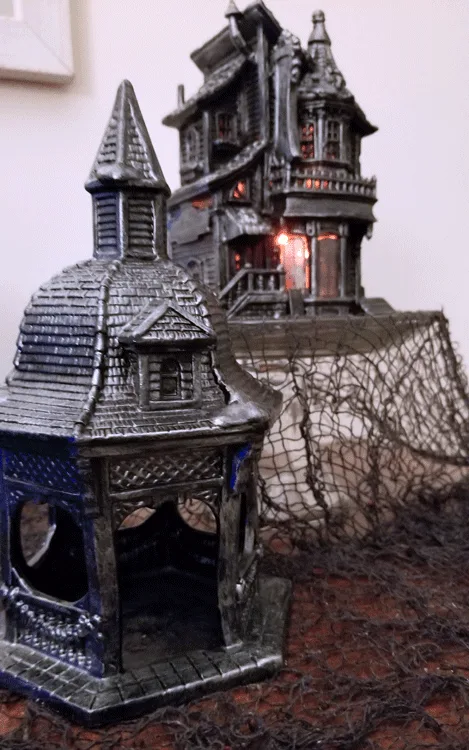
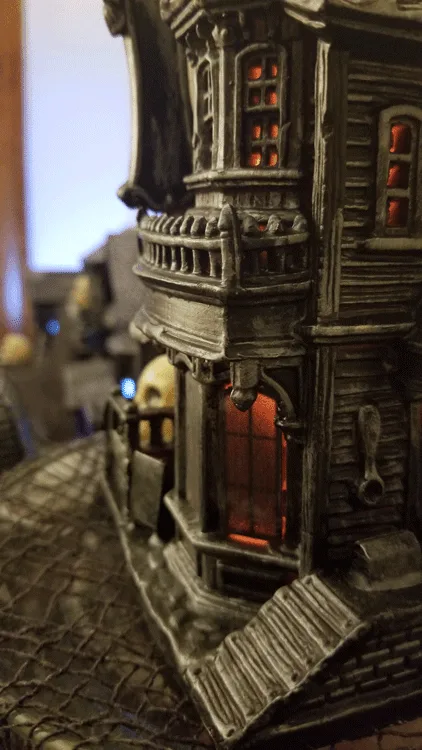
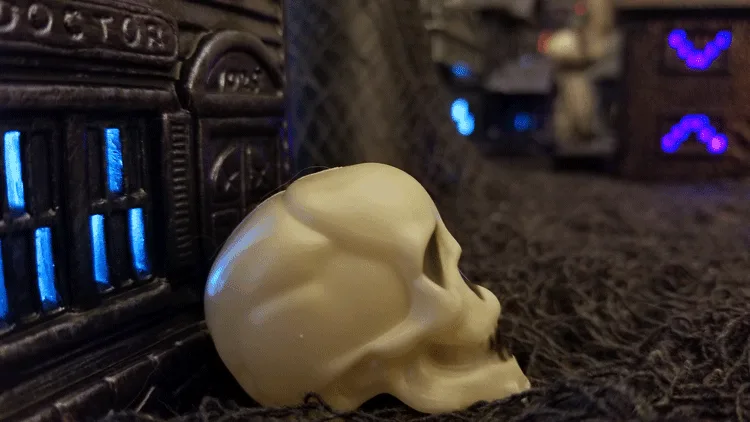
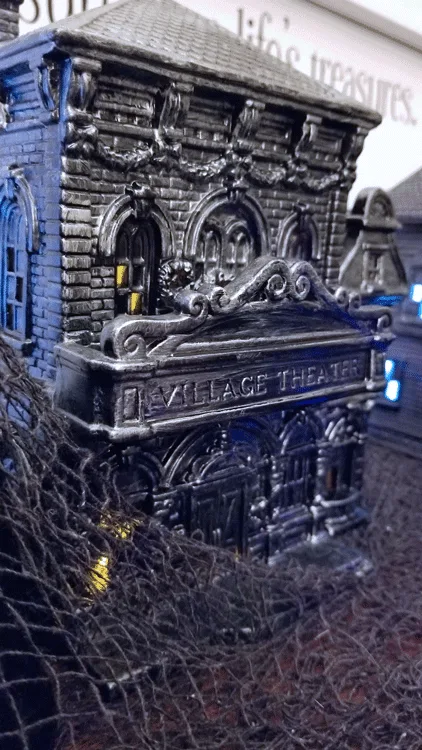
These are all items from the dollar store. You can get some great, black spooky netting and battery operated colored lights during the Halloween season and these are perfect for this.
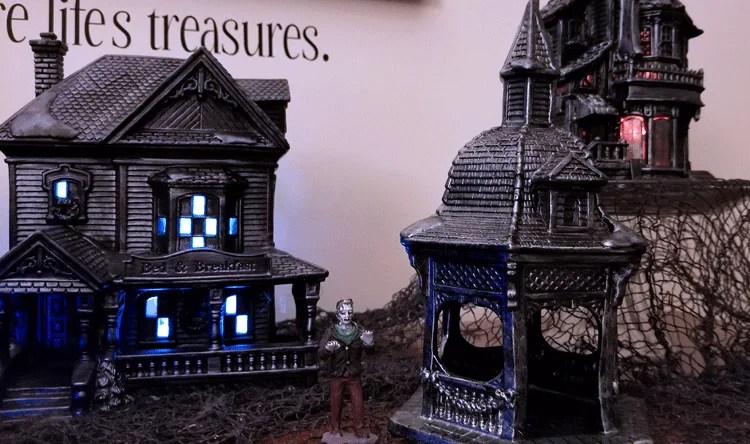
Just look at how nice this entire display turned out!
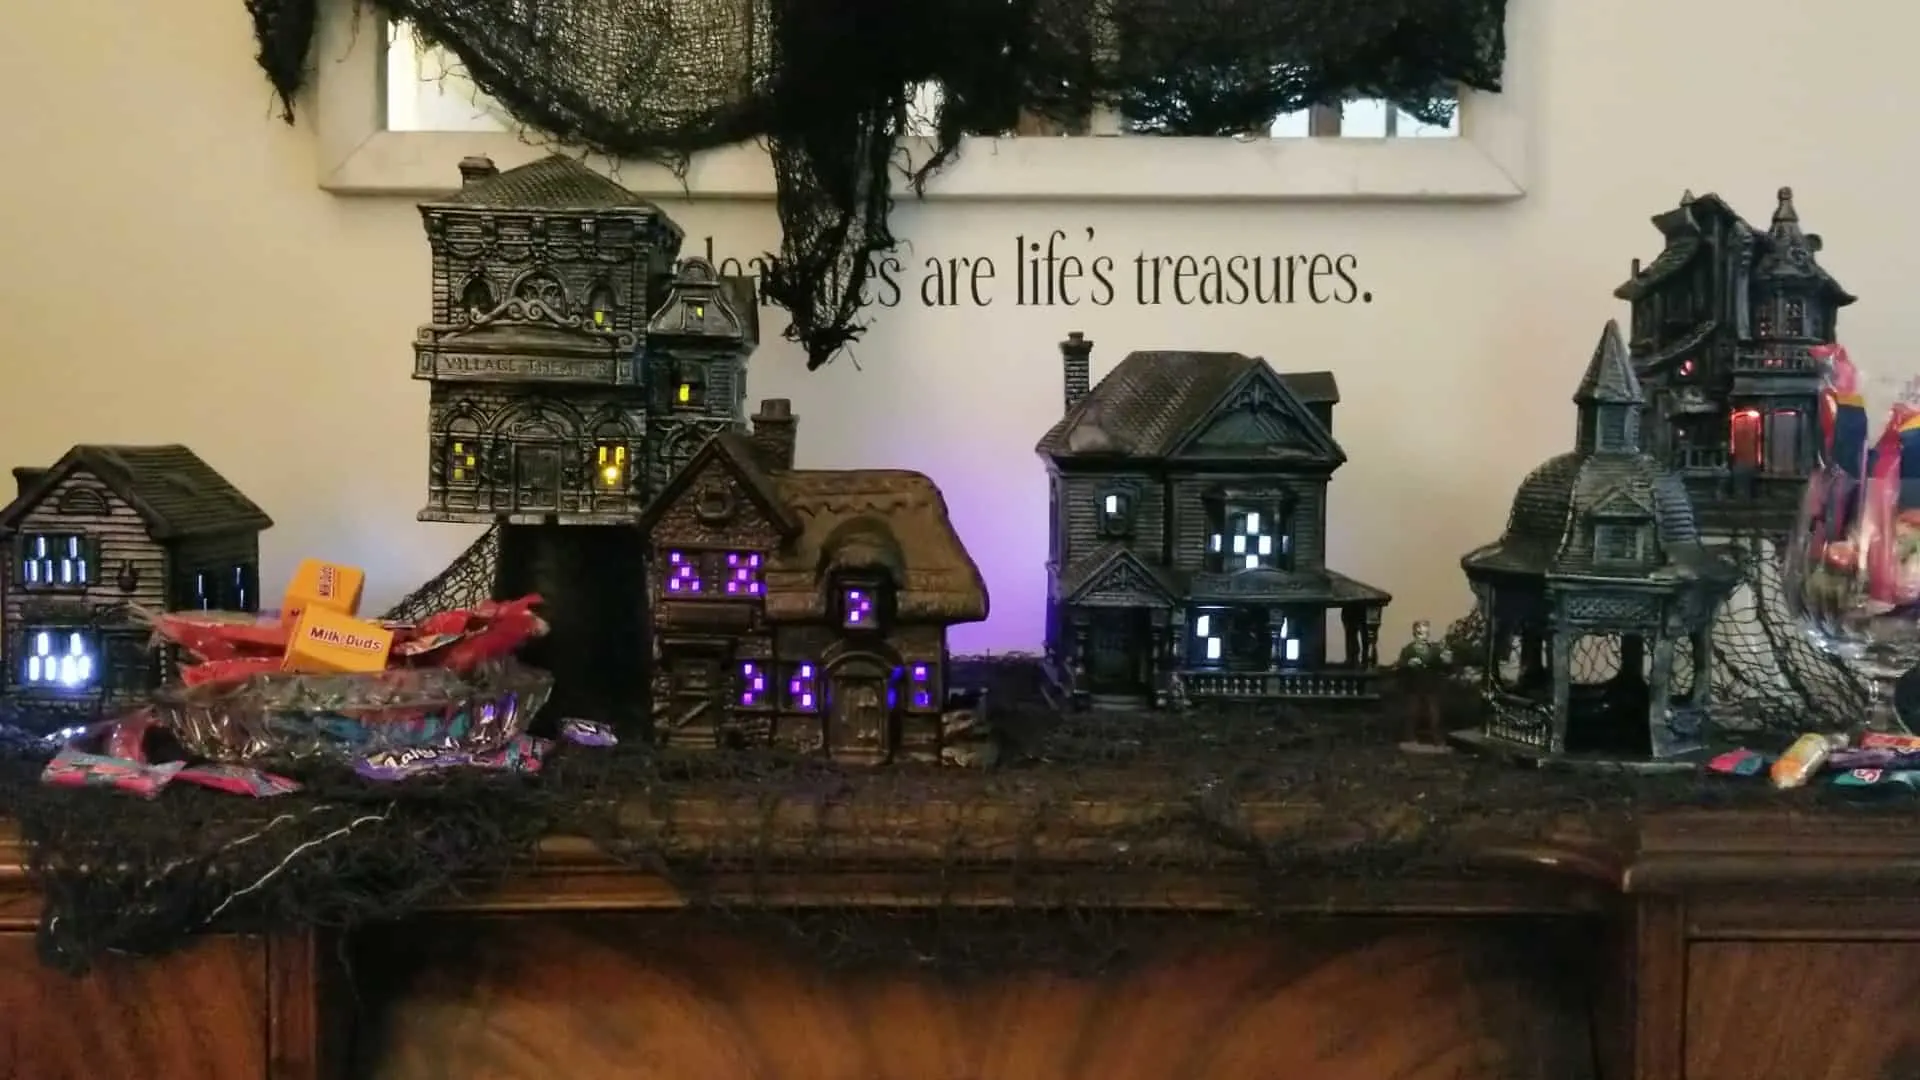
I just love it so much!
Printable Instructions!
How To Create A Spooky Halloween Village Set
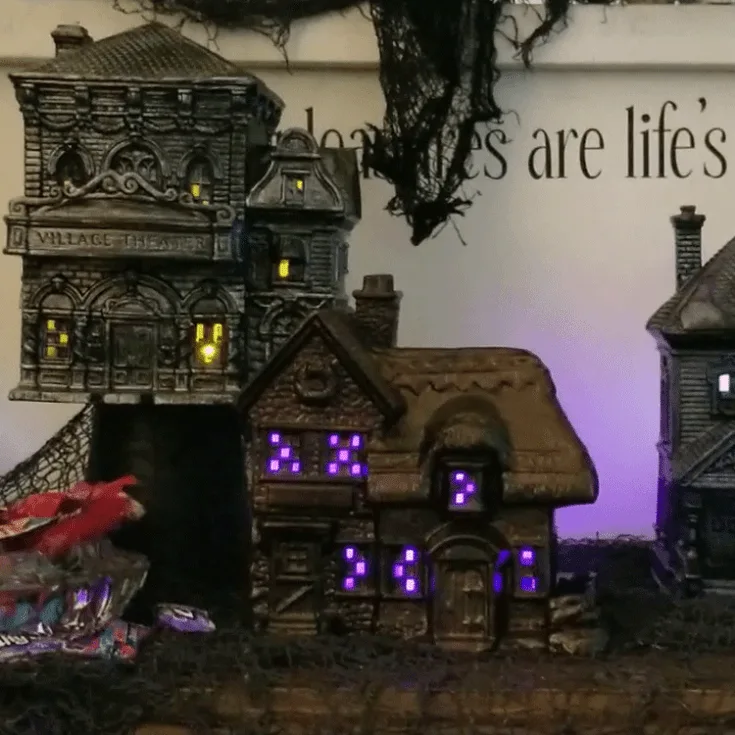
Transform a tired Christmas village into a spooky, haunted Halloween village. Black spray paint, metallic paint highlights and battery operated lights are all you need!
Materials
Tools
- Small paint brush
Instructions
- Remove the light bulbs and cords from the Christmas village. Be sure it is free from dust and spider webs if it has been stored since last season...or in my case...a few years!
- Use different black spray paint finishes and spray all of the pieces.
- Use a dry brush and the metallic paints to create an old look on the buildings.
- Add battery lights and display all together as a village.
I hope you like it and will make one of your own.

Thanks so much for stopping by!
Michelle



Lisa
Wednesday 4th of October 2023
what did you do to the windows? I love the purple ones!
Michelle
Wednesday 4th of October 2023
Hi Lisa,
I didn't do anything to the windows. I just have the colored lights inside. I got the lights at Dollar Tree.
Krissy
Sunday 3rd of October 2021
Thank you so much for this! So easy to do for beginners — just converted six of my Christmas Village houses.
Michelle
Sunday 3rd of October 2021
Hi Krissy! Yay! I am so glad you like it. I love having a Halloween village to put out each year. It is so fun!
Tracy
Tuesday 6th of July 2021
These look amazing!!
Michelle
Tuesday 6th of July 2021
Thank you Tracy. I love my Halloween village. For me...it is so much better than the unused Christmas village set.
Cathy Smith
Monday 30th of September 2019
Great idea!! I'm going to look for cheap village buildings at thrift stores so I can do this! I love it!
Michelle
Monday 30th of September 2019
Yay. Thanks so much. I am glad you are going to try it.
Michelle Leslie
Thursday 26th of September 2019
Oooooooo it looks like a teeny, tiny little haunted village straight out of a Marvel movie. That's so cool Michelle and the dry brushed paint effects do take it to a whole new level. Love how it turned out
Michelle
Thursday 26th of September 2019
Thanks so much! I really LOVE the way it turned out.