I am always in need of more trays during the holidays so I am doing my best to get ready now so I am not rushing right before the big family get together. I found some awesome plastic charger plates that I know would make great serving trays either on the buffet or on the table. So I made a plastic charger plate buffet tray!
Making Dollar Tree crafts and gifts make my life easy and budget friendly!
This was an easy project that only involved a couple of materials. And the materials are cheap! It doesn’t get any better than that.
I have a lot of dollar store charger plates and I have always used them as charger plates. That is not a bad thing but I knew they could be more with a little bit of creativity.
You can see more Fall Dollar Store Craft ideas by visiting this round up post I created just for this!
I can’t wait to show you what I did. If you would like printable instructions just scroll to the bottom of this post!
This post is sponsored by StyleTechCraft. They were so nice to provide me with the vinyl for this project. I used some metallic and some luster vinyl and I have included some affiliate links for your convenience. You can read my full disclosure here.
I have talked about StyleTechCraft before. I am on their Design Team and I love every minute of it. If you would like to see more of their products be sure to visit their website and ATSMCrafts to purchase. Their vinyl is amazing and I know you will love it.

Plastic Charger Plate Buffet Tray
If you like a step-by-step video you can check mine out below. Please subscribe to my channel if you like this video…because then you get to see all of my videos! Yay!
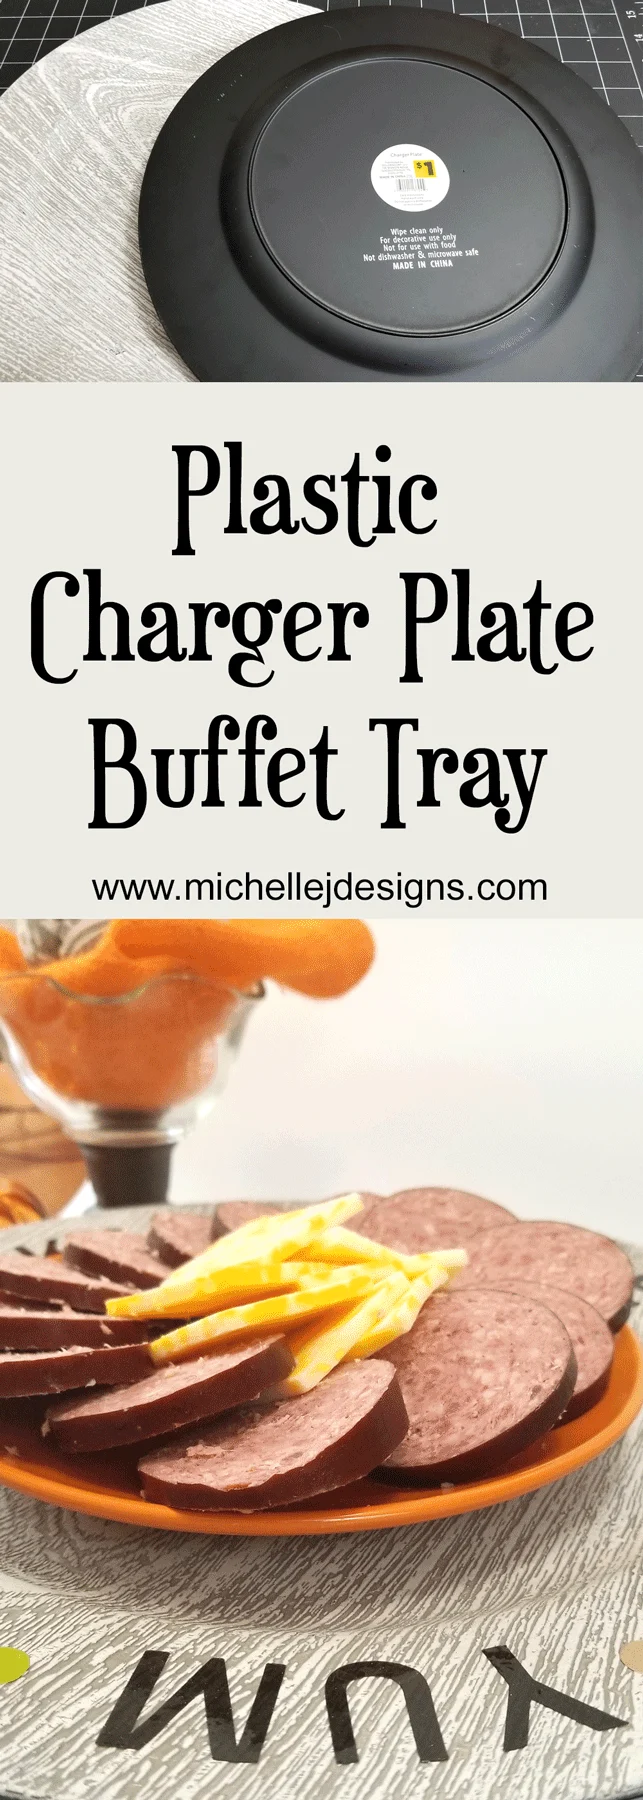
These plates are so fun. They have a gray-ish wood look to them. I got these at Dollar General but I see they are on the Dollar Tree website too. My local store doesn’t carry them but I bet some stores do. I was just happy these were $1 at Dollar General.
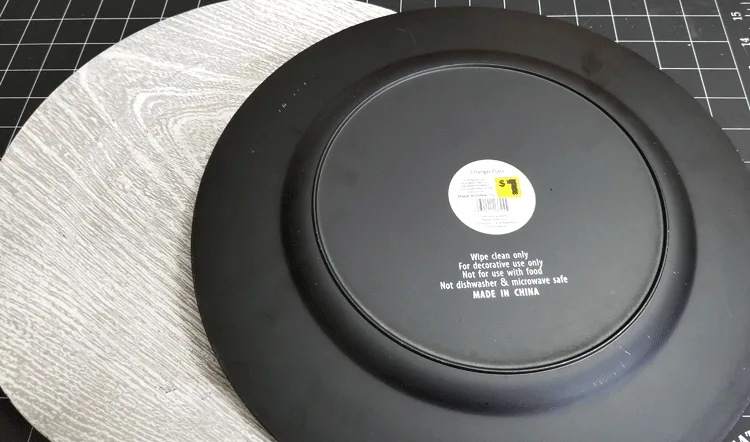
In order to jazz these up a bit. I added some of my favorite vinyl to the edge. Here is how I did it!
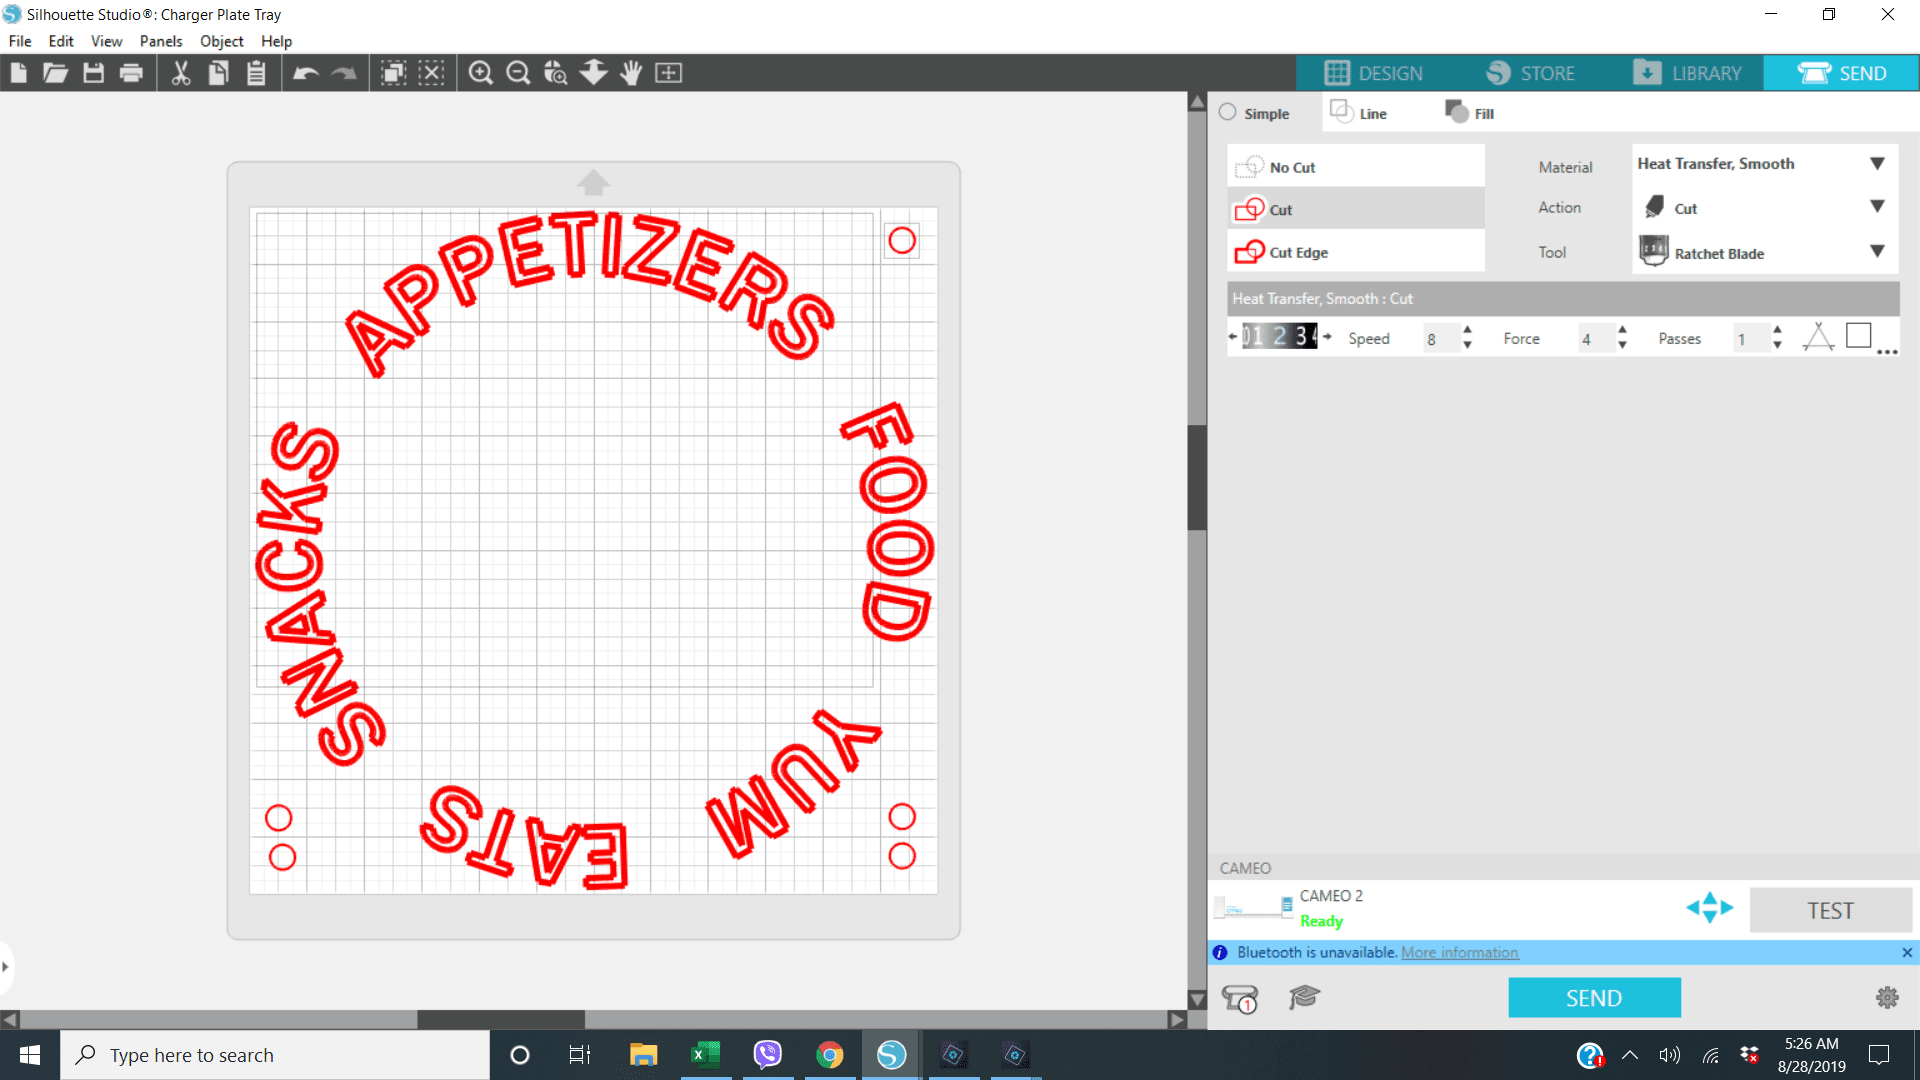
Creating A Circle Of Text With The Silhouette
I thought it would be easier to show you in a short video. You can just hit the play button to get started.
Here is a screenshot of my design once I had it all ready to go. The five circles in the corners were cut with different colors of the Luster vinyl to add between each word for the finished design.
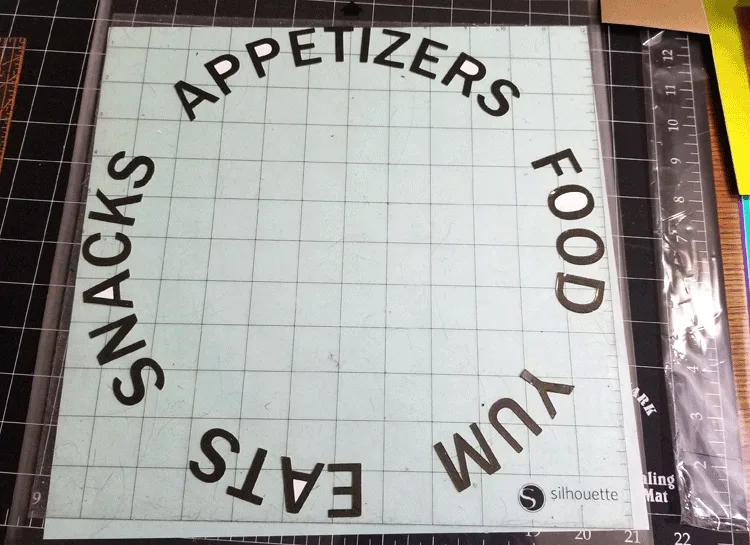
When I got it cut out here is what it looked like.
At this point it was ready for transfer tape and to be added to the plate. The little circles were added in between each word to add some fall color. These will be easy to change out for different holidays too. So, for Christmas I will add some red, green and white dots. You get the idea! I love things that are reusable for different events.
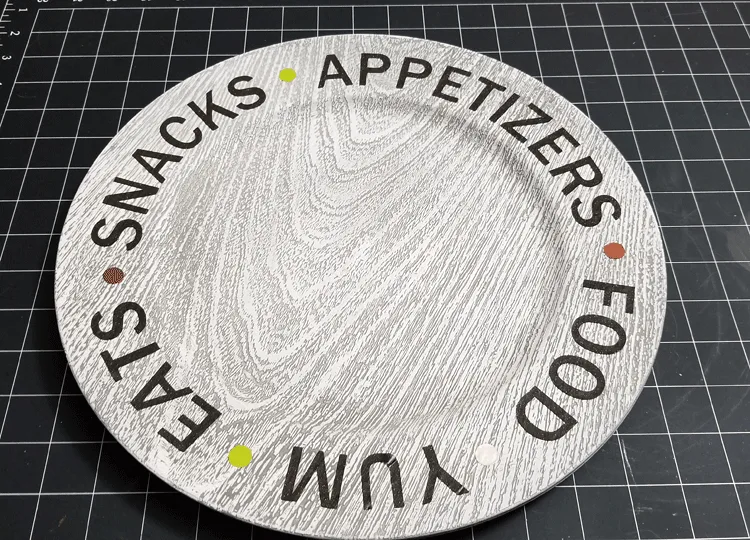
At this point you could be done but I wanted to take it one step further and add some height to this serving tray.
Adding The Feet/Legs
These rolling pins from the dollar store were the perfect thing to use. I needed two of them because I wanted three tapered legs/feet. They have a slight taper at each end but the middle is straight so I needed three ends.
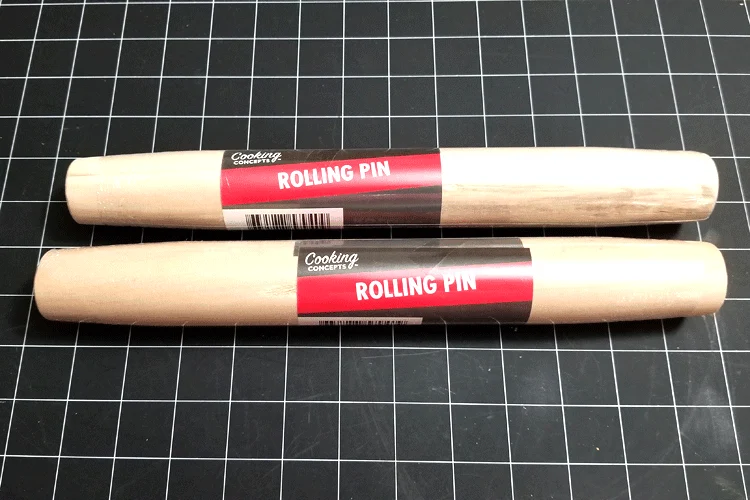
Jeff cut them for me. (He is so nice)
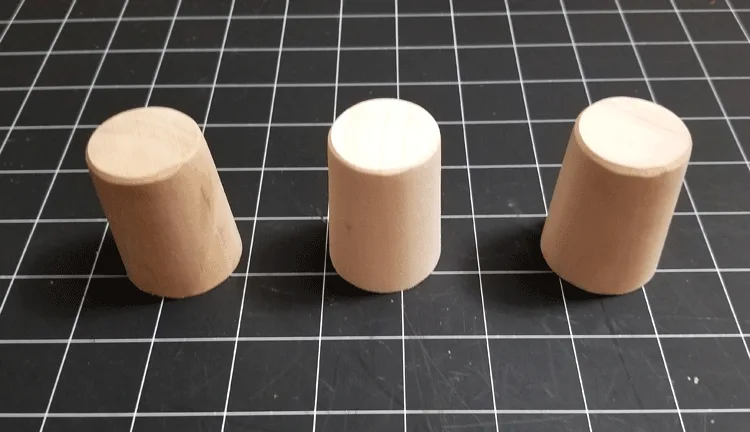
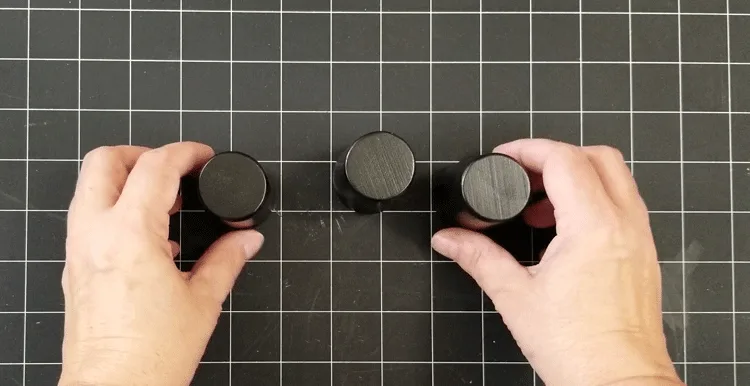
I sanded them a little bit with a sanding block then used some spray paint to make them black.
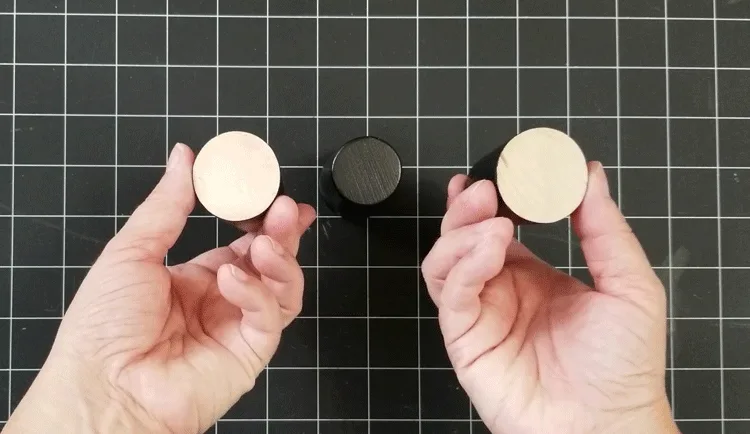
But I left the bottom of the legs plain wood so that the glue would adhere better.
Putting It All Together
The adhesive I used was E6000. This always works good for this type of project.
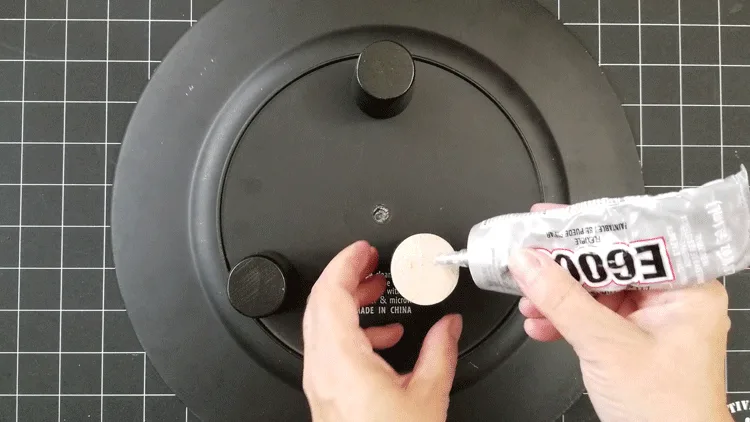
The glue had set for a while so I let these sit over night.
It turned out so pretty!
If you like fun decor for the holidays you will love these foam pumpkins that have been transformed into high end looking fall decor!
The Finished Plastic Charger Plate Tray
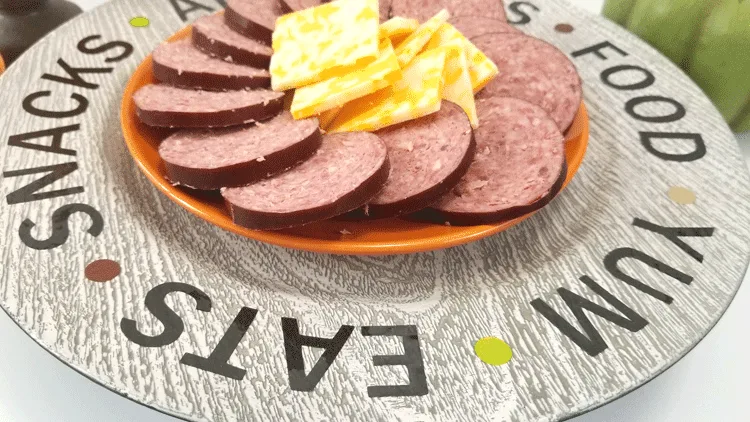
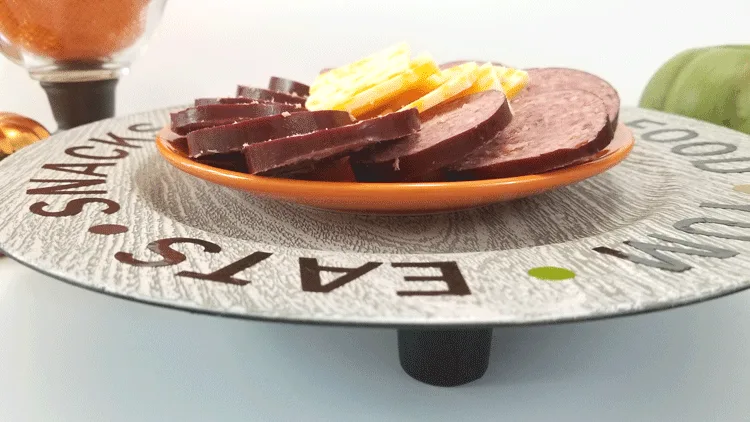
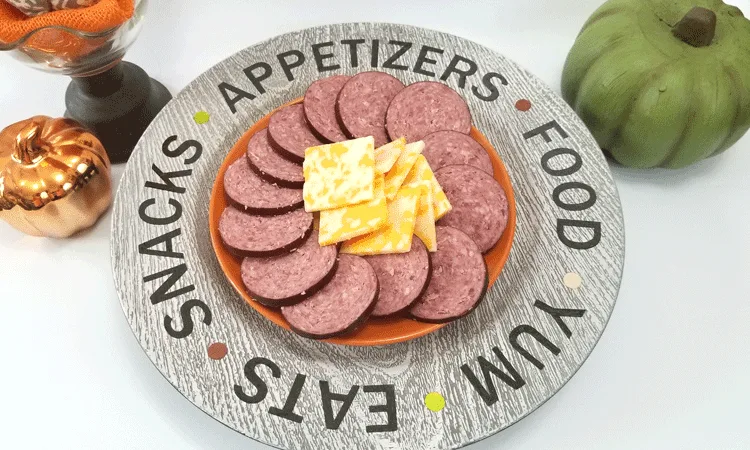
So, the last part of this post is all of the materials I used. Here they are!
Plastic Charger Plate Buffet Tray
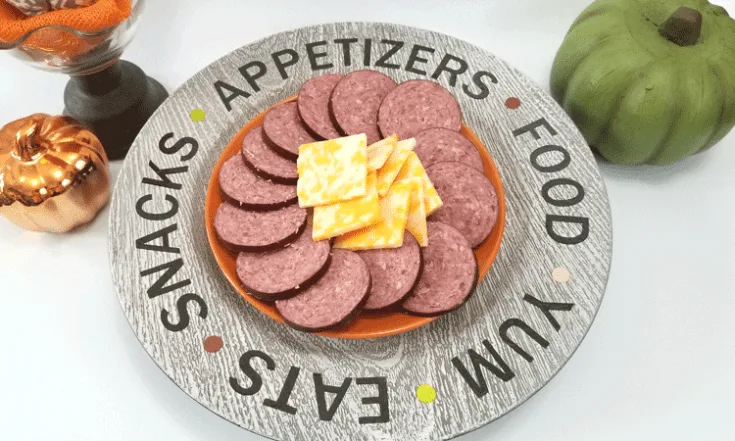
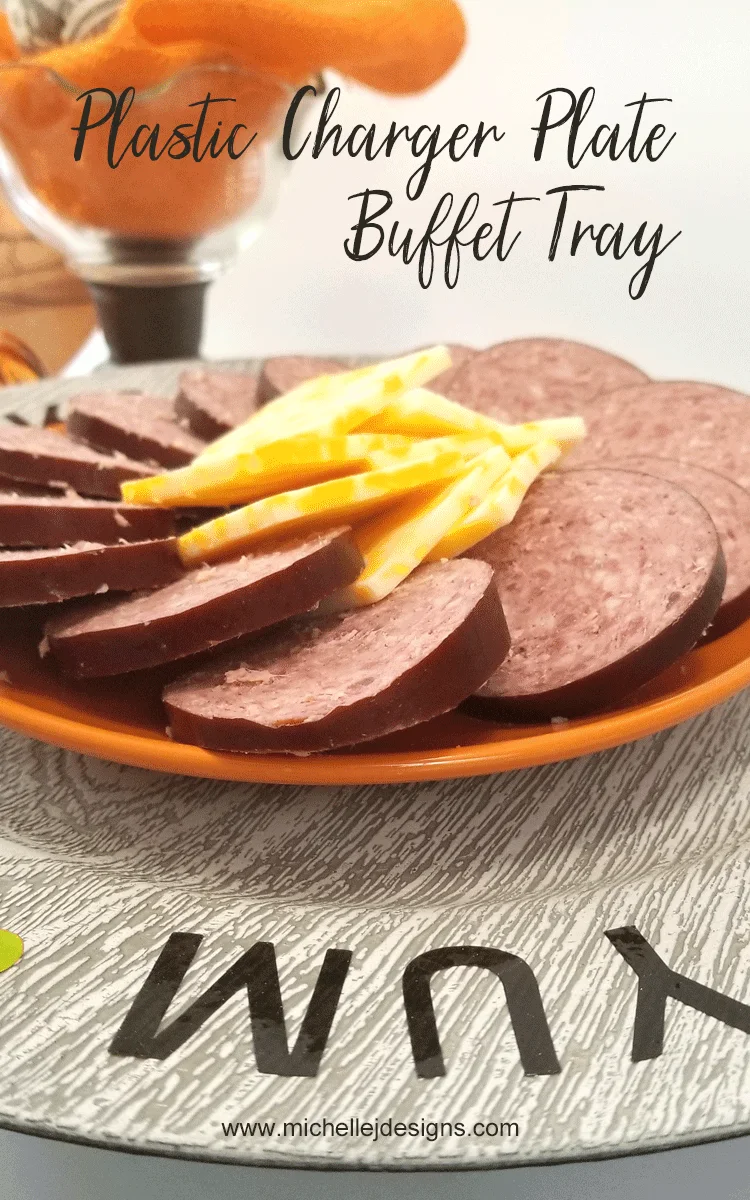
Dollar store plastic charger plates can be transformed into a nice buffet tray for holiday events!
Materials
Tools
- Silhouette Cameo
- Sanding Block
Instructions
- Use the Silhouette Studio to create text in a circle to fit around the outer edge of the charger plate. Use this video as a tutorial for this step. https://www.youtube.com/watch?v=8khuxMNmJZU&t=5s
- Use the transfer tape to add the cut design to the charger plate. This is a big design so go slow and careful.
- Add the vinyl circle dots to the plate between the words.
- Cut the ends of two rolling pins. They need to be 2 inches each and you need three legs for the tray.
- Sand the legs with a sanding block.
- Paint them black with spray paint.
- When they are dry, use the E6000 to adhere them to the bottom of the charger plate. Let the glue dry overnight.
- Place a plate on the tray for the food. It is decorative only.
- Enjoy!
I hope you enjoyed this project and thanks so much for stopping by!
Michelle




Cathy
Sunday 9th of October 2022
well for the life of me I cannot find the cut file!! any advice on which page to find it on? Thank you
Michelle
Monday 10th of October 2022
Hi Cathy, I don't think I have a freebie for that one. Sorry. Do you have a Cricut or Silhouette? The video shows you how to make it with a Silhouette machine and you can use any text. When I was using my Silhouette machine...back in the day...I wasn't making cut files.
Elaine Foley
Tuesday 20th of September 2022
You have saved me so much. I was looking how to make bed trays. This technique is exactly what I was looking for. Thank you.
Michelle
Thursday 22nd of September 2022
Yay! I am glad it was helpful.