I am back for my 2nd edition of how to create simple, easy handmade cards and a video to show you the process. This time I am showing you how to create a handmade tag card.
If you missed my post and video from last week I explained how to create a handmade pocket card. Today’s card is even more simple than last weeks! Yay.
I love to create cards that are easy to duplicate so you don’t have to spend an hour making a card and $100 dollars in supplies to get it done. Most of these cards can be used with scrap pieces of paper although I try to add links to the products so you can get what I use if you want.

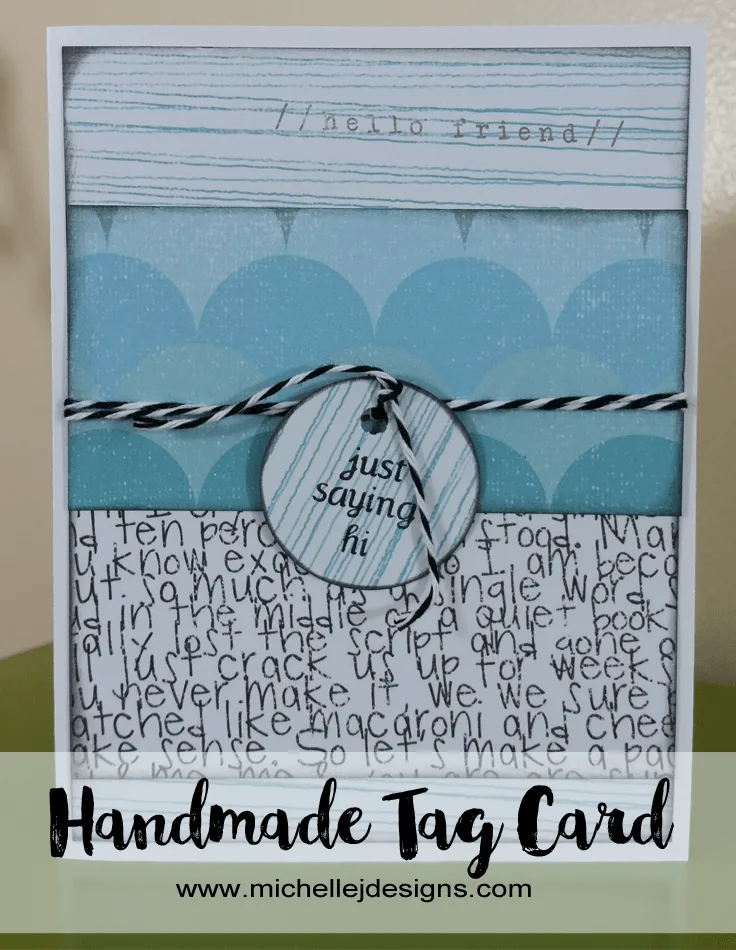
How To Create a Handmade Tag Card
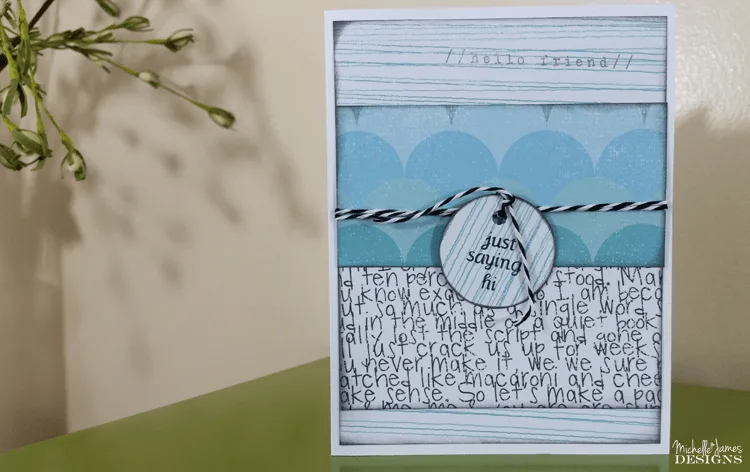
Are you ready to make this guy? Remember you can use any patterned paper you like. I will try to add some affiliate links for your convenience. If you click on a link and make a purchase I will receive a small commission at no extra charge to you. You can see my disclosure here!
Supplies List:
White Card Stock – I like to purchase this in “bulk”. Well there are 150 sheets in the package but it works great.
Three different, coordinating patterned papers – I used this collection from Studio Calico. It come is a large 12×12 48 pack and a smaller 6×6 pack that would work great for these size pieces.
Background piece – 5.25″ x 4″
First layer piece – 4″ x 3″
Smaller layer piece – 4″ x 2″
Black Bakers Twine – Love, love, love
Hole punch
Adhesive – My favorite!
Scissors
Rubber stamp sentiment of your choice
Powder Puff Chalk Ink – Coal Miner – One of my favorite colors
Black Ink for stamping – My favorite
Now we are ready to get started!

Instructions for handmade tag card
The steps below assume you have already cut your paper pieces to the above sizes!
Step 1: fold the white card base (8.5 x 5.5) in half and set aside.
Step 2: Ink the edges of all of the small pieces with the Powder Puff ink
Step 3: Punch out the circle and then punch a hole to create a tag. Ink the edges of the circle with the same ink.
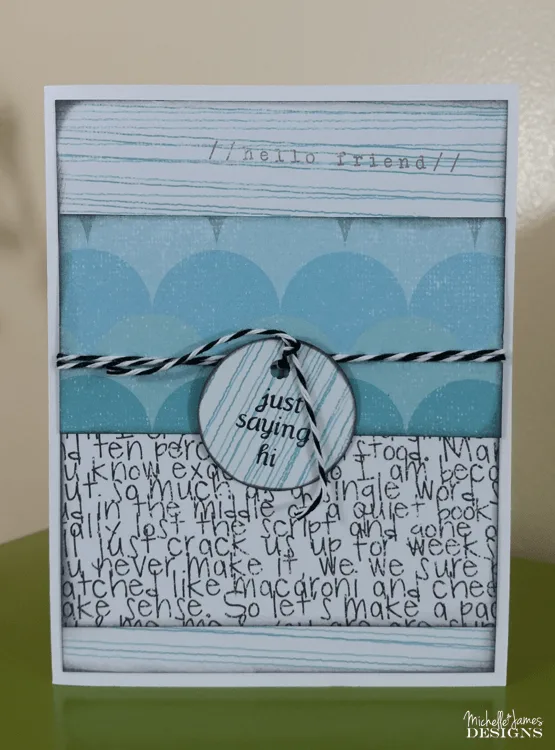
Step 4: Use the tape runner to adhere the 4″ x 3″ piece to the background piece about 1/2″ from the bottom.
Step 5: Adhere the smaller patterned piece 4″ x 2″ to the background piece about 1″ from the top. It will overlap the layer you just glued down.
Step 6: Wrap a piece of bakers twine around the background piece twice and tie a knot in the front center.
Step 7: Stamp your sentiment onto the tag. Thread the round tag onto one of the hanging ends of the bakers twine and tie another knot to secure the tag onto the card. Trim the ties as needed.
Step 8: Adhere the entire background piece to the folded card base.
You are all done! Simple. Easy. Fun.
Here is the short video to show you the steps. Enjoy!

I hope you enjoyed this step by step guide of how to create a handmade tag card. If so…go ahead and pin it!
Thanks so much for stopping by!
Michelle


Beth Buss
Sunday 31st of July 2016
Love the just saying hi card Michelle!!
Michelle
Sunday 31st of July 2016
Thanks Beth. So glad you like it! I haven't seen you in a while. Are you getting geared up for your final year of school?