Welcome back to another fun St. Patrick’s Day decor idea. Today I am going to show you my fancy St. Patrick’s Day burlap wreath I made. I think it is the perfect addition to my green decor.
I have been wanting to make an awesome burlap wreath since my friend Pat showed my hers over a year ago. It was so nice. She told me it was easy but it looked hard and I put off learning until now but I really wanted one to add to my St. Patrick’s Day decor.
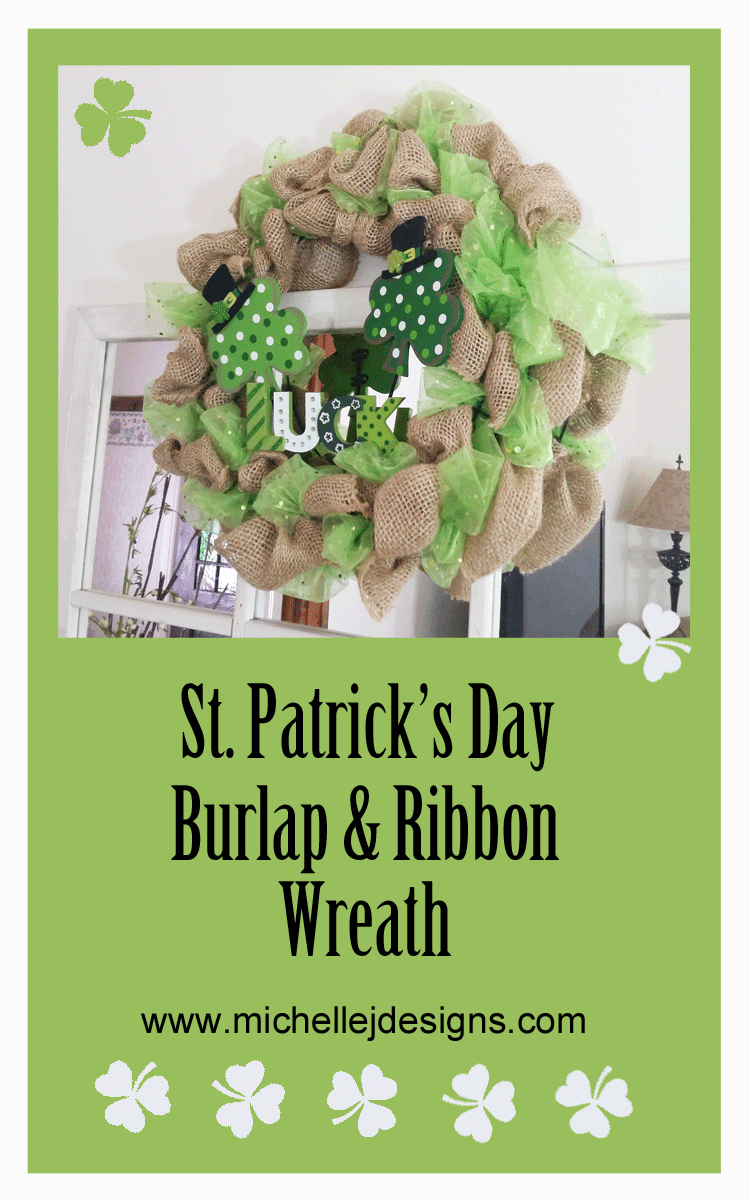
St. Patrick’s Day Burlap Wreath
So as it turns out…it wasn’t so hard after all. I had a few awkward moments but I figured it out and got it done.
Supplies Needed:
I have included some affiliate links for your convenience. You can read my full disclosure here.
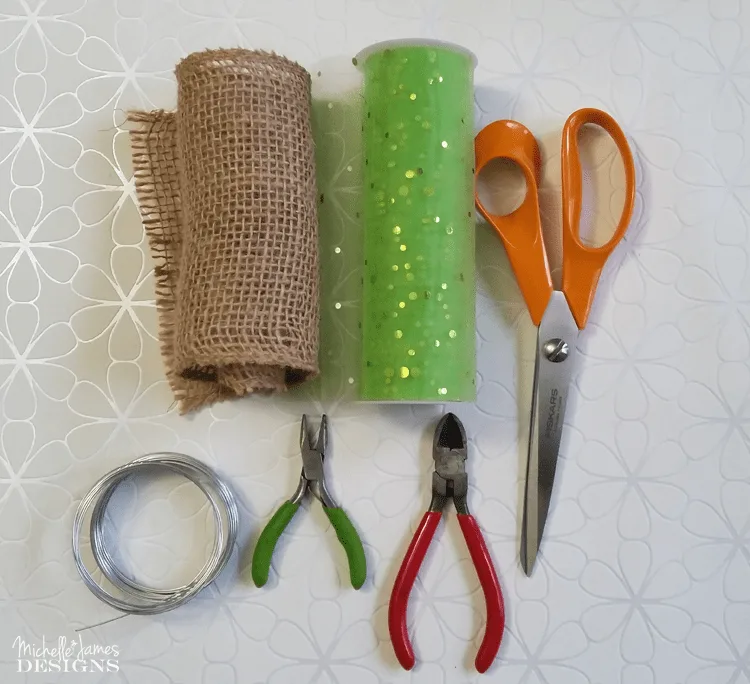
Burlap ribbon – mine was about 5 inches wide
Wide sheer green ribbon
Wire
Wire cutters
Scissors
The Process
I found a great video to link to you for. This is what I used to learn and she explains and shows the process to nicely.
Adding A Second Color Of Ribbon
I wanted to add some green ribbon in my wreath so I alternated the colors. First, I attached both the burlap and the green sheer ribbon at the beginning just as she does in the video.
Starting with the burlap I made the first loop, then I created the middle, or second loop, with the green ribbon, then back to the burlap for the third loop. After the “twist” I used the green ribbon for the first and third loops and the burlap was in the middle and I kept going with this alternating pattern all the way to the end.
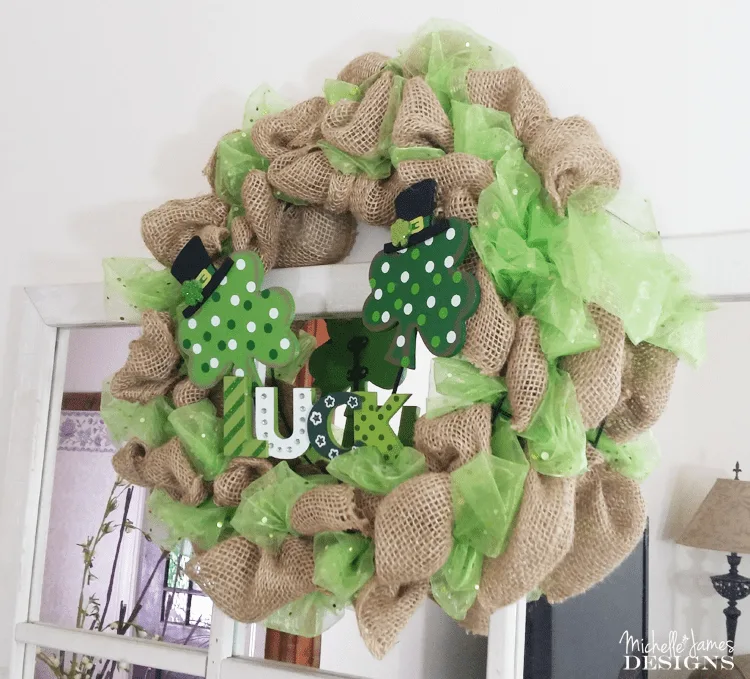
If you run out of ribbon just secure the end to the frame with wire and continue where you left off with a new spool. It isn’t hard but I have to say it took me more than 10 minutes. Once you get the hang of it, it starts to move a little faster.
Adding Some St. Pats Details
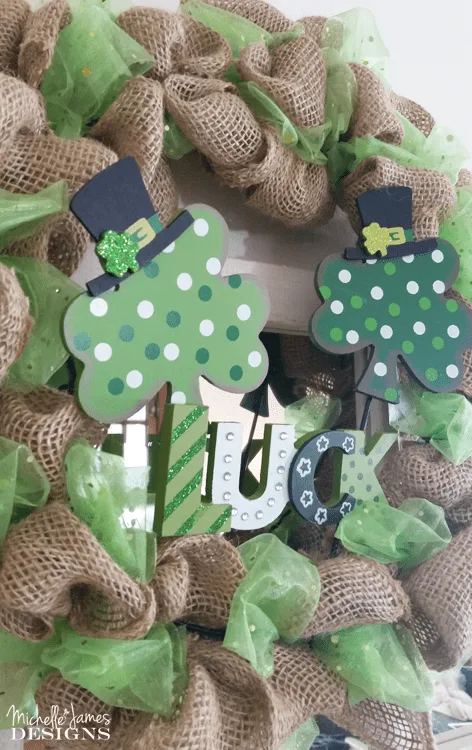
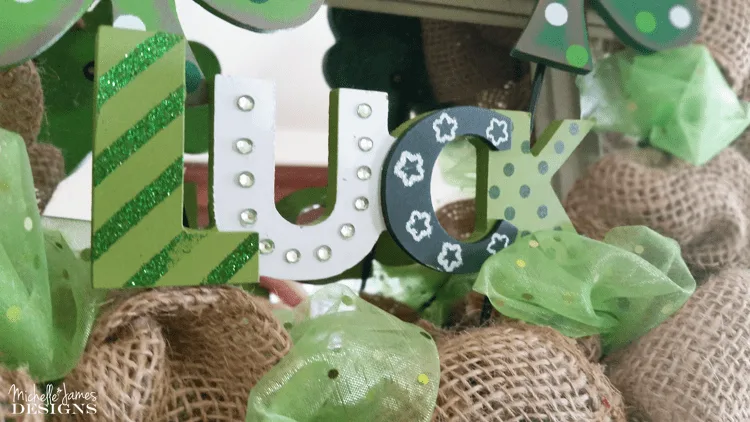
Hobby Lobby has a few fun St. Patrick’s Day decor. I picked up two wooden, polka dot shamrocks and a wooden “Luck” sign. They were added in the middle of the wreath. The two shamrocks have long metal sticks so they are attached to the wire frame with zip ties and I used my handy glue dots to secure the Luck sign. I stuck them to the two shamrocks and so far it is holding quite nicely.
At the very end I tied a piece of twine to the top as a hanger.
I think it turned out pretty good for my first go! What do you think?
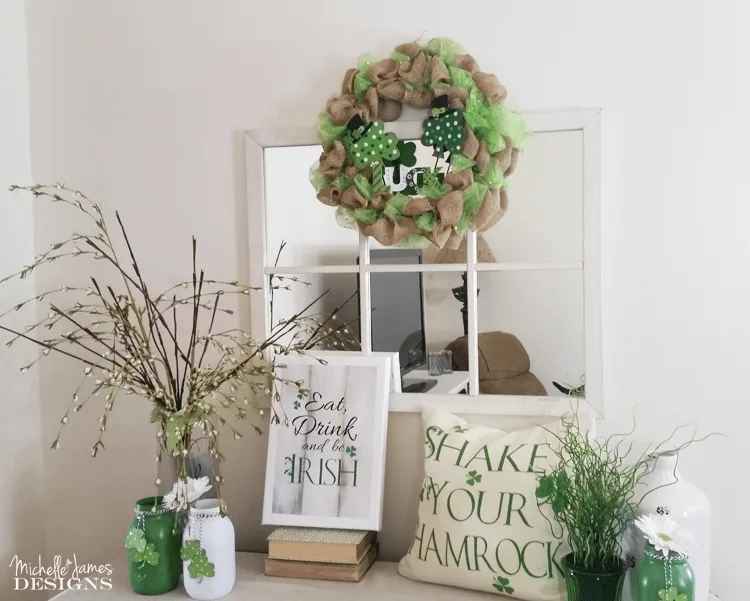
I like to add a wreath to this display no matter what the holiday or season because it hides the wires hanging the mirror. This one does it’s job! You can also see my St. Patrick’s Day Mason Jars in this picture. Also, so stop back Tuesday to find out about the canvas wall art and the pillow. These were both fun projects.
Here are some more photos of the wreath.
If you liked this be sure to pin it to save it for later! And….
Follow Michelle James Designs on Pinterest

Thanks so much for stopping by!
Michelle


dar hankey
Friday 3rd of March 2017
I love that wreath! Wonder if I could do it? I bought those decors at hobby this week. Your whole display looks great...you are NOT an outsider ! (And eburg is not quirky) haha
Michelle
Friday 3rd of March 2017
Haha! It's a little quirky. In a good way, of course. You can definitely make this. Let me know if you need any help! I am happy to help any way I can. I am glad you like my display. It has been fun with more fun St. Pat's ideas coming!
Sam @ Raggedy Bits
Tuesday 28th of February 2017
Wow this looks fabulous Michelle! What a lovely way to greet your guests!
Michelle
Tuesday 28th of February 2017
Hi Sam and thank you. It is a fun piece of decor and I just love it!
Lynn Spencer
Monday 27th of February 2017
Thanks for sharing you wreath making skills with us! That St. Patty's wreath is so fun...I'm ready for all the green.
Have a great day.
Lynn
Michelle
Monday 27th of February 2017
Thanks Lynn. We do St. Patty's right here in Emmetsburg, Iowa. LOL! It was a fun project and now that I am familiar with the process I think the next one will be much easier. Thanks so much for stopping by.
leanne with divaofdiy.com
Monday 27th of February 2017
Happy St Patty's Day! What a great way to welcome your guest!
Michelle
Monday 27th of February 2017
Thanks Leanne! I am happy with the way it came out. I may just have to make one for Easter too!
Carolann
Monday 27th of February 2017
Gosh, that's super pretty Michelle. I love it and would love to make one someday. So cheery and loaded with St.Patty's Day fun!
Michelle
Monday 27th of February 2017
Thank you Carolann! St. Pat's is all about the fun in my opinion. It was a fun project.