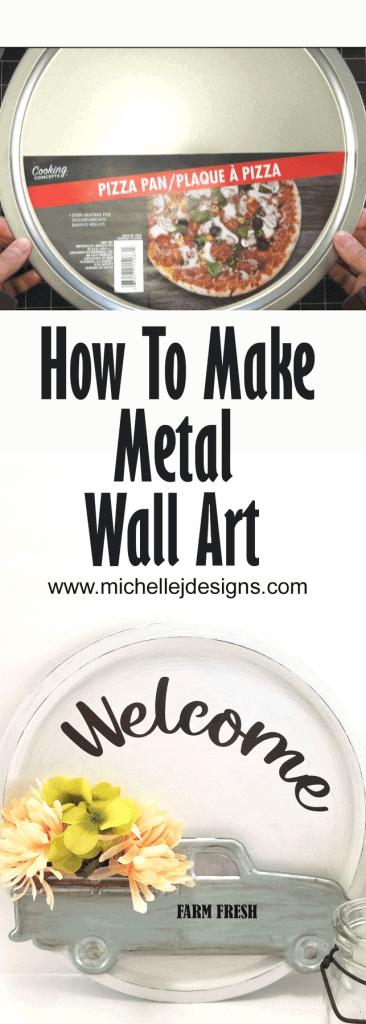
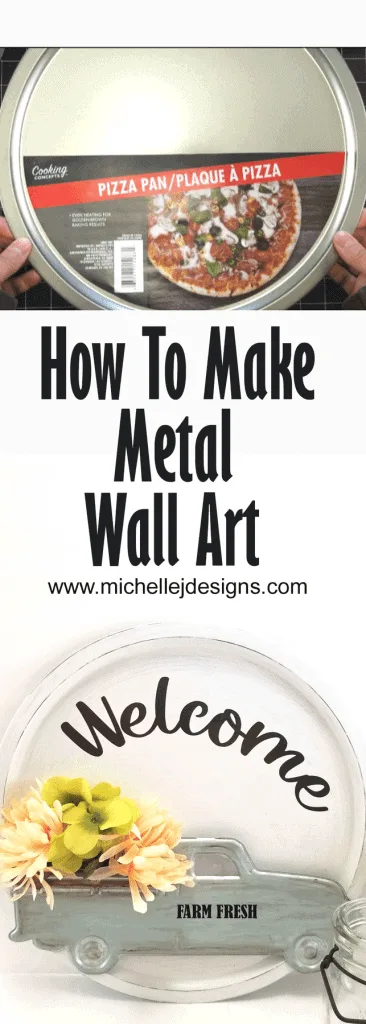
Hi there and welcome back to the blog. Today’s project is a continuation of the white wash metal farmhouse truck post from last Friday. I am showing you how to make metal wall art by adding the painted truck to a decorated Dollar Tree pizza pan.
I love this project because I have raised the truck slightly from the pizza pan to be able to add seasonal florals or whatever you want. So you can change it up or leave it alone. It is totally up to you!
It makes a great piece of 3D metal art that you can hang all year long. AND it is so budget friendly. We all love an inexpensive piece that looks high end. I think you will really like this one and get some inspiration for your own diy metal wall art.
If you love DIY metal projects you can click here to find more metal crafts inspiration!

How To Make Metal Wall Art
So we already painted the metal truck and now we are moving onto the metal pizza pan from the Dollar Tree. This part is easy peasy!
If you like a step by step video tutorial you can click on the You Tube video below. BE SURE TO SUBSCRIBE TO MY CHANNEL WHILE YOU ARE OVER THERE ON THE YOU TUBE!
How To Make Metal Wall Art You Tube Video
Step 1: Spray primer on the pizza pan
Use the flat black primer to cover the top of the pizza pan. Let it dry and give it another coat if needed.
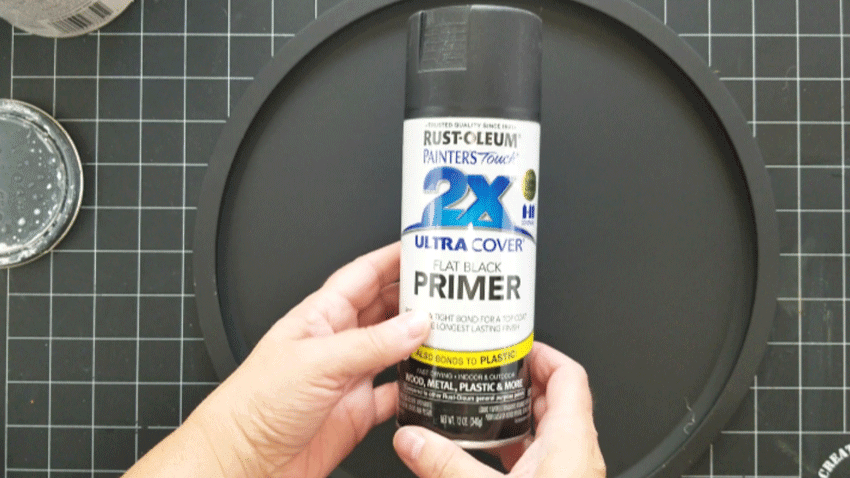

This step is pretty important. The primer helps to prepare the pan for the paint.
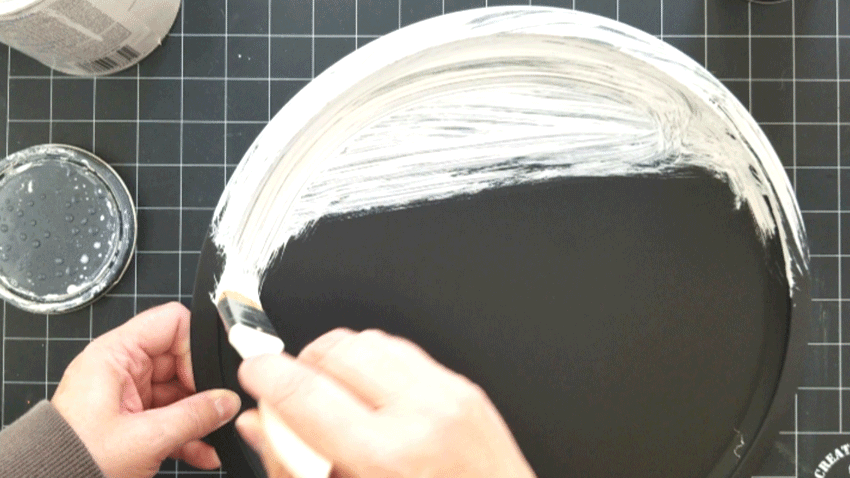
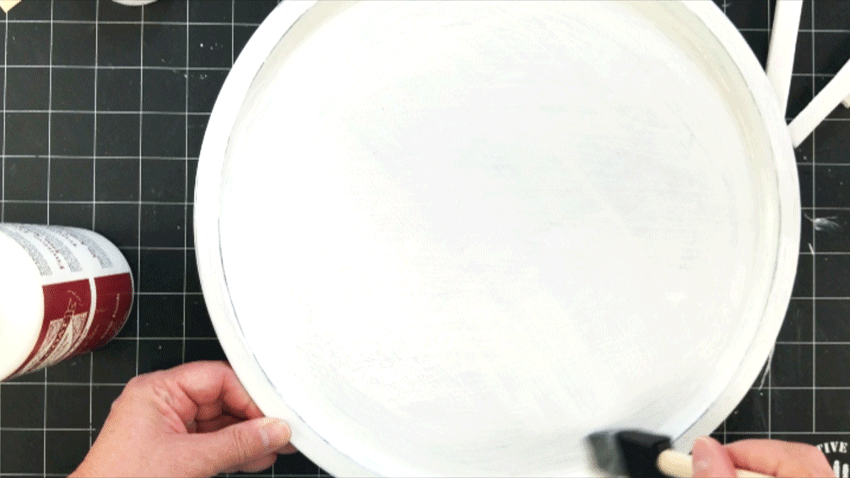
Step 2: Add the chalk paint
I used Rustoleum Linen White chalk paint because I already had it at home. You can use whatever chalk paint you like.
The foam brush works better than the little chip brush I used for the first coat.

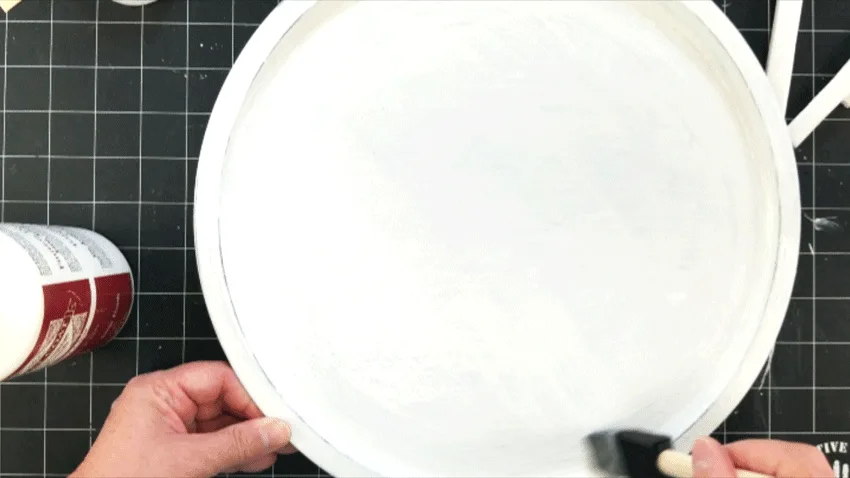
Step 3: Add the Mod Podge
This is an important step too. It helps to seal the paint and keeps it from peeling it off when we add the vinyl.
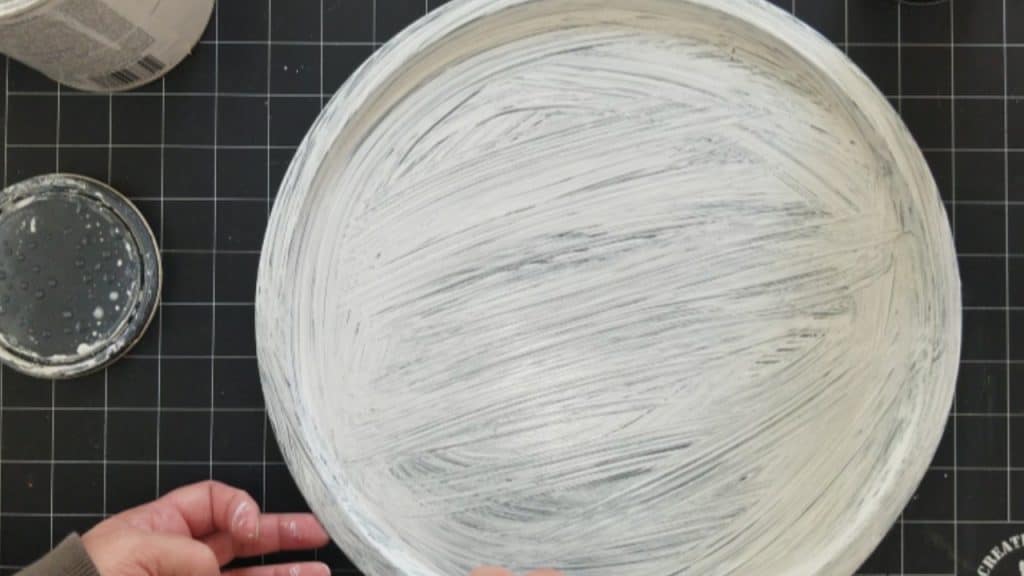
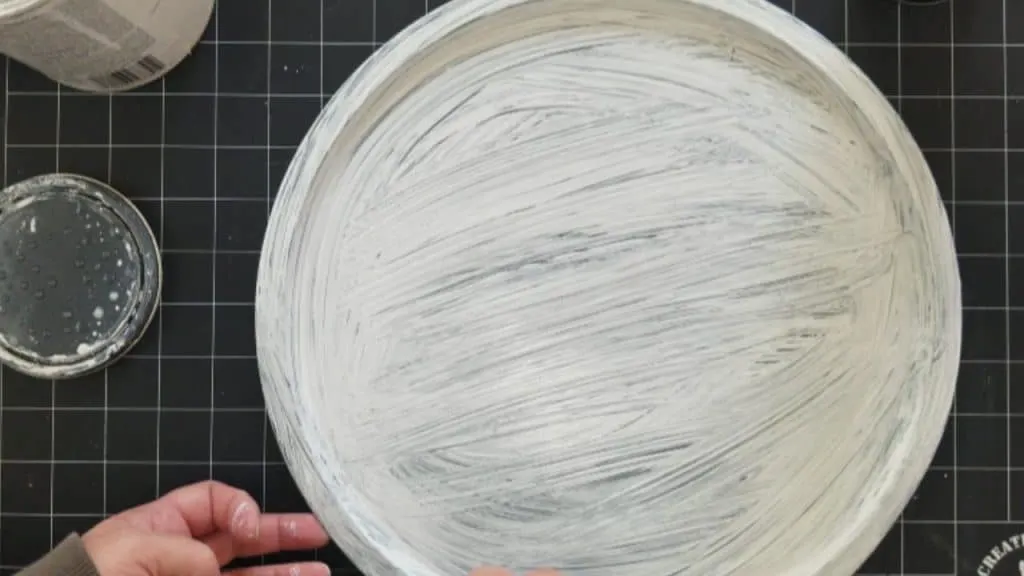
You can also see how the pizza pan looks with the second coat of the white chalk paint too.
I just put on one nice coat of the Mod Podge.
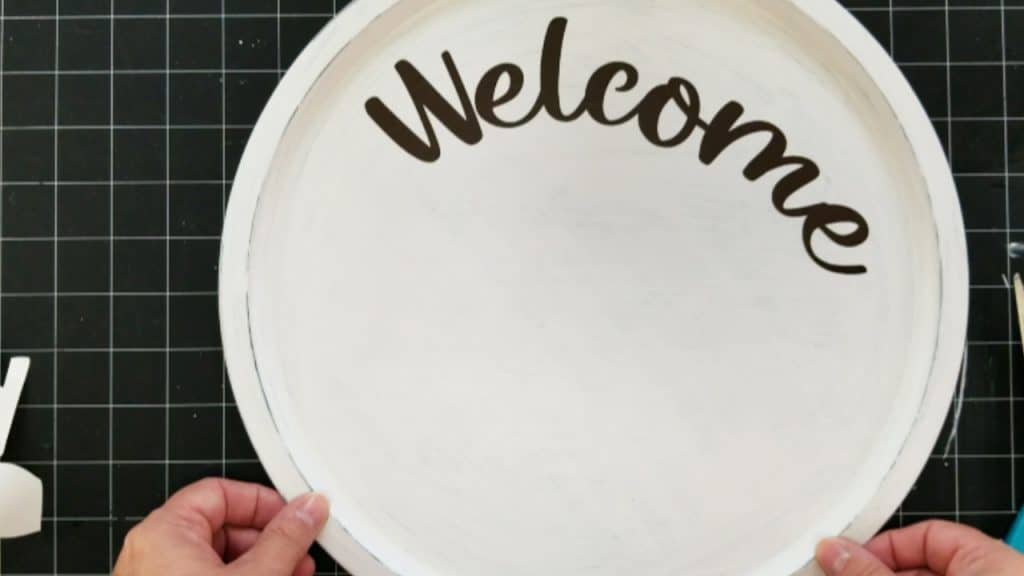
Step 4: Apply the welcome text
Download the Welcome SVG from the Resource Library. You will find it in the Silhouette/Cricut SVG Files section


Once it is downloaded you can upload it into Design Space.
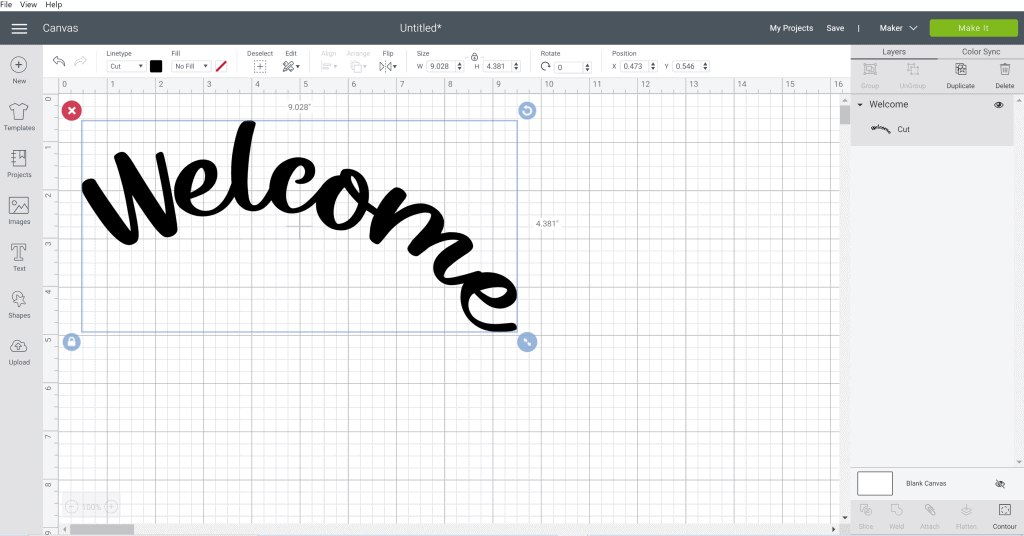

Adjust the measurement if needed and cut out the letters.
Weed the design once it is done cutting and apply the paper transfer tape to the top of the text.
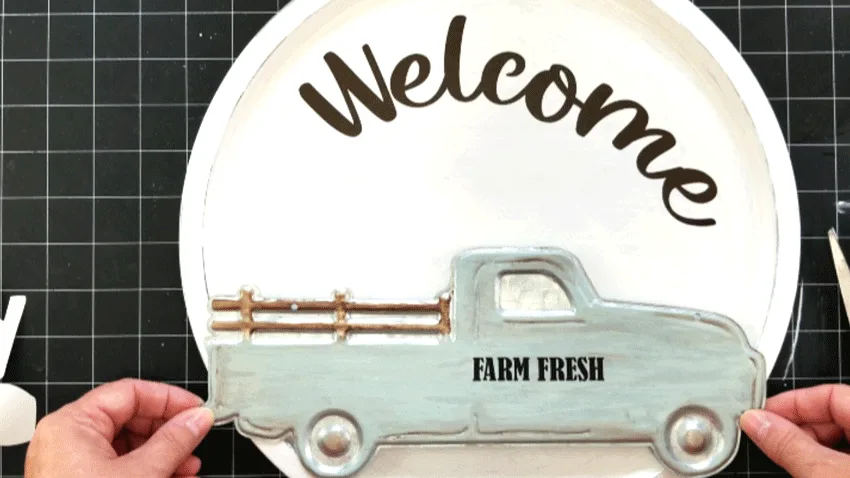
Figure out your placement onto the pizza pan. I didn’t think it was quite curvy enough so I cut the W off so I could add it separately. This helped me get a little more curve.

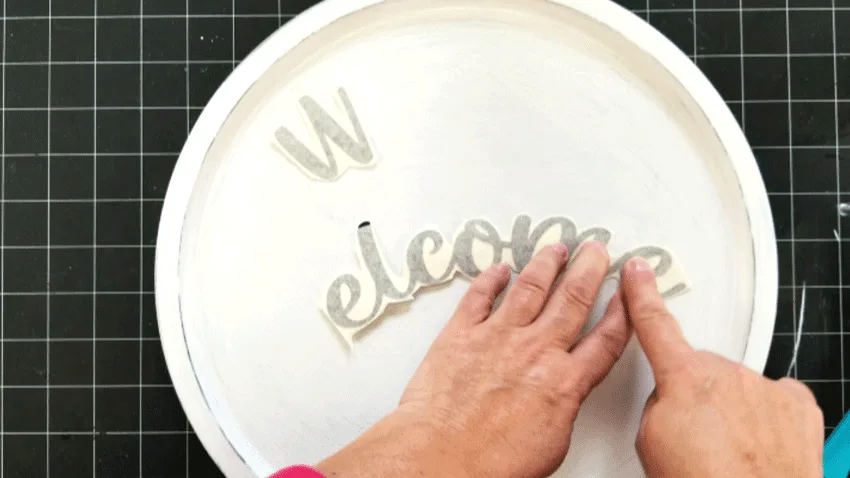
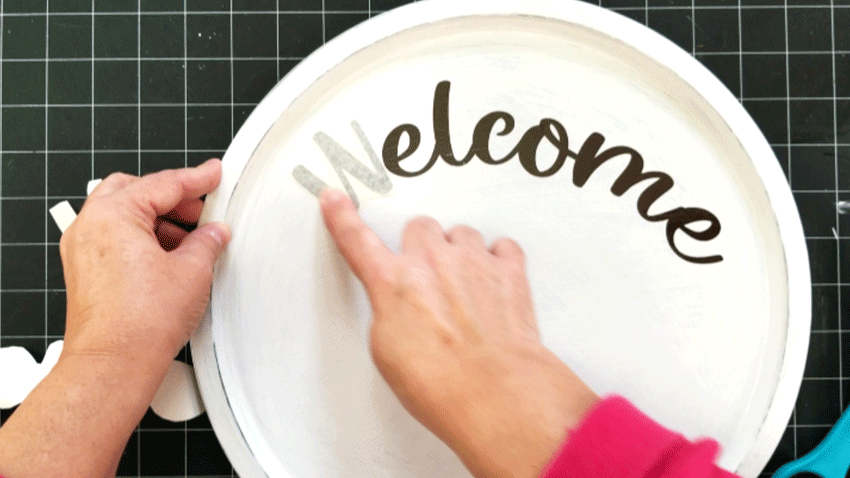

It looks nice.

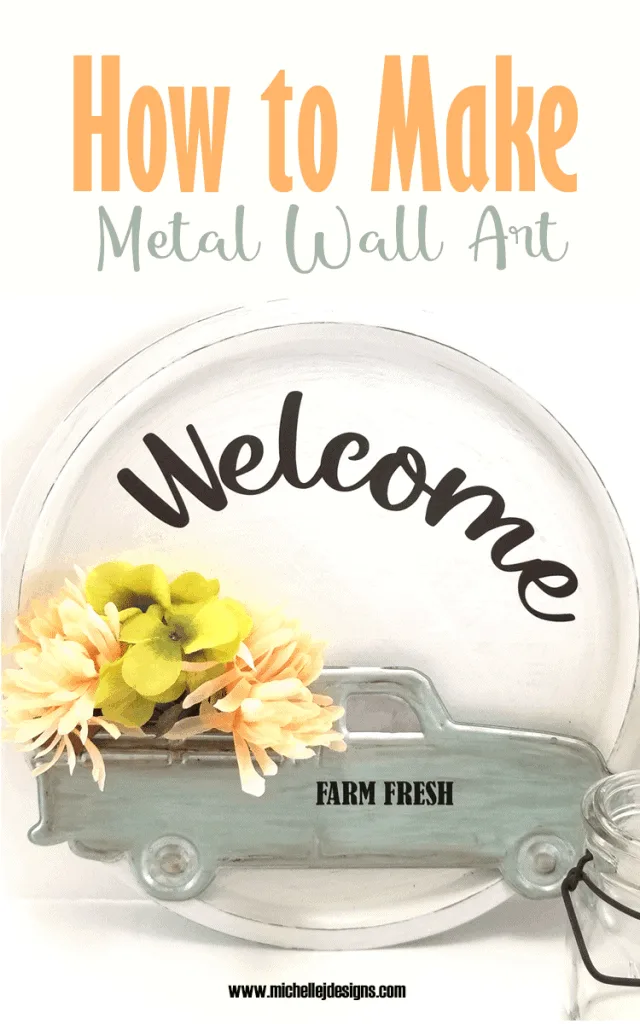
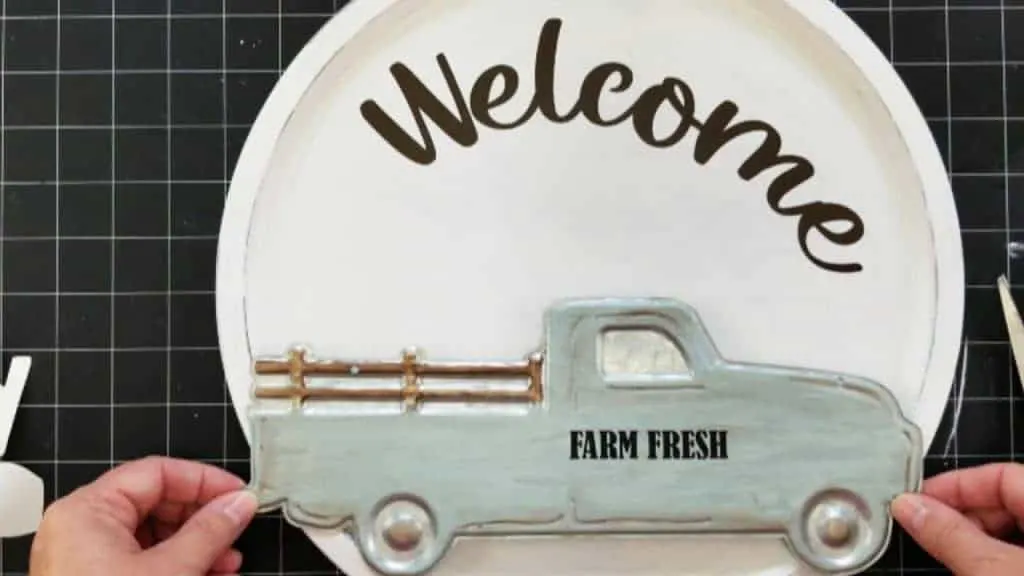
Step 5: Add the truck to the pizza pan
This is the last little bit and what makes it all come together.
I am adding the metal truck from last week’s post to the front of this one.
First decide where the truck should be.

Gather your foam core pieces. You will need two pieces that will be stacked on top of each other to place under the truck.
Cute two pieces that are the width from the span of the pizza pan and about 1 inch tall. (They will be inside the rim of the pizza pan)
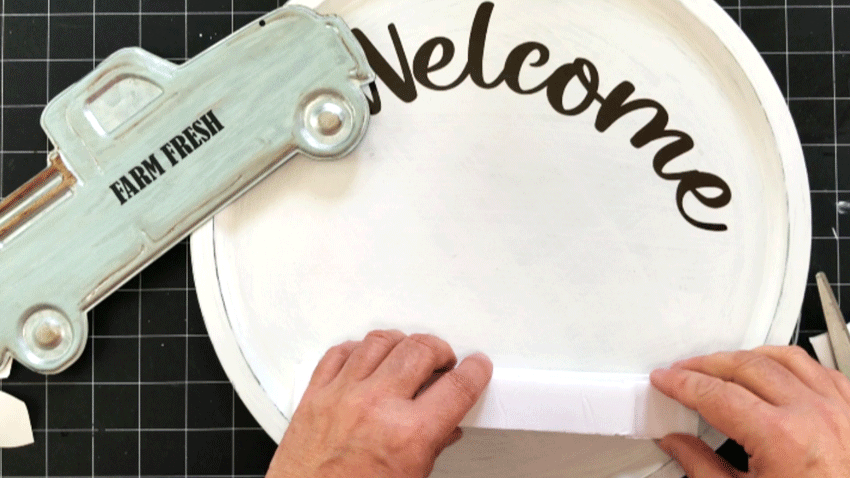

Glue the two pieces together then glue both pieces to the pizza pan.


The truck will sit on the foam core but it will be under the bottom portion of the truck. This leaves room to add seasonal flowers or what ever you want.
I placed the truck down and made a mark on each side so I would know where to lay it down again after I added the hot glue.

Now you are ready to add some seasonal elements into the back of the truck.
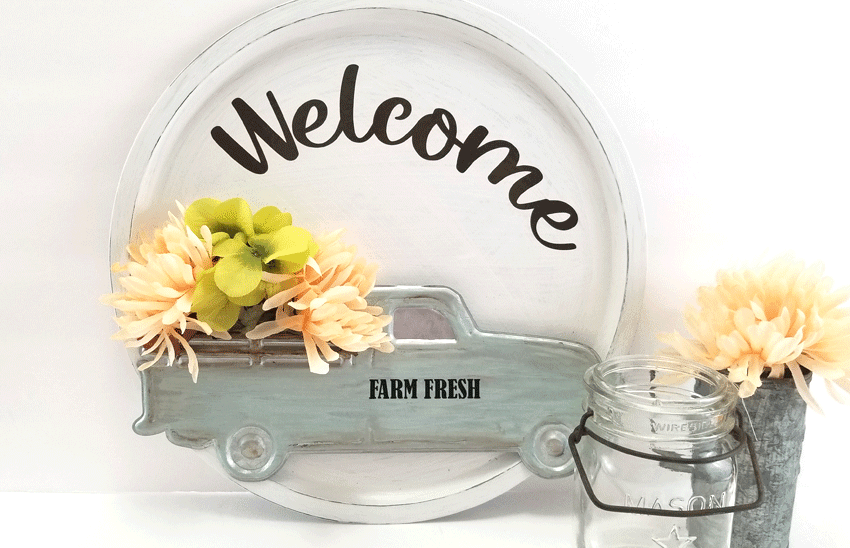
I purchased a couple of flowers from the Dollar Tree. Use wire cutters to cut the stem shorter and tuck it into the back of the truck.
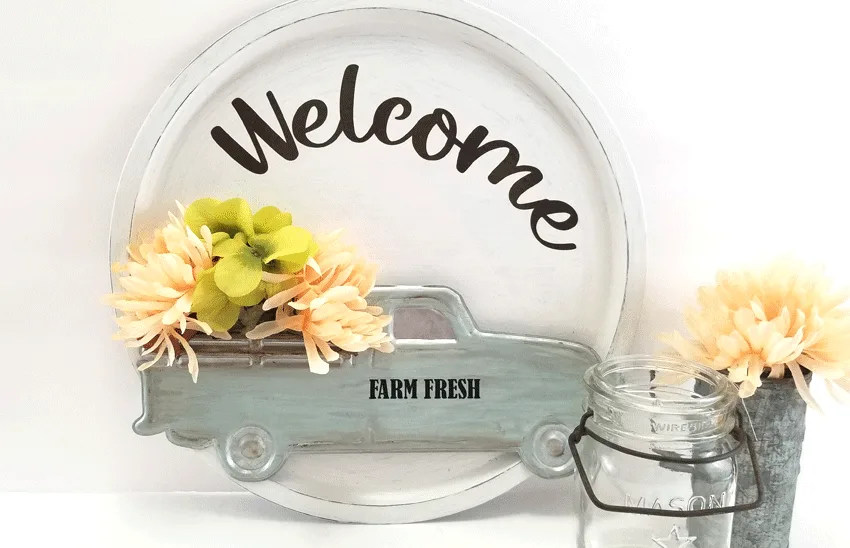
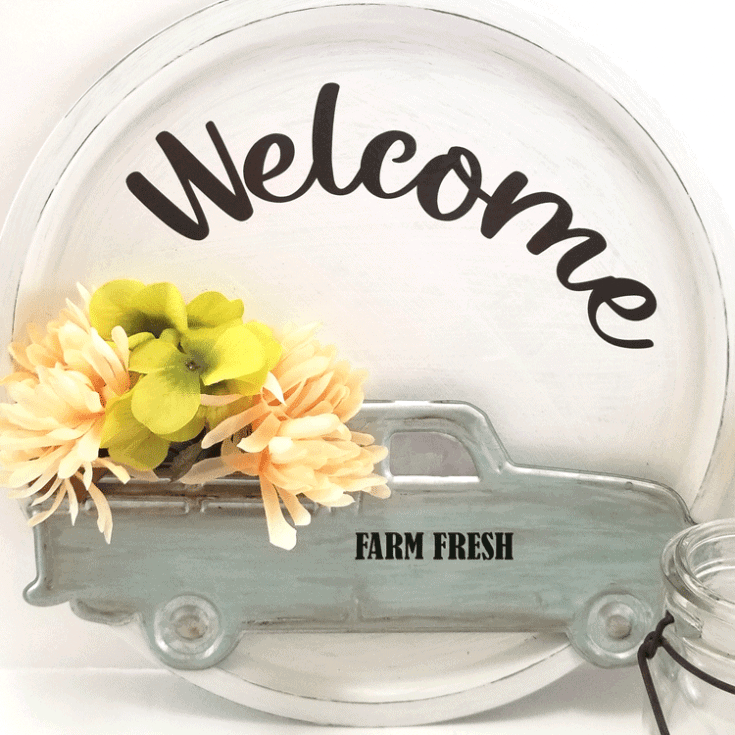
What do you think?
Materials Needed
I have added some affiliate links for your convenience. You can see my full disclosure here.
How To Make Metal Wall Art
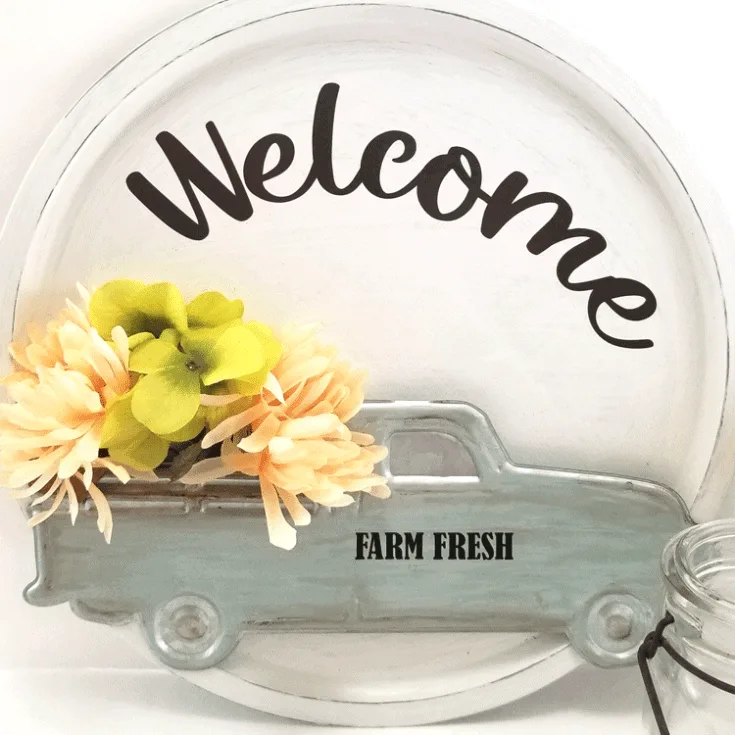
Create your own metal wall art with a Dollar Tree pizza pan, spray paint, chalk paint and some vinyl. Then add a 3D element to create the perfect farmhouse look.
Materials
Tools
- Foam Brushes
- Cricut Maker or cutting machine
- Scissors or exacto knife
Instructions
- Use the flat black primer spray paint to cover the top of the pizza pan
- When it is completely covered and dry brush on a coat of the Linen White chalk paint. Let that dry completely then give it a second coat of the chalk paint.
- Next you can do a little bit of distressing. But, be sure not to put too much pressure on the sanding block or you will be down to the original metal instead of the black.
- Then add a nice coat of the Mod Podge and let dry.
- While that is drying download the Welcome SVG from the Resource Library and upload it into Design Space.
- Adjust the size if needed and cut from the brown vinyl.
- Weed the design and add the paper transfer tape to the top of the vinyl.
- Place it onto the painted pizza pan.
- Remove the paper transfer tape.
- Cut two pieces of foam about an inch tall and whatever you need to fit across the pizza pan about an inch or so from the bottom (above the raised rim.) Mine were about 7 or 8 inches.
- Glue the two pieces of foam together then glue them onto the pizza pan.
- Glue the metal truck across the bottom of the pan covering the foam but leaving room at the top part of the truck to add flowers and such. (the foam holds these in place.
- Add fall flowers or Christmas trees, or wooden pumpkins or whatever you want to the truck bed. The great thing about this is that it can be changed out seasonally.
Recommended Products
As an Amazon Associate and member of other affiliate programs, I earn from qualifying purchases.
-
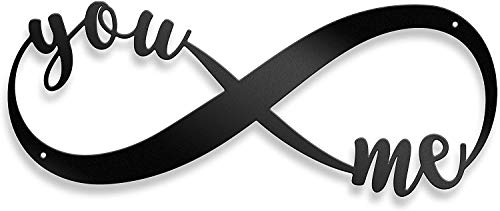 You and Me Infinity Symbol - Steel Roots Decor - Perfect Anniversary, Wedding and Couples Gift - Metal Wall Art Laser Cut 18 Inch - Wall Decor for Living Room or Bedroom - Indoor and Outdoor Use
 -
 TISOSO Two Glass bottle Floral Sunflowers Poppies Metal Tin Sign Wall Art Decor for Living Room Vintage Art Coffee Bar Signs Home Decor Gifts Decoration 2pcs-8x12inch
 -
 Lavish Home Metal Cutout Sweet Wall Sign-3D Word Art Home Accent Decor-Perfect for Modern Rustic or Vintage Farmhouse Style


I am giving this as a Christmas gift this year. I love the idea of using the pizza pan. Whoever thought of that is a genius.
Thanks so much for stopping by!
Michelle