Did you know they have some awesome scarves at the Dollar Tree? Well, they do and today I am going to show you how to sew a purse with them. It will be fun!
There are so many Dollar Tree crafts and gifts you can make. Check out this list of mine!
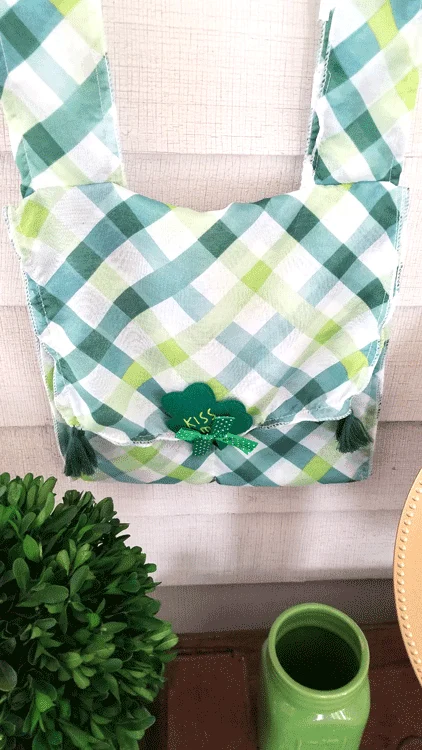
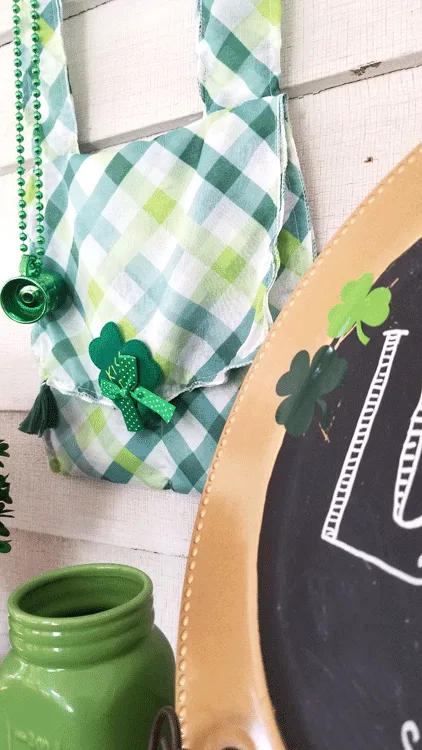
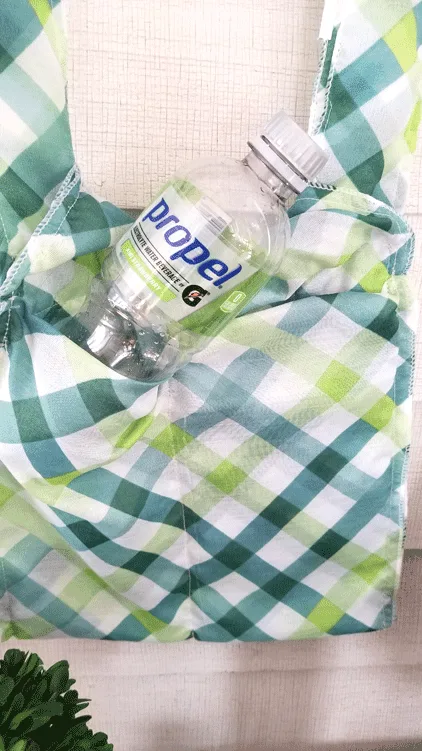
Every year our town hosts a large St. Patrick’s Day celebration including a parade. I thought it would be fun to make an over the shoulder sling type purse to use that day. The best thing about it is that I can carry a water bottle, or other drink around with me because I designed the purse to fit some bottles.
I also incorporated a little zipper pouch I found at the Dollar Tree to hold an ID card, debit card, some cash or whatever you like. It turned out really cute too.
Sew A Purse
This is one of the fun Dollar Store posts that I create with a few of my blogging buddies. We love the Dollar Stores and have a great time creating decor and other things using their products.
This month I wanted a St. Patrick’s Day themed project so I came up with this awesome bag I can take with me to parade to carry my drink and some money, etc.
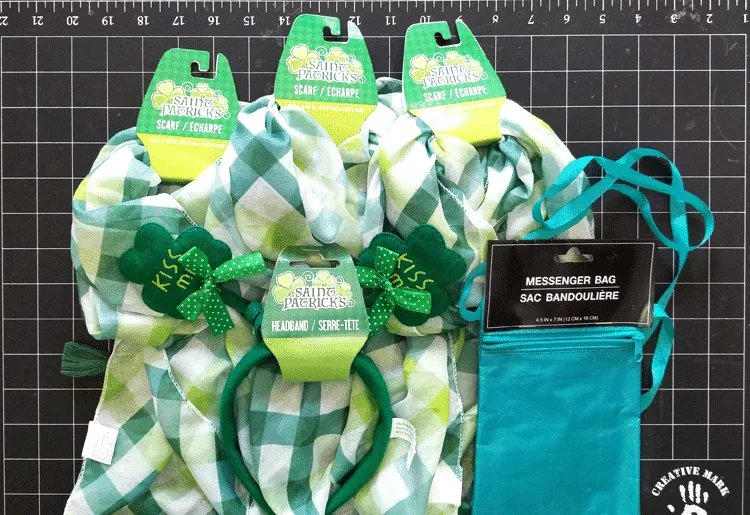
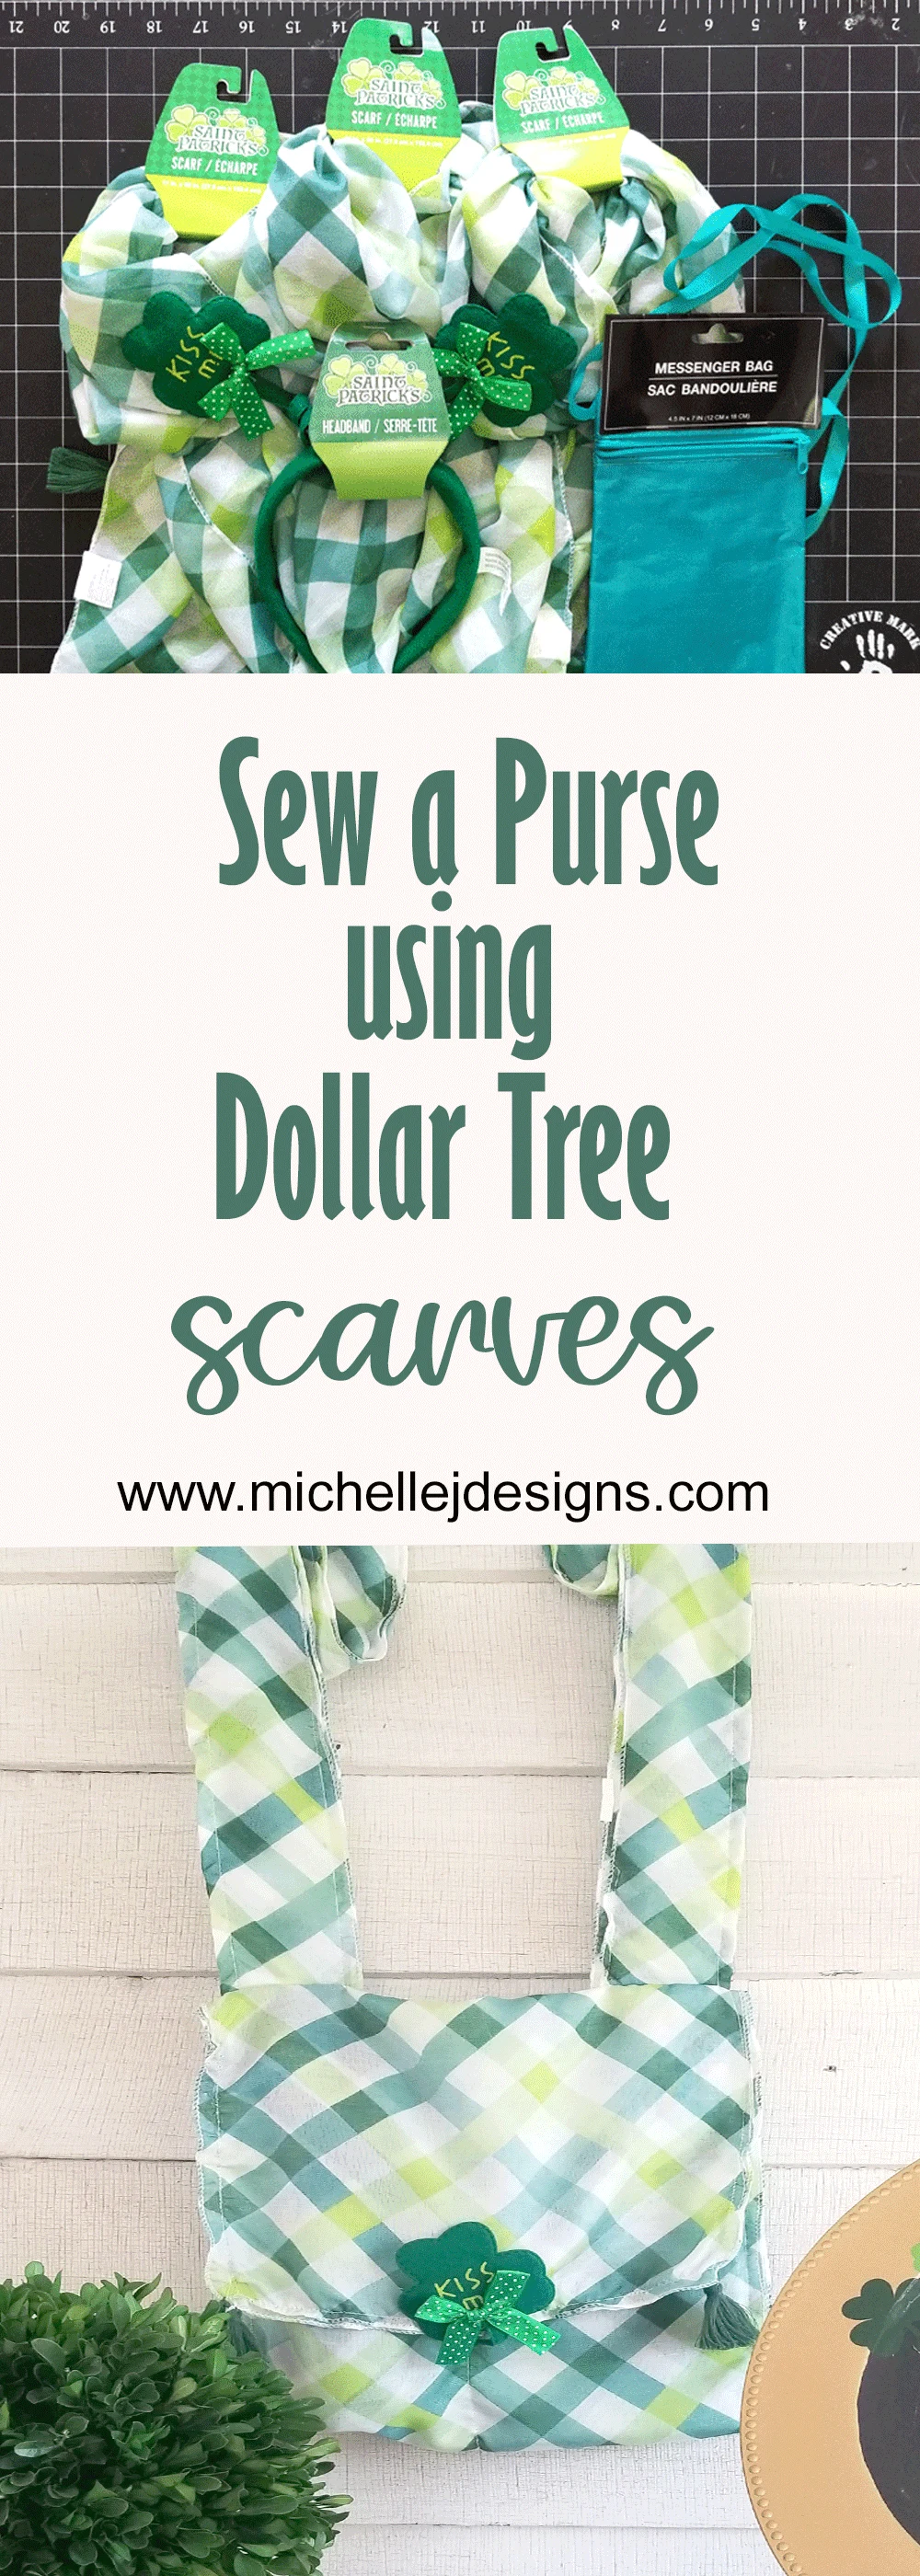
There is a printable supply list at the bottom of this post that you can scroll to any time but these are the supplies I used.
Step 1: Fold one of the scarves to form a bag
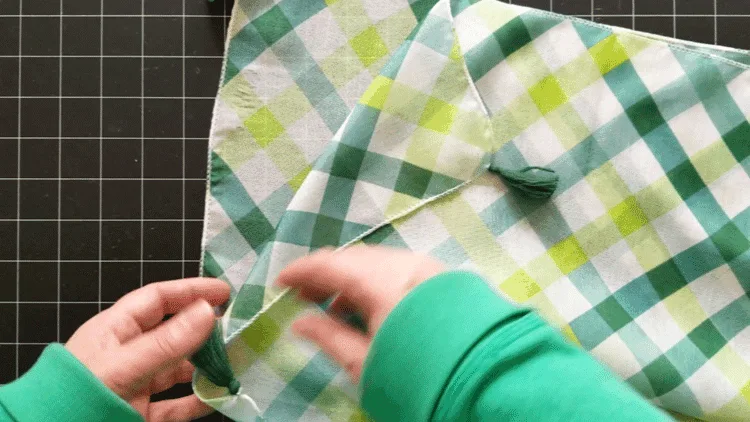
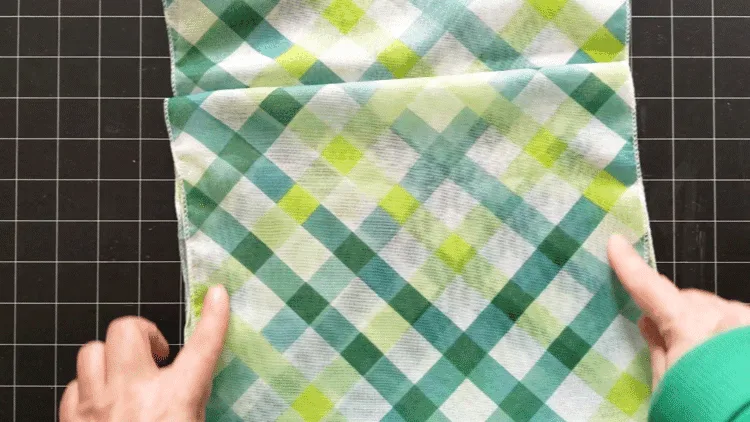
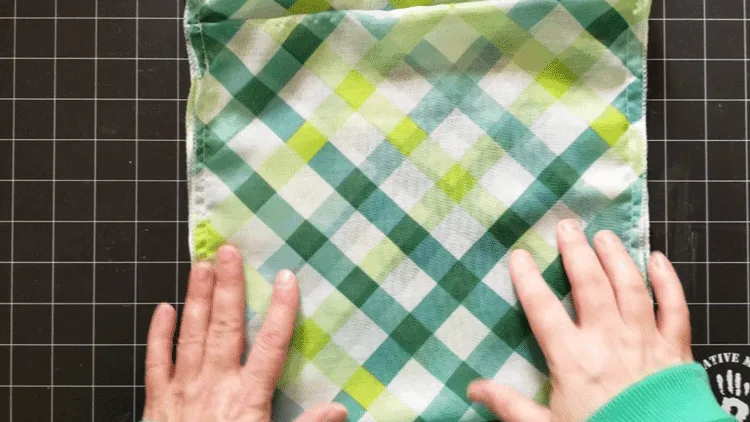
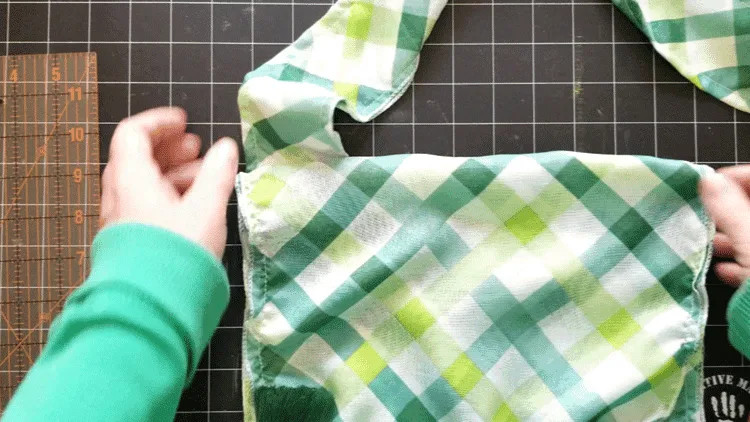
I started by ironing the scarves. They can be pretty wrinkled when you pick them up at the Dollar Store. Then I folded one in half, then folded up the bottom half to create the “bag”.
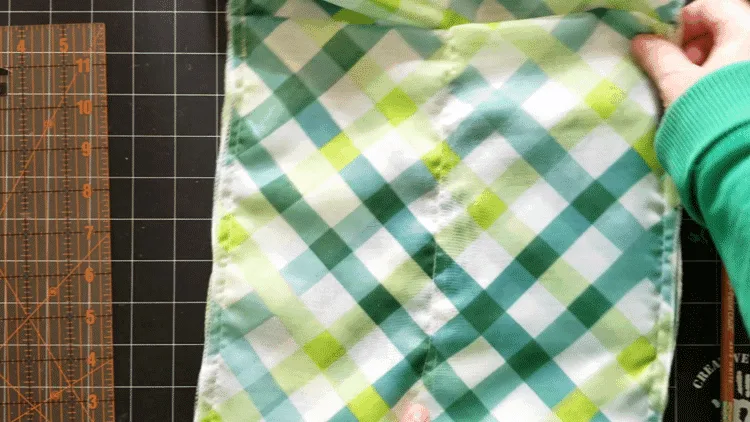
Next I stitched along each side of the bag portion.
Step 2: Add in the zipper pouch
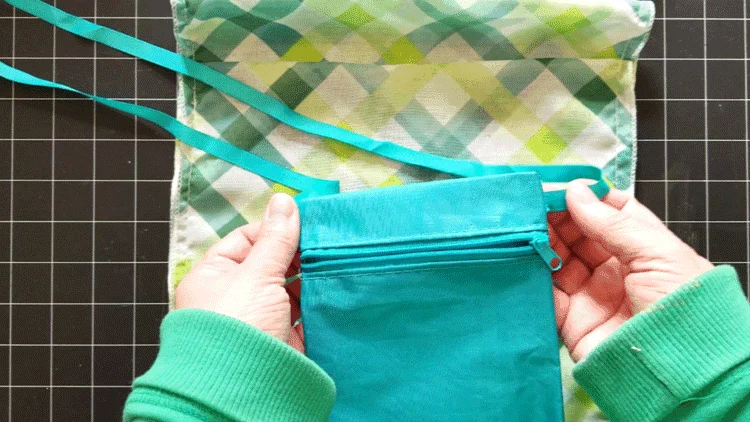
I wanted to insert something to carry an ID, a debit/credit card, some cash or whatever. This small zipper pouch was perfect. The ribbon handle/strap got cut off first.
Then I just decided where I wanted to place it in the bag then just stitched with my sewing machine right along the top of the pouch.
Step 3: Creating pockets for drinks
I like to carry around a water bottle with me but a lot of people like to carry a beer on St. Pat’s. So I incorporated two long pockets just for this purpose…if needed!
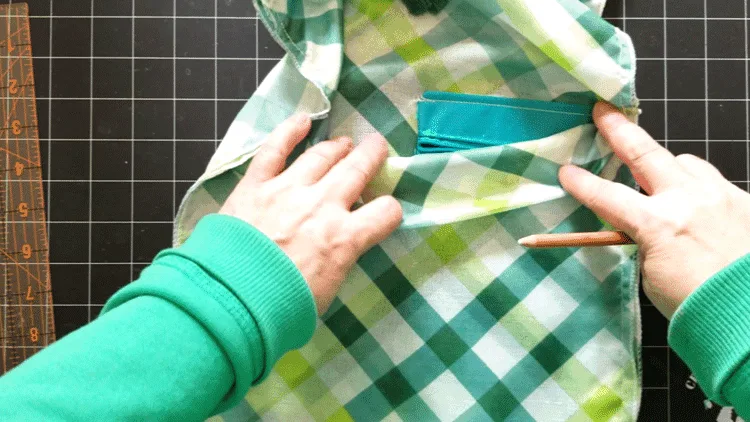
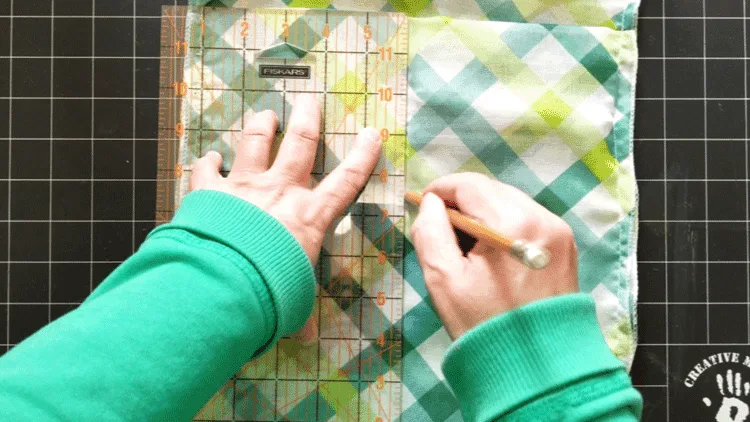
The only thing I needed to do was to add a line of stitching down the center of the large bag to create two pockets.
Drawing a chalk line makes it a little easier to keep the stitching straight. So that is what I did.
Step 4: Creating a long handle
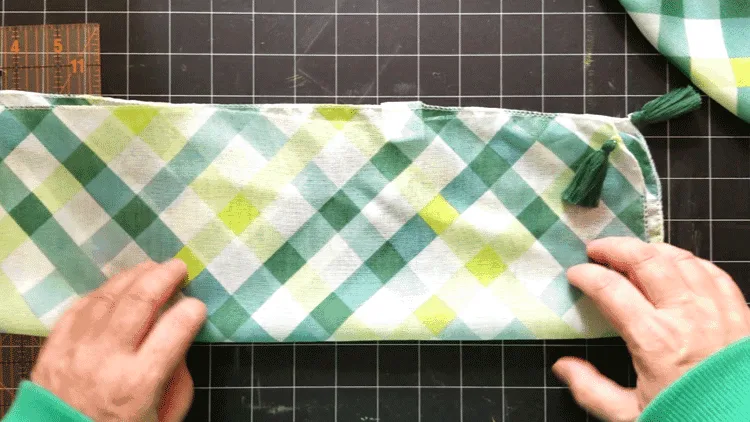
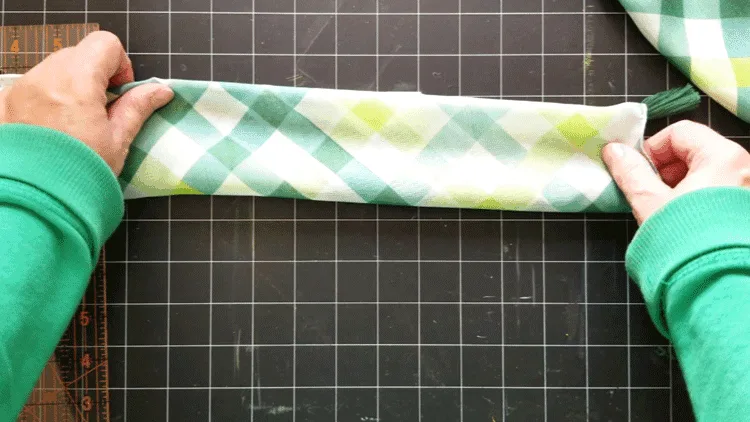
To create a handle for my bag I used a second scarf. I folded it in half lengthwise, then folded it over again, lengthwise to create a strap.
Stitching all the way around made it strong. The scarf fabric is pretty slick and moved around a couple of times. A non-lazy sewer would probably had pinned it in place first!
Step 5: Adding the strap to the bag
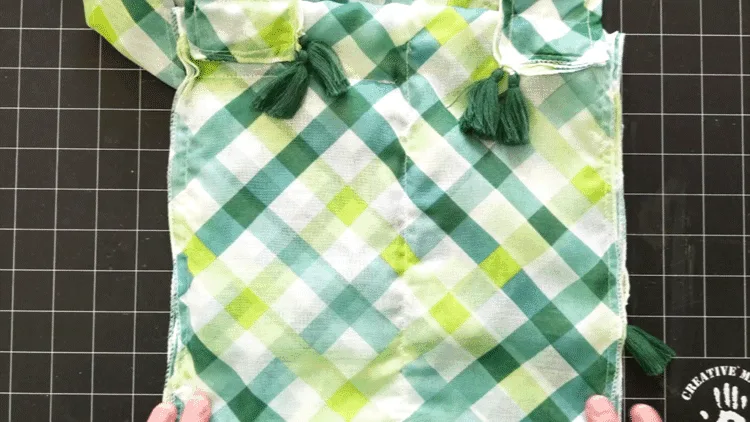
This was the tricky part for me. I had a hard time deciding where the straps should get added. The back seemed like the best choice so that is what I did.
I did pin them on this time but they still look a little messy. It didn’t bother me too much since this is the back of the bag and I willl only be getting it out during St. Pat’s.
If you are a detailed sewer then yours would definitely look a lot better.
The tassels could be removed but I like them.
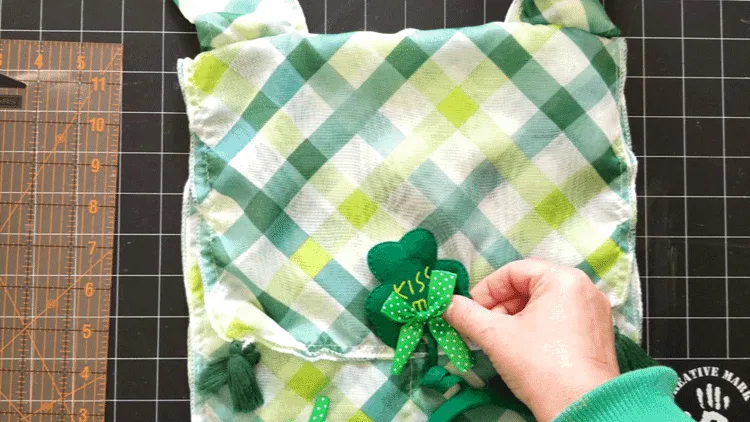
Step 6: Adding a shamrock to the front
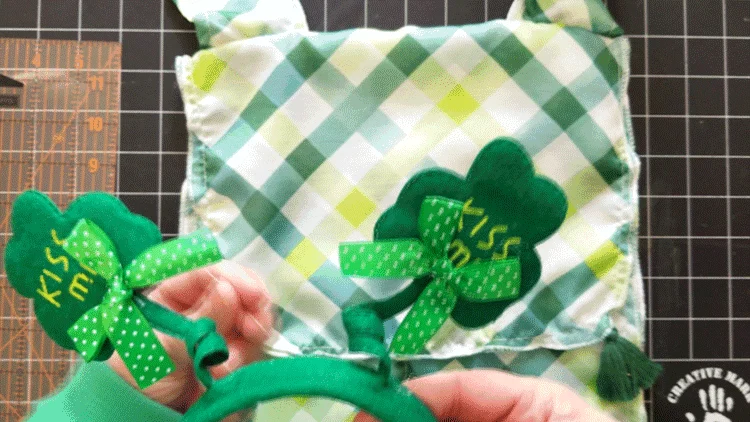
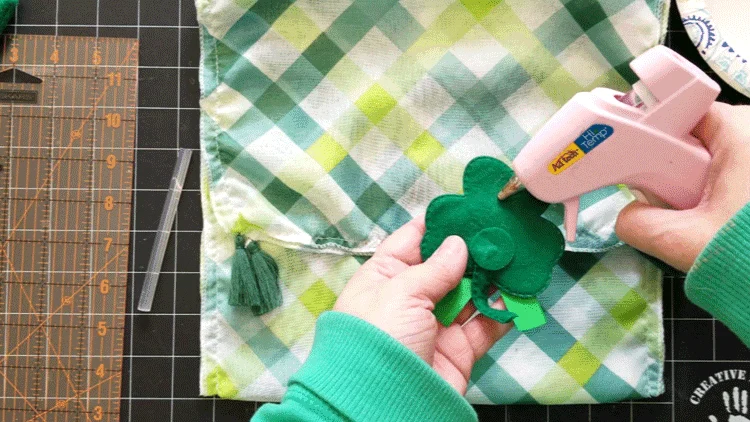
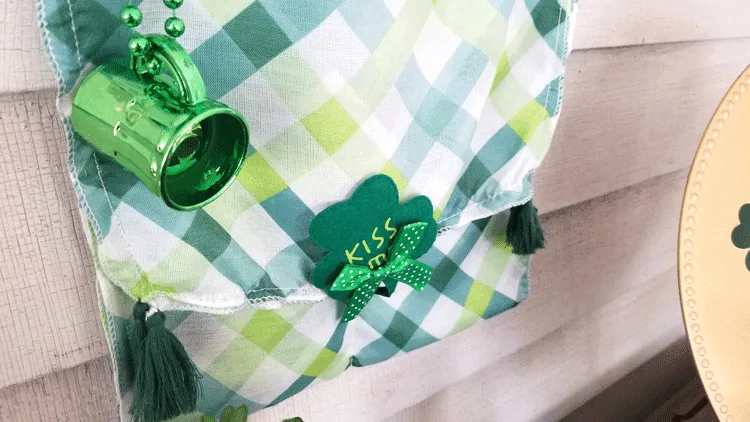
This step is optional but I loved these little shamrocks from the Dollar Tree headband. I removed one of them from the headband and used some hot glue to add it to the front of the bag.
Then I was all done. It is functional and cute and it cost me $4. I love it.
What do you think?
Materials List
I have included some affiliate links for your convenience. You can read my full disclosure here.
Sew A Purse With Dollar Tree Scarves
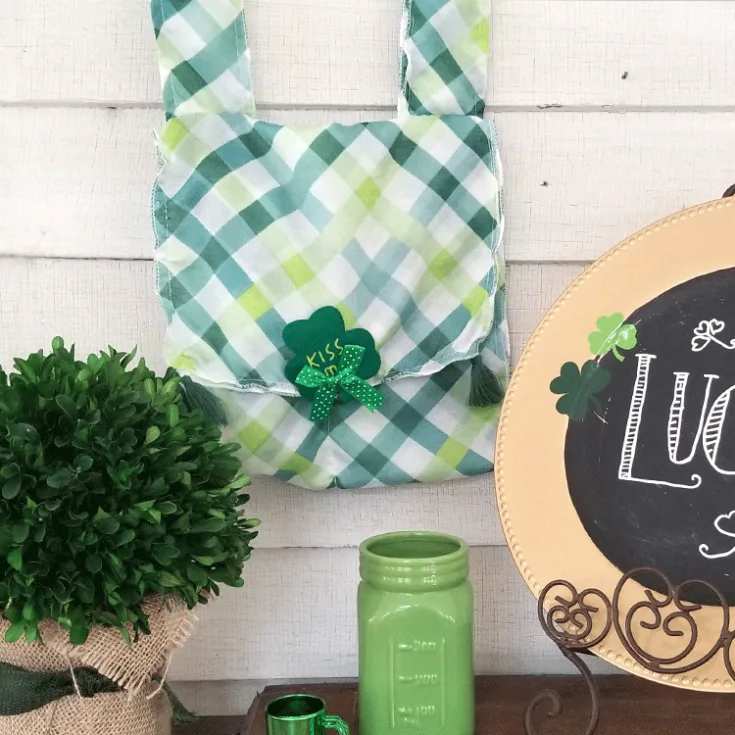
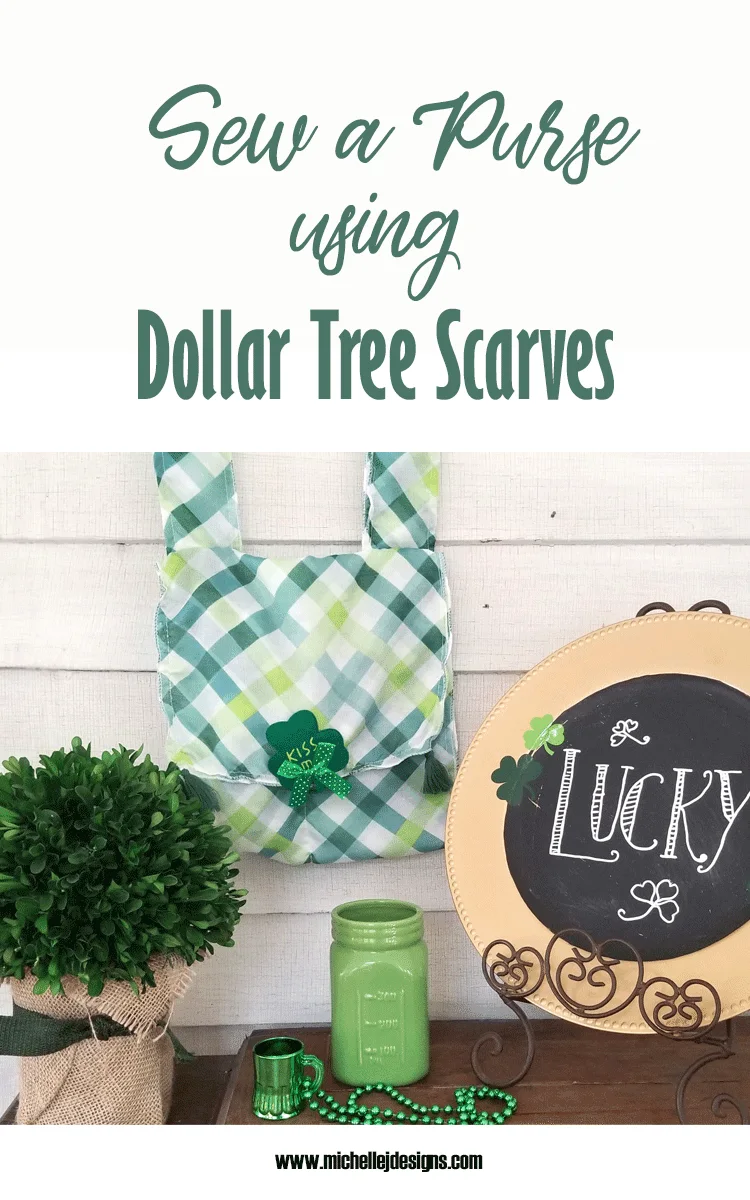
Sew a purse using Dollar Tree Scarves. This was easy, turned out cute and only cost $4 to make! You can't beat that for a fun St. Patrick's Day project.
Materials
- Two Dollar Tree Scarves
- Dollar Tree Zipper Pouch
- Shamrock Headband
Tools
- Sewing Machine
- Scissors
- Thread
- Clips
- Chalk Pencil
- Hot Glue Gun and Glue Stick
Instructions
- Fold one scarf in half then fold up the bottom portion to create the bag.
- Stitch the side of the bag portion.
- Add the small zipper pouch to the inside of the bag to one side and stitch across the top to secure.
- Draw a line with a chalk pencil and stitch down the center of the bag to create two pockets for drinks or whatever you like
- Fold the second scarf in half lengthwise, then in half lengthwise again to form a handle for the bag.
- Stitch all the way around the long handle.
- Add the handle to the bag by lining up the ends on the back of the purse at the top. Stitch a rectangle or square to make it strong.
- Cut one of the shamrocks off of the headband and use hot glue to adhere it to the front flap of the purse.
- Enjoy your bag during the St. Patrick's Day festivities.
I hope you have enjoyed this St. Patrick’s Day Dollar Store craft and please be sure to check out the posts of my fellow bloggers. It is always fun to see other peoples ideas for inspiration.
Beverly at Across the Blvd – St. Patrick’s Day Centerpiece
Michelle at Our Crafty Mom – St. Patrick’s Day Decorative Spheres





Elena
Monday 6th of April 2020
My mom will love to make it for my little bot. And I love everything green.
Michelle James
Wednesday 26th of February 2020
Michelle, I am obsessed with this project! How perfect this is going to be for the parade. The pockets are so convenient and I love the little cup on the beads. I didn't see those! So cute. :)
Michelle
Thursday 27th of February 2020
Thank you Michelle. It was fun to make too. The Dollar Tree is getting more and more cute scarves in for all occasions. The sky is the limit. LOL!