Do you have a friend who loves gardening? This spring gardening gift is a customized pot filled with seeds, potting mix and more!
Table of Contents
- Spring Gardening Gift
- Step 1: Download SVG file and bring into design space
- Step 2: Cut, weed and add transfer tape
- Step 3: Apply the transfer to the pot
- Step 4: Add the gift pieces
I love adding to my garden each year but I also love giving a gift to a friend who loves to garden as much as I do. My neighbor and I are always exchanging tips and ideas for our gardens.
I created this SVG and spring gardening gift with her in mind.
Most of the supplies for this were found at the Dollar Tree.
If you LOVE Dollar Tree crafts and gifts then you are definitely in the right place.

Spring Gardening Gift
This is my StyleTechCraft vinyl post for April. I am using my favorite Gloss Craft vinyl for this custom flower pot.
The SVG is free for you to download in my Resource Library.
Materials Needed:
I have added some affiliate links for your convenience. You can see my full disclosure here.
- SVG File
- StyleTechCraft Gloss Craft Vinyl – coral, pink, teal & purple
- Transfer tape
- Flower pot
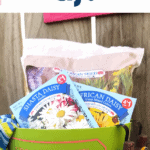
- Things to put inside the pot – I used potting soil, gardening gloves, and seed packets. And a cute pot hanger on the side.
- Cricut Joy
Now that we have all of our supplies, let’s get started!
Step 1: Download SVG file and bring into design space
Head over to the resource library and download the SVG file. If you are not on my email list you will need to enter your name and email address. You will receive the password to the resource library then you have full access to all of the freebies in there.
This is what the SVG file looks like. So cute!

Upload the file into design space. If you need instructions for this head over to this Dollar Tree Popcorn Gift Idea post. It shows you step by step.
This is what it will look like inside the program.
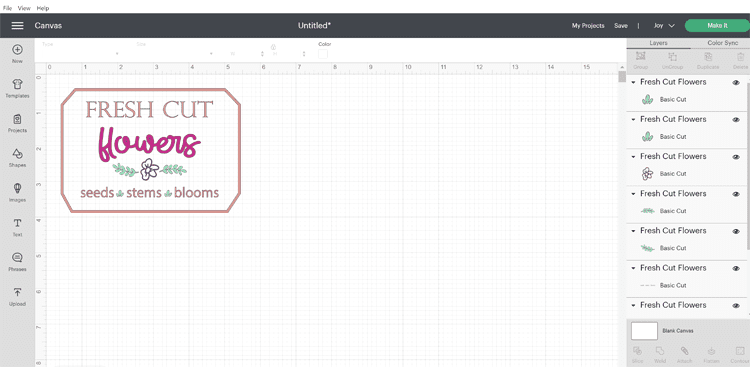
Resize the design to fit on the pot you have for your project. Mine ended up being 5″ x 3.5 “.
This is where I like to decide what colors of vinyl I want to use. I play with the colors in design space.
In this case I finally landed on coral, pink, teal and purple. This is a great way to use up vinyl scraps too. Some of these pieces are really small.
Finalize your colors and click on “make it” in the upper right corner.
Step 2: Cut, weed and add transfer tape
Once you click on “make it” You will get this screen:
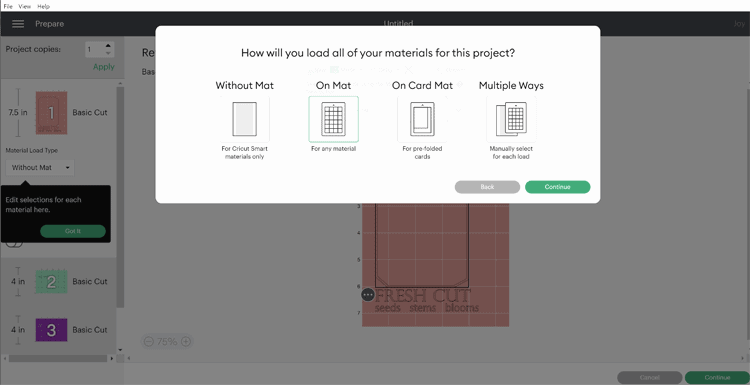
Choose the correct option. I was using a mat so I chose “on mat”.
Then the Joy will separate all of the colors for cutting just as the Cricut Maker does.
You can see the different mats on the left side of the above photo.
Place the first color onto the mat and place it in the machine. I believe the Joy prompts you to load the machine then click cut or continue.
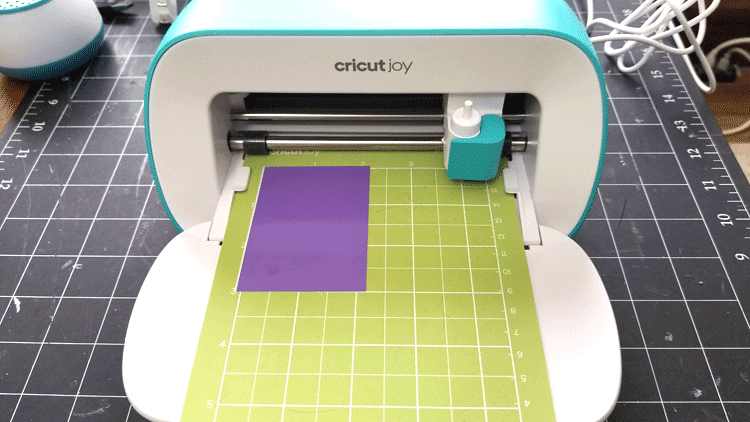
Continue cutting each color until all of your pieces are cut.
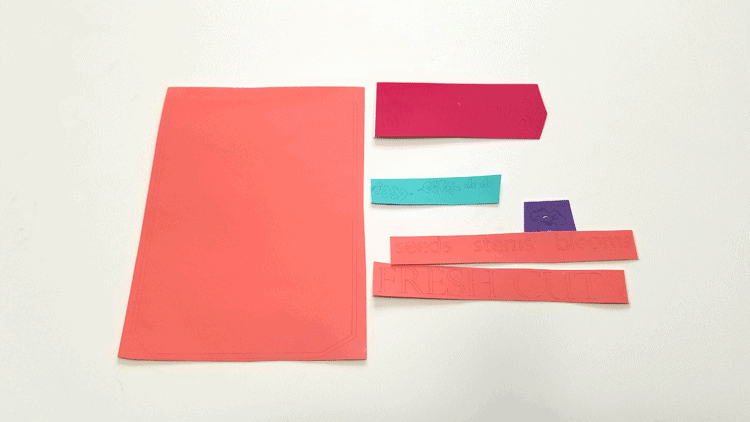
Now the weeding begins. Some of these pieces are small so go slow and be careful.
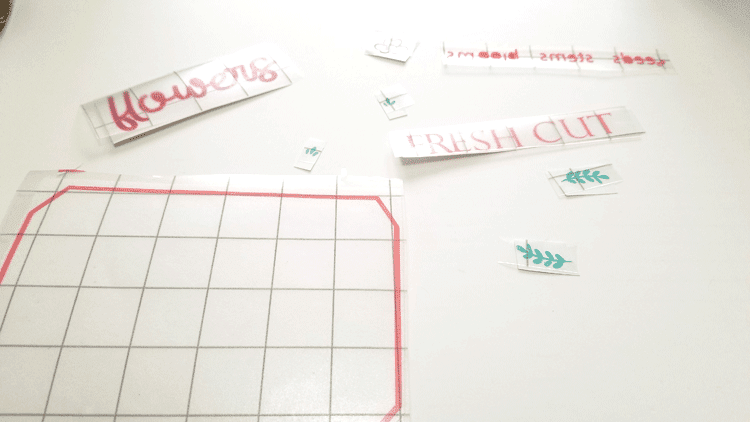
Then apply the transfer tape.
This is how they look all weeded and with the transfer tape.
Step 3: Apply the transfer to the pot
This is the fun part.
I started with the frame and this was the hardest part for sure. I ended up getting it straight and everything.
After the frame is one just center the other pieces. I stared at the top and worked my way down but you can start with the word “flowers” or the purple and leaf design too since they are in the center.
Just do what works for you.

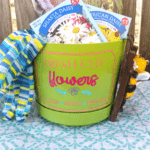
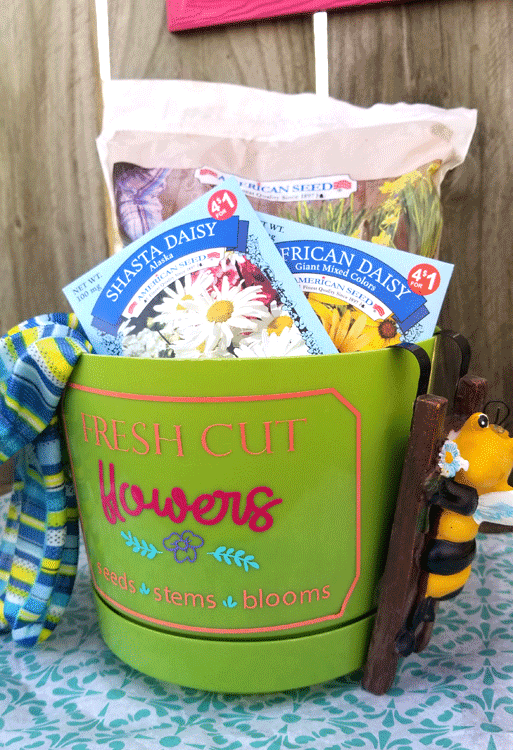
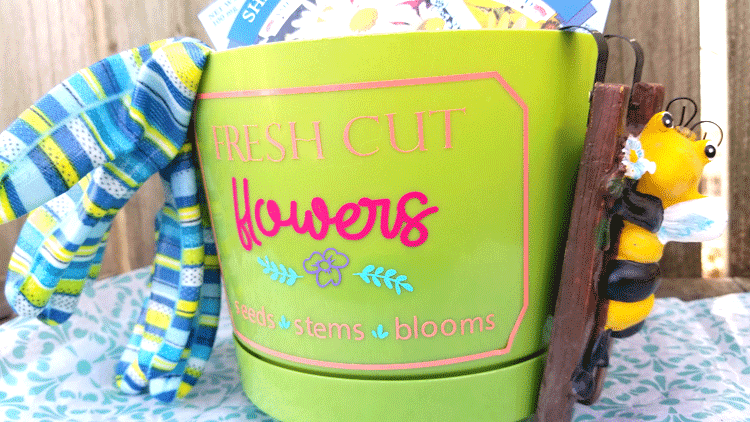
This is how it looks when all of the pieces have been added. You can see a little bit of the frame is sticking up on the lower right corner but I was able to place it back down and it is fine.
Step 4: Add the gift pieces
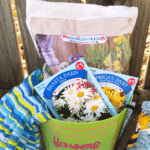
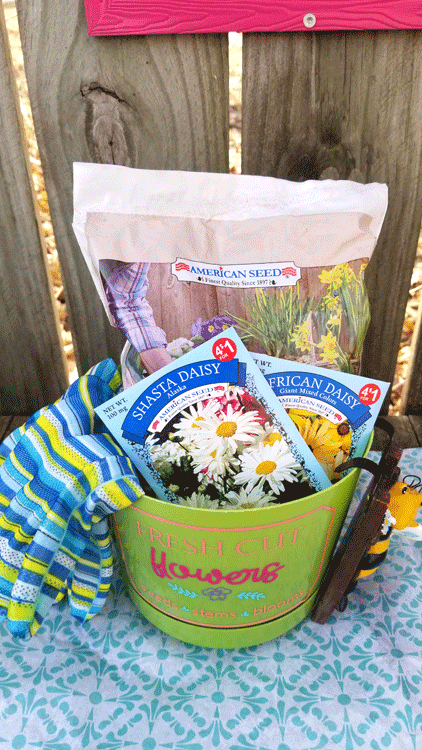
Once the design is applied the way you like it go ahead and fill the pot with fun garden gifty things.
Not everyone likes to plant from seed so you could add the fun fairy garden products that I see all over the place and the Dollar tree, gardening tools, a gift card to the garden center or plant a cute plant or some succulents.
Now you have the perfect spring gardening gift!
Easy peasy!
I hope you enjoyed this StyleTechCraft post.
Check out the Facebook page for StyleTechCraft. They show new products and you get to see even more from the other Design Team members.
Thanks so much for stopping by!
Michelle