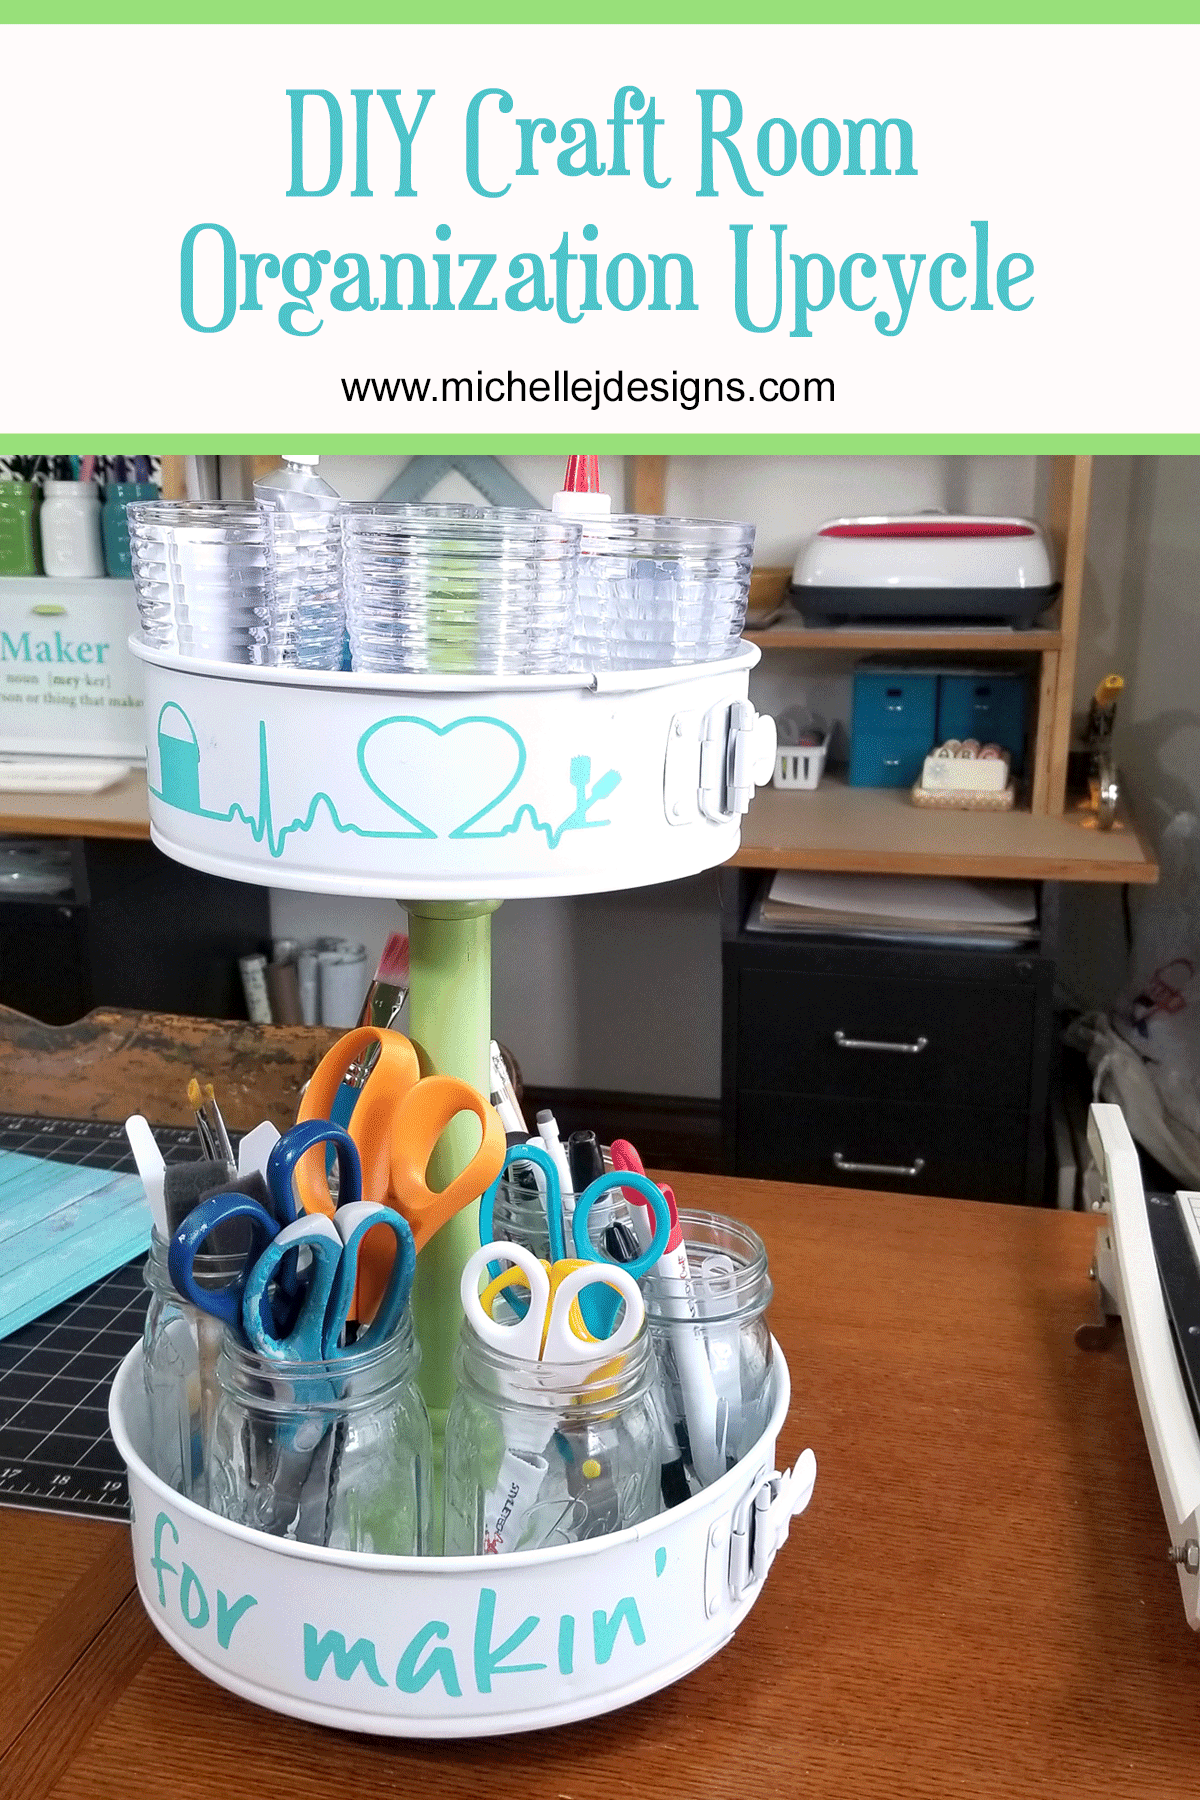
Hi there! I am really excited about this upcycled tiered craft organizer I created for my crafting tools and I can’t wait to show you how I made it. It is useful and I love that in a DIY project. Plus it uses some of my favorite products including StyleTechCraft vinyl and mason jars! Yay! Keep reading to see how I did it.

Upcycled Tiered Craft Organizer
This is my post for the amazing StyleTechCraft vinyl company. Most of the vinyl I use is theirs because I love it that much. My favorite for easy of cutting and weeding has to be the glossy vinyl which is what I used in this post. It cuts like a dream and I never have a problem with weeding. Don’t get me wrong, a lot of this has to do with the settings on your cutting machine but a great vinyl can be a life safer.
If you would like to follow them on social media just click on the links below:
Facebook, Pinterest, You Tube, Instagram
![]()
![]()
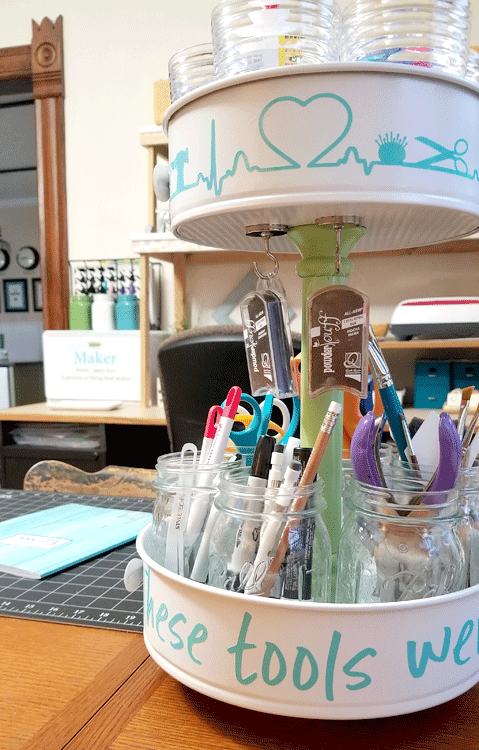
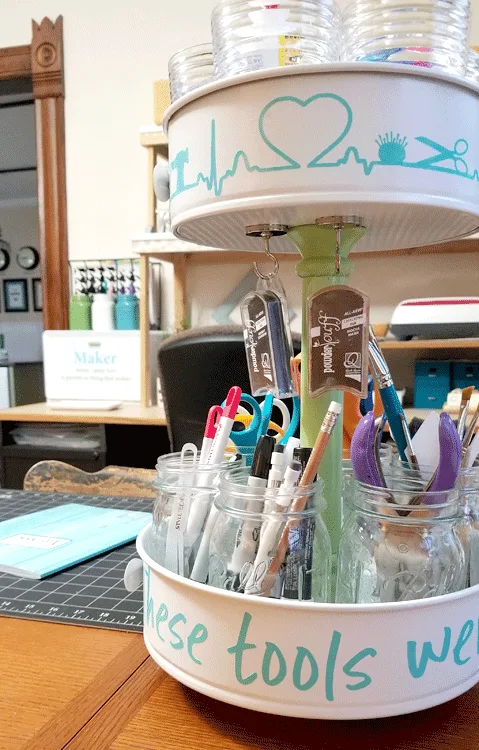
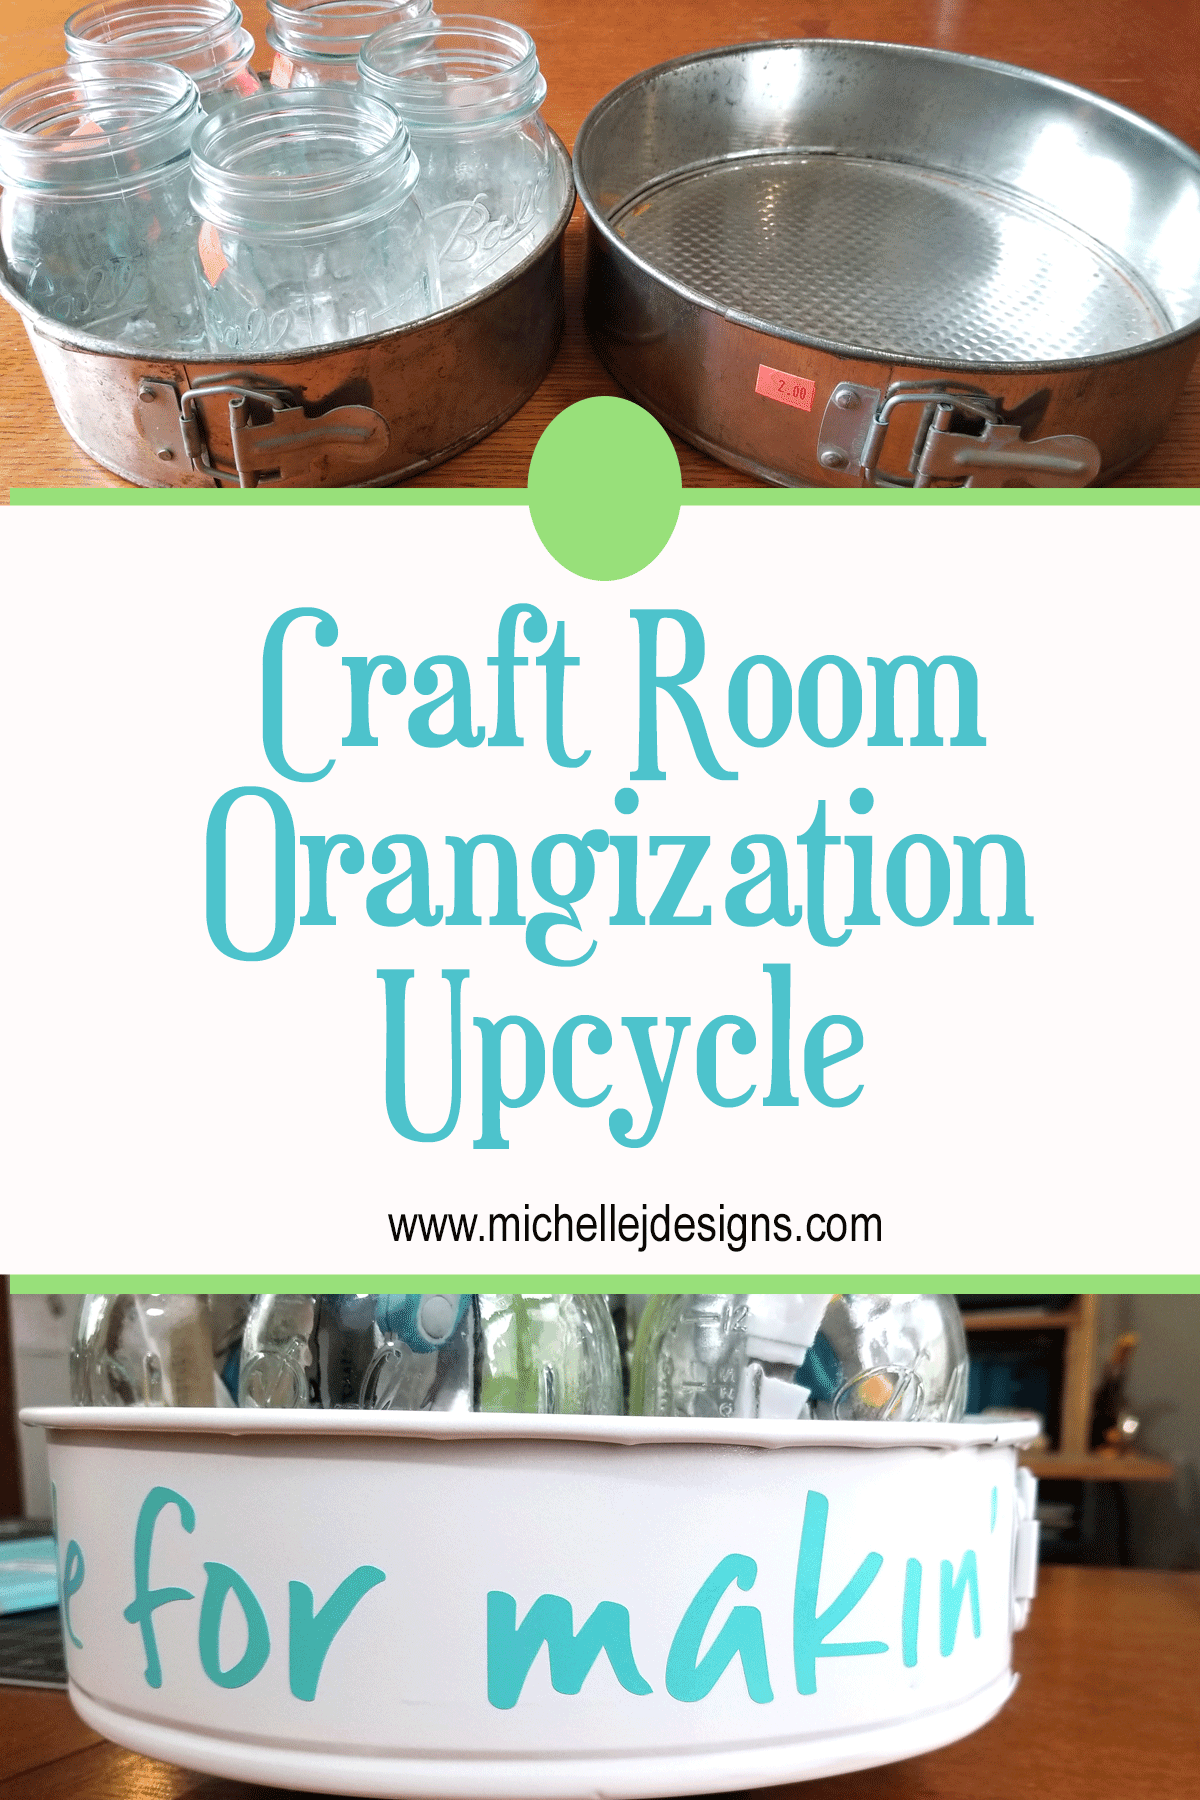
This project is made from upcycled pans and an old lamp that no longer works. It ended up being a little tall but it works because I can add in my tall paintbrush that I use all of the time. Plus I am able to hang some hooks and fit in my favorite ink pads. So, there is always an upside to what I thought was a negative. Now, I love the height.
Let’s get started!
Materials Needed:
This is a sponsored post from StyleTechCraft and I was provided the vinyl that I used. All of the opinions are 100% my own. I have included some affiliate links for your convenience. You can read my full disclosure here!
Upcycled Tiered Craft Organizer

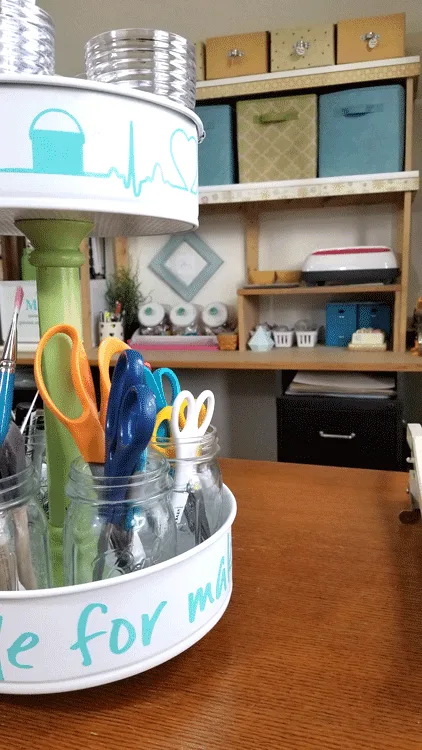
This upcylcled tiered craft organizer is perfect for all of my favorite tools that I need to grab often while crafting. I used white and green spray paint and teal vinyl to add some extra fun to the sides of the pans.
Materials
- Upcycled springform pans in two different sizes
- Parts from an old lamp
- Lazy susan spinner part
- Wood drawer pull
- White Spray Paint
- Green Apple Spray Paint
- Teal StyleTechCraft Tiff Blue vinyl
- Transfer Tape
- Mason Jars
- Dollar Store toothbrush holders
- Craft foam
Tools
- Drill and drill bit
- Silhouette Cameo
- Pliers
Instructions
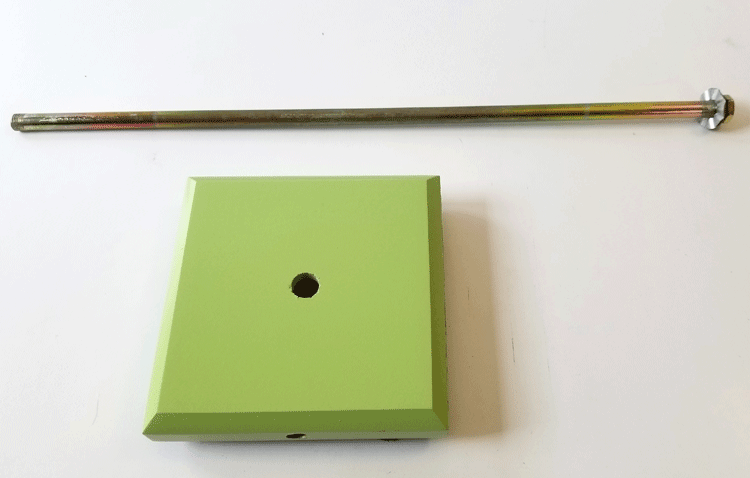
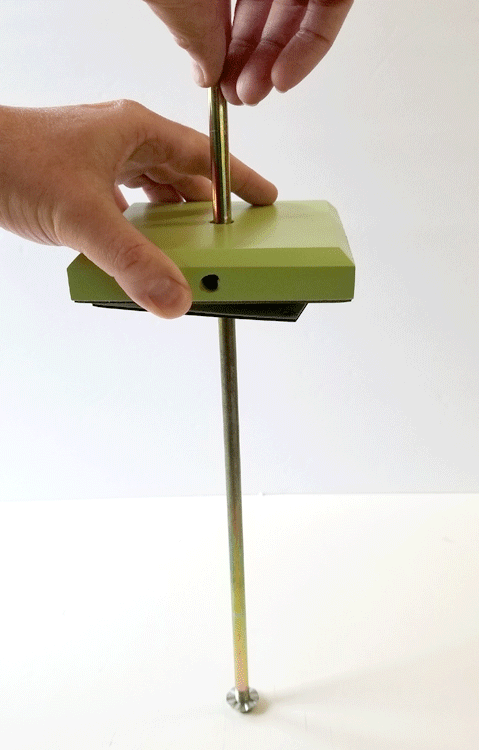
- Use the drill and a bit the size of the tube in the lamp to create a hole in the middle of each pan.
- Clean and spray the springform pans white. Mine needed two coats on both sides.
- Take apart the lamp and spray the pieces. These are the pretty green. Paint the drawer pull too. Each of these pieces needed two coats,
- Screw the lazy susan to the bottom of the lamp base then add craft foam to protect your table surface.
- Cut the vinyl pieces and add them to the sides of the pans.
- Stack the pieces to create the tiered piece. (your lamp may be different then mine so this part will vary) This took two of us to hold it and add pieces
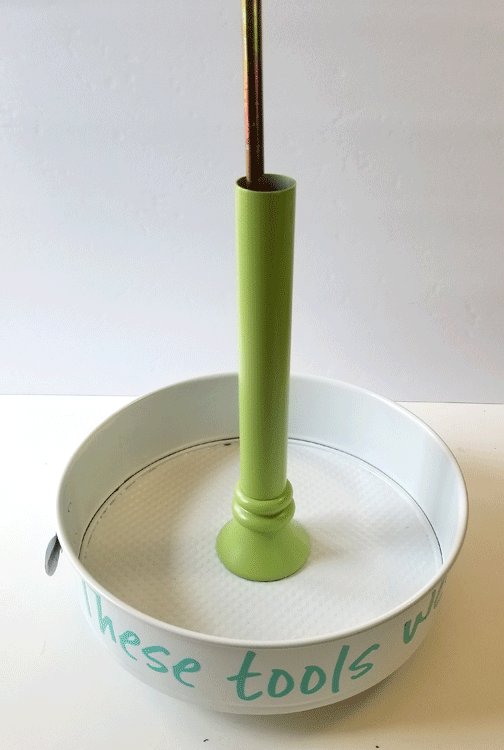
- Start at the bottom with the nut and washers from the lamp and thread them onto the metal tube (rod) from the lamp.
- Add the base with the lazy susan
- Slide the larger pan on so it sits on the lamp base
- Next the larger decorative piece from the lamp
- Then the tube
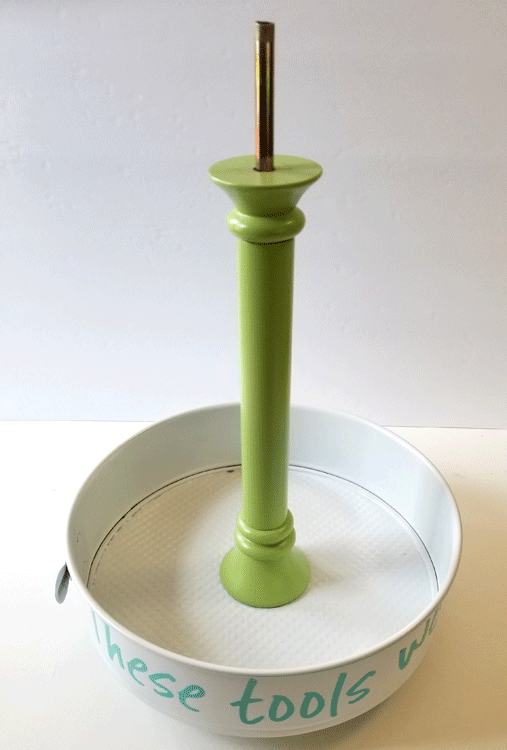
- Add the smaller decorative piece
- Add the smaller pan
- place the small round tube fitting, then the small tube that fits it, then another tube fitting.
- Tighten everything really well. This was the hardest part.
- Last is the decorative drawer knob at the top. My tiered organizer is too heavy for this to be useful but it finishes off the look of the piece.
I am going to guide you through the steps we took to make this awesome upcycled tiered craft organizer. BUT…because our lamp and pans may be different from ones you may find at a thrift store or garage sale please use these as a guideline for putting yours together. The lamp parts will probably differ but I bet the assembly would be quite similar.
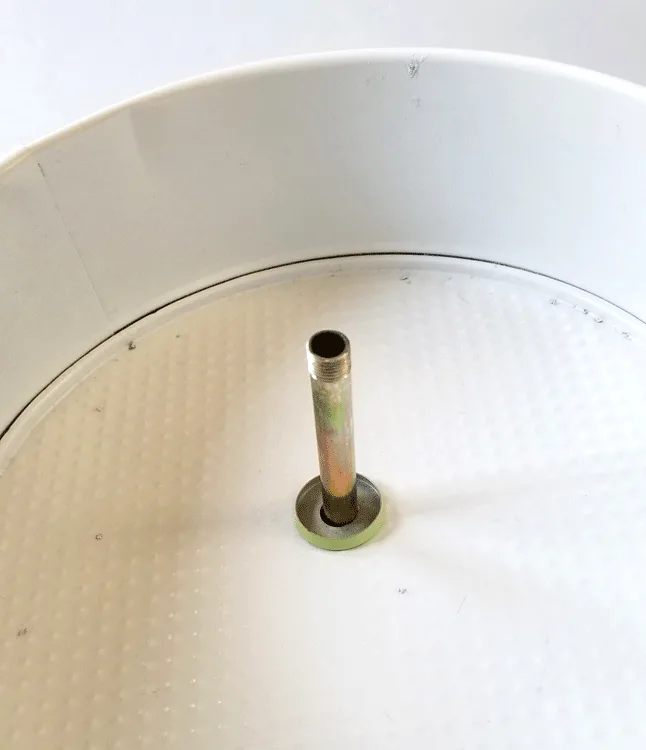
Step 1: Drill holes in the pans
Inside the lamp, holding all of the parts together is a metal rod with threading at the top and the bottom. I am not sure but the sizes of this threaded rod may be different for each lamp. This is what is holding my piece all together so I needed holes in the pans that this rod would fit through.

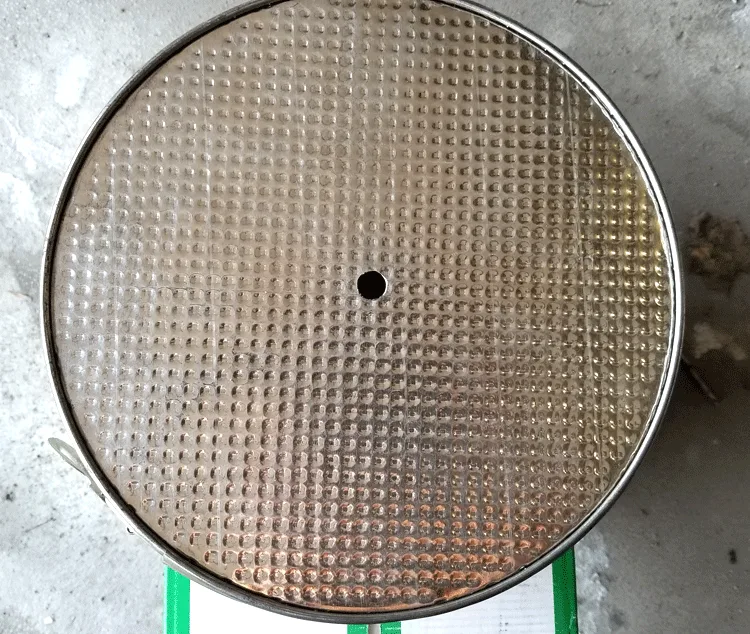
We aren’t very good at finding the center but we did our best and it worked out perfectly.
Step 2: Paint the pans and add the vinyl
I love this white spray paint from Rustoleum. It is a paint and primer all in one so is great for these types of DIY craft organizer projects. These pans needed two coats of the paint on each side.
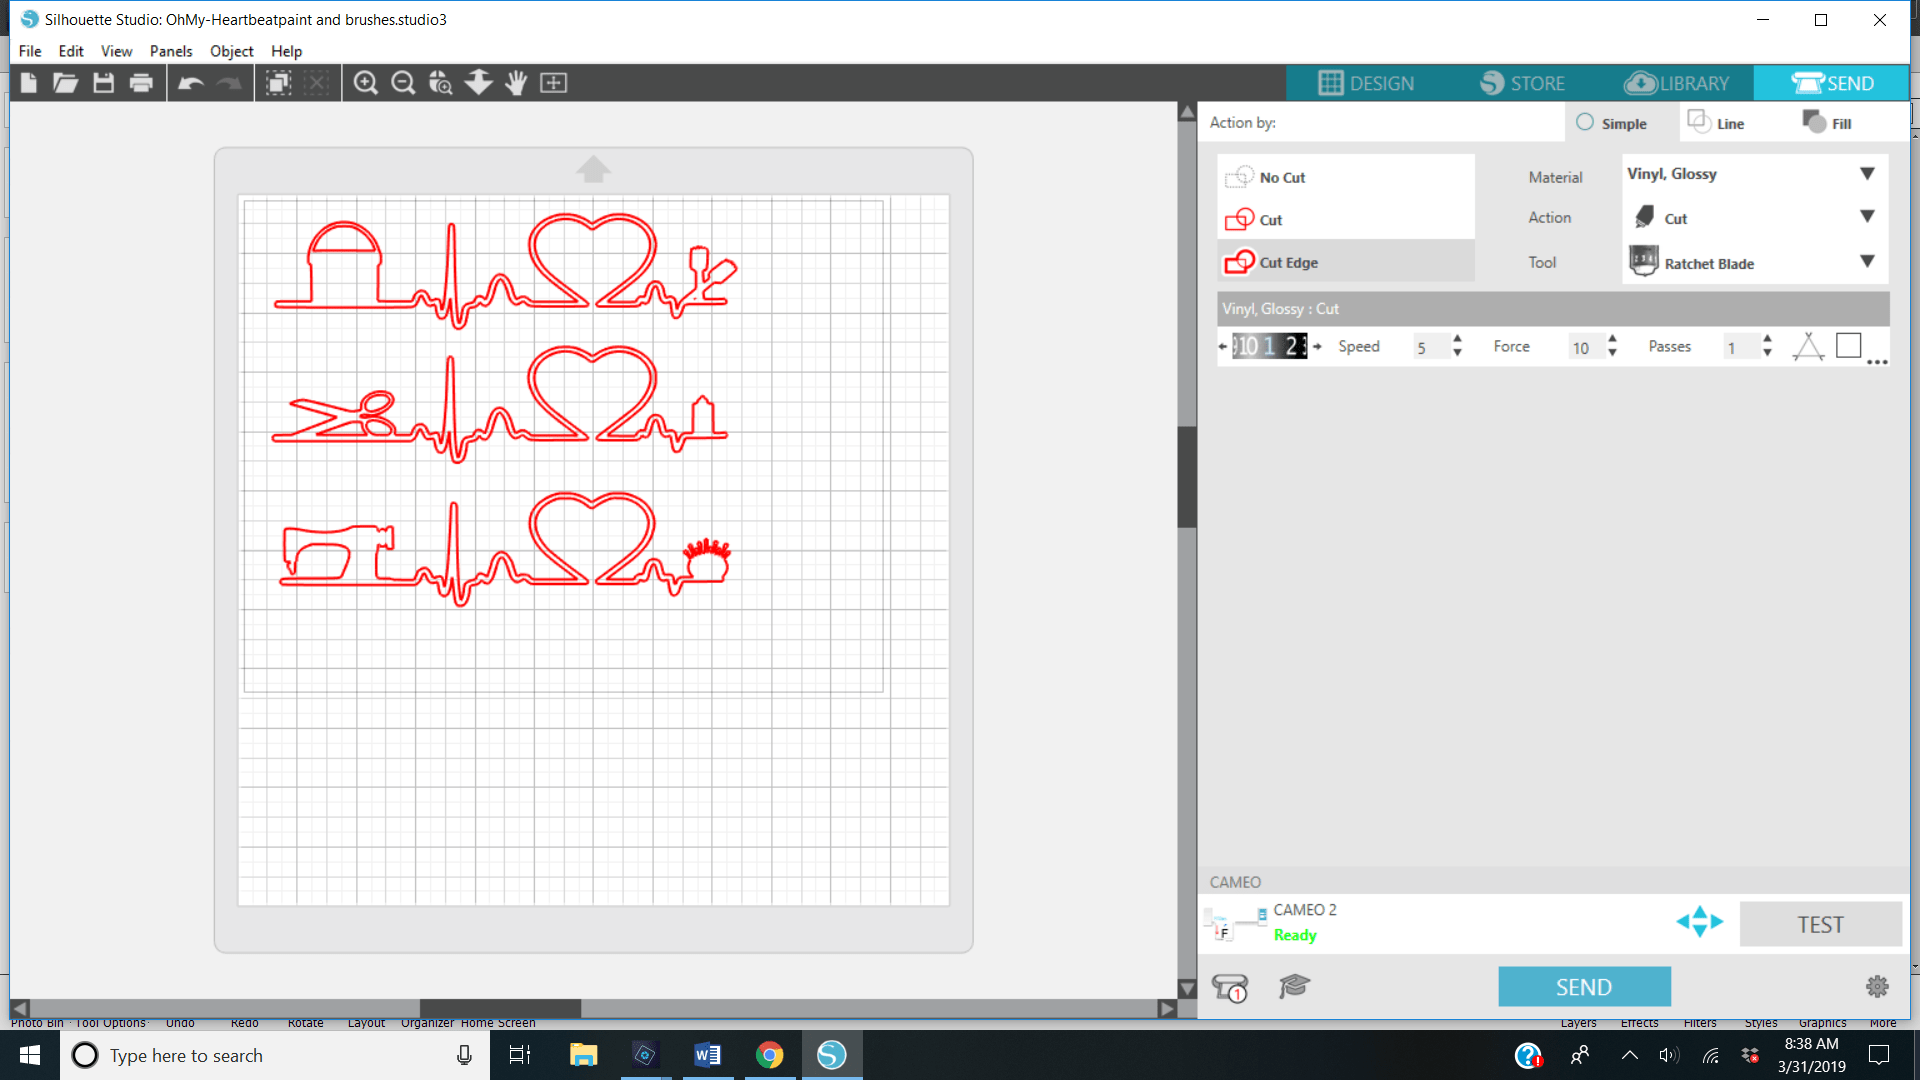
When they were painted and thoroughly dry I was able to add the vinyl. While they were drying I designed the vinyl pieces in the Silhouette Studio.
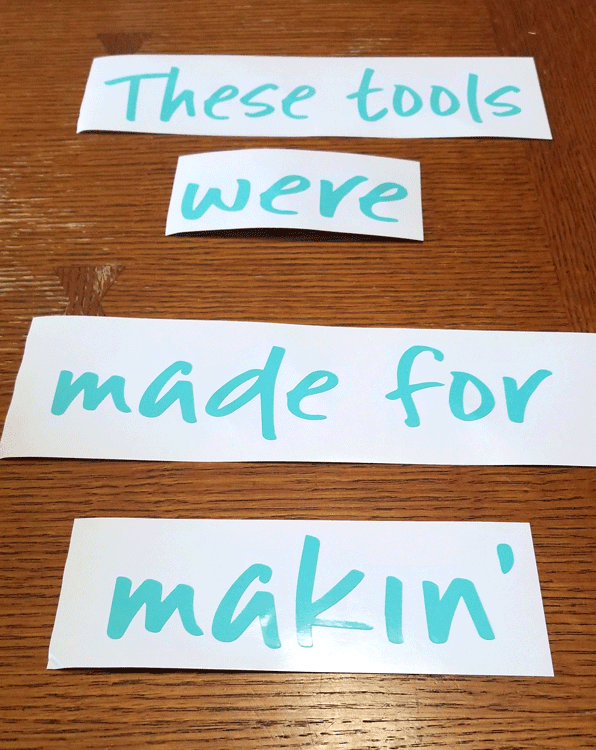
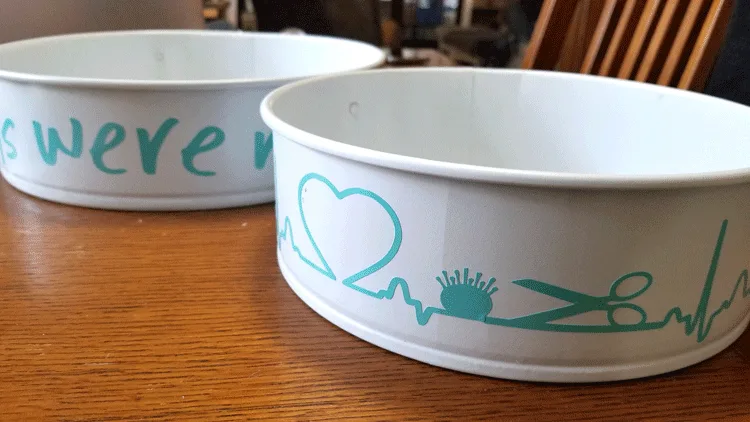
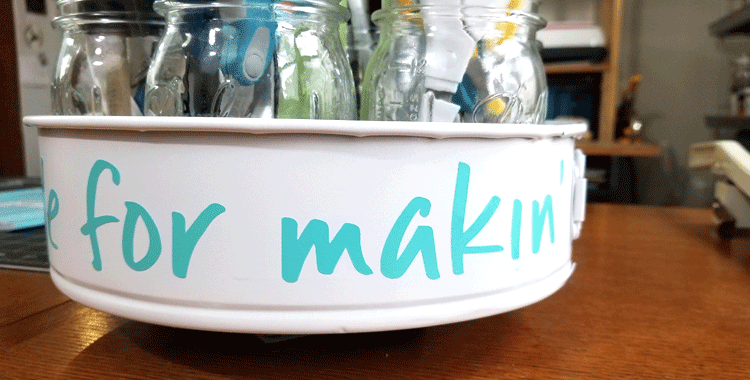
I wanted text on the bottom tray and a fun design on the top tray. This is what I came up with.

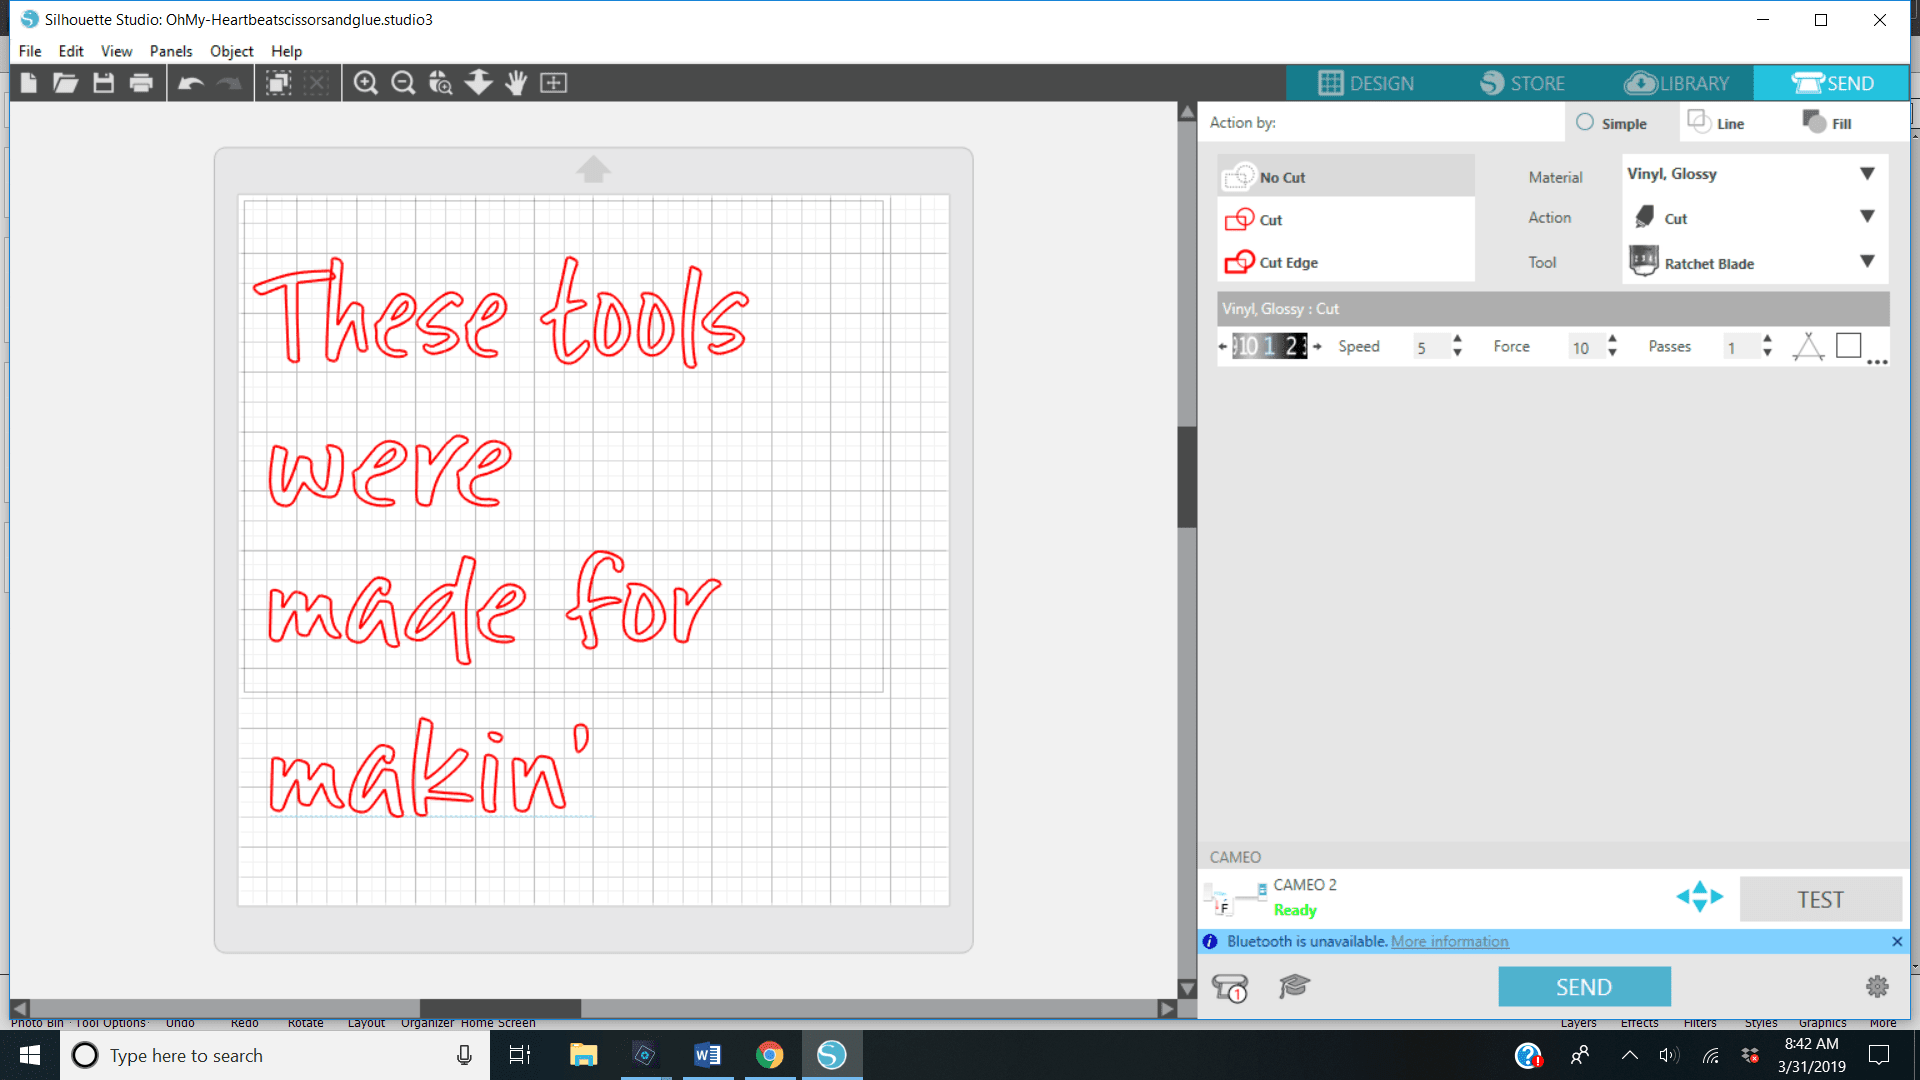
The text I used is called Intruding Cat. Here is what they looked like after they were cut out and weeded.

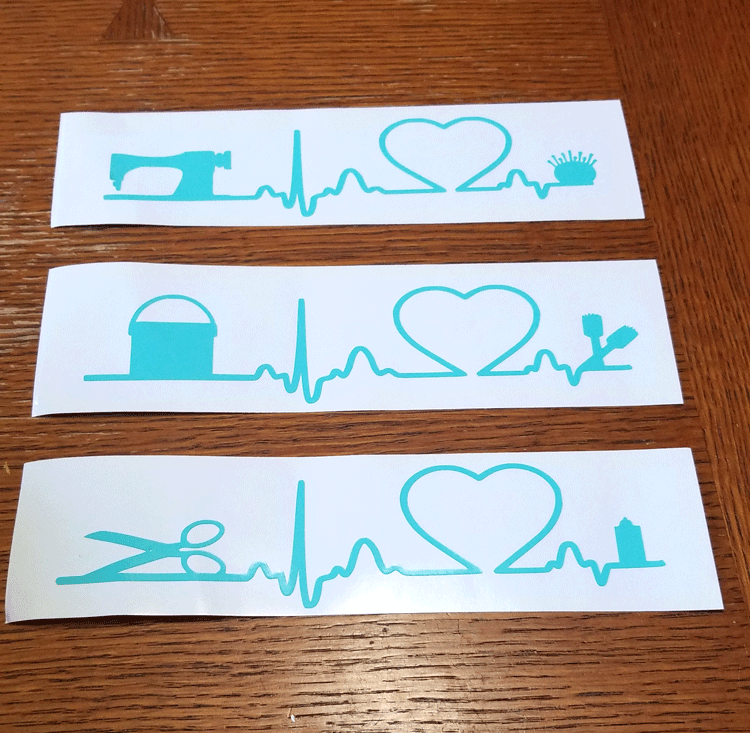
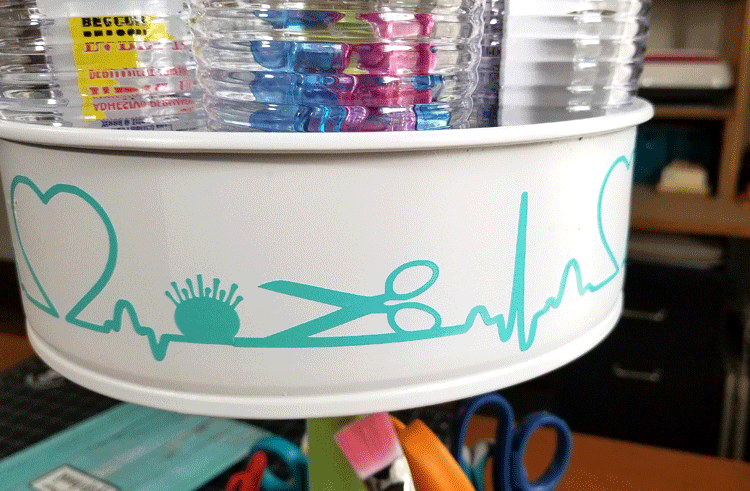
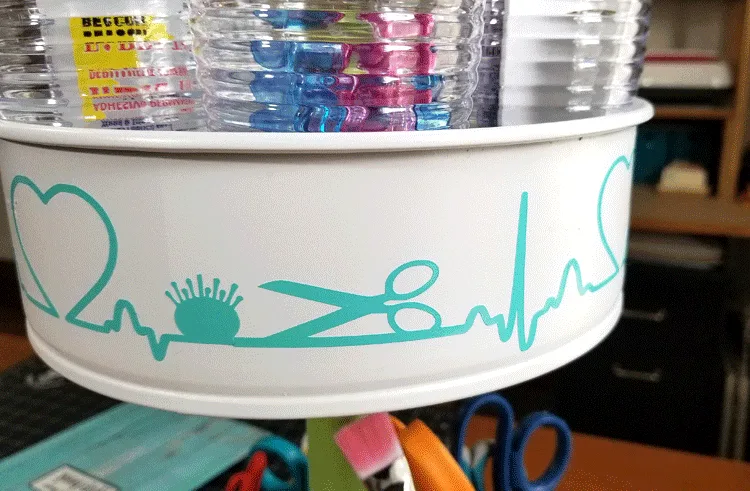
For the top tray I used a heartbeat design I had purchased from designbundles.net. I needed the design to continue all the way around the pan and this only covered about a third of it. So, I create my own designs using the original sewing design as my base. I love Photoshop Elements so I brought it into the program, erased the sewing machine and the pin cushion and added my own designs. I created one for painting with a paint bucket and some brushes and one with scissors and a glue bottle. They turned out pretty cute.

And here they are cut and ready to be placed onto the craft organizer.

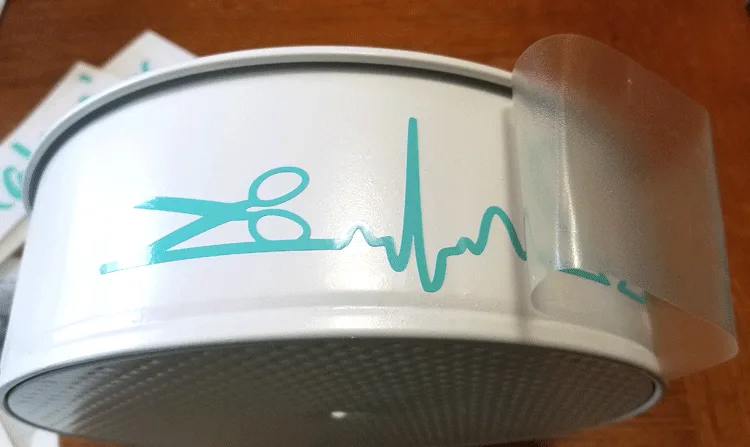
When they were ready to go I added the transfer tape then applied them to the sides of the pans.


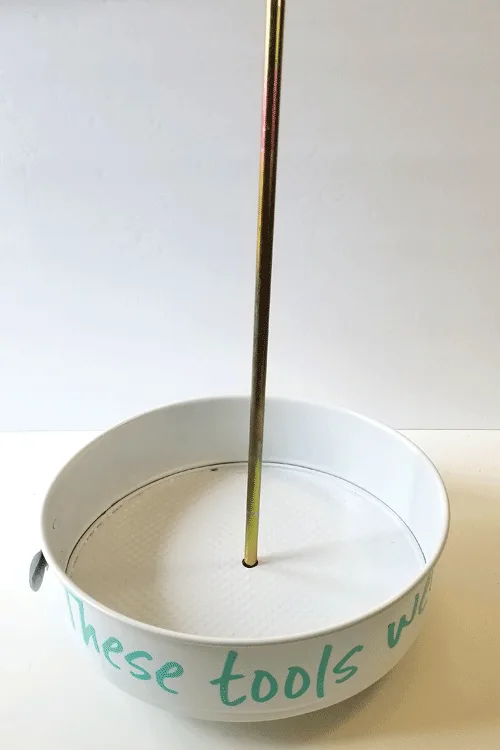
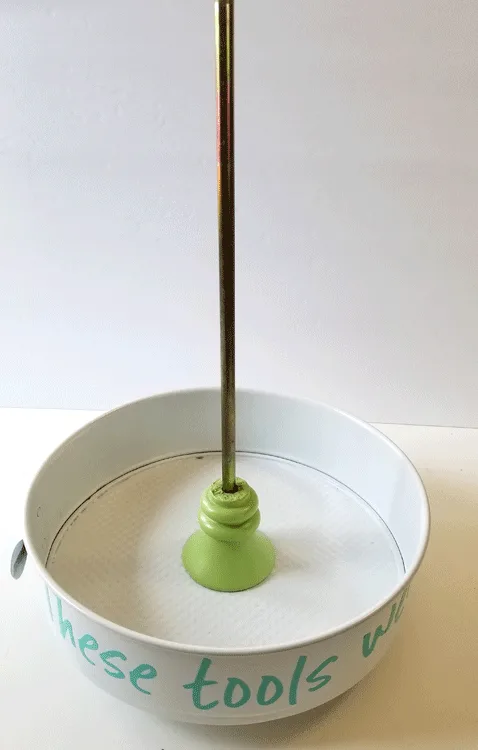
Step 3: Add the lazy susan to the lamp base
When I am shopping at thrift stores and garage sales I AlWAYS buy the lazy susans I find. We use them a lot and this is a good example. Not only do we use the entire piece but sometimes we take them apart and use the parts so that other things can spin around.
This time we added the parts to the bottom of the lamp base so that this craft tool organization tray could spin around. I love it too.
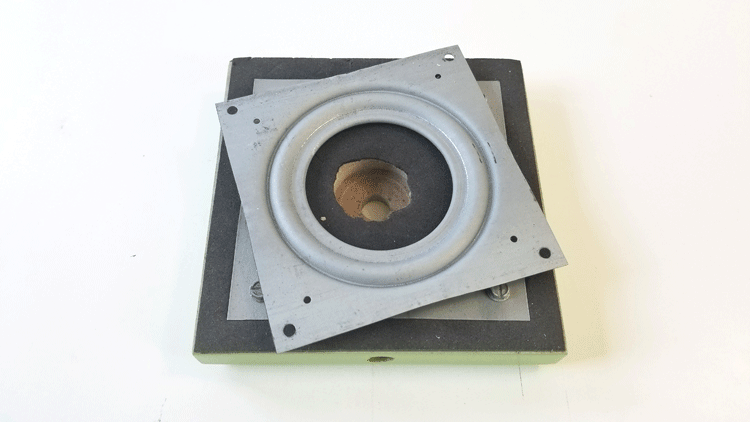

Then add some craft foam so that it won’t scratch your surface.
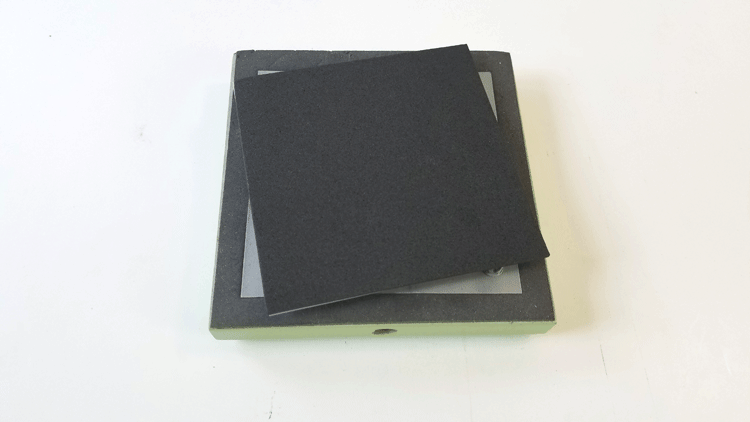
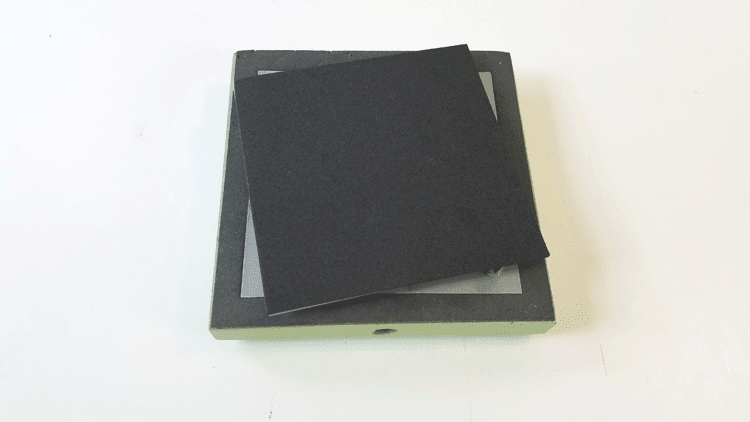
We did have to place a hole in the foam to be able to attach the pieces together. Apparently I did not get a photo of that.
Step 4: Attach it all together
This is where things got a little tricky. It just took Jeff and I together to get this baby put together. Here are the steps we took!
Start with the threaded rod and add the nut and washer.


Next add the first upcycled pan.

Then comes the first, larger decorative piece.

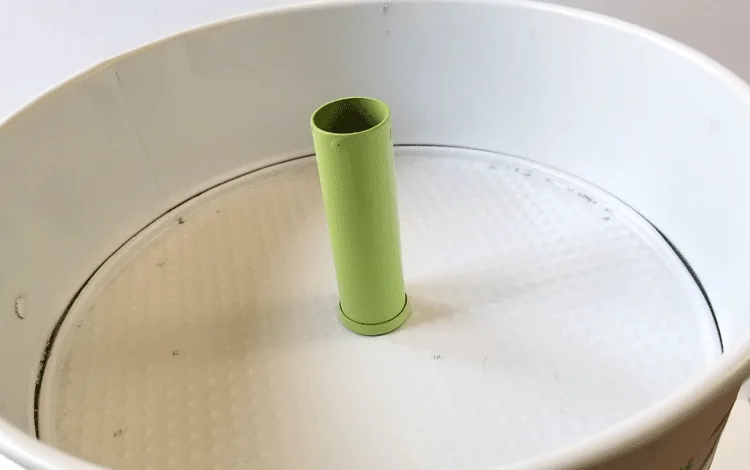
The metal long tube is next.

The smaller decorative piece is next. It actually helps to hold the upper tray in place.
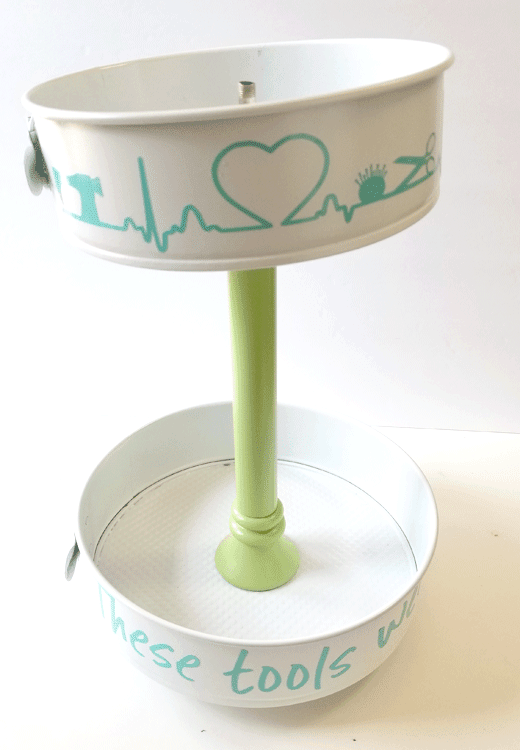
After this we added the top pan.

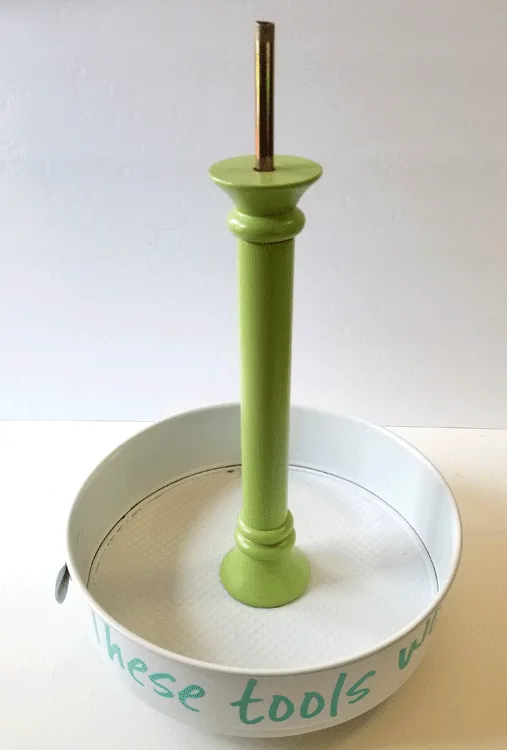
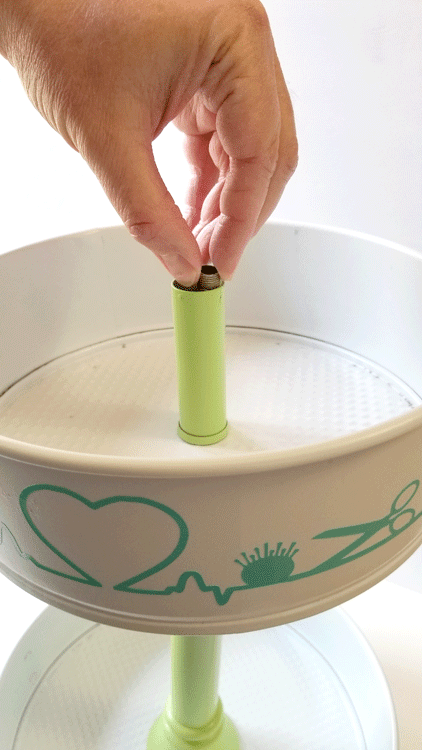
It looks a little wobbley but it straightened out as we continued the process. There were two pieces that fit into the small tube on top so one of those came next.

Then the small green tube then the other piece like this.


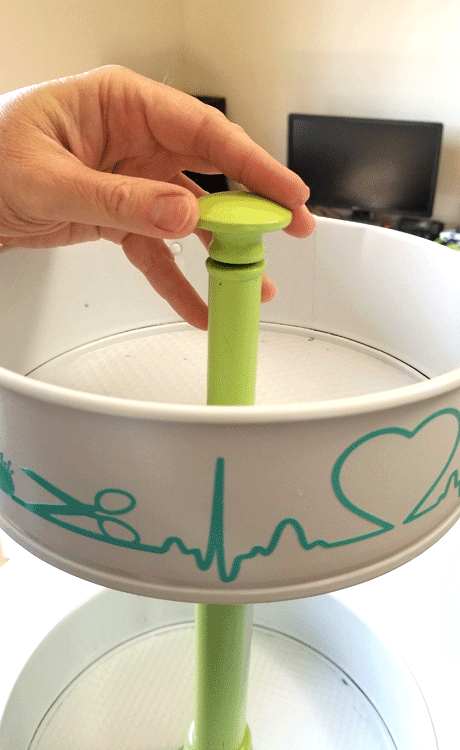
And the decorative knob at the top. Now we ended up removing the knob to be able to tighten everything really good. To do this I held it in the middle and Jeff used his pliers to twist and tighten the rod in the middle so everything would cinch up and stay un wobbley. LOL! It worked well but it took a little finesse.

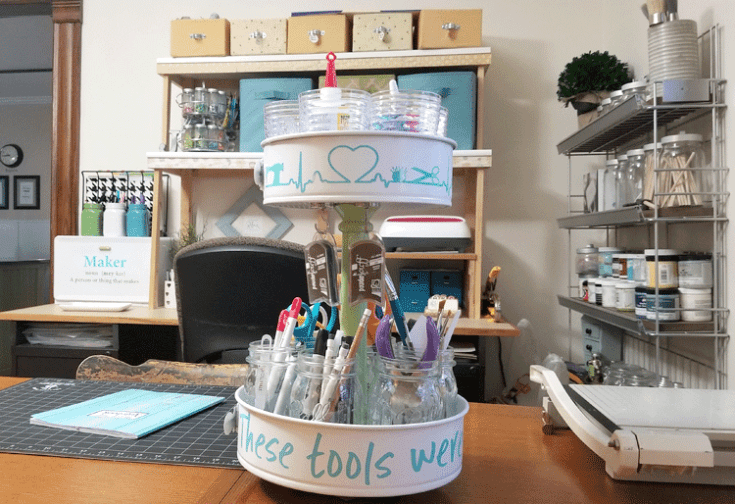
After that it was done except to fill it up with containers and craft tools. The mason jars fit perfectly on the bottom tier.
The Finished Craft Tool Organizer

And these toothbrush holders from Dollar Tree worked well on the top. They are plastic and made it less heavy. Mason jars would have fit but would have added a lot more weight.
All together it came out really nice and I stare at it every time I walk by. And the best part is it matches the vintage bread box storage too. I love it.

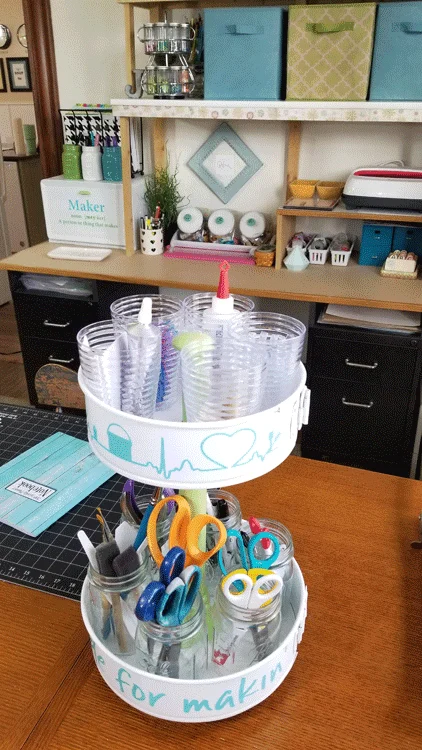
It seemed a little tall as I mentioned at the beginning of the post but my brilliant friend Peggy came up with the idea…and the hooks…to add magnetic hooks to the underside of the top tier. Now I can hang my two favorite and most used ink pads for quick use. I loved this idea.
The top tier also houses glue sticks, my liquid glue, the E6000 and my adhesive dot runners. These are all of my favorite adhesive products that I use all of the time.


The bottom tier includes scissors, hole punches, kraft knives, pencils, sharpies, my StyleTechCraft tool kit, palette knives and paint brushes. Now all of these craft tools are right at my fingertips!


Video Music: Carny’s Dance by Kevin MacLeod is licensed under a Creative Commons Attribution license (https://creativecommons.org/licenses/by/4.0/)
Source: https://soundcloud.com/kevin-9-1/carnys-dance
Artist: http://incompetech.com/
I hope you guys like this. It was a fun project and definitely something useful for me. If you are looking for a great DIY solution for your craft supplies try one of these. It really holds a lot of crafting tools.


Shirley Wood
Tuesday 14th of May 2019
Storage space in the craft room is always needed and I love your spinning tiered tray. Next time I go thrifting I will be looking for those springform pans!
Michelle
Wednesday 15th of May 2019
Thanks Shirtley! The more storage the better! I love this thing and it works great!
Michelle | Thistle Key Lane
Monday 15th of April 2019
I love to combine organizing with a fantastic diy project. Well done!
Michelle
Monday 15th of April 2019
Thank you. I agree. Anytime I can mix the two...I do! I am glad you like it.
Toni | Girl, Just DIY
Wednesday 3rd of April 2019
This is so great! I love the stacking idea and the appliques on the sides are too cute.
Michelle
Friday 5th of April 2019
Thanks Toni! It came together nicely and I love it.
Nancy Lou
Wednesday 3rd of April 2019
Those tiered trays are so popular right now, aren't they? And you got to customize yours! Functional and adorable; well done!
Michelle
Friday 5th of April 2019
Thanks Nancy. Coming from you, the organizer, this means a lot. I do love it.