Thrift Store Challenge
As I mentioned above I used to be involved in this challenge every month. I am not sure what happened the last 4 or so months but I am back now to get back into the up-cycling game.
The Rules:
- Upcycle an item(s) from a thrift store, resale store, or garage sale into a new piece of decor.
- There’s no monthly theme.
- There’s no budget to stick to.
Meet the Hosts
Angela | Simply Beautiful By Angela – Heather | Glitter On A Dime Amanda | Domestically Creative – Michelle | Our Crafty Mom Jenny | Cookies Coffee and Crafts – Ali | Home Crafts by Ali – Lynn | My Family Thyme – Emy | Semigloss Design – Angie | Flippin Fanchers – Denise | My Thrifty House – Michelle | Michelle James Designs – Debra | Shoppe No 5 – Habiba | Craftify My Love – Victoria | Dazzle While Frazzled – Ann | Duct Tape and Denim – Molly | Just a Little Creativity – Morgan | Charlston Crafted – Meredith | Southbound BlogMake sure you follow our board on Pinterest for more upcycled decor inspiration!
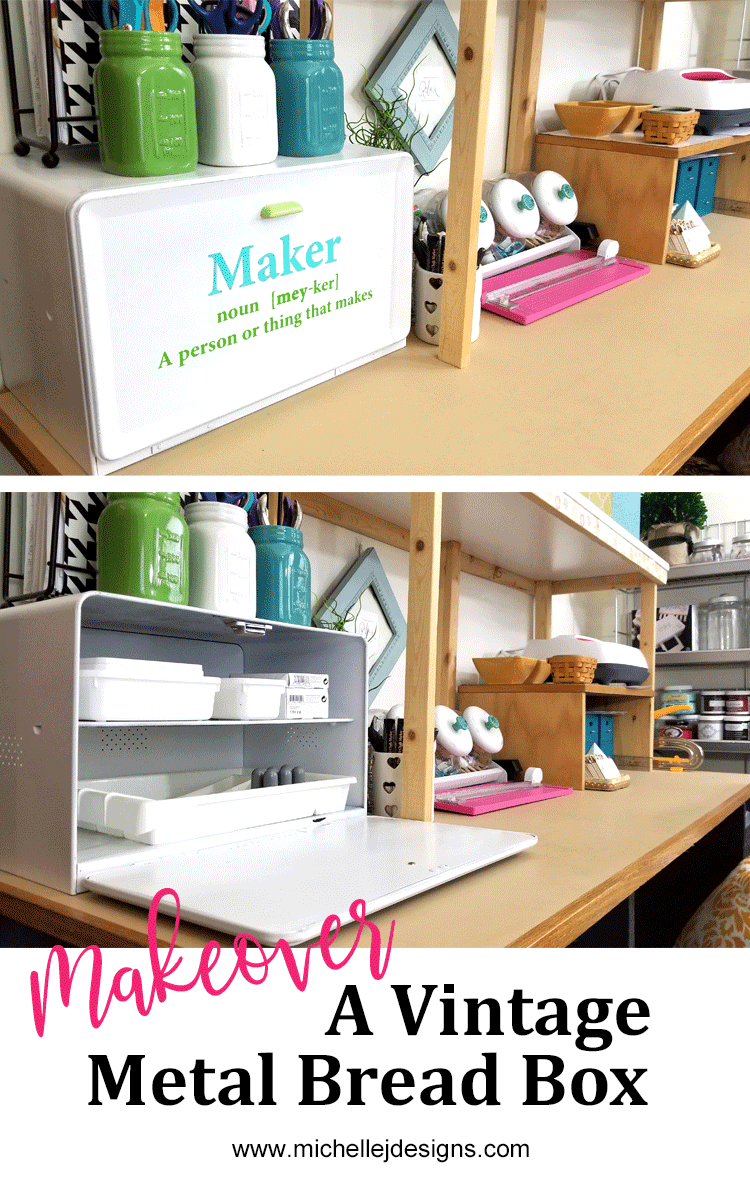
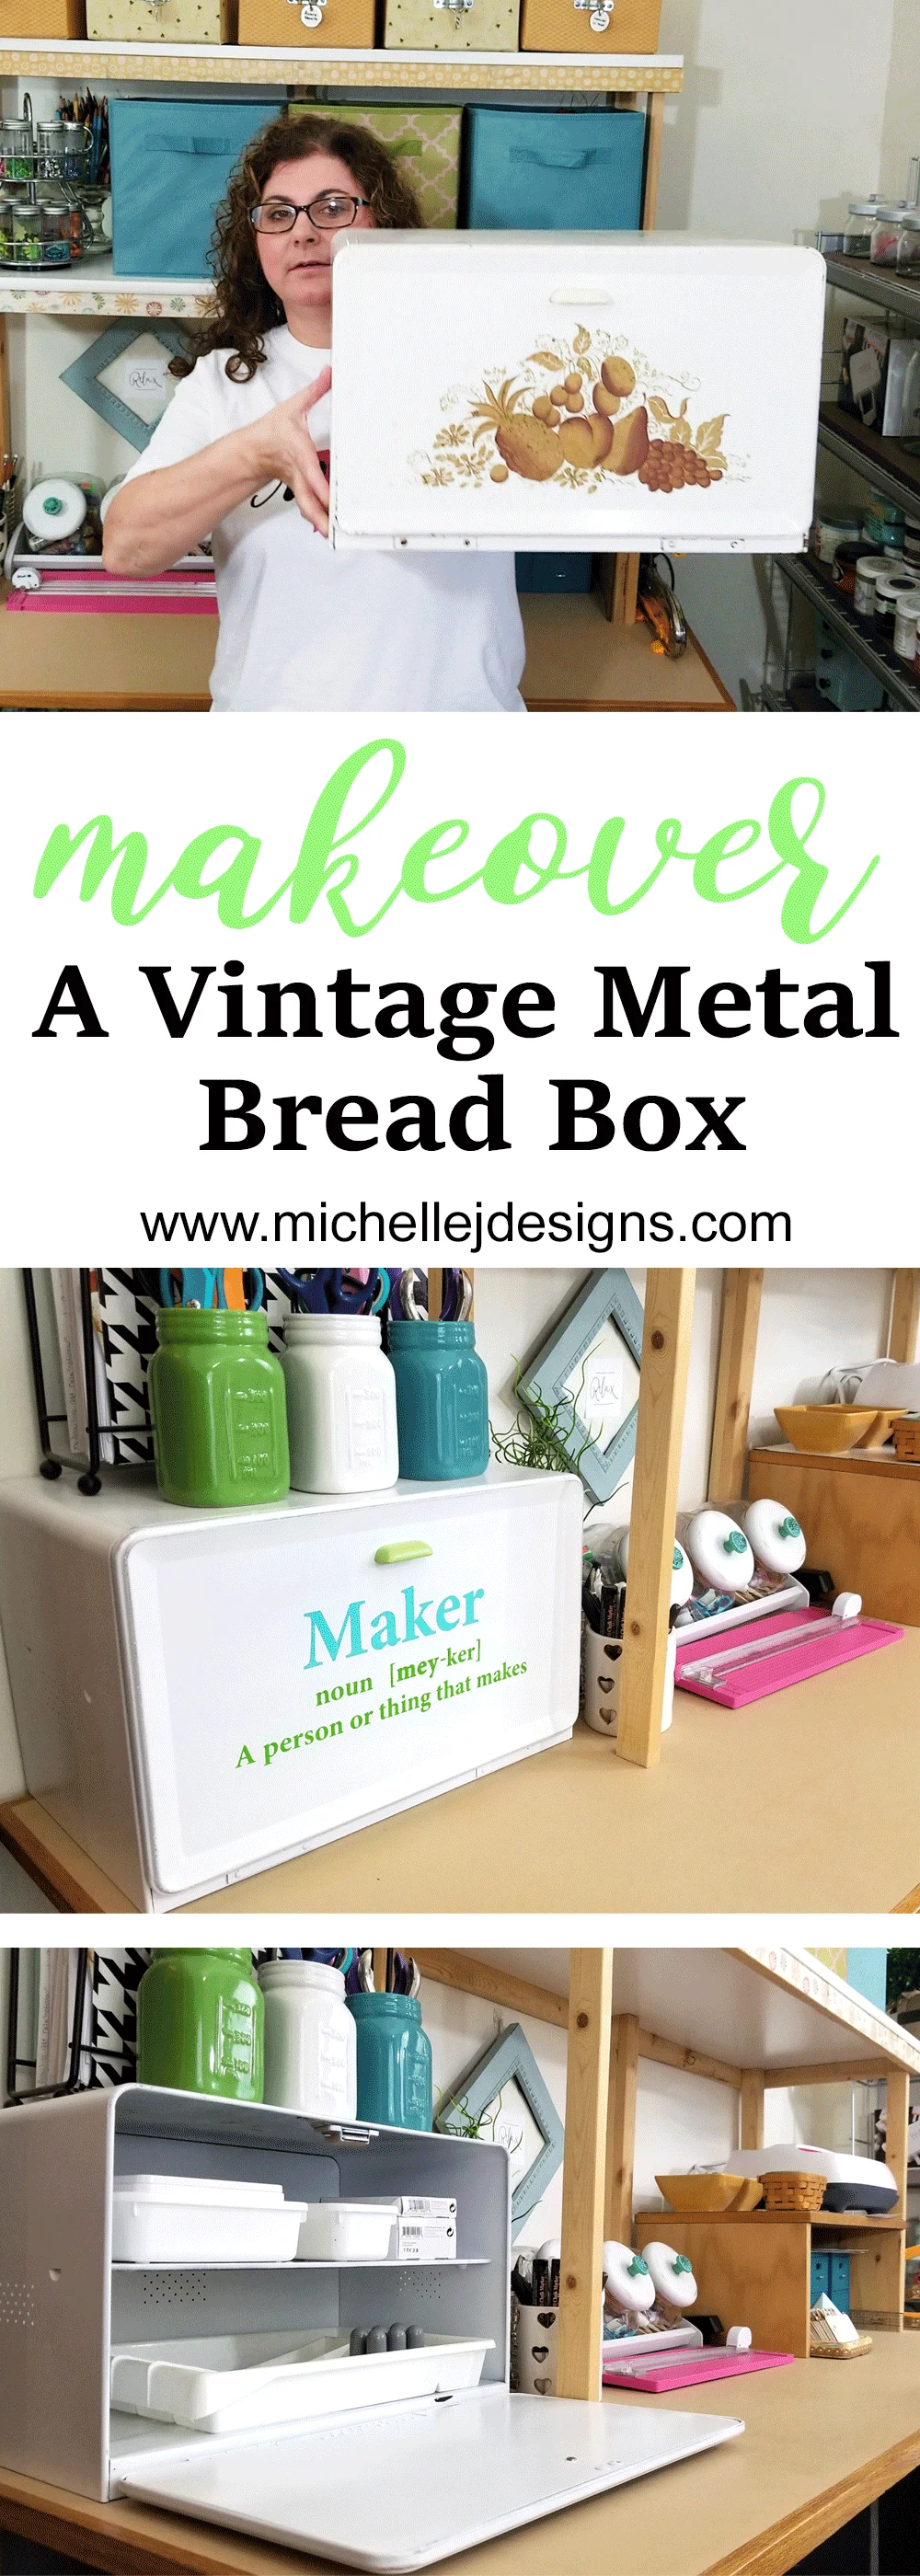
Making Over A Vintage Metal Bread Box
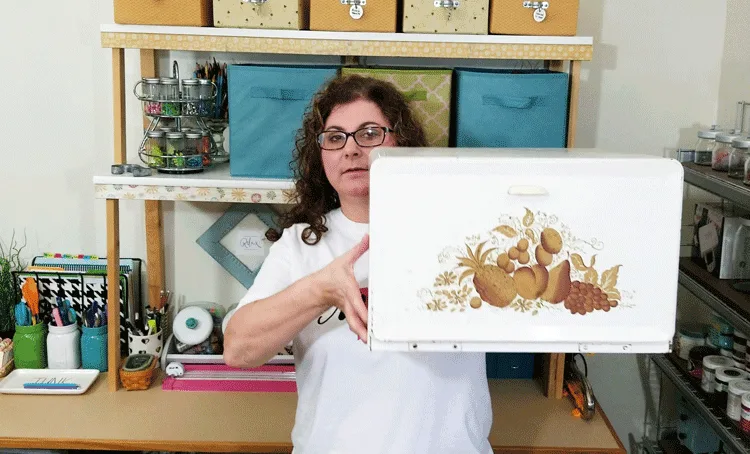
These old bread boxes are great for so many different things. I upcylcled a wooden bread box into a charging station for our guest bedroom and it gets used every time we have company. I was really excited to find this vintage tin bread box at an Estate sale. AND…to make it even better they through it in for FREE!See how I made over my metal bread box in the step-by-step video below.
And be sure to subscribe to my You Tube Channel!
Below is the step-by-step written tutorial as well! I have added affiliate links for your convenience! You can read my full disclosure here.How To Makeover A Vintage Metal Bread Box

Make over a vintage metal bread box using paint and vinyl!
Prep Time
10 minutes
Active Time
3 hours
Additional Time
5 hours
Total Time
8 hours 10 minutes
Materials
Tools
- Silhouette Cameo
- Fine Sanding Block
- Screwdriver
Instructions
- Clean the metal bread box if needed and remove handle for painting
- Spray bread box with two coats of black spray paint waiting at least 1/2 hour between coats
- Repeat step 2 with white spray paint.
- Create design for the front of the door
- Cut out design with vinyl from Silhouette Cameo
- Use transfer tape to apply vinyl design
- Re attach handle of bread box
- Add storage containers for crafting supplies
Step 1: Clean your metal bread box
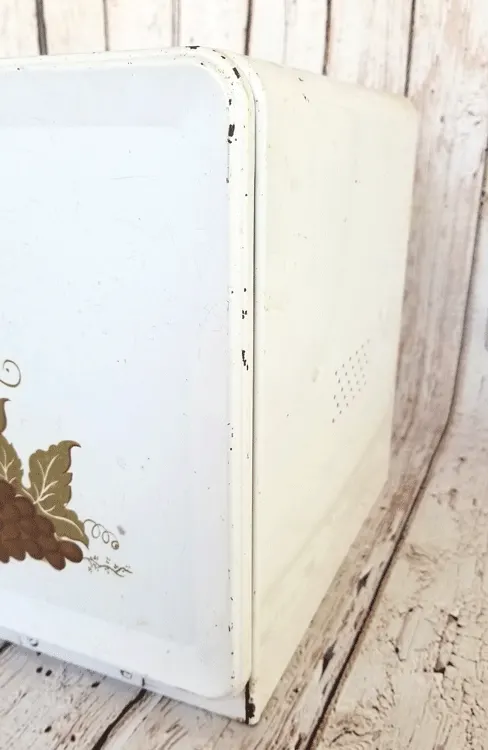
This metal bread box was a little dirty when I picked it up but it also sat in my garage for a while. Needless to say it was dusty and dirty. You can also see in the photo below that it was a little dinged up.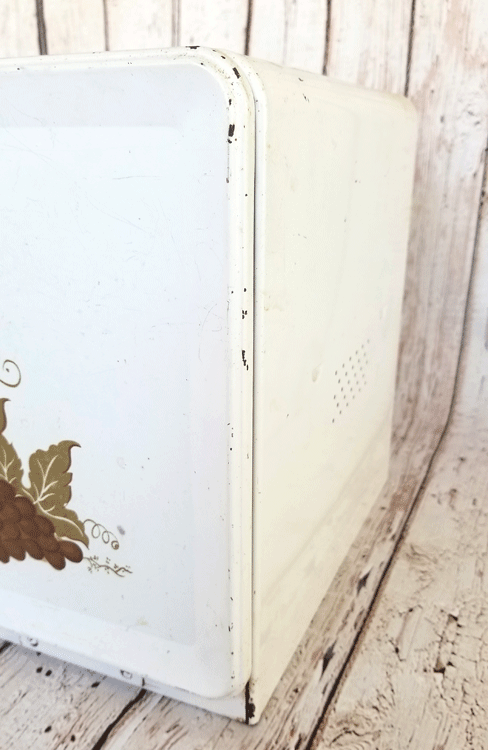
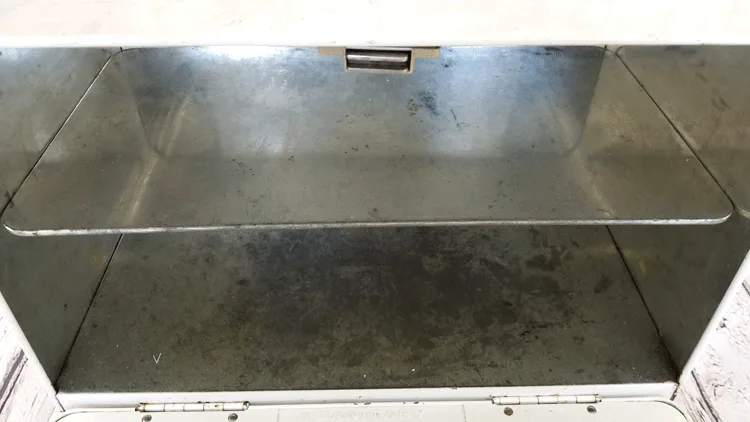
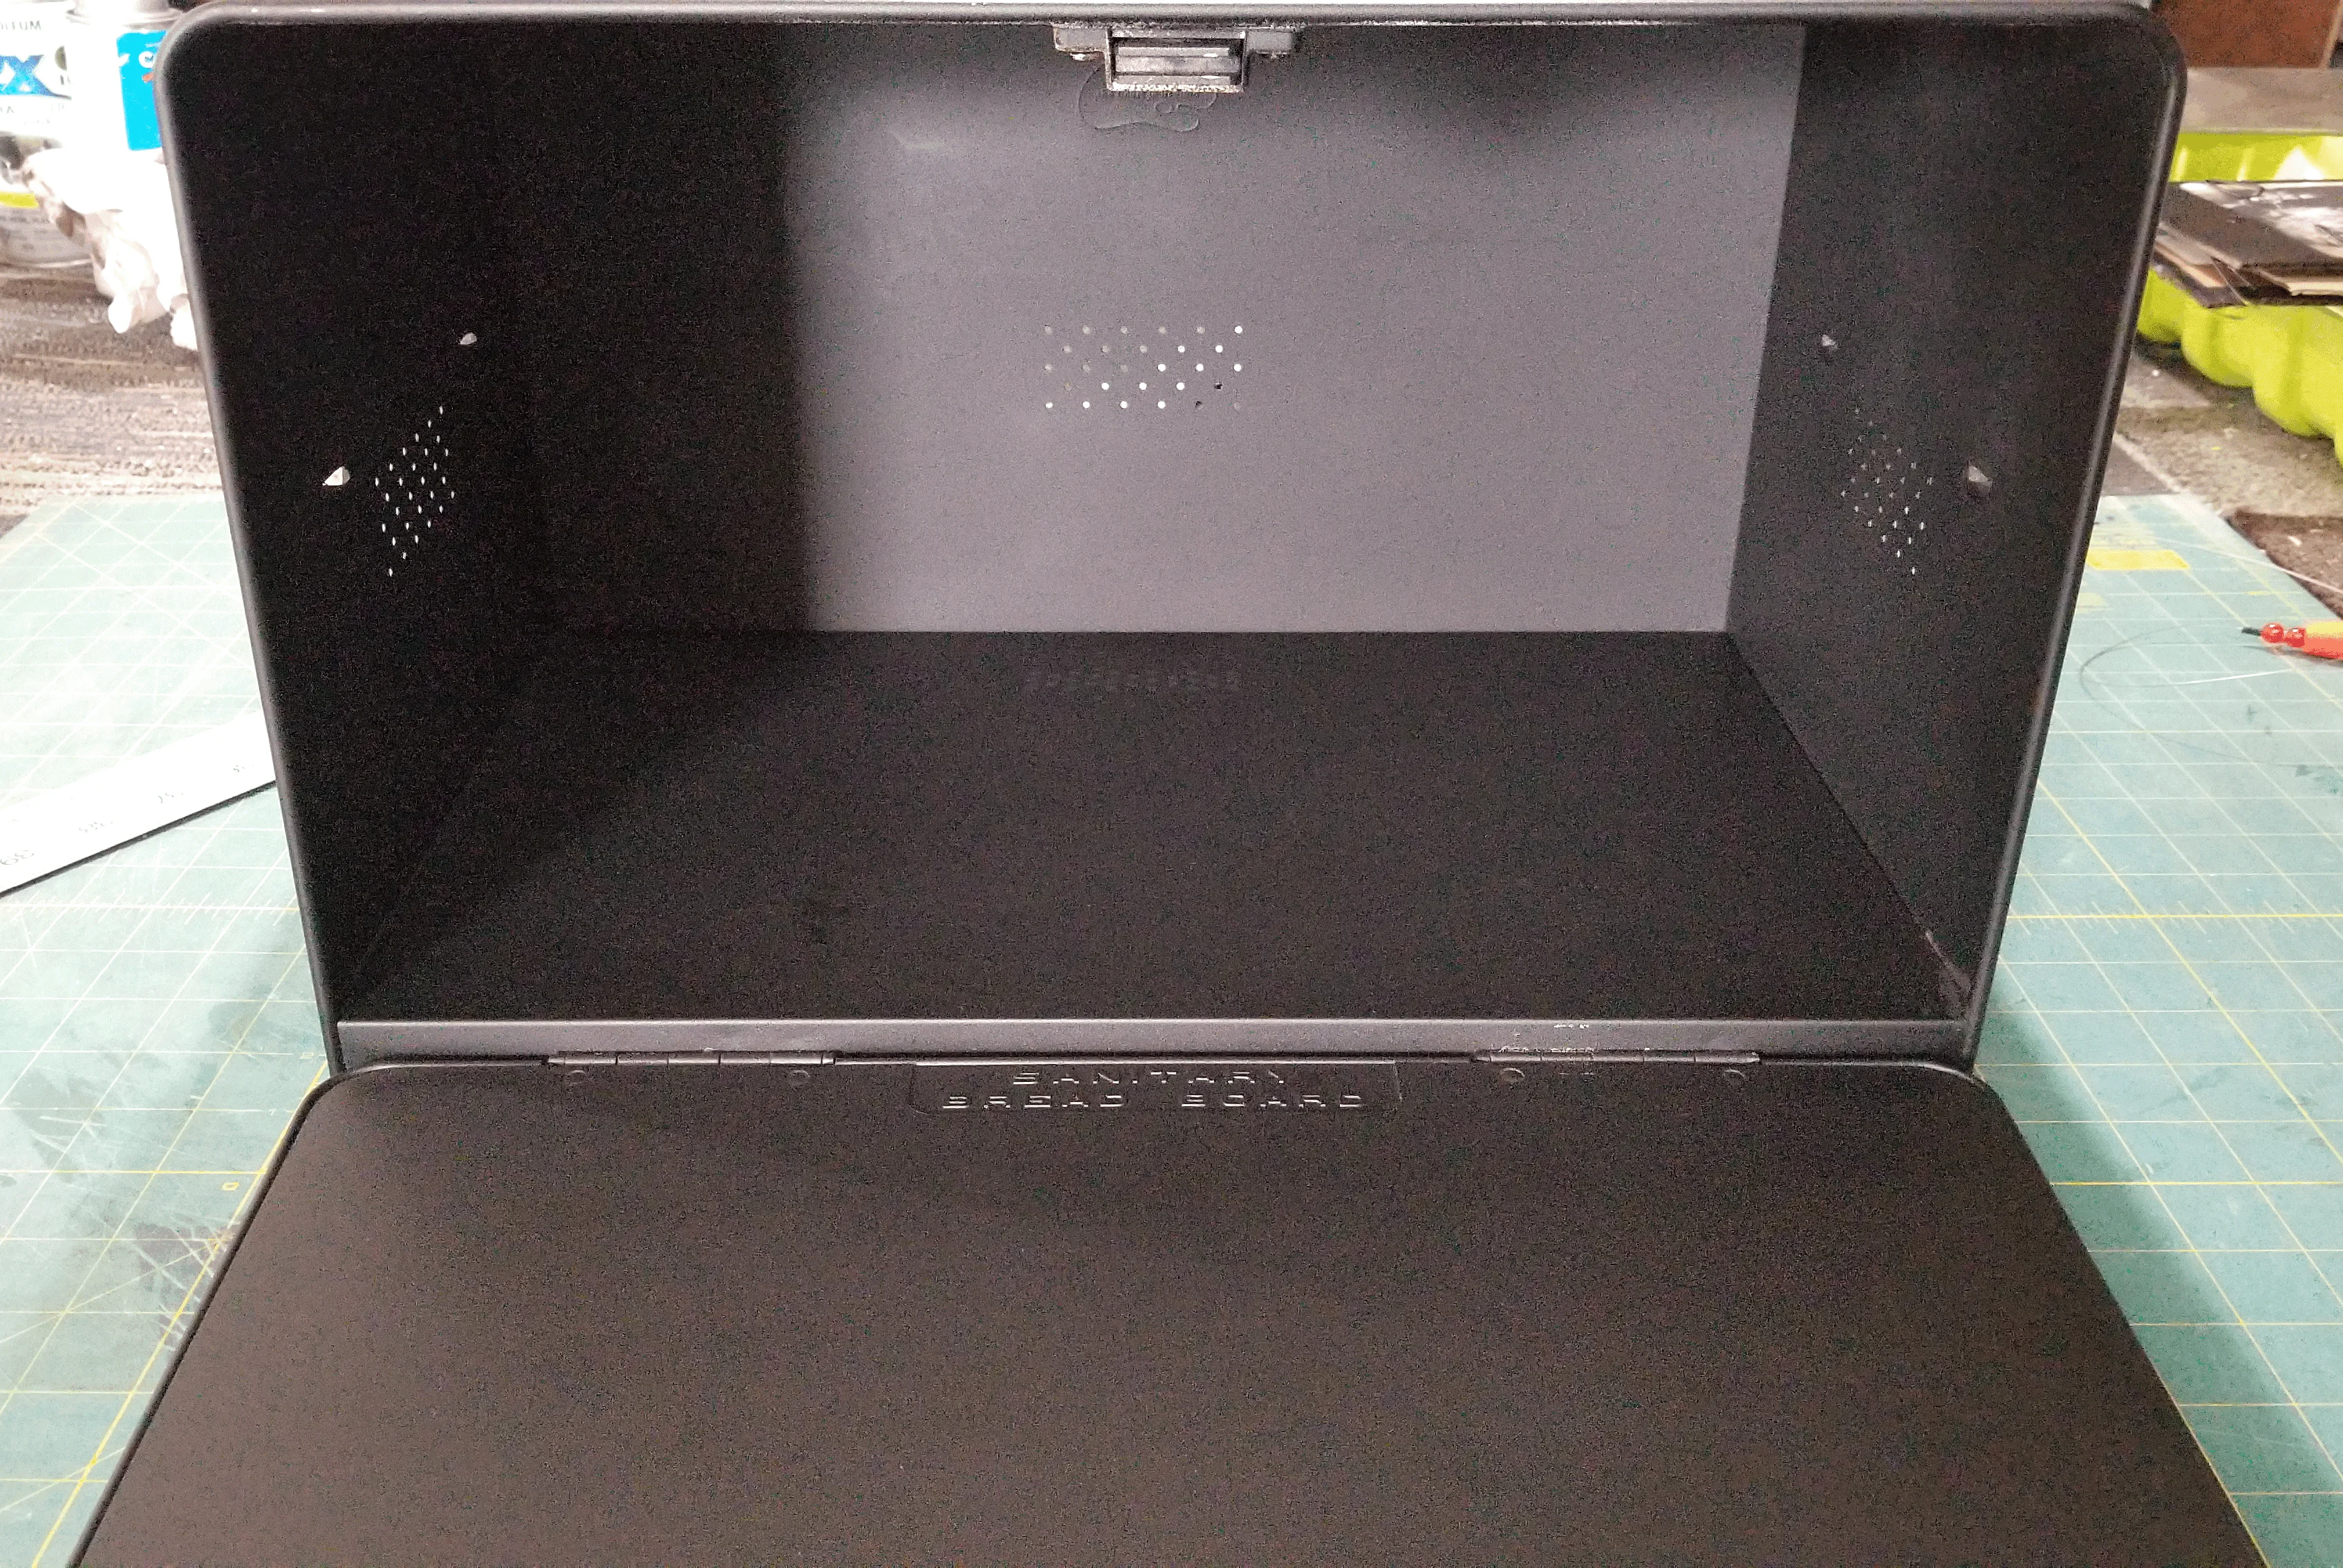
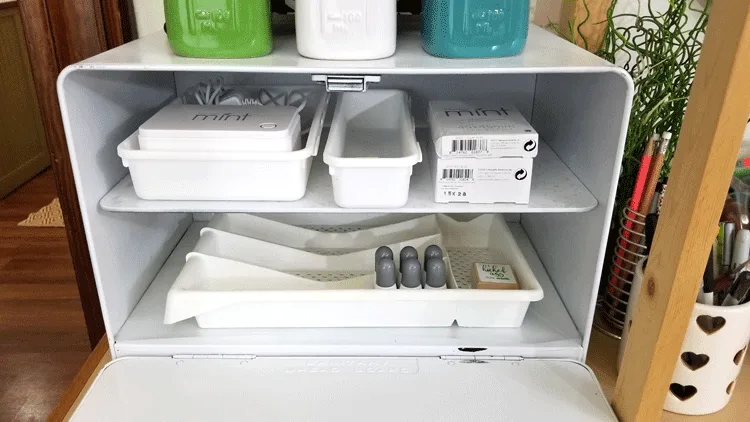
 This is a photo of the inside The shelf comes out which made it easy to clean.
 I really love the 70’s golden fruit on the front. LOL! Anyway, I just used a warm soapy wash cloth and gave it a good bath. Once it was nice and dry and clean it was ready for paint.
Step 2: Spray Paint
Anytime I need to paint something I always try to figure out if spray paint will work. It is my first choice because it is so easy. I did get a few drips when I painted the black coats but it was ok. A little bit of sanding made them virtually invisible after the white paint went on. Before I started I removed the little white handle from the door. I wanted it to be a different color. (more spray paint) The photos below were taken after two coats of flat black paint/primer.
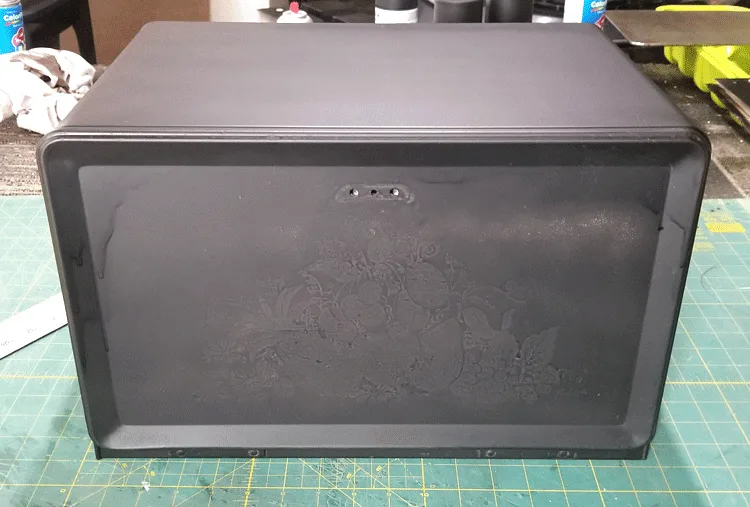
 Then I gave it two coats of the white which you will see in the next step.
Step 3: Sand lightly for a distressed look
The reason I paint the black first is to be able to distress a little bit and have the black paint show through. I like this look but on this project I really wanted minimal distressing. I didn’t want to sand too much or too hard. If I did that I would sand past the black coat and into the original paint.
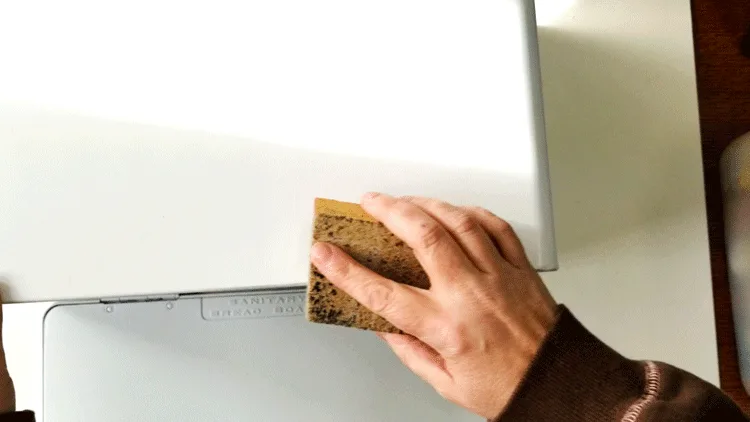 I used a fine sanding block and went around all of the edges/corners and the door.
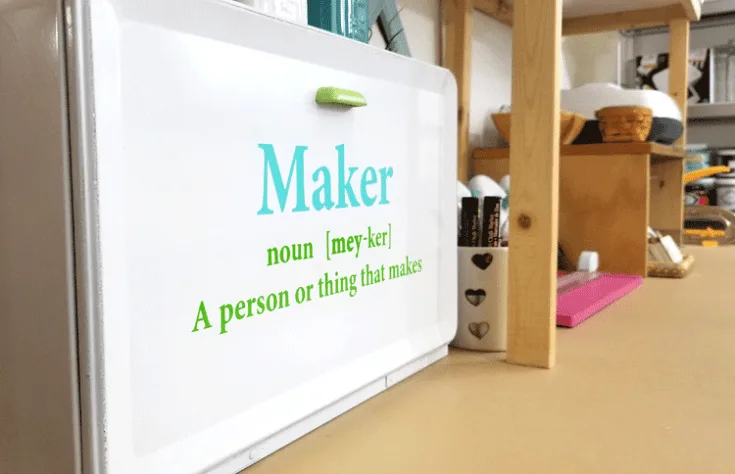
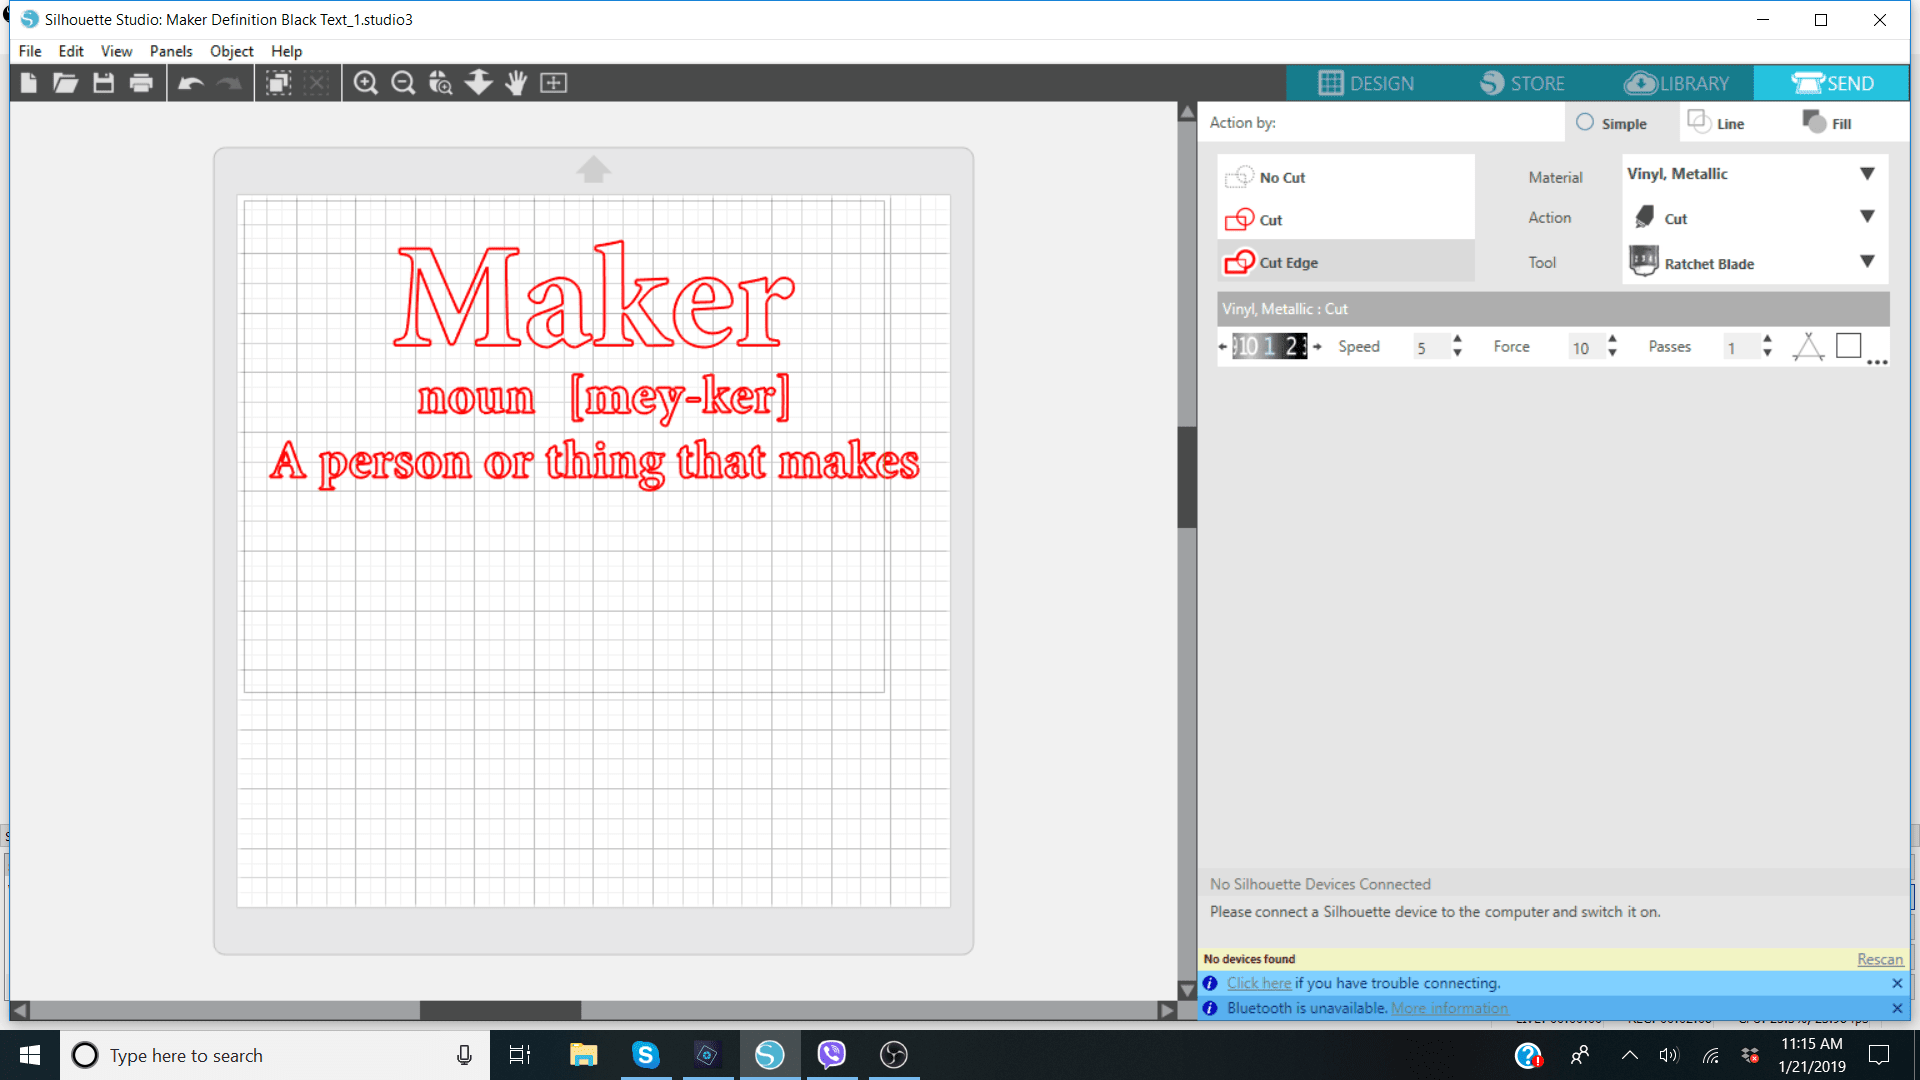
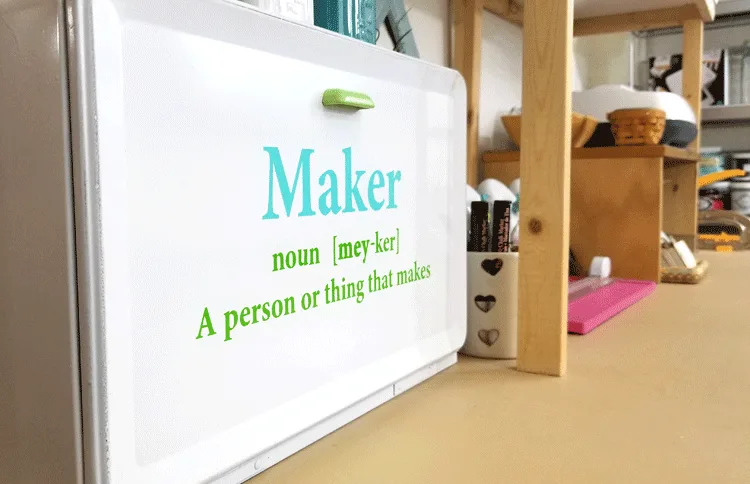
Step 4: Design and add the vinyl to the front
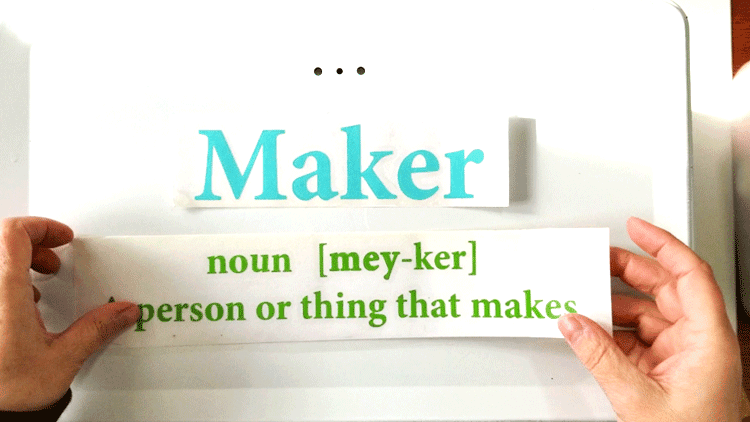
Since this was going in my craft room I really wanted something in the crafty theme. Maker is the new word for crafter. Did you know that? I love the word maker so I looked it up on dictionary.com and created a file to use on my Silhouette. Below is a screen shot of my Silhouette design space. I cut the word “Maker” out of teal vinyl and the rest of the design from green vinyl. I show how to add two colors of vinyl to your mat and cut all at one time in my Valentine Mason Jar post if you are curious.
 When it was all cut I got the transfer tape ready and placed it on top of the vinyl. If you haven’t used transfer tape. Be sure to check out the video in my Wooden Table Runner post. It shows exactly how to use it.
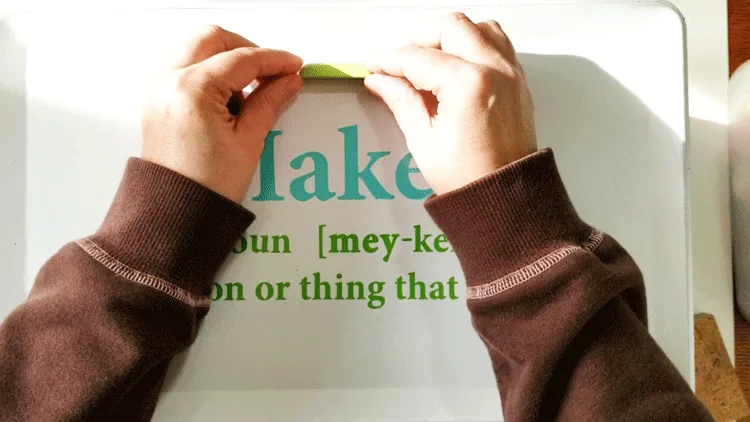
I added the teal design first and used a ruler to make sure it was centered and straight.
When it was all cut I got the transfer tape ready and placed it on top of the vinyl. If you haven’t used transfer tape. Be sure to check out the video in my Wooden Table Runner post. It shows exactly how to use it.
I added the teal design first and used a ruler to make sure it was centered and straight.
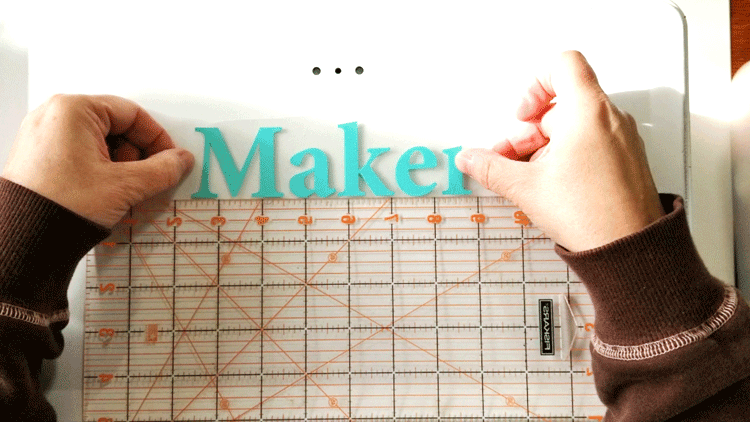
 Then I repeated this step for the rest of the design.
Step 5: Re-attach the handle.
I loved this tiny handle and thought about replacing it with a different knob or handle but I thought it was cute. A tiny bit of green spray paint left from a different project was all it needed to spruce it up a bit. It’s a nice touch don’t you think?
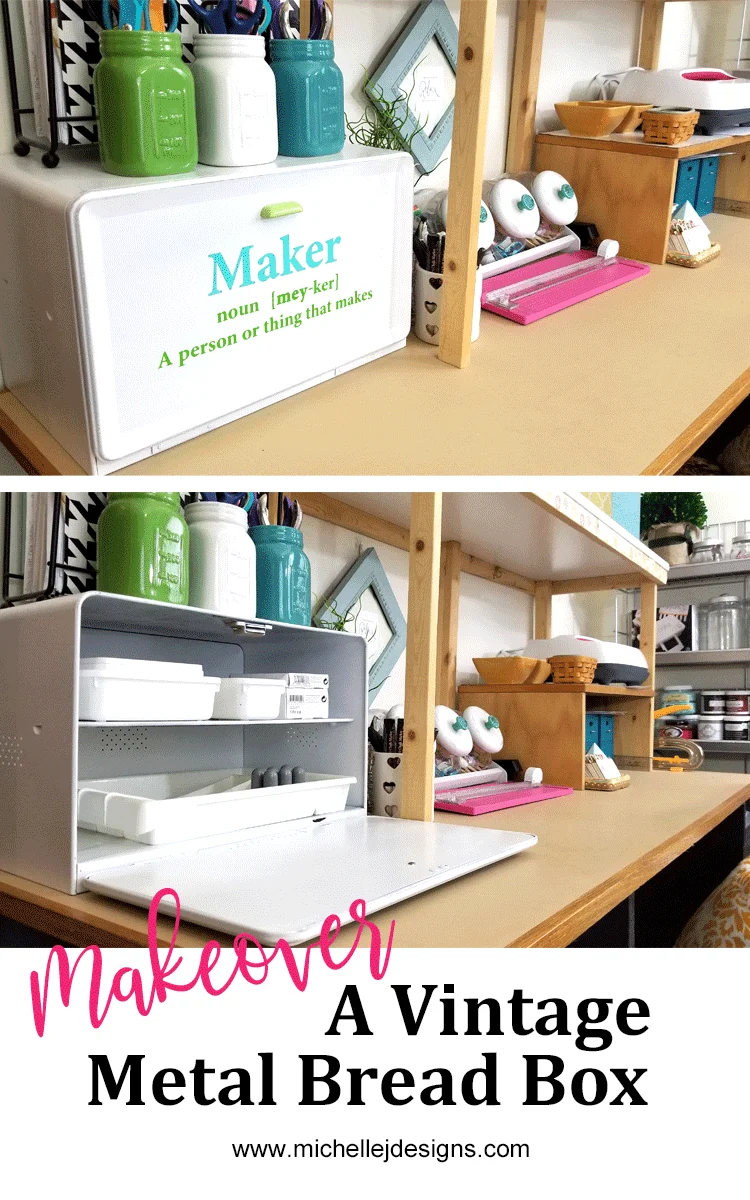
Step 6: Fill your new storage container with your favorite crafting supplies
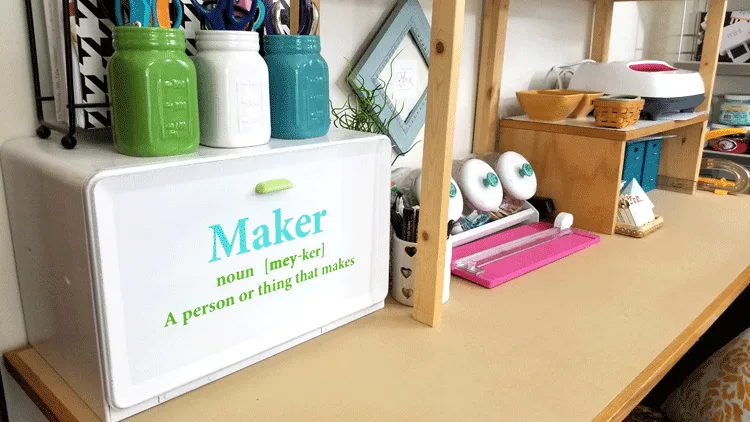
I am using mine for all the things that go along with my Silhouette Mint. The little machine, cords, inks, blank stamps and the stamp I have created and the ones I make in the future. Check out how nice it looks in my craft space!
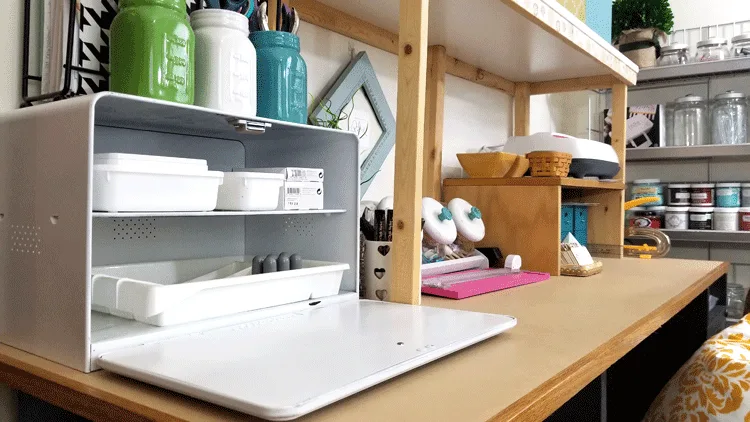
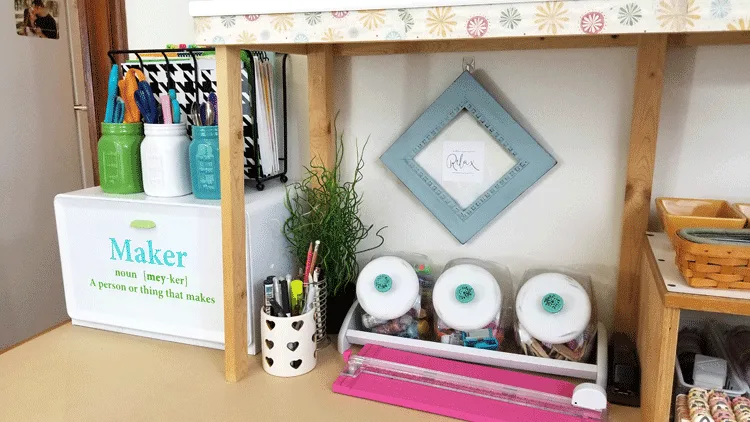 I have a lot of room to add more ink colors and supplies too. I love room to grow!
 You can see how I make my own rubber stamps using Mint. I love this thing. It really does deserve it’s own little crafty storage space.

You can watch my step-by-step video here
And you can get the free downloadable file by signing up below or heading over to the resource library Don’t forget to check out the links below of my blogger friends who also upcycled some amazing items they found at thrift stores or garage sales. It is so fun to see what other people do and get inspiration and ideas! Thanks so much for stopping by, Michelle
Suhana Aline
Tuesday 7th of April 2020
What a wonderful transformation! This is so cute! You make this look so easy. I’m not sure if I could do something like myself. I’ve been on the lookout for an old bread box for awhile! Love the update you gave yours.
Michelle
Tuesday 7th of April 2020
Thank you. It was a fun project!
Ali B
Friday 1st of February 2019
This turned out so nice! I love how perfect it looks in your crafting space.
Michelle
Saturday 2nd of February 2019
Thank you Ali! It fit so perfectly and I was so happy about it.
Patti
Wednesday 30th of January 2019
Hey Michelle. I love this idea and you know we have one of these sitting in our laundry room. Pinning for later!!
Michelle
Thursday 31st of January 2019
Thanks so much Patti!! That is great that you have one. I love it.
Barbara Chapman
Tuesday 29th of January 2019
So cute and creative, Michelle!!! I love this idea of repurposing a breadbox into a craft supply mini closet. :) I think you are right, we can never have enough storage bins for storage.
Thanks for sharing, Hugs, Barb :) www.frenchethereal.net p.s. I am hosting Share Your Style this week, if you'd like to stop by Wed. evening and link up? :)
Michelle
Wednesday 30th of January 2019
Thank you Barbara! I think I may need to find more bread boxes since this one is working out so well. I love fun storage!
Mary
Tuesday 29th of January 2019
Michelle this is such a huge improvement over the original. I love those pretty colors on the lettering!!
Michelle
Tuesday 29th of January 2019
Thank you Mary! I just love the colors too. My hubby hates teal but I use spots of it here and there. LOL!