I bet you all know what day today is? It is mason jar day! One of my favorite days of the month. I absolutely love to decorate and create using mason jars. Today I am showing you a painting technique. We will be marbling with acrylic paint. How fun is that? Keep scrolling to see the awesome results.
Mason jar day wouldn’t be the same without friends. Be sure to check out the Valentine mason jar ideas from my bloggy friends. There is a collage photo of all of the awesome ideas and links to their projects at the end of this post.

Marbling With Acrylic Paint
I haven’t dipped into a good painting technique in a while so this was a nice project and I really enjoyed it. We always have acrylic paints on hand but the marbling medium was a product I hadn’t used before. I did not try this marbling technique without the medium but I wonder if it would look as good? Either way, give it a try and let me know what you think.
Related Content:
If you like mason jar projects check out this page with 10 amazing mason jar projects!
See exactly how the marbling with acrylic paint works in the step-by-step video below
Be sure to subscribe to MY YOU TUBE CHANNEL!
If you like to read the step-by-step tutorial and see a picture of each step keep on reading. The entire written tutorial is listed below.
I have included some crafty affiliate links for your convenience! You can read my full disclosure here!
Materials and tools needed:
Valentine Mason Jar - Marbling With Acrylic Paint
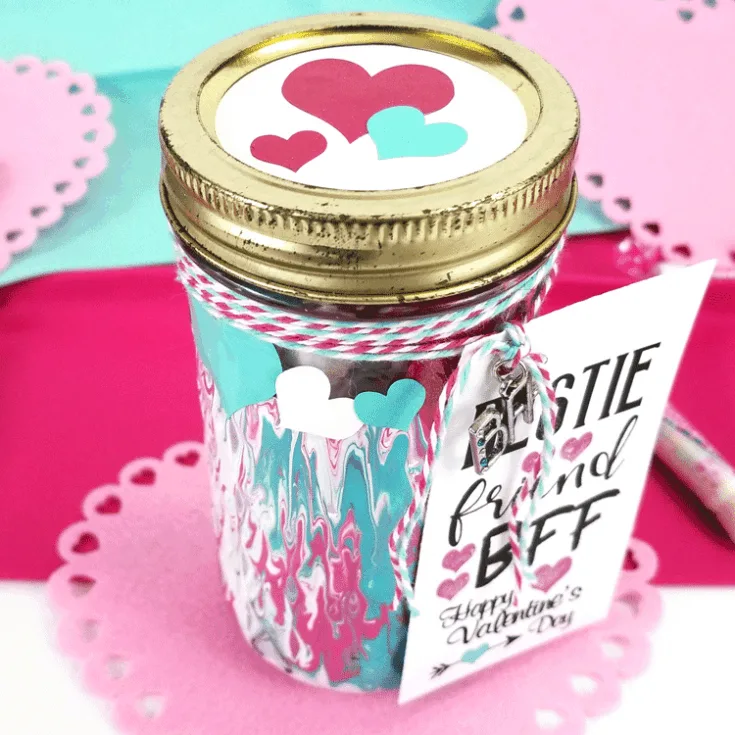
Create a unique marble effect using this marbling paint technique with acrylic paint and marbling medium. The additional time listed below is to let the paint dry overnight.
Materials
- Mason Jar
- Contact Paper or Scrap Vinyl For Masking
- Acrylic Paint - I used 3 colors
- Marbling Medium by Martha Stewart
- Printed Tags - Free Download Included In Post
- Paper Cups and Stir Sticks
- Rubber Gloves (optional by recommended)
- Extra Fine Glitter
- Bakers Twine - I used 2 colors
- Metal Charms- Friends Theme
- Vinyl - I used 3 colors
- Candy
Tools
- Silhouette Cameo
- Hole Punch
- Printer
- Paper Trimmer
Instructions
- Mix one part paint with two parts marbling medium in paper cup and stir slowly with the stir stick
- Mask off area on mason jar that you don't want to be painted
- Pour small amounts of paint onto the jar alternating the colors and letting it drip down the sides
- Continue this until the entire jar is covered and you like the look
- Place upside down onto something that allows the jar to be "hang" above the work surface so it can drip and dry overnight. I ended up placing mine on top of one of a paper cup.
- After drying overnight remove the masking and clean any extra paint with paper towels or a cloth
- Cut out vinyl hearts and a circle to fit the top of your mason jar lid from Silhouette Cameo. I cut three different sizes of hearts in three colors and a white circle
- Place the hearts over the "line" of paint all the way around the jar. I tilted and varied the heart sizes and alternated the colors.
- Print the tags and cut one out. It should be 2.25" x 4". Punch a hole at the top. I punched the hole to one side so the tag would hang at an angle.
- Add glitter to the hearts on the tag and let dry
- Wrap bakers twine around the top of the jar a couple of times and tie the first part of a knot
- Add the tag and finish the knot
- Grab just one of the pieces of twine from one side of the knot and slide the charm up. Then grab all of the pieces of twine and tie another knot to secure the charm
- Add the circle and a few hearts to the top of the jar lid.
- Fill the jar with candy and place the lid on the jar.
- Give to your bestie and watch their eyes light up!!
Step 1: Mix the paint and the marbling medium
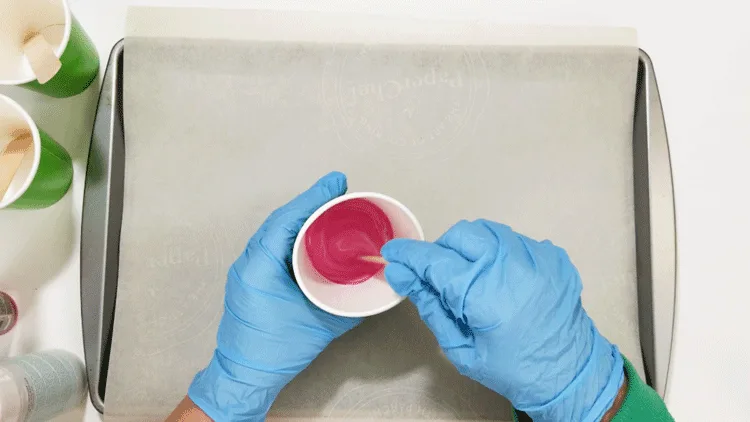
Grab some paper cups or something to mix each color of paint and a stir stick. Pour 1 part paint to 2 parts marbling medium in a cup and stir them slowly until they are completely mixed.
Measuring exact amounts is not necessary…I just eye-balled the portions of paint and medium and it all worked fine.

Step 2: Mask the area on the jar you do NOT want painted
I used some scrap vinyl for this. Contact paper will also work but I know that the vinyl is very sticky and I thought it would help to keep the bleed to a minimum.

Step 3: Pour small amounts of paint to the jar
This is the fun, messy part. Start adding the paint to the jar by pouring small amounts. Vary the colors in different places on the jar and let it marble into each other.

Keep adding the paint, alternating colors and adding where the glass is still showing.
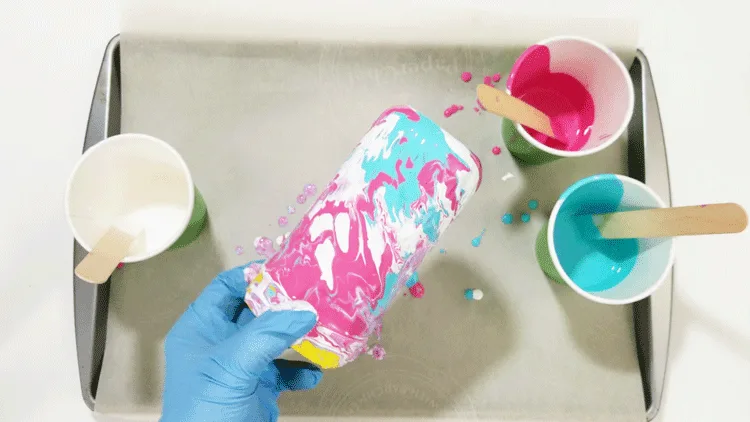
Isn’t it looking pretty? I thought so.
When the jar is covered, place it upside down onto a cup or something so it can drip and dry over night.
Step 4: Remove the masking
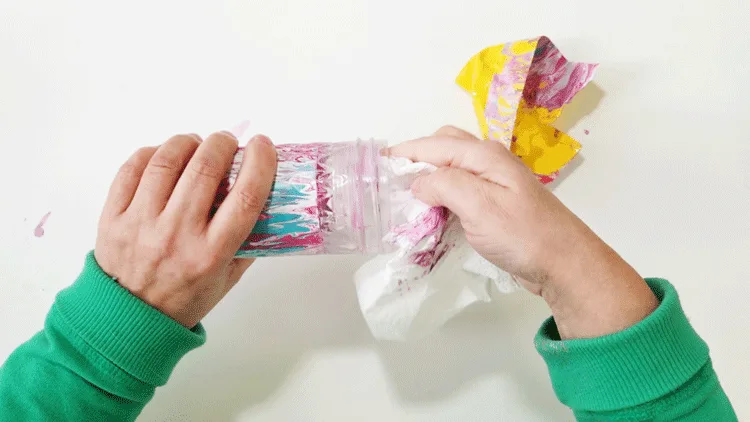
A razor blade worked well to create a cut in the paint next to the vinyl mask. When I pulled the mask away the dry paint stayed in place. But there was some wet paint that had bled under the masking.
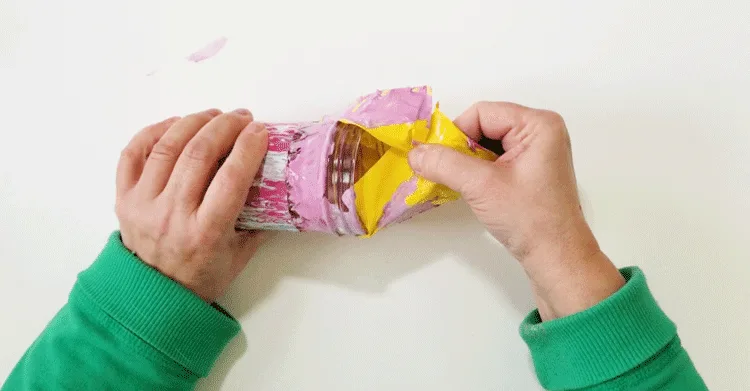
A dry paper towel worked well to get the majority of the paint off the glass then a damp paper towel finished off the little bits that were still left over.
Step 5: Cut out vinyl hearts
The vinyl hearts just add a little more “Valentine” to this BFF gift. You will want some varying sizes and colors. I used three sizes of hearts and three colors for my jar.
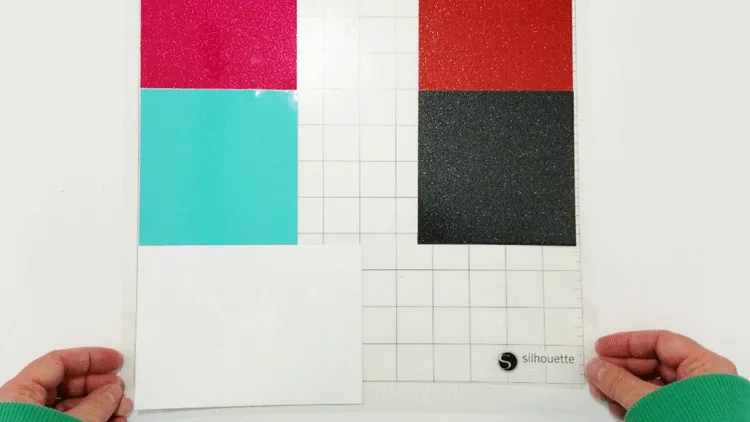
Here is a screen shot of my Silhouette design space.

As you can see I have five different areas for hearts. I was also decorating a stemless wine glass using the same marbling paint technique so I cut some black and red hearts along with the teal, pink and white hearts. The white hearts are the bottom grouping. I needed white for both projects. This is a great way to cut all of the colors at the same time. It save a bunch of time!
When you cut multiple colors of vinyl you just need to separate the cuts by color on the screen as I have done. Then you can place your different vinyl colors on the mat accordingly.
Step 6: Add the hearts to the jar
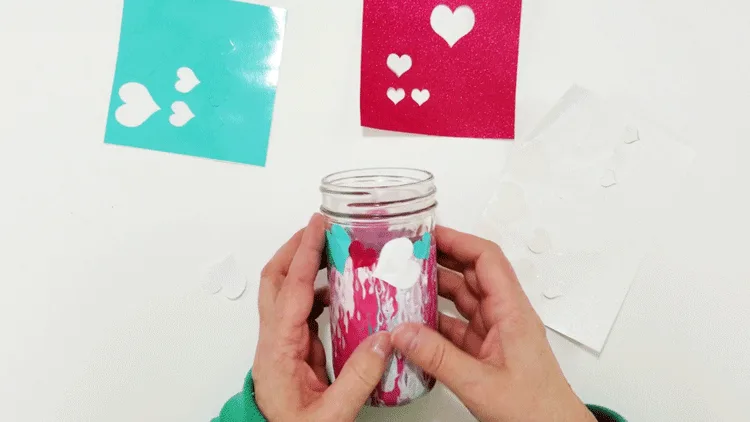
When you add the hearts to the jar you can place them anywhere you like. I wanted mine to cover the harsh line from the paint. So I alternated sizes and colors and placed them at different angles all the way around.
They are so cute!
Step 7: Download and print the tag
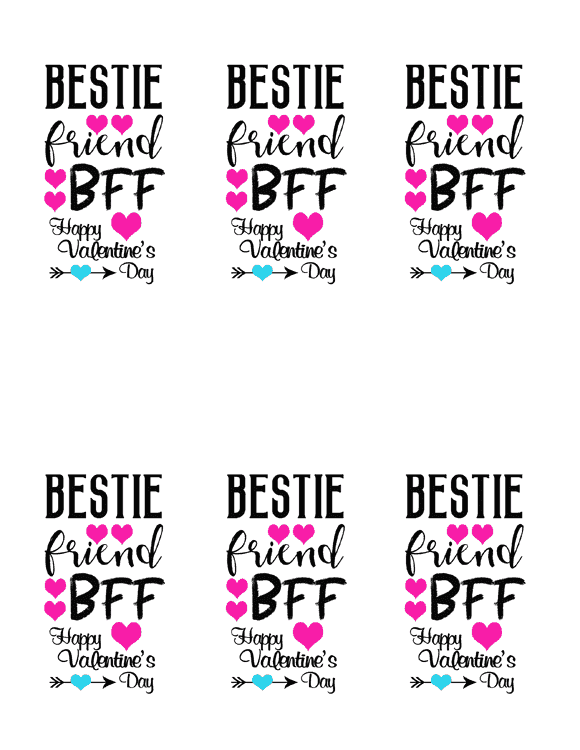
I created tags for this Valentine jar and they are free for you to download and print. Please use for personal use only. Just click on the link below to grab the download.
Download tags here!
I created two versions. One is the pink and teal version I used on the mason jar and the other is the black and red version I used on the stemless wine glass gift. I have included pics of this at the end of the post! There are six on an 8.5 x 11 sheet as shown below.
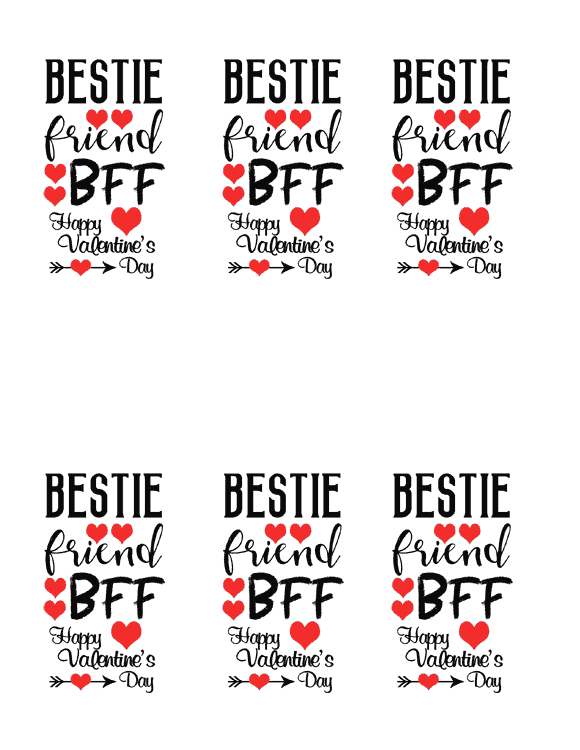
I hope you like them!
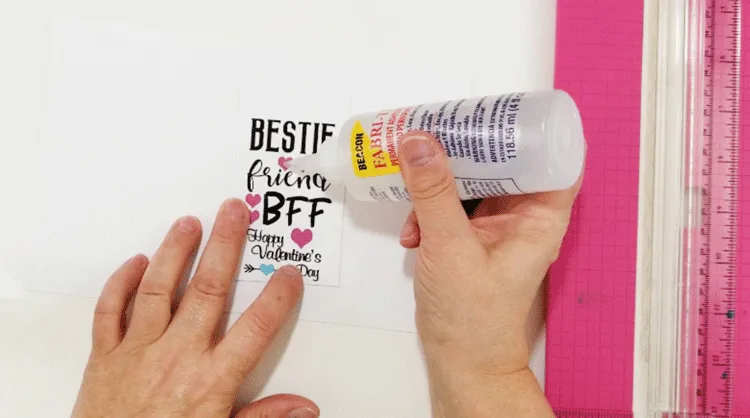
Use a paper trimmer to trim the tag to size. It should be 2.25″ wide and 4″ long then punch a hole in the tag.

Add liquid glue to the pink hearts then sprinkle on glitter for some sparkle.

Step 7: Add the tag to the mason jar
Wrap two stands of bakers twine around the top of the mason jar and tie the first part of a knot.
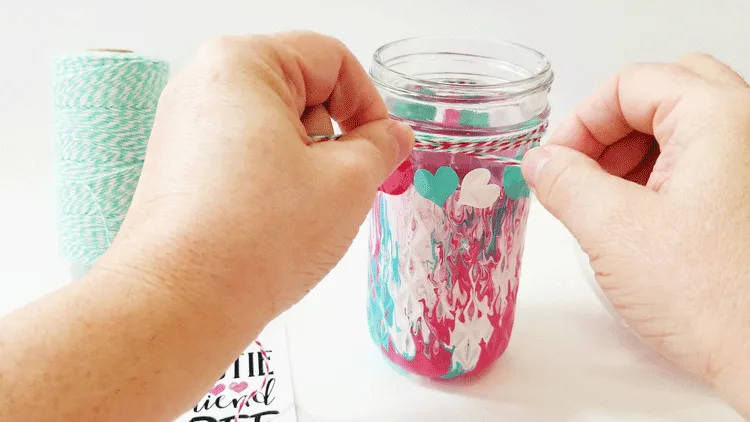
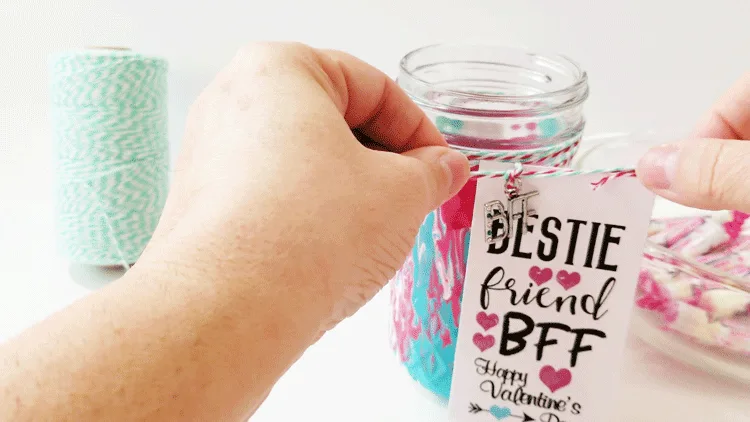
Slip the tag onto the two strings on the right side then finish the knot.

Grab one strand of baker’s twine and slip the charm on then grab all of the twine pieces and tie one more knot to secure the charm.
Step 8: Decorate the top of the lid and add candy
I wanted a little bit of color and decor on the lid. I cut a piece of the white glitter vinyl in a circle to the size of my lid then added some of the leftover hearts.
You can see that I used Smarties as my candy of choice.

Once the lid is done and the candy is in your are done! I just love it.
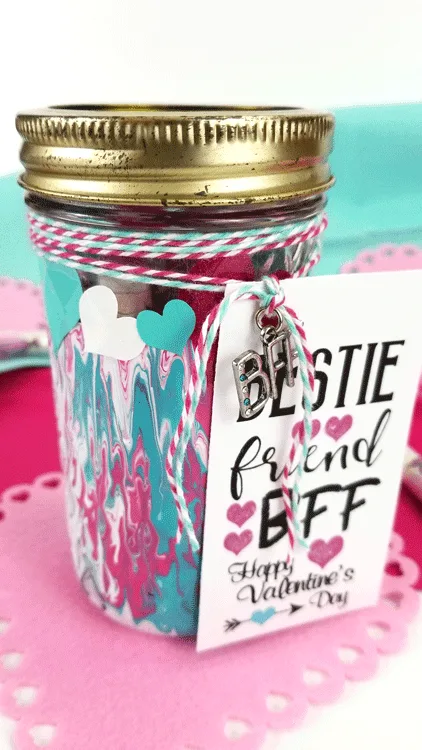
The marbling turned out so nice and the whole Valentine gift comes together.
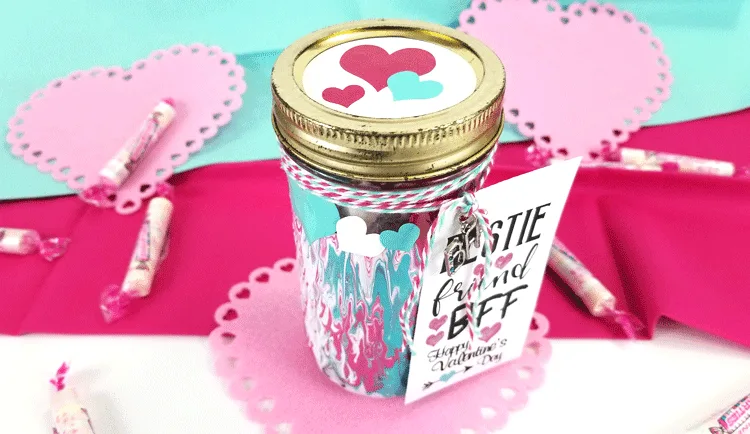
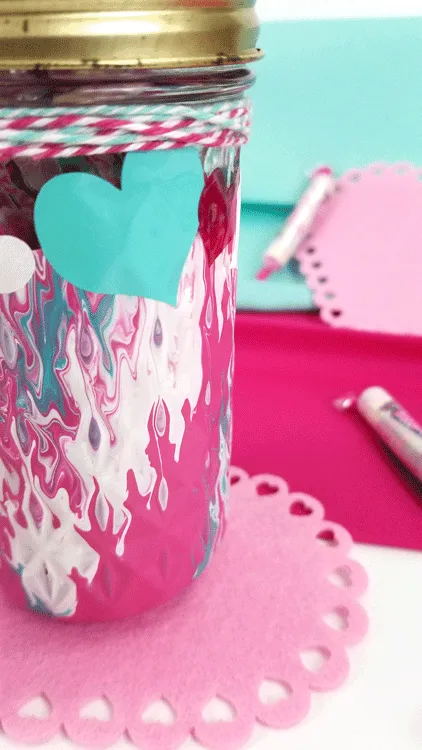

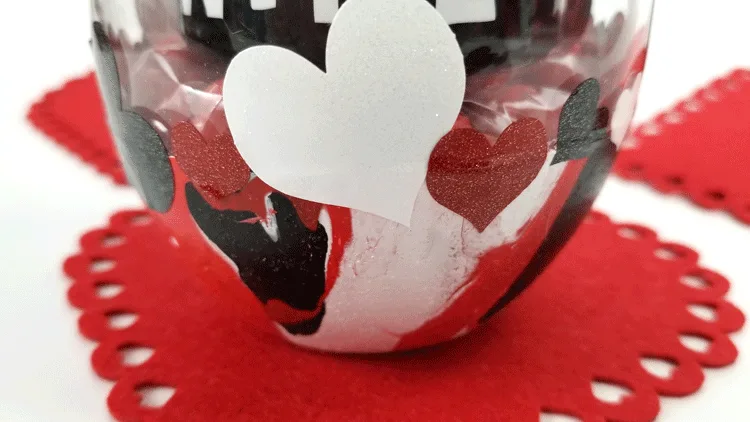
Here are the photos of the wine glass I made at the same time using all of the same techniques and steps from above. Cinnamon hearts were placed in a cellophane bag and placed under the can of wine. This one is just as fun…IMO!
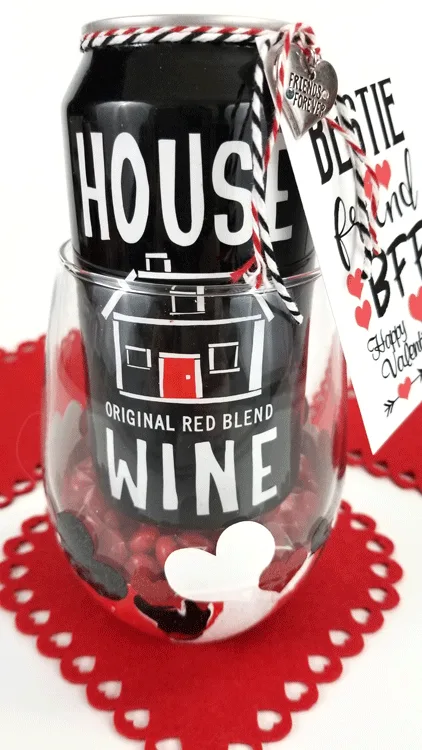
The marbling turned out really pretty too.


I hope you liked this project and will give it a try.
You can watch my Step-by-step video here!
If you like mason jar gifts you may want to visit these other projects – Mason Jar Party Favors, Winter Survival Kit, St. Pat’s Survival Kit

Thanks for stopping by!
Michelle
Don’t forget to visit these blogs to see their great ideas too.
Conversation Heart Mason Jar from Weekend Craft • Sweet On You Valentine Treat Jar from Red Cottage Chronicles • Marbling With Acrylic Paints from Michelle James Designs • Gilded Valentine’s Day Mason Jar from Our Crafty Mom • Mason Jar Valentine Candy dish from Daily DIY Life • Mason Jar Valentine Ideas with Free Printables from Creative Ramblings


Beverly
Thursday 27th of January 2022
I don't know about the jars even as cute as they are, not, not much patience on this end. Do love tags tho, I tag everything I can. LOL This one I love. What an absolute cutie, I think I'm liking the teal and pink the best. Thank you, thank you!!! Happy Valentine's Day.
Michelle
Friday 4th of February 2022
They did take some time and were somewhat messy but I love the outcome. I am glad you love the tags and you are welcome!
Vox Pbx.Com
Wednesday 13th of May 2020
Oh my goodness! This is adorable. I need to make one for my desk at work as I always like to have candy to share!
Michelle
Friday 15th of May 2020
Thank you. I am glad you like it. It was sort of messy but had great results. I love it.
Michelle James
Friday 25th of January 2019
This marbling technique is so cool! I loved your video too! It really helps to see the process. Thanks for motivating me!
Michelle
Monday 28th of January 2019
Hi Michelle. Thanks. I had fun and I am glad you were inspired. I hope you try this. You will like it.
Sarah
Wednesday 23rd of January 2019
You have so many cute elements on this jar! I love the marbling technique and your video is really helpful. Thanks!
Michelle
Wednesday 23rd of January 2019
Thank you Sarah. I am glad the video was helpful and thank for watching it!! This was a really fun technique.
Michelle from Weekend Craft
Tuesday 22nd of January 2019
OMGosh I need to try this I have so many ideas right now. What a cool technique.
Michelle
Tuesday 22nd of January 2019
Hi Michelle. You should! So many things!! LOL