I am too excited about this project. I haven’t done any scrapbooking for some time but I still love it. Especially the digital scrapbooking. This project involves hybrid scrapbooking which is a combination of digital and traditional. The final product is a beautiful scrapbook digital photo art piece and I can’t wait to show you how I made it.
I have also created an SVG cut file pattern for the Silhouette and Cricut and other cutting machines. You can find it in my resource library or you can wait til the end of the post and check out the link there too!

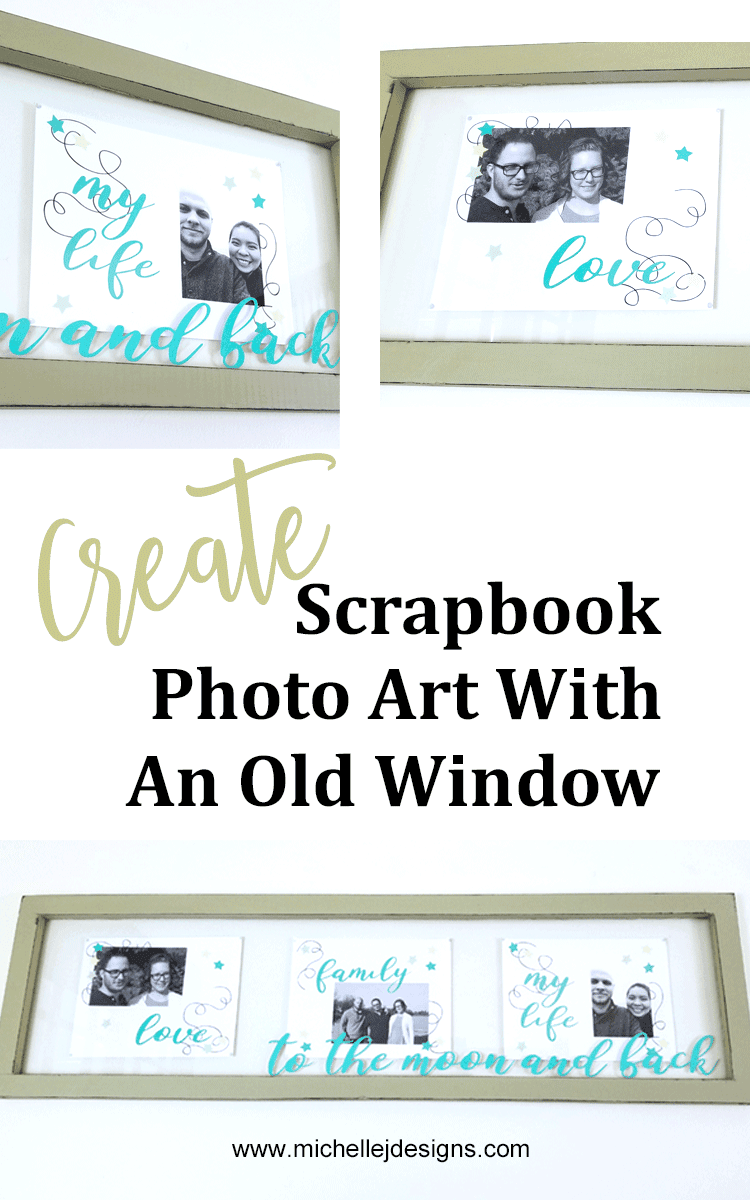
Create Scrapbook Digital Photo Art With An Old Window
I love to have photos of my kids around the house but I like them to be displayed in a pretty way that blends with the colors and feel of my decor. Today I am showing you just how to achieve the look you want by incorporating scrapbook digital photos and pages into a photo art window.
If you are a traditional scrapbooker you can create pages using actual photos on scrapbook paper instead of printed photo pages. Either way this is a great way to combine scrapbooking with home decor. When you are using vinyl in your actual scrapbooks you should not let the vinyl touch the photos. It will last on the page but since it is not acid free you don’t want it to touch the photos.
I am on the StyleTechCraft design team and this post has been sponsored by them. I am in love with their vinyl products and you will love them too. One of my favorites is the metallic vinyl that I am using in this photo project. It is easy to cut and to weed and the glitter look is so pretty. I think this Tiff Blue is my absolute favorite color of all.
You can follow StyleTechCraft on social media by clicking on the following links.
Facebook, Pinterest, Instagram and You Tube
![]()
![]()
You can watch my step-by-step video tutorial below for painting the window, and adding the vinyl and the pages.
If you like my videos I would love it if you would subscribe to my channel!
Some people like to watch video tutorials but others like to read a step-by-step written tutorial with photos. If you are that person keep reading.
Materials needed:
I have included some affiliate links for your convenience. You can read my full disclosure here.
Scrapbook Digital Photo Art
Displaying photos by using digital scrapbook pages, metallic vinyl and and old window makes for a great piece of photo art.
Materials
- Old Window
- Paint
- Black Ink
- Clear Creme Wax
- White 8.5 x 11 Cardstock
- StyleTechCraft Metallic Vinyl - Tiff Blue
- Mini Glue Dots
- Sawtooth Picture Hanges
- Painters Tape
Tools
- Printer
- Paint Brushes
- Drill/screwdriver
- Single Edge Razor Blade
- Silhouette Cameo or other cutting machine
Instructions
- Clean old window if needed
- Apply painters tape to glass around edges of wood frame
- Paint the wood frame to match your decor - I applied two coats
- Use black ink to create a distressed look
- Apply creme wax and let dry
- Buff creme wax with a soft cloth
- Create digital scrapbook pages and print out
- Design and cut out vinyl titles for scrapbook pages and text for the glass window
- Apply vinyl titles to pages and to glass
- Measure and layout your pages so they look good on the window
- Apply glue dots to the front corners of each page and adhere to the back of the glass window
- Add sawtooth pictures hangers to the back of the wood frame
- Hang and enjoy!
Let’s get started!
Step 1: Clean your window if it needs it
My window was pretty gross and full of dust and spider webs. This is what happens when things sit in our garage. I cleaned off the wood and the glass.

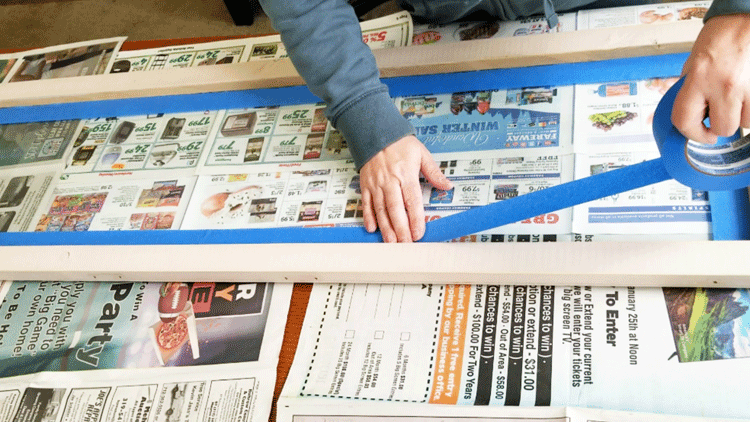
Step 2: Apply the painters tape
I hate to tape things off when I paint. I always think I can be really careful. Well, it usually does not come out well for me. This time I was trying not to be too lazy and actually used the painters tape and taped off the glass so I wouldn’t smudge paint all over it.

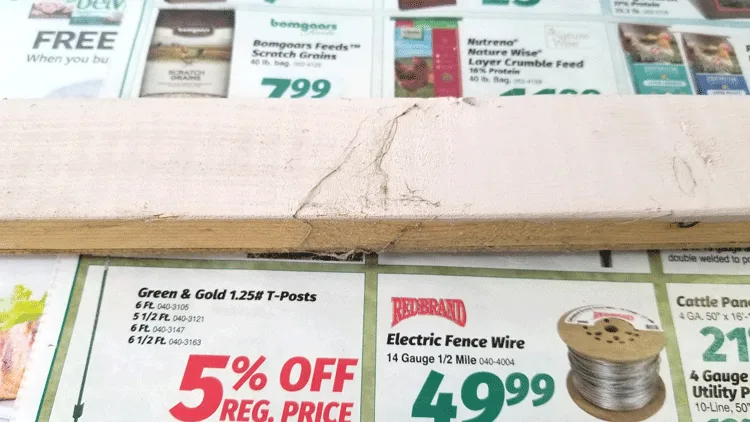
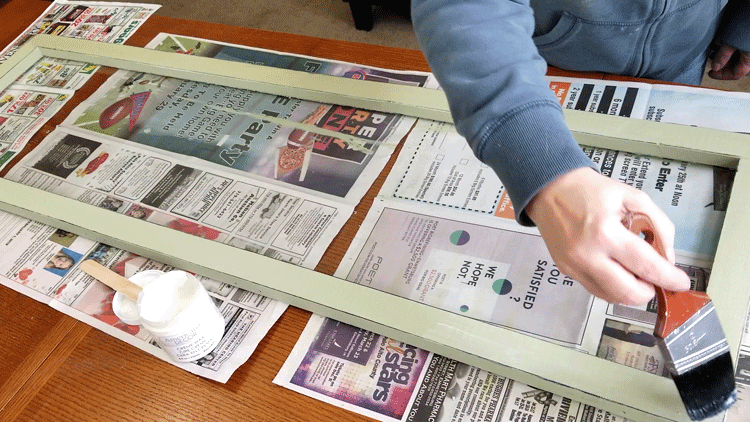
Step 3: Paint the wood frame
You will want to give it two coats of paint and let it dry about half hour between coats. I love the green paint I used from my TV media stand so I decided to use the same paint. AND I was actually able to find it. LOL!
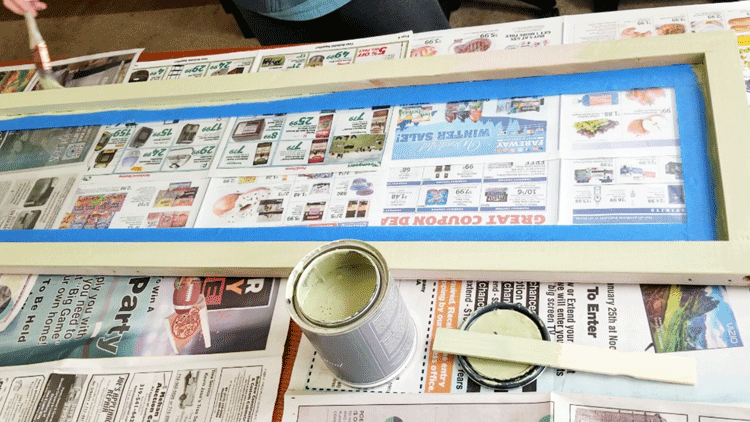

After the second coat of paint you can either remove the painters tape right away or you can be smarter than me and wait until you have applied the creme wax.
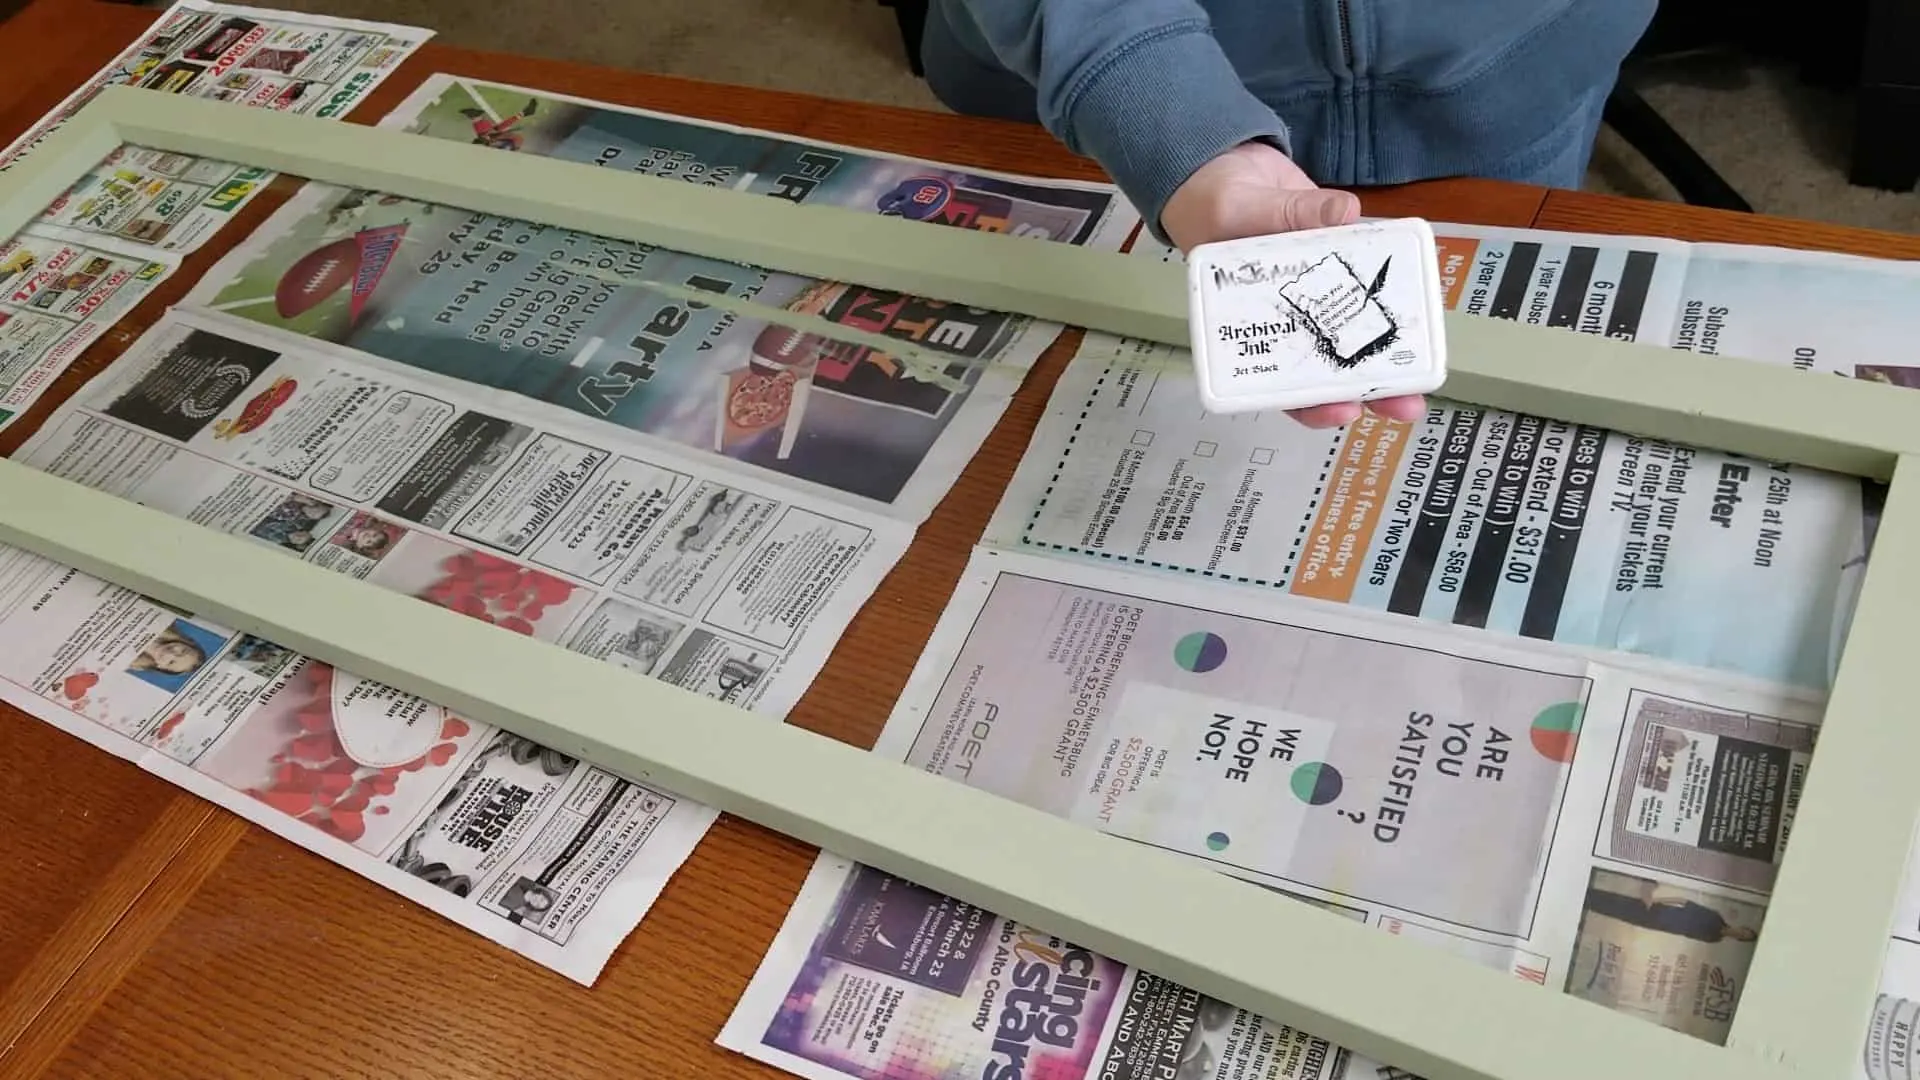
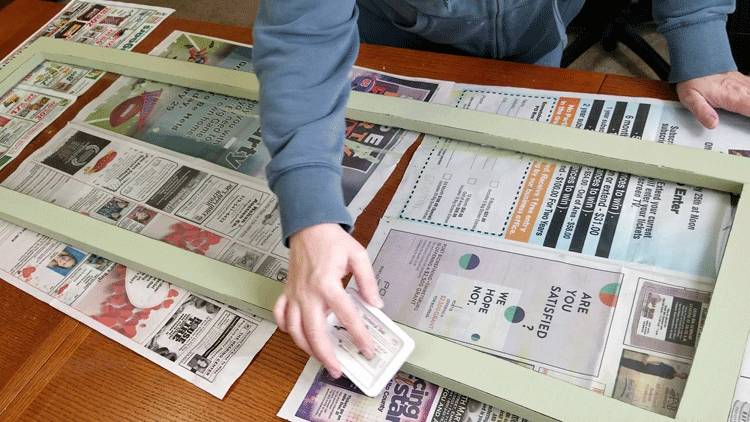
Step 4: Use the black ink to apply a distressed look
I am choosing to call this step efficient instead of lazy. I really like a slightly distressed look. Well, I usually would paint the wood black first, then green then sand a little to have the black paint show through. I decided this time to use the same technique I used on my TV media stand and my ottomans and create a distressed look using black ink. It works really well and doesn’t included a sanding mess.
All you do is rub the black ink anywhere you want the black distress to show. The edges and corners are the areas there would naturally be distressing over time so this is where I tend to apply the ink. It works really well.


Step 5: Brush on the creme wax
The creme wax gives the piece some protection but also buffs to a smooth surface with a slight sheen. This is why I use it. To me it looks professional and polished.
Basically you just brush on the creme wax sort of like a paint, let it dry completely then buff it with a cotton cloth. I use an old t-shirt that I cut up into rags and it works perfectly.

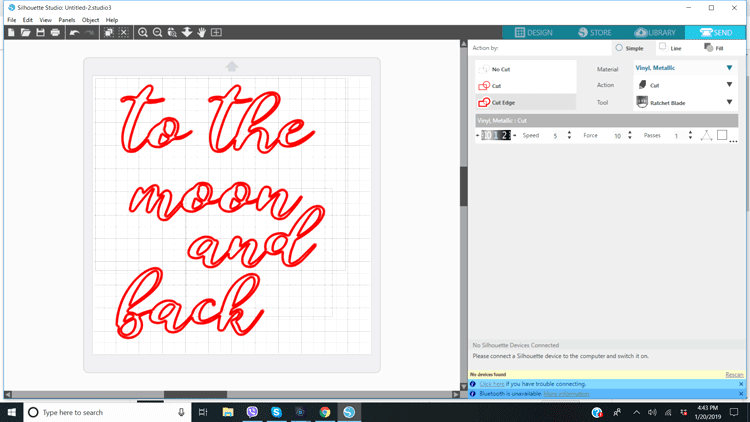
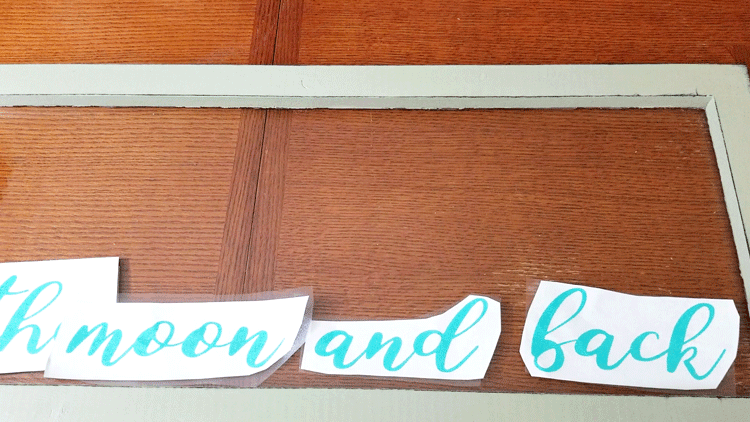
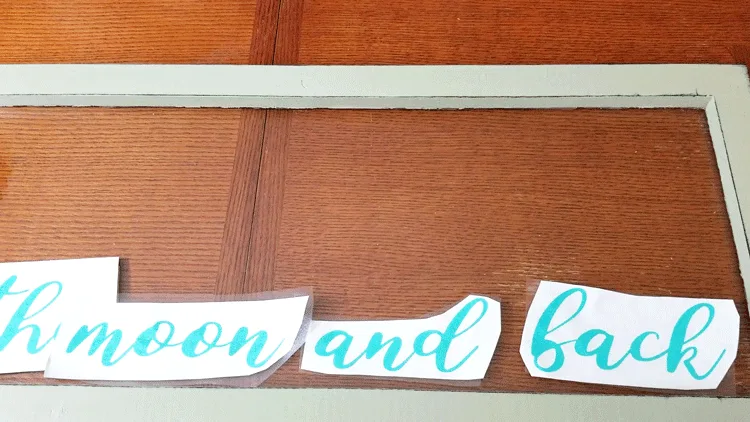
Step 6: Cut the vinyl letters for the window
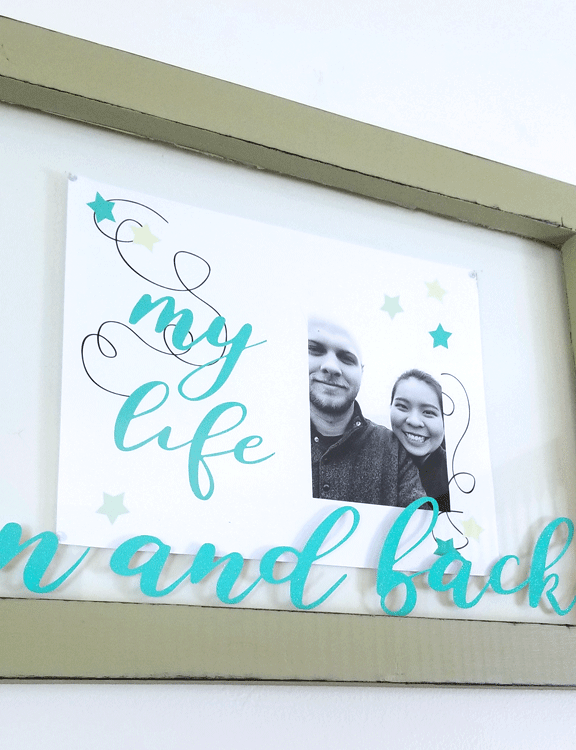
I used my Silhouette Cameo to cut out these letters. The gorgeous metallic vinyl from StyleTechCraft is called Tiff Blue and it is such a pretty color of teal. The pictures really do not do it justice no matter how hard I tried.
Here is a screen shot of my Sihouette Design space. Remember that all of the files from this project are together in one free download in my resource library! You wouldn’t want to make these letters too small though. They get a little too skinny for cutting but this size worked well.

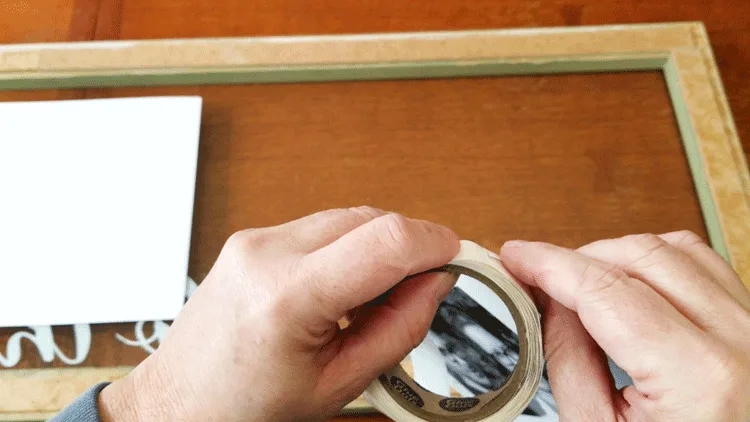
Once the letters were cut I used transfer tape to help adhere them to the glass.
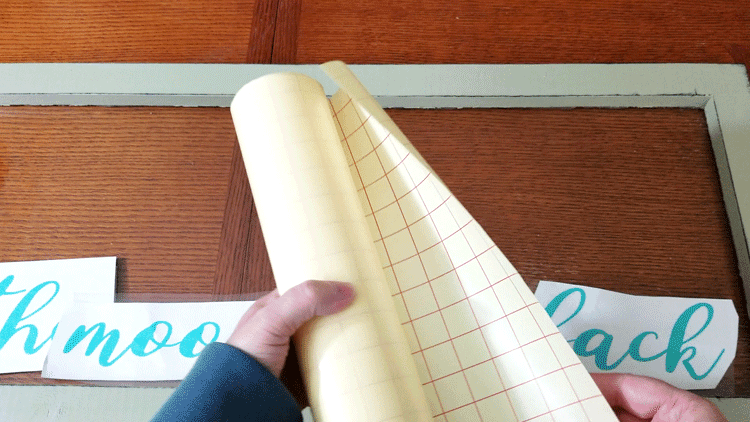
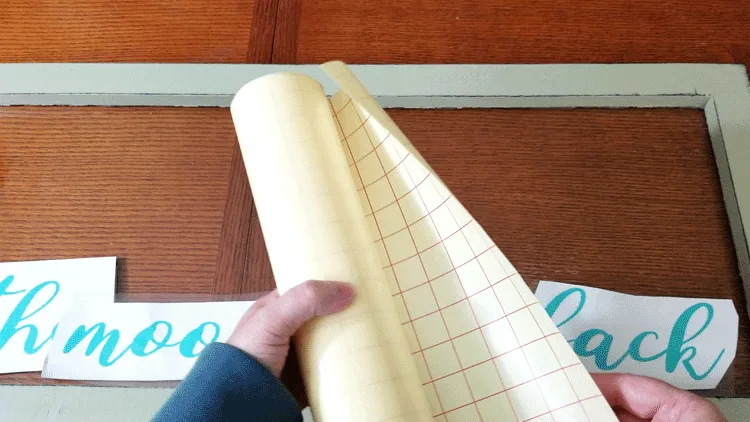
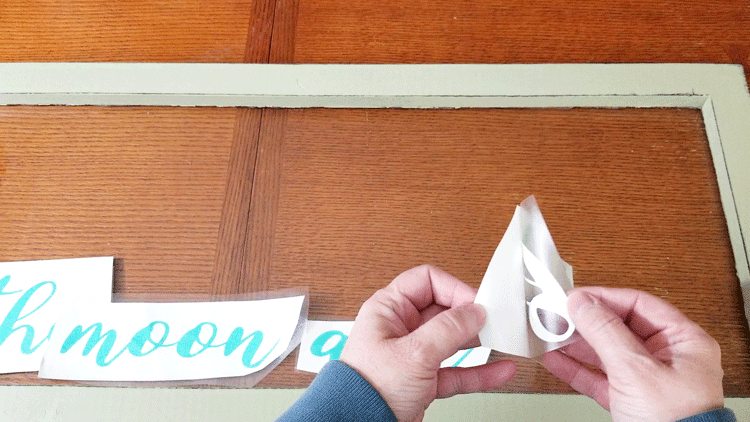

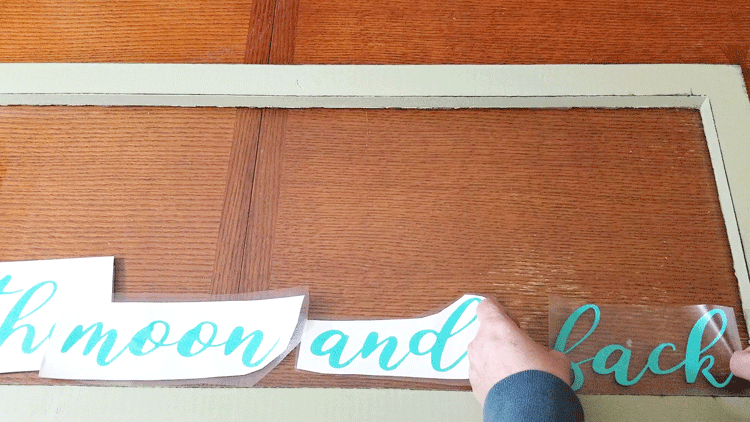

Disaster struck when one of my words stuck in the wrong place and I tore it trying to remove it from the glass. I did have an extra piece of vinyl so I had to cut out a new “and”.
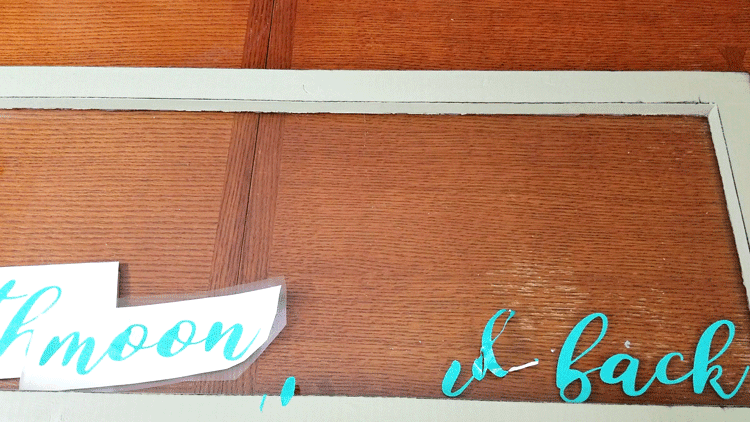


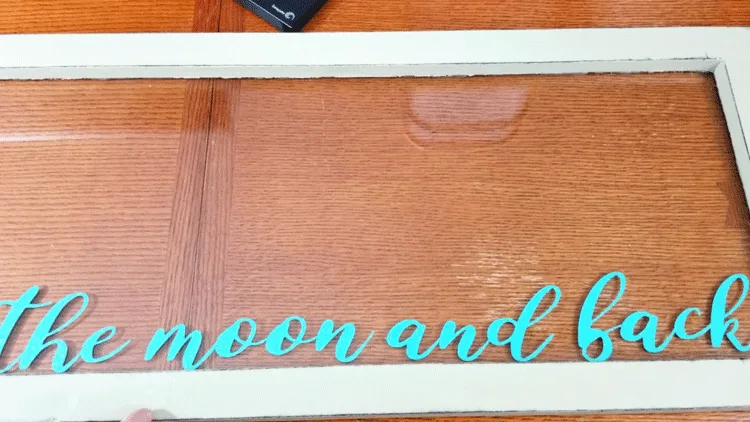
It really turned out nice!
Step 7: Design and print your scrapbook pages
I use Photoshop Elements for all of my digital scrapbooking. If you are a traditional scrapboooker then you would create your pages now to be added to the back of the window.
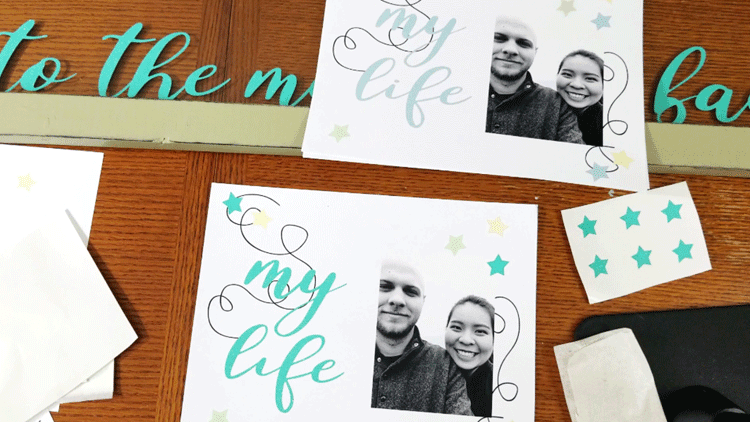
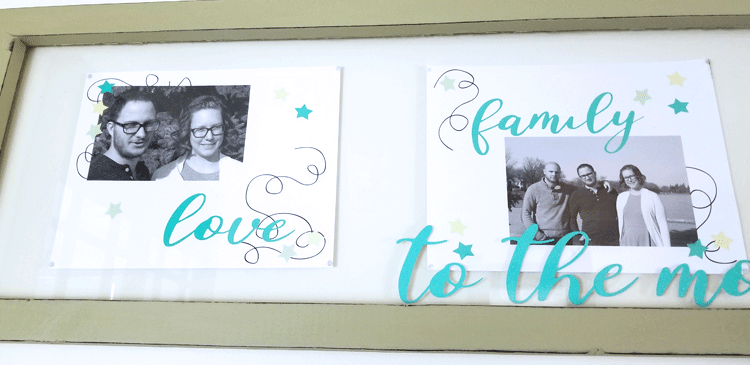
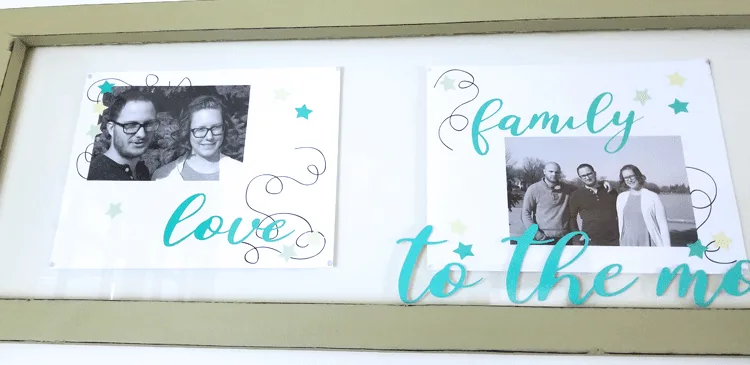
Black and white photos mean you can add any color to your pages and have it blend perfectly with your home decor. I used yellow, teal, green and black for my titles and embellishments on the pages.
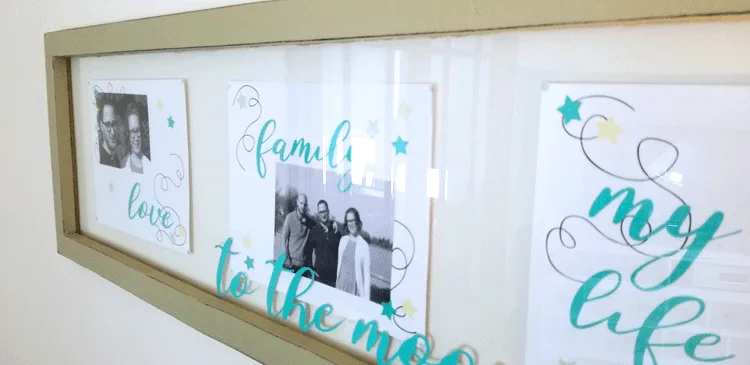
My window is long so the 8.5 x 11 pages fit the best when placed “landscape” on the glass. I was able to add three of them and still have the right amount of glass around them. You will be able to see my pages in the upcoming photos. They are simple but I love them. I was never one to put a ton of embellishments on a page with one pic.
Step 8: Design and create your page titles in Silhouette Studio
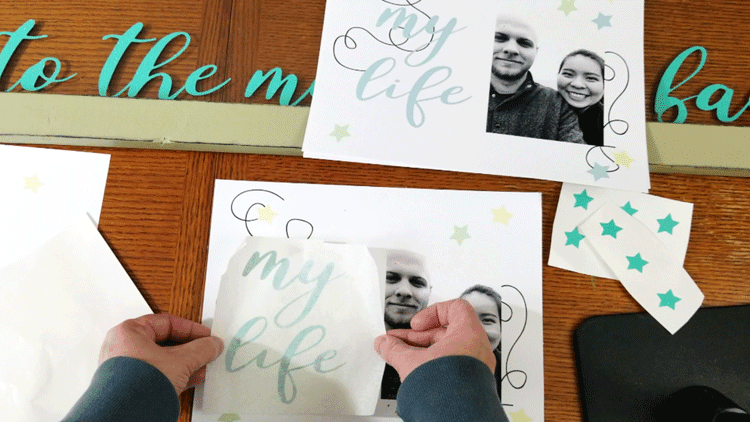
This is a screen shot from my Silhouette design space for the titles of my pages that I cut from the same vinyl as above. I also cut out some stars.

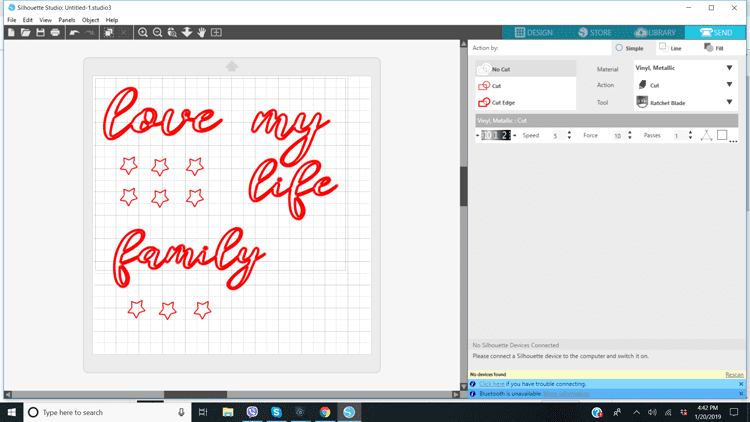
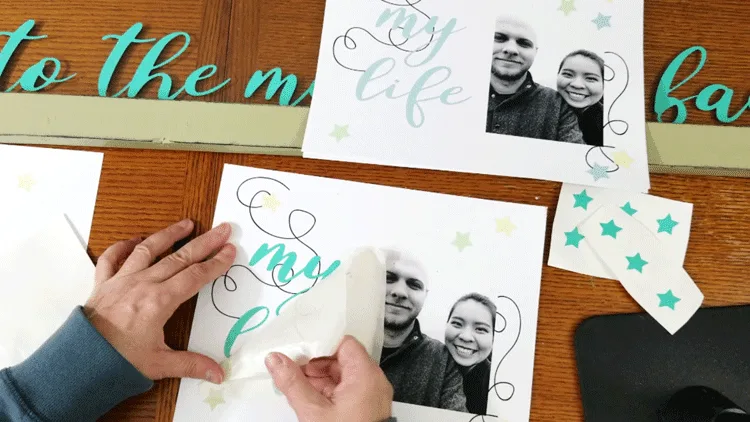
Once they were cut I used the transfer tape that is designed to be used with paper and cardstock and added them to my pages where the original title and start would have been. Below is what the original design for the page including a title.
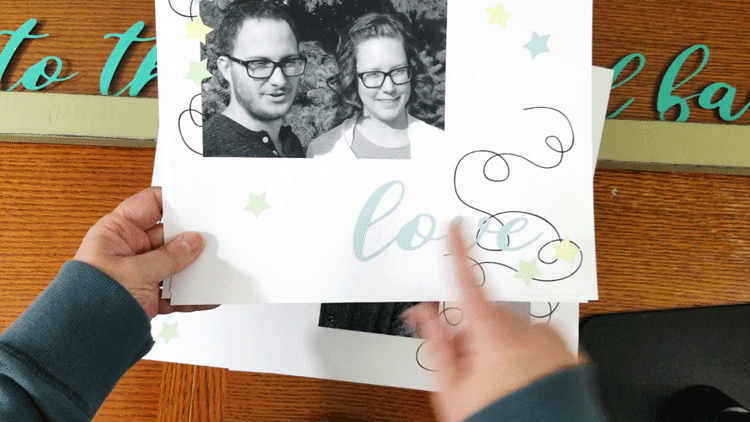
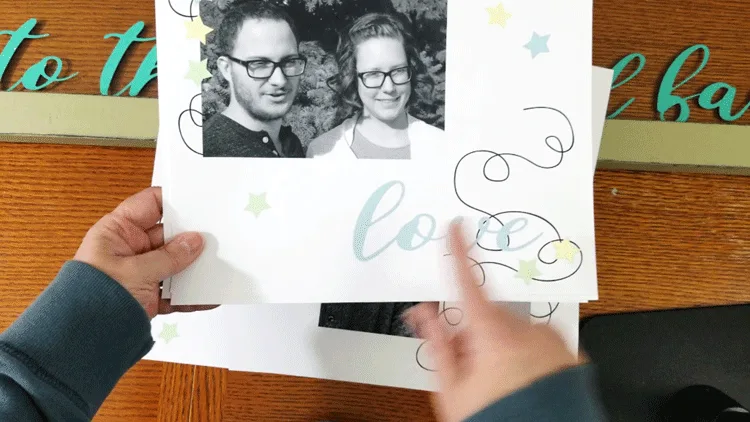
I removed the title and all of the blue stars before printing out the page for the project. There is no need to print out the pages with the titles. I just did it to show the process.
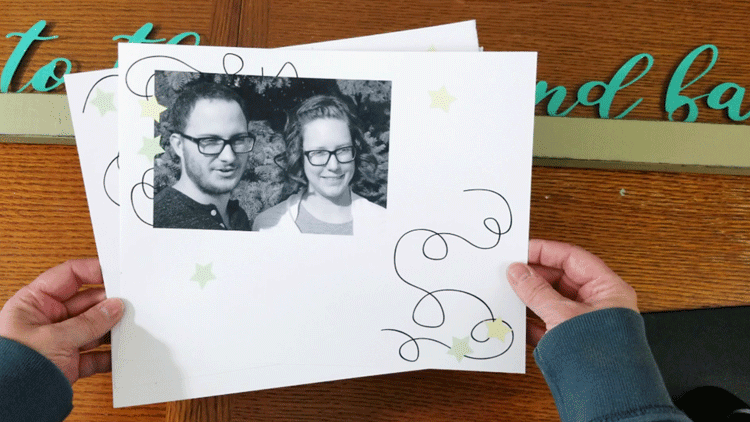
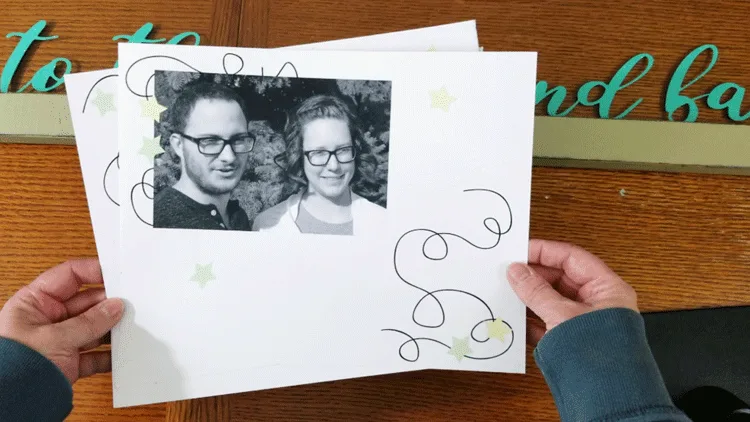
Then replaced the title with vinyl letters and stars using the transfer tape as shown in the next few photos.


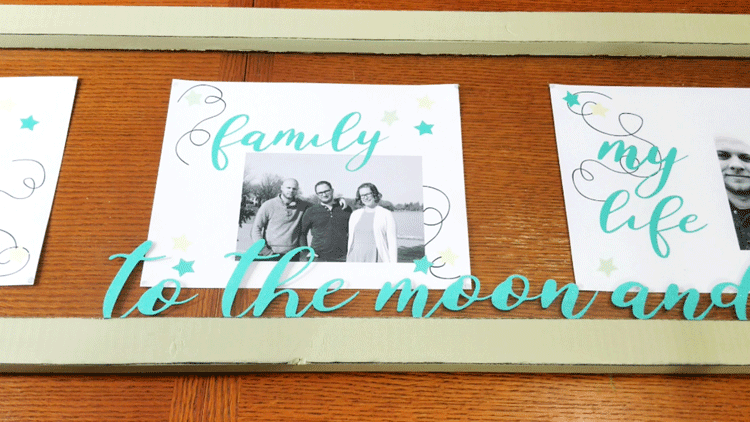
Step 9: Adding the pages to the window
The first thing I did was lay out the pages on the front of the window to see what my spacing would be like. I decided 1.5 inches from the top and 3.25 inches from each edge and in between each page.

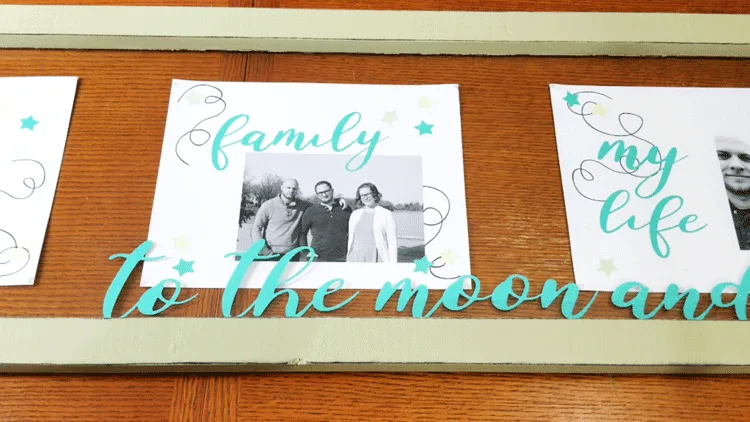
Once I had that figured out I turned the window over and measured again.

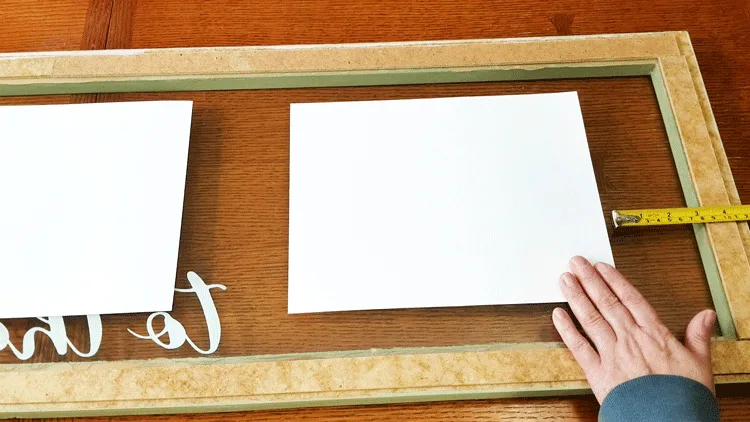
I added one glue dot to each corner of the front of pages and placed front side down onto the glass taking time to measure and get it as straight as possible.

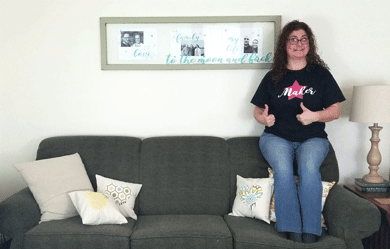
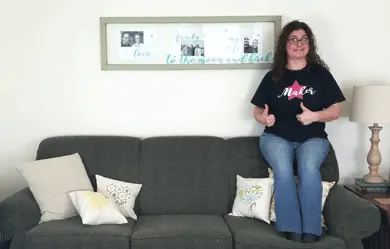
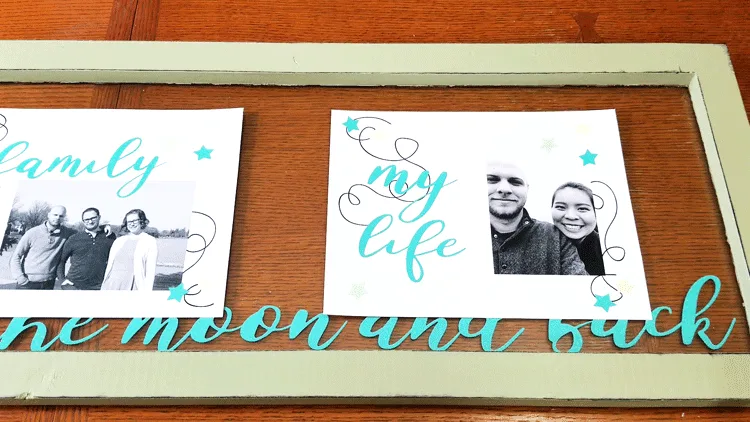
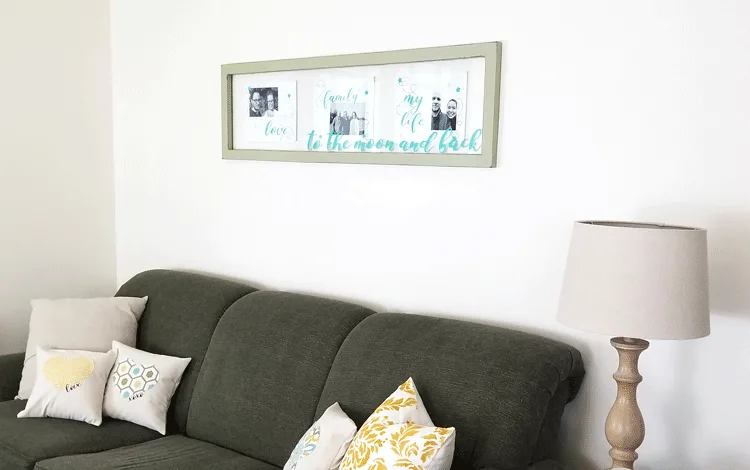
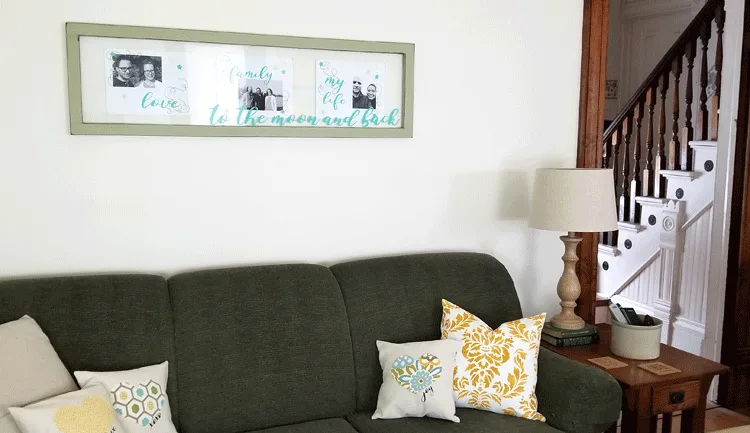
I think it came out pretty cute.
What do you think? My wall seems pretty sparse so I am going to add some vinyl above and below the piece in black to go with the saying. I can update my photos when that happens but for now look how pretty it is on my wall!

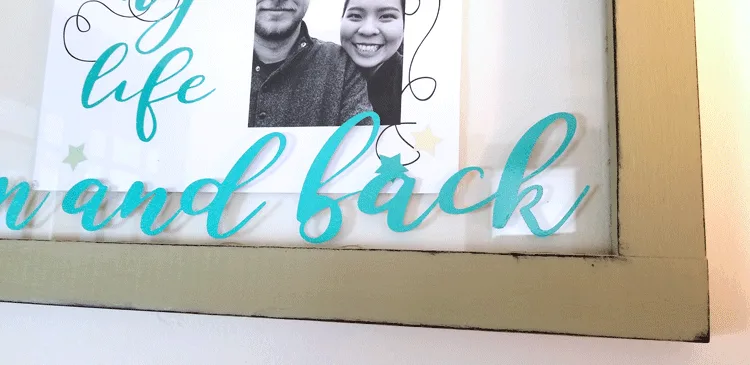
I tried to get some close up shots so you can see the pretty metallic vinyl.


Don’t forget to get your download of all of these titles. swirls and stars in my resource library. You can also sign up in the box below!
Watch the step-by-step video for this scrapbook digital photo art!
Thanks so much for stopping by!
Michelle
For more fun Silhouette projects check out these posts:
Thrift Store Upcycle Herb Garden
Grinch Inspired Stocking Hanger


Sue Eldred
Tuesday 5th of February 2019
Cute project. Love all the details and video. Great job.
Michelle
Tuesday 5th of February 2019
Thanks Sue. This was fun and it looks so nice above my couch.
Libbie @alifeunfolding
Monday 4th of February 2019
They turned out so pretty! Great idea for all those family photos we all have lying around. :)
Michelle
Monday 4th of February 2019
Thank you Libbie. The photos do start to pile up. Even digitally they take up space. I need to get them out of the computer more often
Morena
Sunday 3rd of February 2019
What a gorgeous project! I love the idea and the design.
Michelle
Monday 4th of February 2019
Thanks so much Morena. I am so happy with the way it turned out.
Penny Arnold
Sunday 3rd of February 2019
Great Project! Love Penny
Michelle
Monday 4th of February 2019
Thank you Penny!