I was milling around in a florist/gift shop the other day and I saw the cutest wooden Christmas tree hanging on the wall. It had green trim and black chalkboard wooden branches. I just LOVED it. But…it was $145.00. This is way out of my decorating budget so I thought why can’t I make my own.
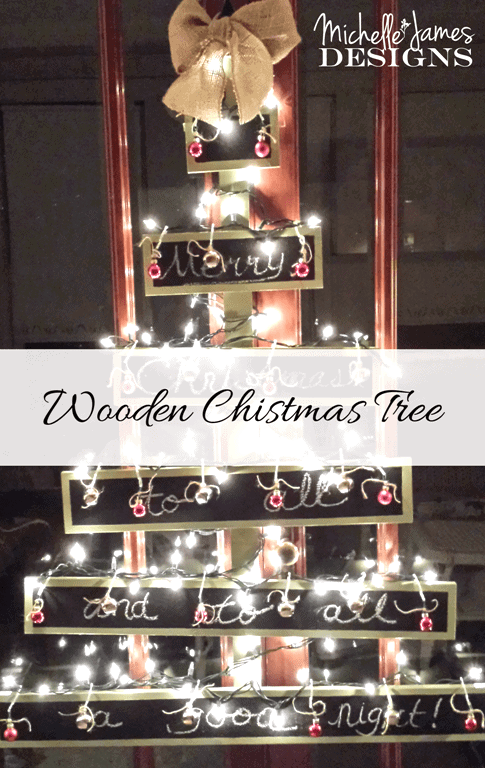
Wooden Christmas Tree
This all started because Jeff did not want to put up the tree this year. It has become sort of crooked over years. Probably because of this…

and our living room is so small it is just a pain to rearrange everything just to be cramped for a month over the holidays. But I really like having a tree. I saw this one and I thought this could be a good compromise.
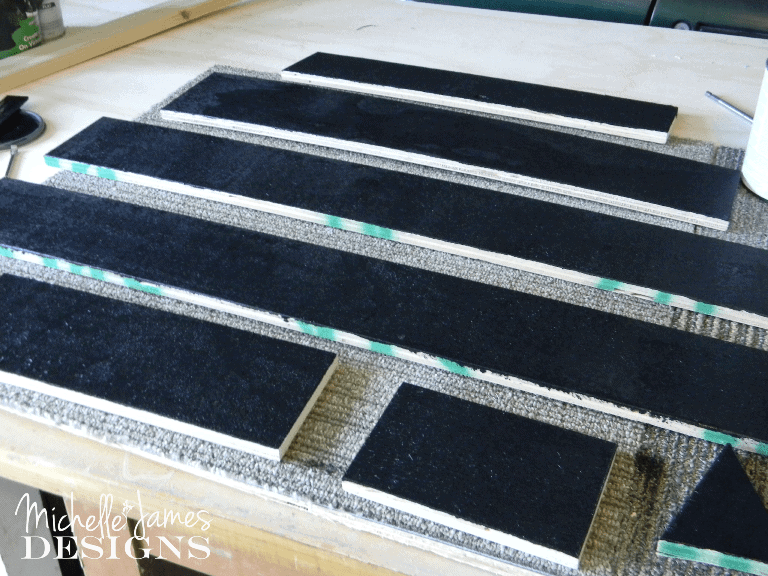
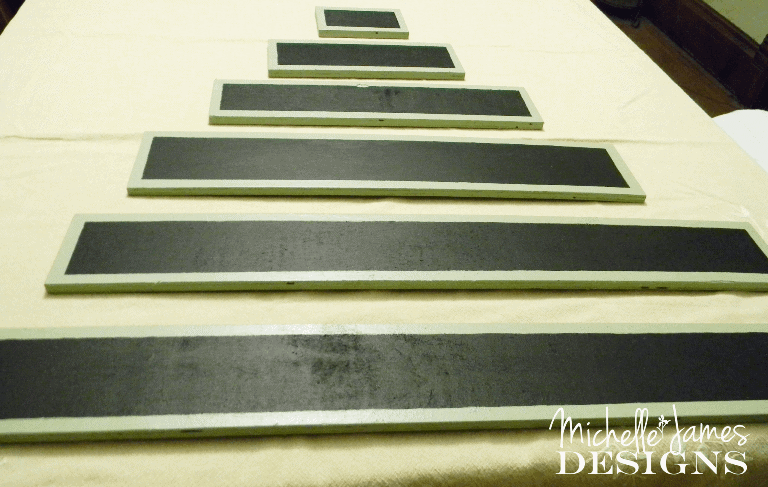
I started by looking in our huge shelf of scrap wood in our garage. I found just what I wanted and Jeff cut them to size and sanded them for me.

I used black, flat paint to paint the fronts of the “branches” It works like Chalkboard paint and that is exactly what I wanted.
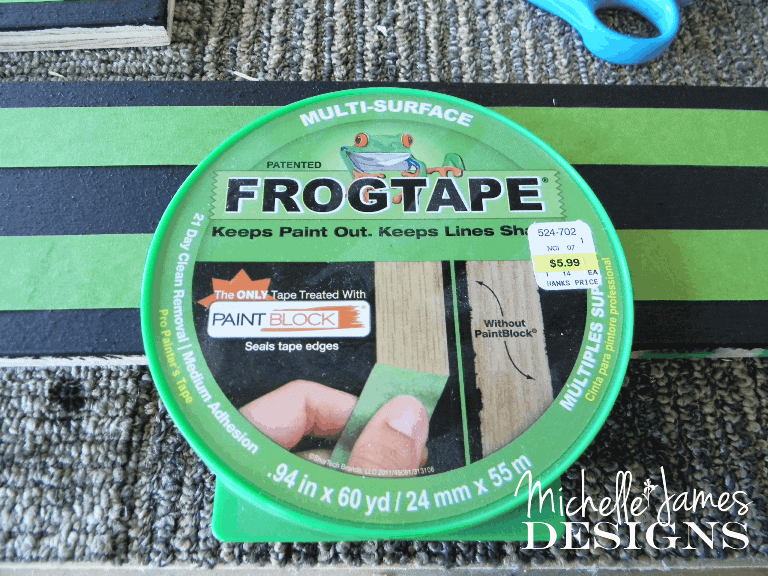
The original wooden Christmas tree from the store had a really nice trim all around each wood “branch”. I decided to create mock trim with paint. I used my frog tape and masked off the areas I did not want to be green. Then I painted around the edges and the backs with the green paint. I doesn’t really look like trim but I like that it has the extra detail.
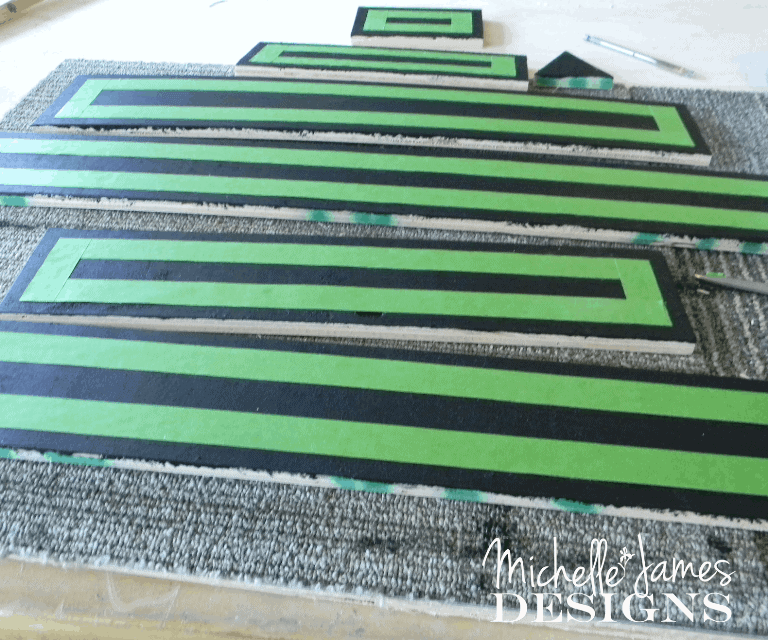
Of course some of the green seeped behind the tape so I did some touch up with the black when it was all dry. I put two coats of each color on.
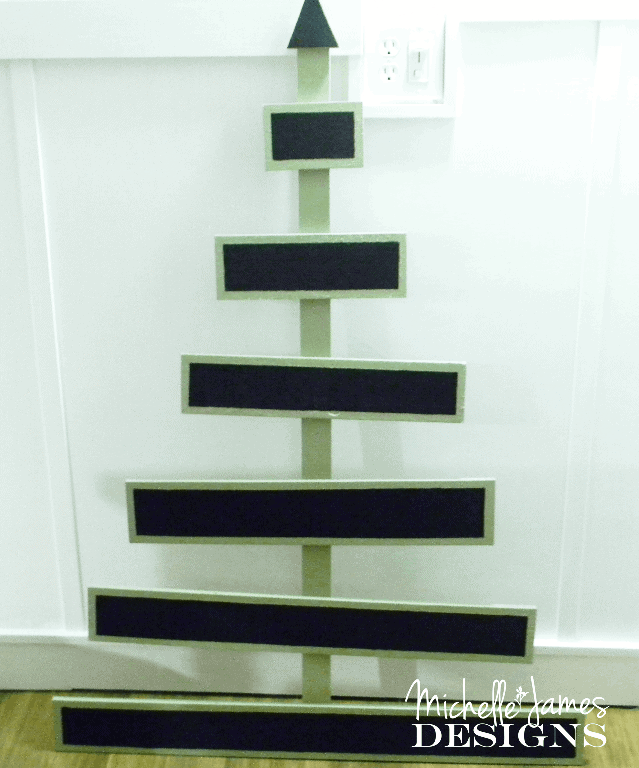
After everything was painted, Jeff put it all together for me. I like that it is a little wonky without being too wonkly. LOL!
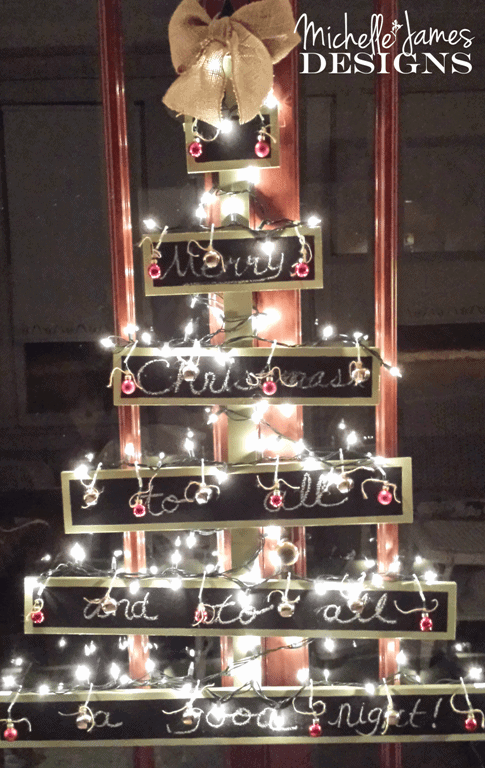
Then it needed some decorations. I needed to purchase lights this year so I bought some white lights at Dollar Genera along with some mini red ornaments and some bells. I needed a way to keep the lights on so I found some light clips. They are for shingles and gutters but I did not see why they wouldn’t work for this.
I wrote (in my terrible handwriting) on the the “branches” : Merry Christmas to all and to all a good night! I may try to re-do this is a better handwriting or with some vinyl.
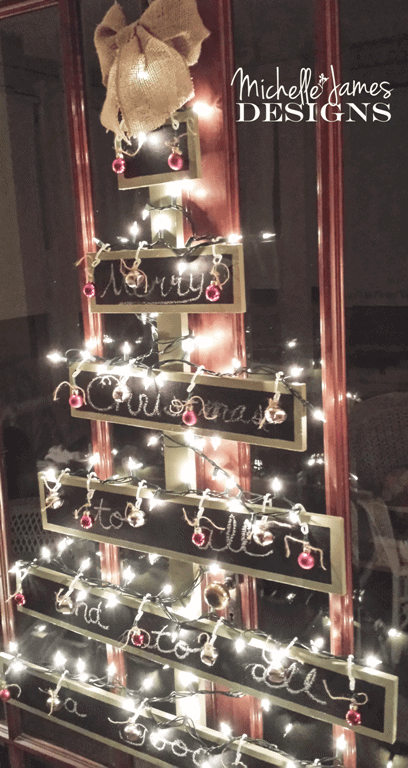
I strung the lights and hung the ornaments and bells from the light clips. I was trying my best to hide the clips and the light strings but they are hard to hide. When the lights are on it looks fantastic.
I used some twine to add a little more “rustic” to it and tied a big burlap bow at the top. I am pleased with how it turned out and it only cost me $11. This included the lights, the light hooks, the ornaments, and bells. We had the wood and I already had the twine and the burlap.
Not bad right?
We hung it on the french doors that lead out to our front porch. We don’t use the porch in the winter so it is perfect and it doesn’t take up one inch of floor space. For us that is huge.
.So there you have it. Our new tree. What do you think?
If you like this post please use the share buttons below and share to your favorite place. Also be sure to sign up to receive email from me and click on the little icon buttons in the sidebar or top menu to follow me.


Bonnie Whitney
Tuesday 12th of January 2016
Michelle, was the Christmas Tree also in a frame or does it just appear that way in the picture? That's neat!
Michelle
Monday 18th of January 2016
Hi Bonnie. The tree is not in a frame. The ornaments are hot glued onto the wood! So glad you like it. It was a fun class.