I love layered vinyl projects. They are so impressive. This 3D layered vinyl art is perfect for creating breathtaking art for your home.
Hi there! This project has been a lot of fun. It is made from the glass from Dollar Tree frames, and a series of vinyl layers that I cut from my Cricut cutting machine.
If you don’t already know…I have been a part of the design team for StyleTechCraft for 3 years now.
This company is amazing and their vinyl is so nice. I used a variety of types of vinyls for this project including transparent, glitter, craft glossy and luster. The colors and the textures worked really well together and I think these projects turned out really nice.
Check out the Facebook page for StyleTechCraft. They show new products and you get to see even more from the other Design Team members.
If you LOVE Dollar Tree crafts and gifts then you are definitely in the right place.
3D Layered Vinyl Art
Jeff has been wanting me to create a 3D project with the vinyl for a while so I decided now would be a great time to do this.
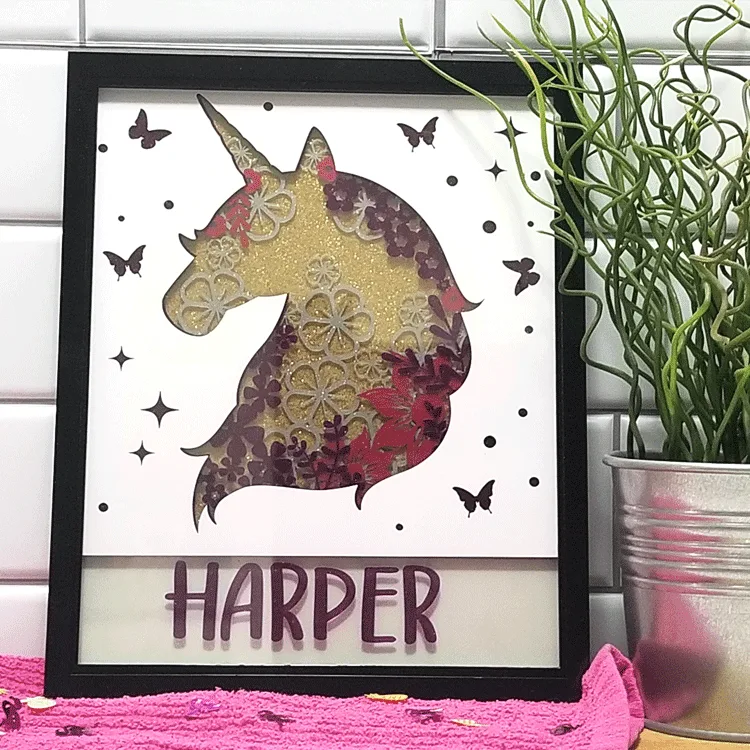
I have two grandkids and I love making things for them so I did a cute, fun unicorn for Harper and a Dinosaur scene for Asher.
I didn’t really have the time to design these layers myself so I went to my two favorite websites for design graphics. Design Bundles and Creative Fabrica. I found these layered SVG files and they were perfect for what I needed.
Here is what you need for this project:
Materials Needed:
I have added some affiliate links for your convenience. You can see my full disclosure here.
- Unicorn SVG File
- Dinosaur SVG File
- StyleTechVinyl – Transparent Glitter – gold, purple and apple green – Luster – Magenta – Glossy Crafty Vinyl – Forest Green, Lime Tree – Ultra Metallic – Dark Gray, Silver
- Transfer Paper
- Glass from frames I used 8×10 and 8.5×11 that I already had or from Dollar Tree Frames
- Acetone and cotton balls
- PVC Ceiling Tile cut to size for frame and back piece
- Black spray paint
- Cricut Maker
Step 1: Down your SVG files and upload to Design Space
I was really shocked to see how many of these 3D svg files there were on designbundles.net and creativefabrica.com. It took me a while to decide on two that I really loved for my grand babies.
Once I decided I purchased and downloaded the designs. Now it was time to upload them into Cricut Design Space.
I have shown this before so I am not going to go into detail. But if you need to see the step by step..check it out in my Family Disney Popcorn set post!
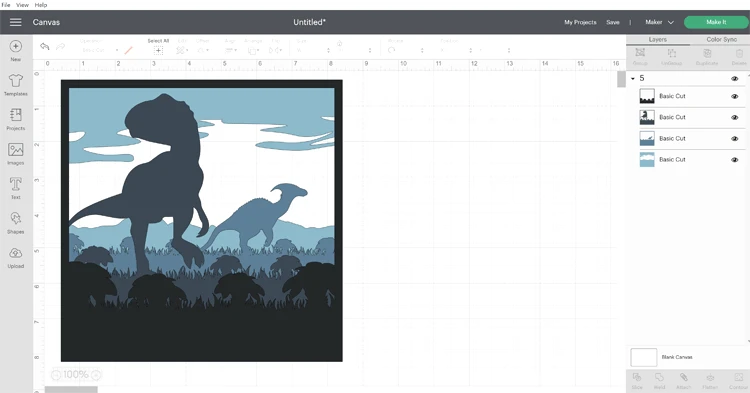
Once the designs are uploaded, start with one and add it to the project screen.
Step 2: Resize and cut pieces
You will need to resize the layers to fit your frames. I really wanted some 8×8 frames but could not find them in Dollar Tree so I decided to add the kids names to the bottom of the project to fill in the extra space.
I resized my projects to 7.95 x 7.95. With Asher’s I could have done just under 8.5 since that was the width of my glass but I decided just to go with the same size to make it simple.
The dino files all came in together so I was able to resize them all at the same time. Then when I hit “make it” the colors were separated to cut them one at a time per color.
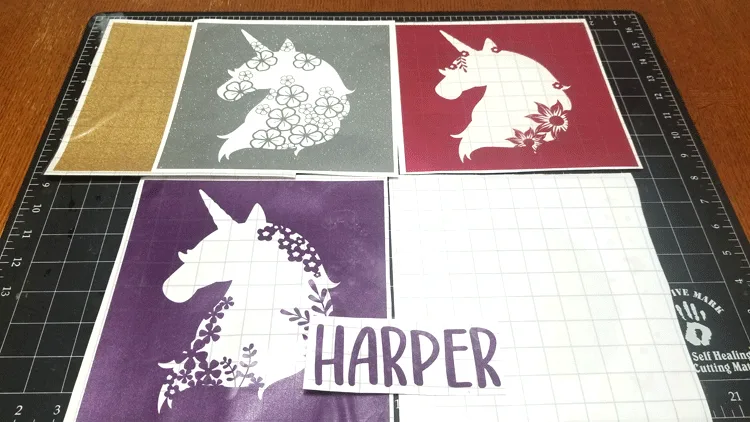
The unicorn design was 5 separate SVG files all separated so I brought them in one by one and cut them with the color vinyl I had designated to that layer.
But resizing was really important because these came in really large.
I used the height and width measuring boxes at the top of the screen to change the numbers to 7.95. When you change one and then tab on the other it automatically brings in the other. This was nice.
Step 3: Weed and add transfer paper
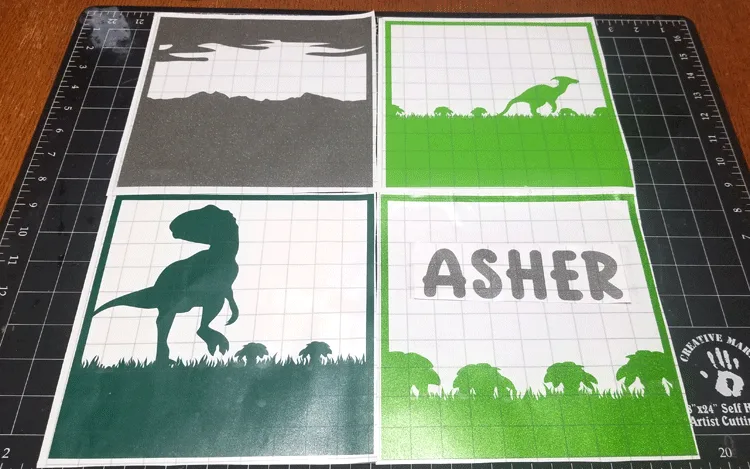
These designs are quite large compared to my usual projects so they were a challenge for me to get the transfer paper onto the top without some puckers.
I got it and it was all good.
This is how they looked when this process was done.
Step 4: Apply to the glass
This was challenging for me as well. Again, getting the pieces on without puckers was a little difficult but once I learned to take it slow and be patient things went much smoother.
Each layer of vinyl goes onto a separate piece of glass and the back piece (the gold) went onto a piece of the pvc ceiling tile cut to the same size as the glass.
I wanted the background to be white instead of the clear glass, Especially for the dinosaur project. It needed a white background.
This is what creates the fun 3D affect.
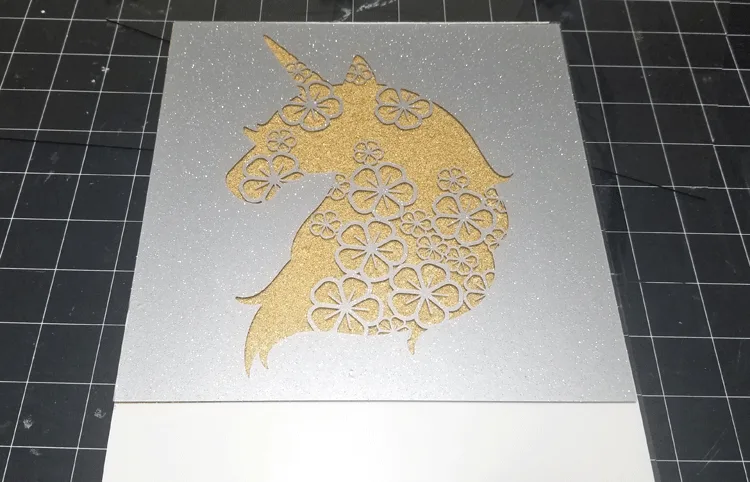
Here are the first 2 pieces of the unicorn project.
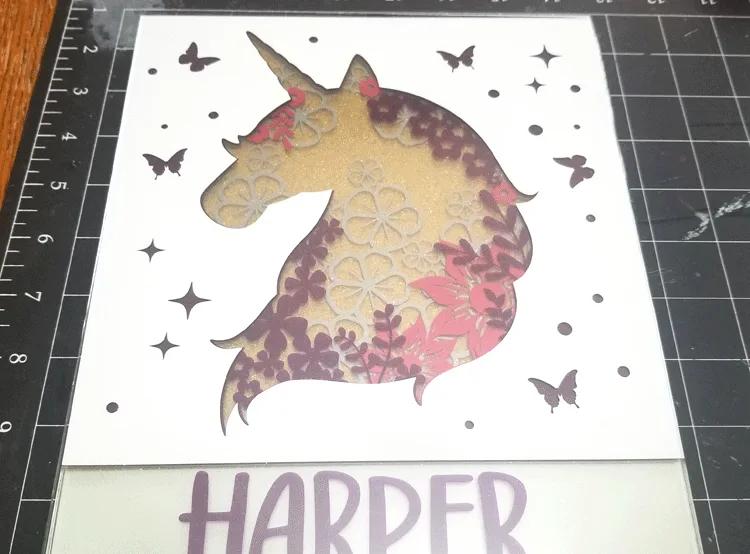
Keep applying the vinyl until you have gotten all of the layers done. I added Harper’s name on the purple layer since I had cut it out of the purple.
Step 5: Create a frame
This part Jeff actually did for me as I was cutting and weeding my vinyl pieces using the pvc ceiling tiles.
He cut one thin piece to go around the front of the glass and measured and used an exacto knife to cut the pvc piece.
Then he cut side pieces. These were based on the depth of the glass pieces after they were all ready to be framed.
He glued them all together then I spray painted the whole thing black.
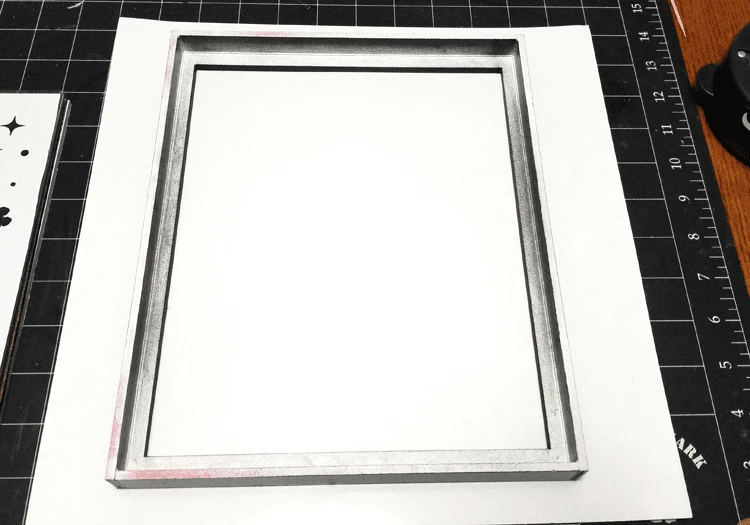
Here is the back of the frame.
Step 6: Add the glass pieces to the frame
To add the glass to the frame I used E6000 glue.
I didn’t want the glue to seep past the frame and show through the front of the glass so I was careful to just add a small amount in the very corners of the frame.
Set the glass down.
Then add more glue and set the next piece down.
Repeat this process until all of the glass pieces and the back pieces have been added and glued down.
Next I added a bead of glue all around the edges and let it seep down into the glass edges and on top of the white background piece.
It is pretty heavy so I am not going to add a hanger on the back. I feel more comfortable with this leaning on a shelf.
So Jeff only finished one of the frames at the time of writing this post. Hopefully we can get the other one done sometime before we visit the kids again to give them their special 3D layered vinyl art pieces.
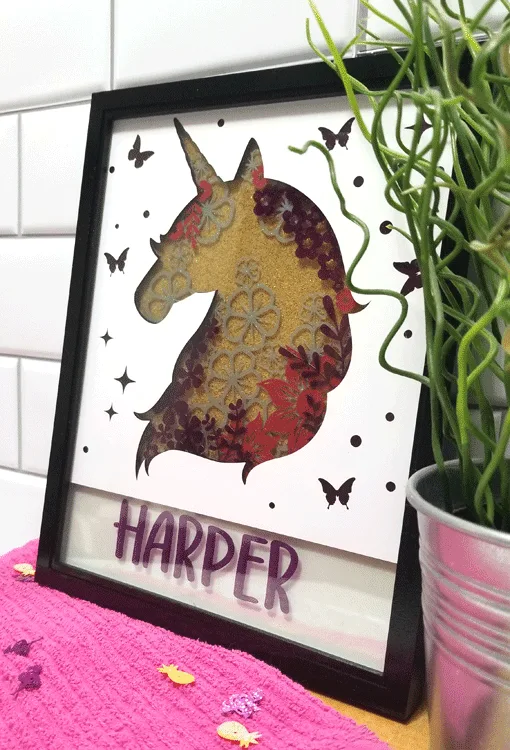
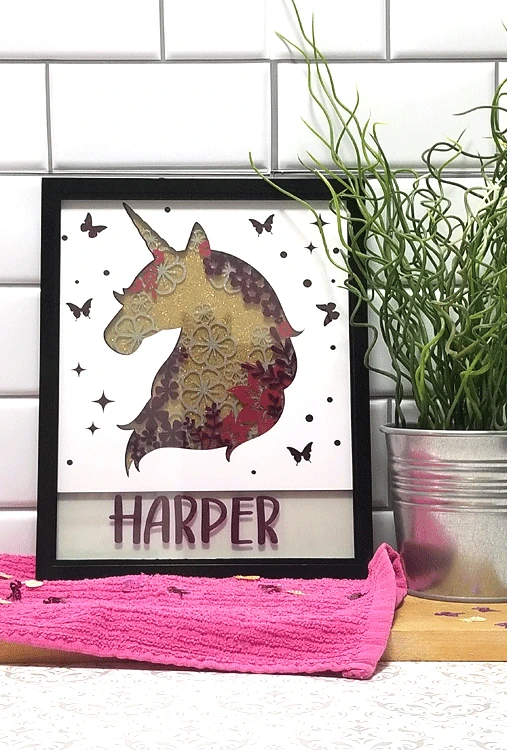
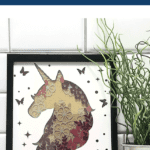
The finished unicorn 3d layered vinyl art piece
I think it turned out super cute. What do you think?
Here are some close up photos of the fun layers.
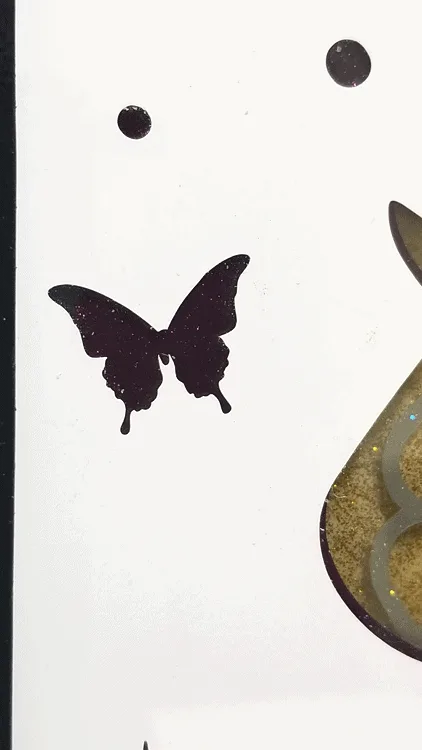
You can see the fun glitter of the transparent purple vinyl through the little cut out polka dots and butterflies.
And these next two show the cute layers of some of the flowery parts. So cute.
I hope you like this fun 3D layered vinyl art project. It was fun to make.
I am including some printable instructions for you. Just in case you want them.
3D Layered Vinyl Art
I love layered vinyl projects. They are so impressive. This 3D layered vinyl art is perfect for creating breathtaking art for your home.
Materials
- Unicorn SVG File
- Dinosaur SVG File
- Ultra Metallic - Dark Gray, Silver
- Transparent Glitter Vinyl - Gold, Purple and Apple green
- Luster - Magenta
- Glossy Craft Vinyl - Forrest Green, Lime Tree
- Transfer Paper
- Dollar Tree Frames (the glass)
- PVC Ceiling Tile for Frame and back piece
- Black Spray Paint
- E6000 Adhesive
Tools
Instructions
- Download your SVG files and upload them to Cricut Design Space.
- Resize the layers to fit your frames. Cut with different colors of vinyl.
- Weed and add transfer paper to the cut layers.
- Carefully apply the back layer to the a cut piece of the pvc ceiling tile. It should be the same size as your glass pieces.
- Apply the rest of the layers to pieces of glass. One layer per one piece of glass
- Create the frame from PVC ceiling tile. Cut one piece for the front and then side pieces to equal the depth of all of the glass layers plus the back piece.
- Spray paint the frame. I used glossy black.
- After the paint is dry turn the frame upside down and add a small dot of E6000 to the corners of the frame.
- Place the front layer down, add glue to the corners of that piece of glass and place the 2nd layer. Repeat this process until you have all of the layers and the back piece glued down.
- Add another layer of the E6000 all the way around the gap and onto the white back piece to hold it all together.
- Enjoy your 3D layered vinyl art.
Here are some more fun project from the StyleTechDesign team members:
- Valentine’s Day Candy Jars – A Princess and her Pirates
- Balloon Dog Valentine Printable Cards – Morenas Corner
- Easy Valentine Treat Pouch – Sues Creative Workshop
Thanks so much for stopping by!
Michelle













Sue Eldred
Thursday 6th of January 2022
I love the 3D effect. Great tutorial.
Michelle
Saturday 8th of January 2022
Thank you Sue! This was really fun.