Hello! This is a different post for me. I am usually all about up-cycling and the painting but this time I am using wallpaper. What a difference it made in my guest room.
I was so very fortunate to be able to partner with Walls Republic. They sent me the wallpaper in exchange for my blog post but all of the opinions are 100% my own. You can read my full disclosure here.

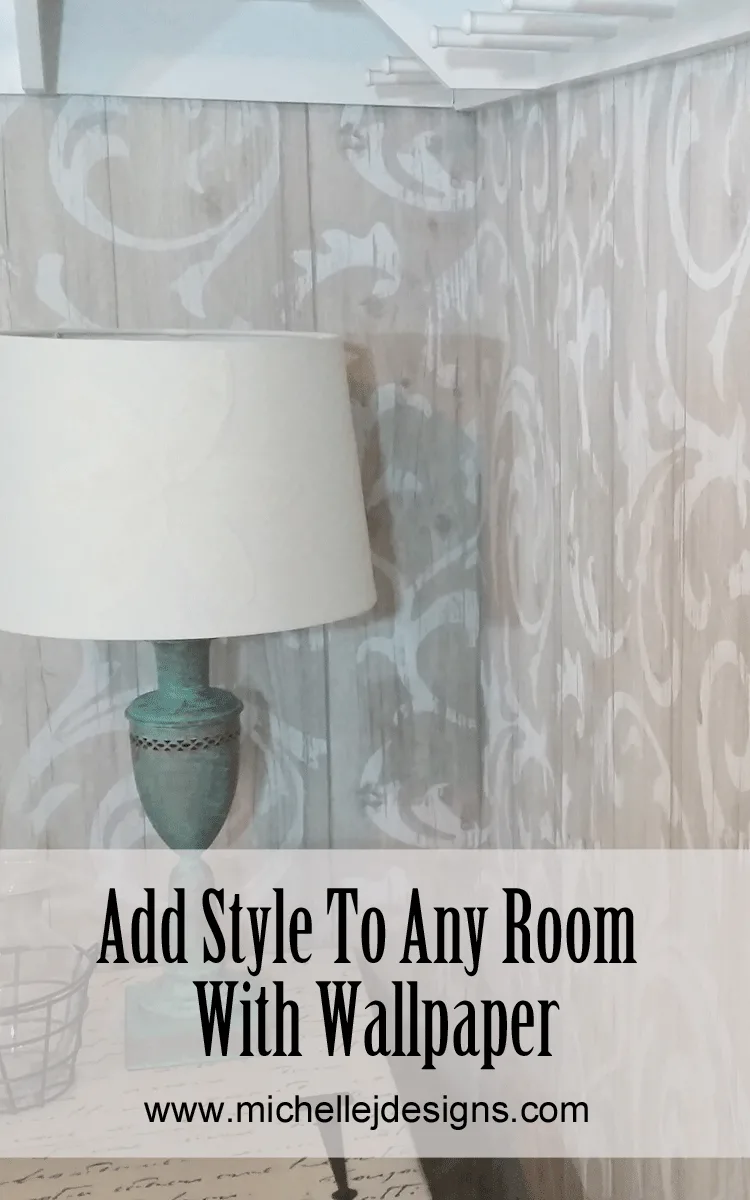
Wallpaper Style
When I first thought about hanging wallpaper I knew from the start it was going to be a pain the butt. I have used wallpaper many years ago but since we moved into this house it has always been about removing the many patterns of wallpaper installed by the previous owners. It was very pretty but I am not really a wallpaper pattern girl.
twenty years is a long time and the patterns and textures of wallpaper have really changed. They are modern and pretty. Walls Republic is very good about letting you order up to 5 samples so you don’t make a huge mistake and order something that will look really bad in your home.
I chose four samples. The one I was so sure about did not look as I thought and the my second choice became “the one” instantly. Jeff and I both agreed.

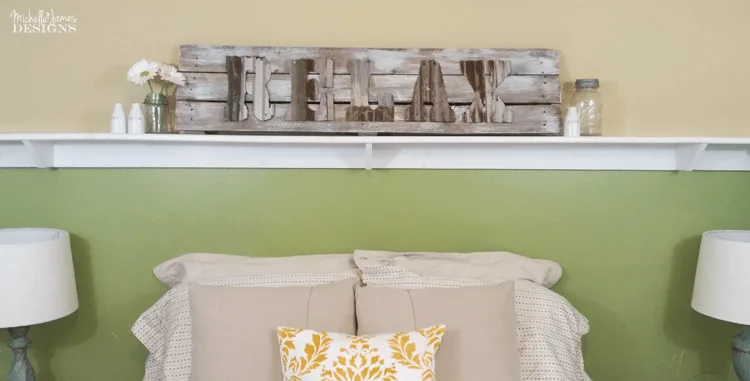
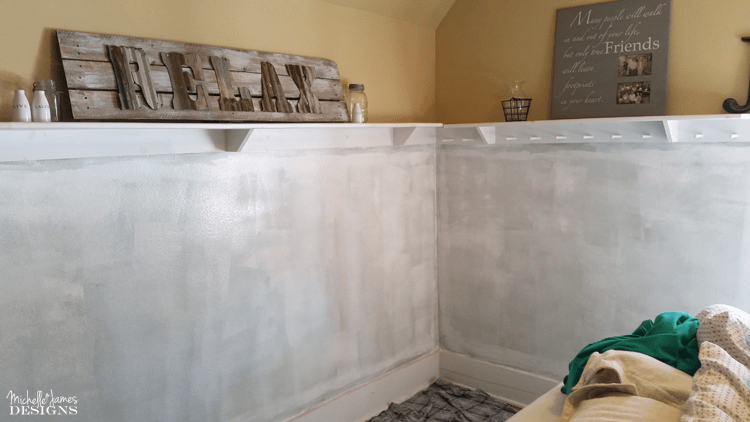
This was taken for the Rustic Farmhouse Art piece that I made but you can see the green walls. This is what I am covering with wallpaper.

This room used to be my craft room. There were scratches on the walls. Yes I could touch them up with paint but I was a little tired of the green. It is too bright and obnoxious for the new guest room.
The Process
The first step is to choose your wallpaper, measure your walls and calculate the number of rolls you need. Walls Republic has a handy wallpaper calculator on their site to help you figure this out.
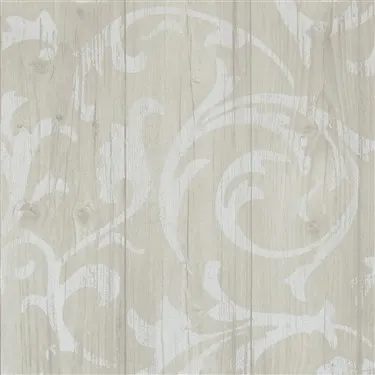
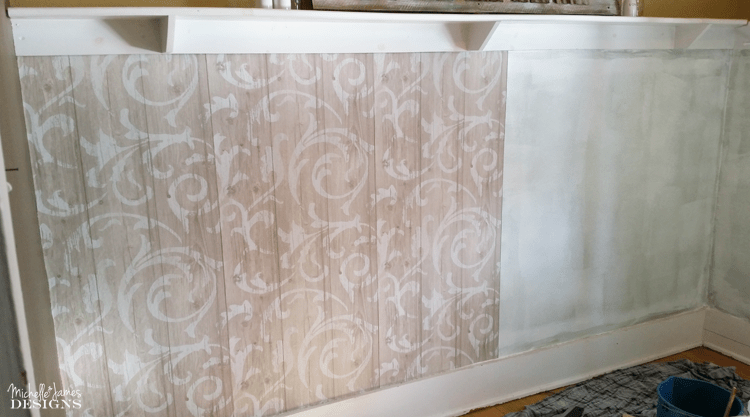
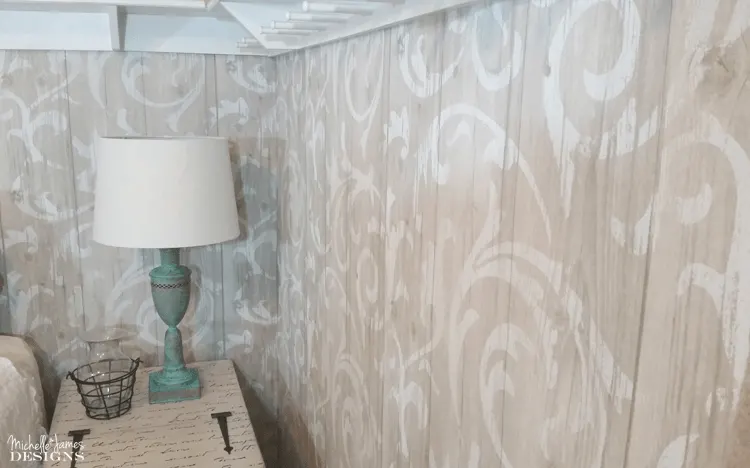
I chose Tan Twisted Wood as my pattern. I loved the wood look along with the swirls. Plus it has a soft color palette which was exactly what I was looking for.

The Prep Work
This paper is not pre-pasted so there was some prep work that needed to be done before I could get started. I read the instructions on the website and they mentioned to prime the walls first.
I purchased the primer, the powder to mix for the paste and a small tube of the adhesive for borders.
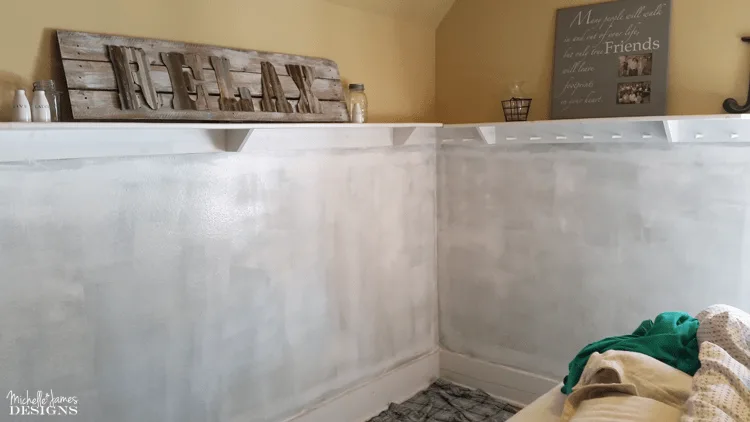
The primer is like a paint so I used a brush to get into the corners and along the edges then a roller for the rest of the walls. It had to dry for at least 2 hours.
When the walls were dry I mixed up the paste and was ready to get started. I gathered the following supplies to help me in the process:
Bucket – to mix the paste
Stir Stick
Brush to apply the paste – I used a paint brush
Razor Blades
Wide Plastic Scraper
Level
Pencil
Scissors
Tape Measure
Sponge And Water
Wallpaper Brush – optional
I watched a couple of You Tube videos that were very helpful. The first one showed how to hang the first piece so it is straight and the second was the proper way to paper around a corner. I was glad I watched them and recommend watching or reading about these two things if you have not hung wallpaper before or if it has been a while like me.
The First Piece
I was happy to read in the instructions on the website that the wallpaper from Walls Republic has a non-woven backing and this allows the paste to be placed on the wall instead of the paper. The process had just become much easier!
I mixed the paste/adhesive according to the directions on the box. It gets mixed with water and is really thin to begin with but as you stir and let it sit about 10 minutes before starting it gets thicker and thicker.
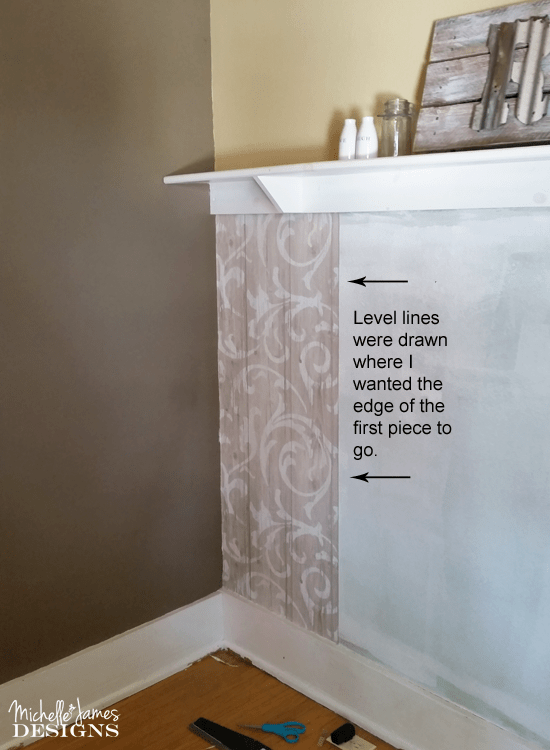
To make sure you have the first piece on straight use the level and a pencil to make level lines down the wall in different places to follow with the edge of the paper. I made sure the first piece hung over the corner a bit so I could use the blade and cut the excess off. Nothing in my house is straight.
I measured the height of the wall and cut the piece a couple of inches longer than needed. The paste was brushed onto the wall. Then I grabbed the piece I had cut and lined up the edges with my level lines, smoothed out the paper and finally cut the excess from the corner, the top and the bottom. Success!!!

The Repeat
Wallpaper has a repeat pattern so each piece after the first one needs to be matched up with the piece before it. I decided to find one piece of the pattern and use that each time to cut the next piece. I had about a foot or more each time that needed to be trimmed off. Once you get the hang of the pattern it becomes much easier to hang each piece.

The Corner
When you come to a corner you measure from the edge of the previous piece to the corner at the top and the bottom of the wall. Use the larger number and add on just a little bit. I added 1/4 of and inch. This is how wide you cut the piece. Be sure to match the repeat as well.
Cut is as straight as you can lengthwise. Hang this piece. It will wrap around the corner just a tiny bit. In my case it was 1/4 inch at the top and almost a half inch at the bottom. (Did I mention my house is not square) When that is piece is down, use the rest of the piece (the cut off part) as the first piece on the next wall. But, be sure to make new level lines as in the very first piece so the pieces on the second wall are straight too. I overlapped mine a little bit onto the part that wrapped around the corner and used the border adhesive to glue it down. It looks great!
Then I continued this wall until I was done. There was a tiny piece that was placed under the window. I did not bother to match the pattern, cut the height I needed (just over an inch) and glued it down with the border adhesive. It worked like a charm.

The Final Result
The room came out so nice and I couldn’t be happier.


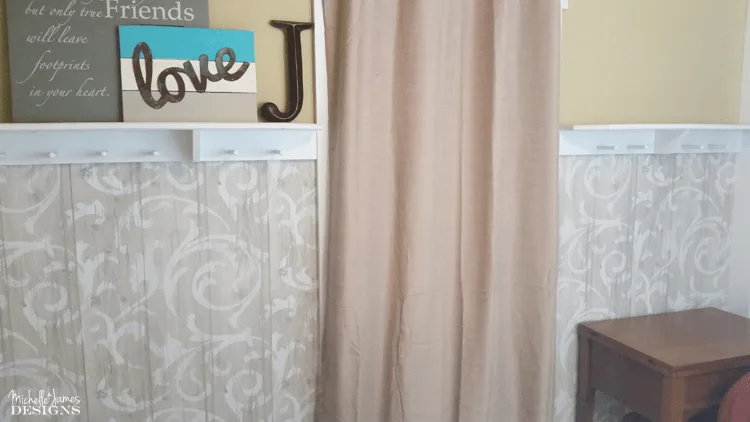
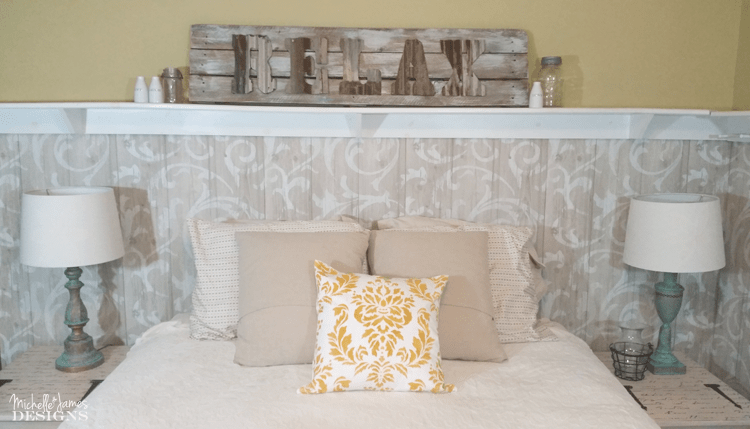
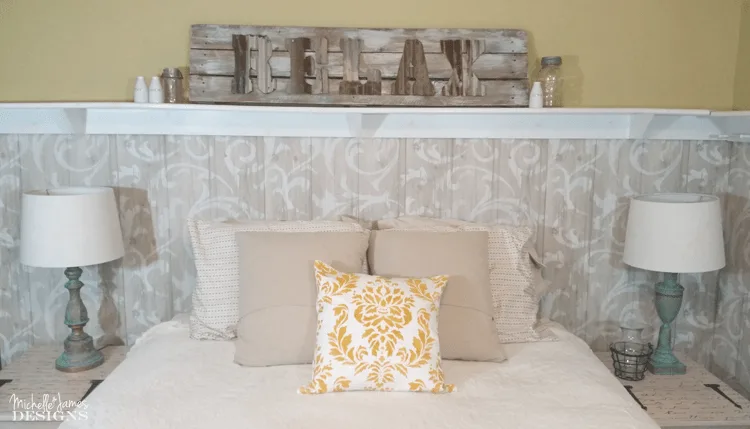
I am glad that I took the time to do it. I love the end result and the room is much more inviting now. If you have been on the fence about wallpapering, just do it! You will be happy too.
If you are still with me at the end of this long post…thank you! And, as always, thanks so much for visiting my blog.
Michelle


Emily
Wednesday 6th of March 2024
Interesting, wooden patterned wallpaper makes the bedroom look a bit like a small cottage getaway thing. It ended up great!
Michelle
Saturday 9th of March 2024
Thank you Emily. I still like it a lot.
Susie
Tuesday 21st of March 2017
Oh my! This turned out so lovely! You make wallpapering seem so easy. And what a great idea to only do part of the wall. Great job! Susie from The Chelsea Project
Michelle
Tuesday 21st of March 2017
Hi Susie! Thanks so much. It was not hard to hang but I am old so I was exhausted when I was done. LOL!
Sue
Monday 6th of March 2017
Just wow, I cannot express how cozy and customized the room looks now. It's like you hired a professional decorator, well I guess that is you.
Michelle
Monday 6th of March 2017
Haha! Thanks so much Sue. Your comments are the best. It does look much better than the bright green wall. I am super happy with it!
Nancy
Saturday 4th of March 2017
That made such an impact on your room, Michelle. I sure makes those pretty lamps of yours stand out! It's also nice that application is easier; I remember those awful, slimy lengths of paper and struggling to get them smooth on the wall! Another project, wonderfully done. :)
Michelle
Sunday 5th of March 2017
Thank you Nancy! Yes, it was much easier to apply the paste to the wall and not have to dip it in a tub of water and drip it across the floor. I am so happy with the final room. Now to add a little more pop of color. I am working on that!
sara s syrett
Saturday 4th of March 2017
How fun! I love the change! That wall paper is so pretty.
Michelle
Saturday 4th of March 2017
Hi Sara. Thank you so much. I was skeptical at first but I really love it. Thanks for stopping by!