Use this distressed painting technique to make wood look old and worn. All it takes is some different paint colors and a dry brush!
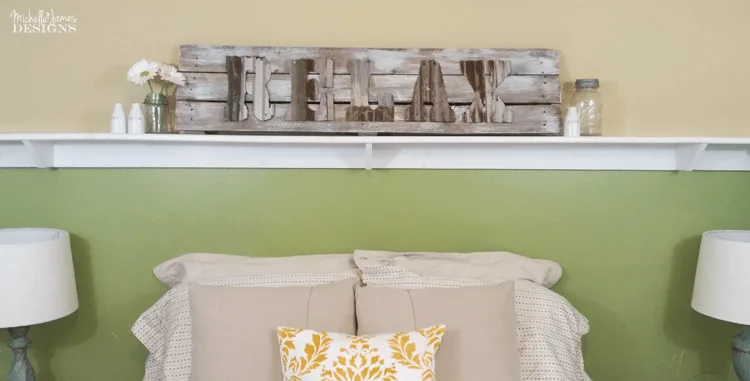
Hi! Welcome back! The guest room is one project closer to being done! I used this distressed painting tecnique to made a shelf for over the bed. It was easy and makes a big impact in this room.
Custom Cut Decor provided these rusty bits of fun. If you like a farmhouse look you will be lovin’ this company. They carry a lot of metal/tin signs, words, letters and even the windmills that you see on HGTV’s Fixer Upper.
They were so nice to let me choose some products in exchange for this post. All opinions are 100% mine though. I chose a sign, a word and some letters. Today I am focusing the the letters.
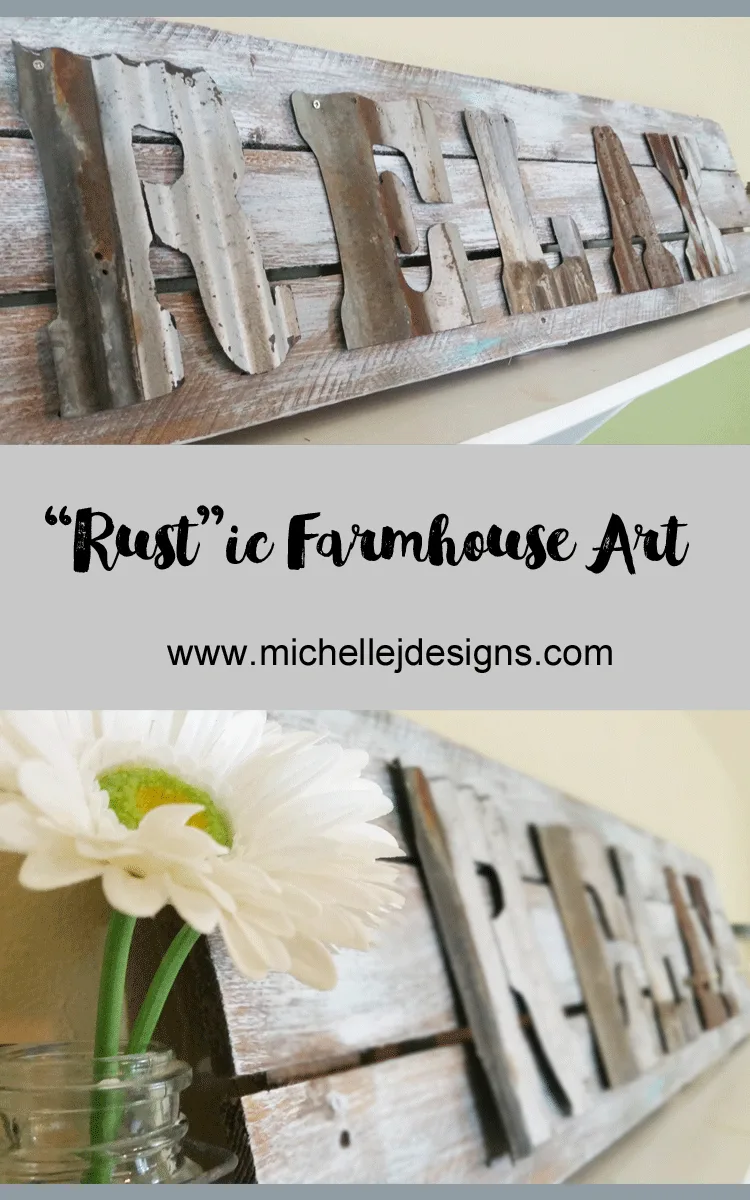
A Rustic Farmhouse Sign
List Of Supplies: I have included some affiliate links for your convenience. You can read my full disclosure here.
Wood sign
Paint in several colors
Paint brush
Paper towels
Clear coat spray in satin finish
Screws
The wood sign I had was too big for the project, but otherwise perfect. It just needed to be cut down. Jeff used the jigsaw to cut it to the correct size. Here is what it looked like before:
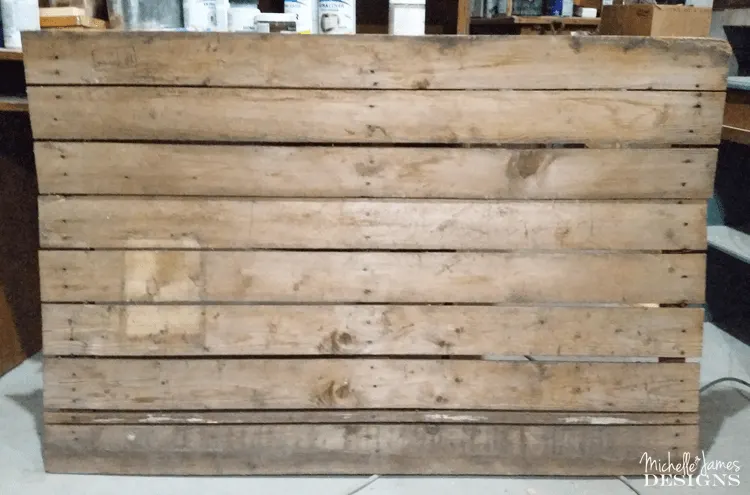
After it was cut it looked like this.
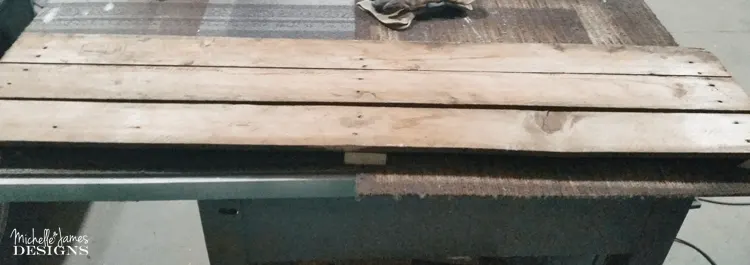
It was very rough. Splinters kept poking me, so I sanded it until it was reasonably smooth. I didn’t want to get rid of all of the rustic-ness. Just enough to avoid getting splinters when we move it around.
Once it was sanded it was ready for some paint. The look of old wood with worn paint was the look I was trying to achieve. Dry brushing with four different colors helped me get that look.
I started with white paint. Dry brushing is dipping your brush then wiping most of the paint off onto a paper towel. Brush lightly onto the wood until you get the coverage you want. You can always add more but it is hard to take off.
Because I used such a light amount it was dry and ready to add another color right away. Next I added gray and followed the same process. After the gray came a dark brown.
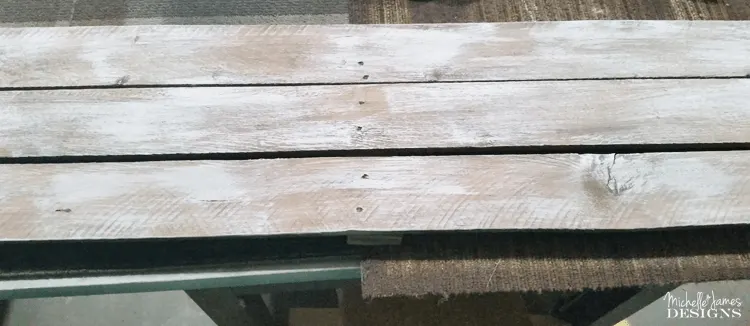
I liked it but I decided that it needed a little color to make the rusty silver tin stand out. But I wanted a subtle look. I grabbed some of Jeff’s favorite teal and added a tiny bit. I have some teal accents and patina lamps in the room. So it will all come together in the end.
Here is a close up of one part of the sign with the teal:
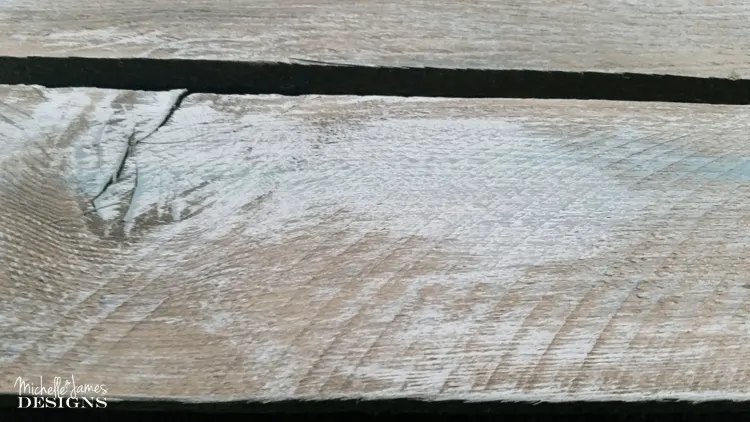
After the paint dried I used a clear coat spray to seal the wood.
Adding The Letters
I was so excited when I got my package from Custom Cut Decor. They give you so many choices when you order too. It’s so much fun.
This is a screen shot from the website showing the different finishes:
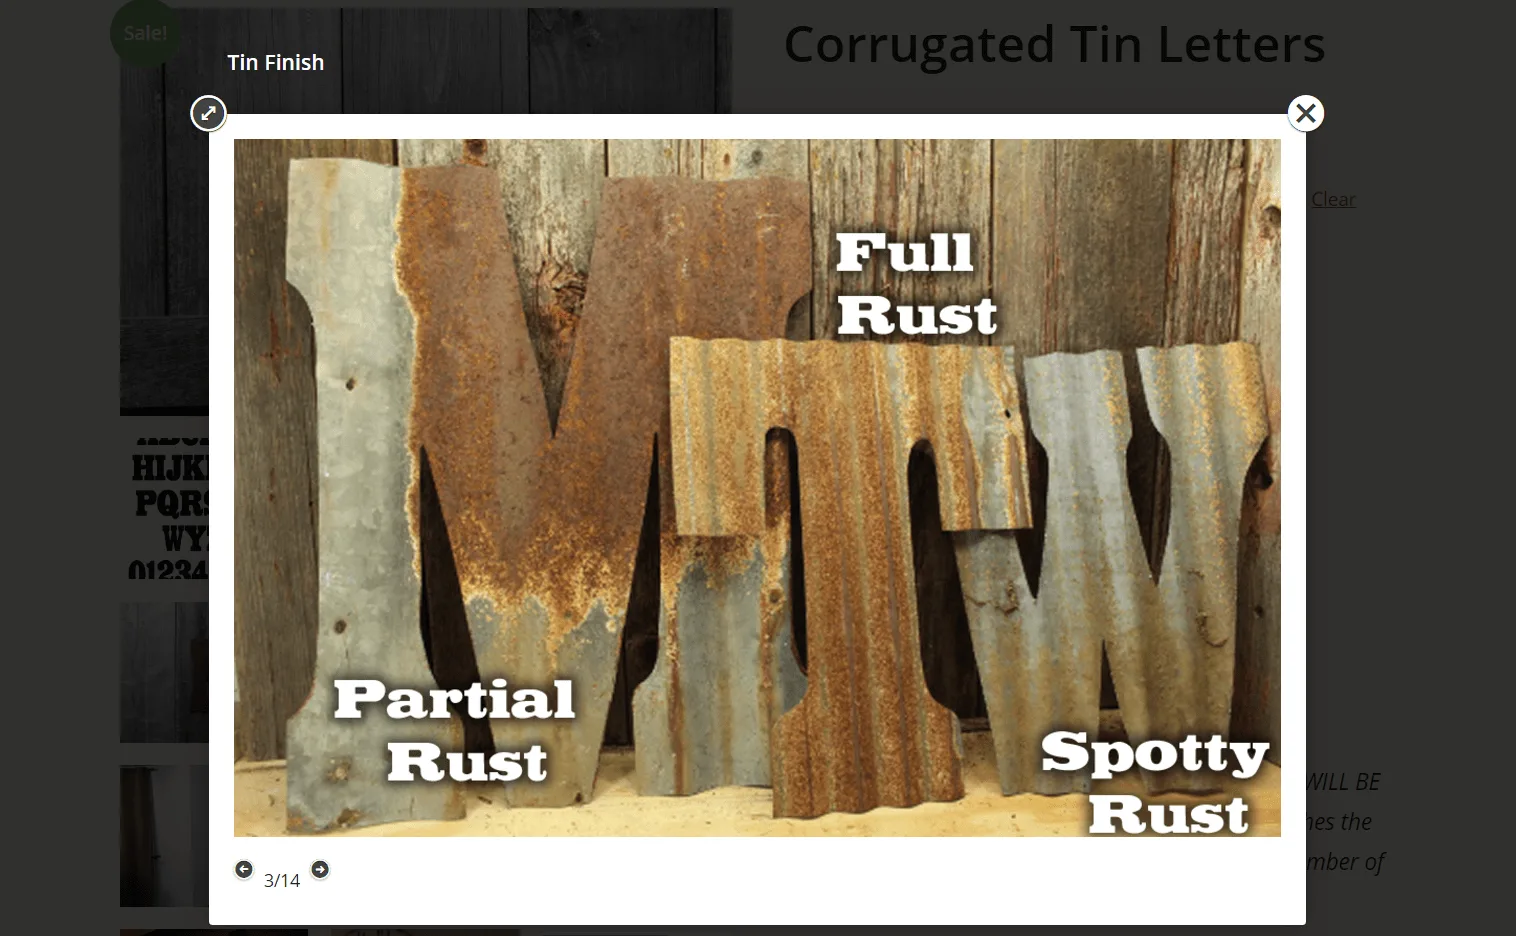
First pick the size you need. I chose 8″ letters but they range from 6″ all the way up to 60″. So you can make a huge ass sign if you want to.
Next pick your hanger. The choices are: no hanger, top holes punched (this was my choice), sawtooth, or visable exposed hangers.
Finally pick your degree of rusti-ness! I love it. The choices are spotty rusty, partial rust (this is what I chose), full rust, little to no rust or, surprise me. LOL! I thought the partial rust would be perfect and it was!
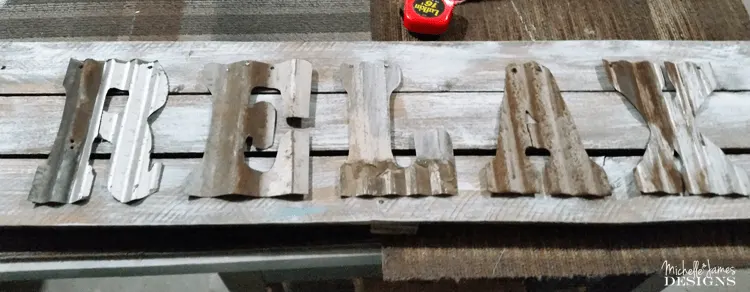
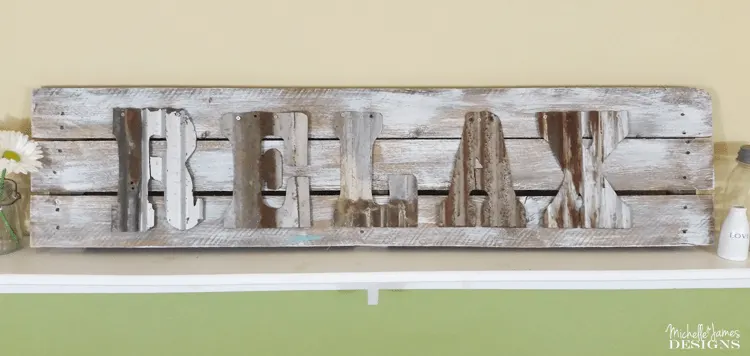
Next I centered the letters and pre-drilled the holes. Then I used the screws to attach them to the wood. The final result made me very happy!
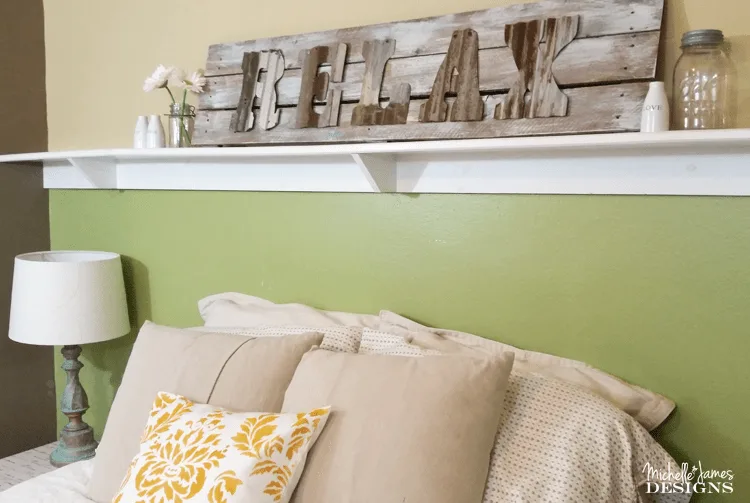
Look at the fun rust. I love the look of these letters. And this rustic farmhouse sign even looks great with my stencil pillow.
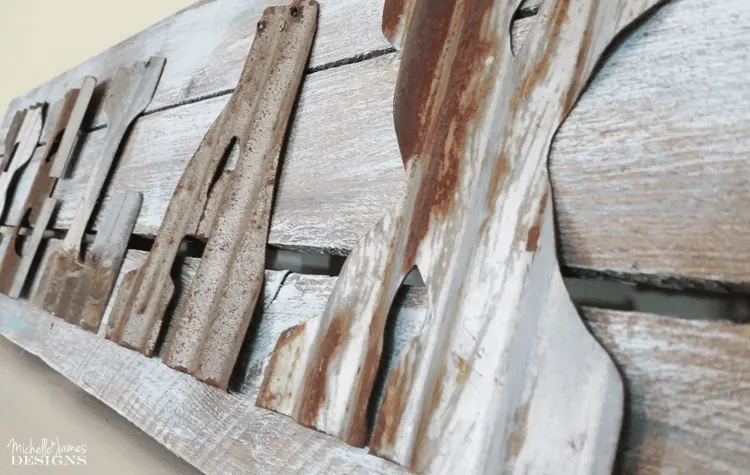
Here are some more close up pics.
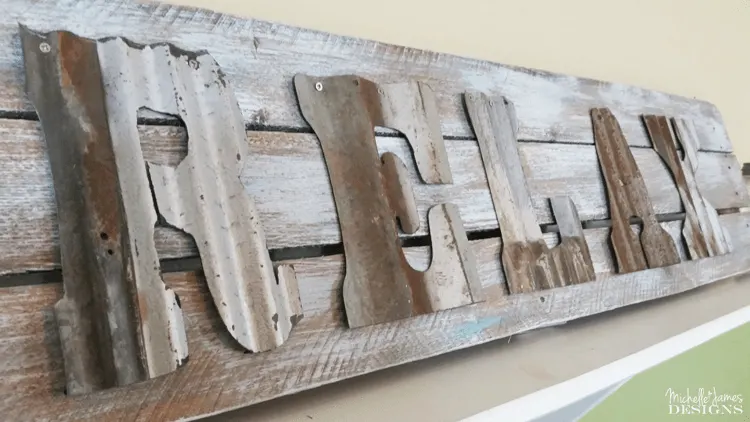
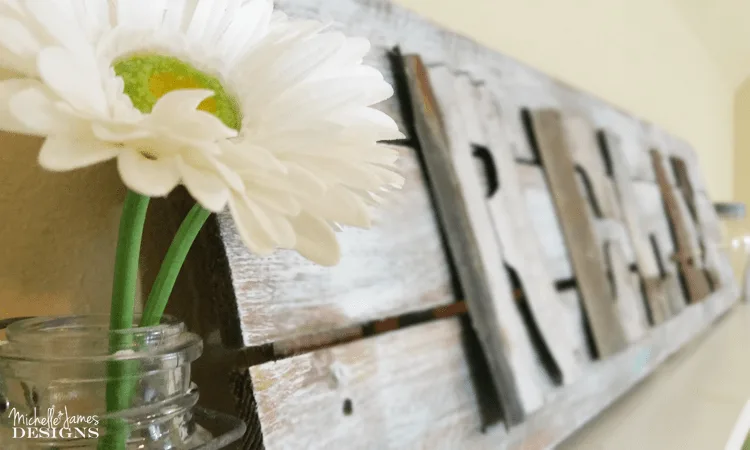
What do you think? Too rustic? Or just right? I love it! If you like it go ahead and pin it!
Follow Michelle James Designs on Pinterest!

Well, as I mentioned earlier we are now another project closer to having the guest room finished. It is a fun room to decorate and Custom Cut Decor was a great fit. Be sure to head over and check out their website.
Thanks for stopping by!
Michelle

Mary-the boondocks blog
Monday 20th of February 2017
What a great sign Michelle. When I first started blogging I couldn't understand what was all this fuss about rust. But since then I have come to really appreciate the beauty and patina of rust in all its forms. I guess as bloggers we learn something new every day and this is no exception. Great products.
Michelle
Monday 20th of February 2017
I felt the same way about rust but have also grown to love it. I certainly did not choose the full rust option. I still just like a little bit. Thanks so much Mary!
Marta McCue
Monday 13th of February 2017
I love this sign!! Have to do something like this for our backyard! :)
Michelle
Wednesday 15th of February 2017
Hi Marta! You definitely need to make one for your backyard. It was really easy and fun!
Susie from The Chelsea Project
Saturday 11th of February 2017
Nice job, Michelle. You are a natural sign maker. I bet your guests will be thrilled with their room! Congrats on a great project!
Michelle
Saturday 11th of February 2017
Thank you Susie! I do love the way it turned out.
Carolann
Saturday 11th of February 2017
Oh my gosh Michelle. I am in love with this!!! What a great idea! You need to make them and sell them. I know I'd buy one. Just beautiful. I love Custom Cuts products!!!
Michelle
Saturday 11th of February 2017
Awww thanks Carolann! I do love the way it turned out and I am really in love with the Custom Cuts products too.
Sue
Monday 6th of February 2017
You surprised me how well you put this together. I did not expect the sign to be on the wood. It looks pretty like that and I was very surprised to see it propped up on the nice white wood shelf. I think that makes it really nice.
Michelle
Monday 6th of February 2017
Thanks Sue. It is pretty rustic but I think it looks really nice in the room!