You guys are going to love this! Not only is it so easy but you could win one and try it all for free! I am talking about the Paint A Pillow stencil kit from Cutting Edge Stencils.
This was literally the easiest project from start to finish. I took me all of about 20 minutes and I kid you not.
Cutting Edge Stencils provided me with this pillow kit but all of the opinions are 100% my own.

Paint A Pillow Stencil Kit
When I opened the mailing box I found what appeared to be the prettiest biggest pizza box ever! LOL!
But the contents inside the box was the really fun part. Of course!!

The best part about this was at the bottom. This is the stencil already on top of the pillow fabric ready to be painted. I was thrilled that I did not have to set it up, get it centered and somehow find a piece of cardboard for inside the pillow form. It was done and done!! You should have seen the smile on my face.
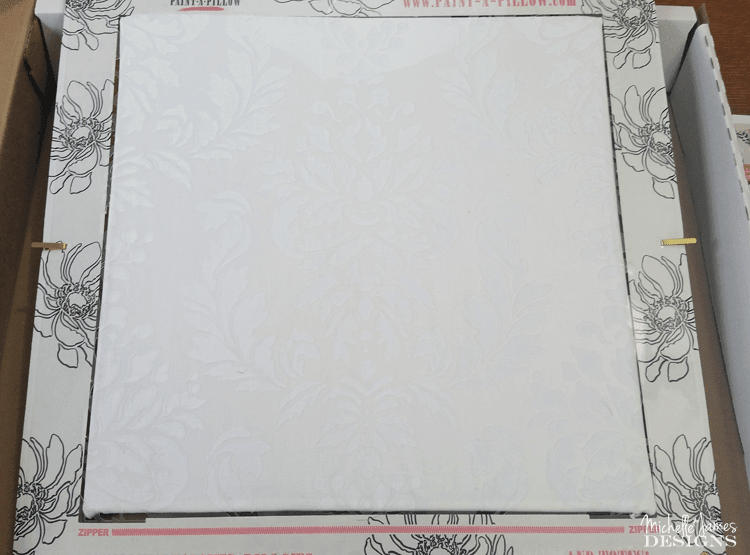
The work area is surrounded by cardboard to keep everything nice and neat and the stencil is attached with the large metal brads on the sides. It really is genius!
The long skinny box contained all of my work tools. The paint bottle, I chose yellow Ochre, the roller, the stencil brush, the painting tray and a little stir stick. I love that little roller. I can use that on other stencils too.
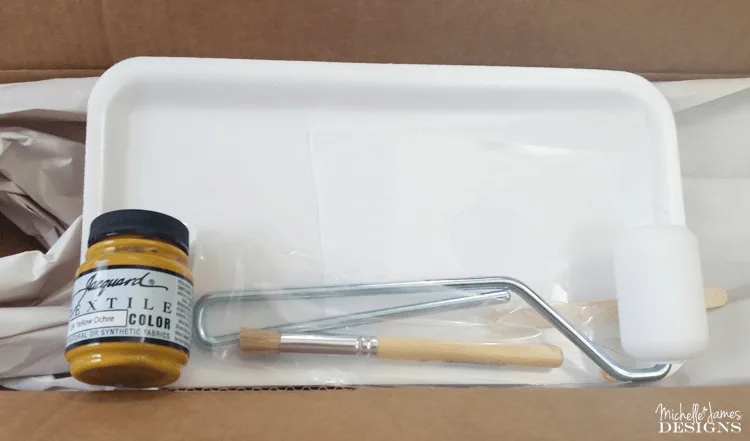
Everything was ready to go from the minute I opened the box.
Painting The Pillow
The first step was to open up the paint and load up the roller. One thing the directions said a few times was not to overload when using the roller or the brush. Less is best. I agree with this when painting all kinds of things. You can always add a little more paint but it is dang hard, or impossible to take paint off!
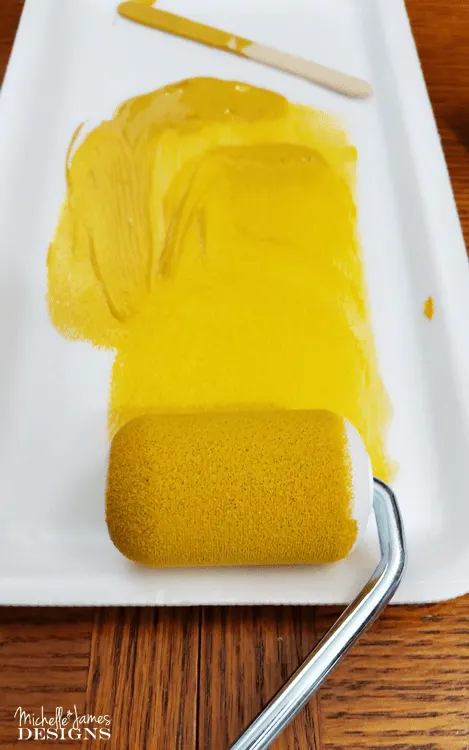
I started in the middle (eeek so scary) but I started with a light touch until I could tell how much or little was being distributed onto the fabric.

The directions say to use the brush for the edges. I did a little bit of that but I found it just as easy to keep using the roller.
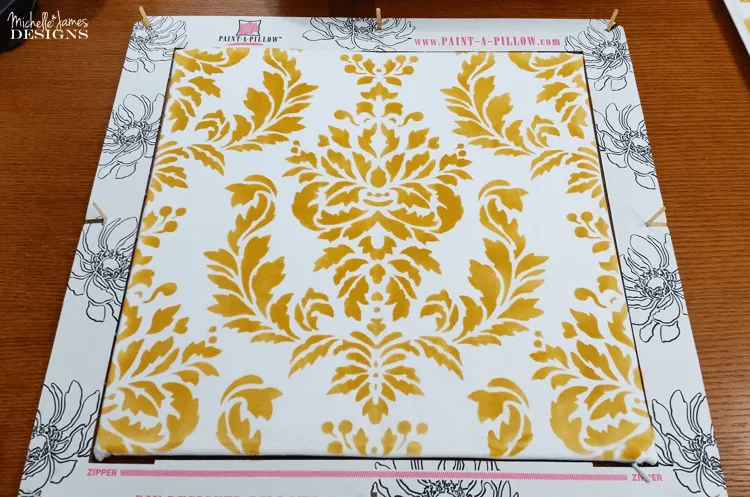
When the painting was finished I removed the plastic stencil and put it in a safe place (we have a gazillion cats) to let it dry.
The next day I took it off the cardboard, removed the cardboard from inside the cover and heat set it with the iron. I also let it roll in the dryer for a while to be extra sure. I need to be able to wash it. (again, we have a gazillion cats)
Then it was ready for the pillow form. And this pillow form is really nice. I usually get the cheapo kind so it this was another nice surprise. Everything in this kit was such good quality.
The Finished Product!
It made it’s pillow debut in our new guest room!
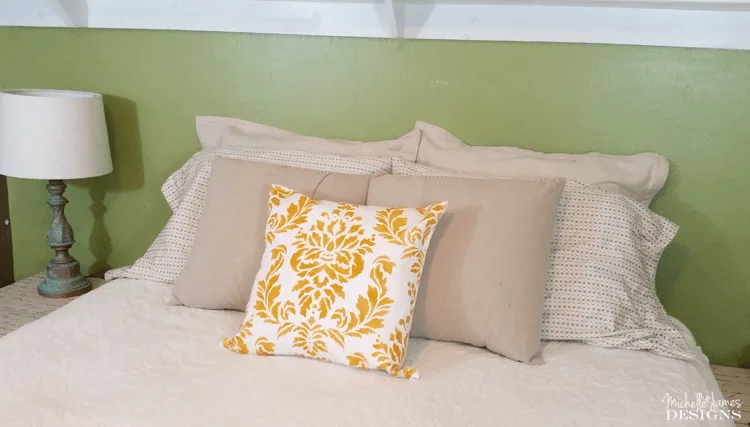
You can also see the stenciled bedside tables and the patina lamps too! This room is full of projects. And there are more to come. The green wall is going to get some awesome wallpaper, I have a headboard in the works and some fun art that is waiting in the wings. I am afraid the room will be too nice and my guests won’t leave. Bahahaha!! I guess that is ok. It is usually Brian, Ian and Hailey!
Here are some more pics to show off my new, brilliant Paint A Pillow stencil kit project.

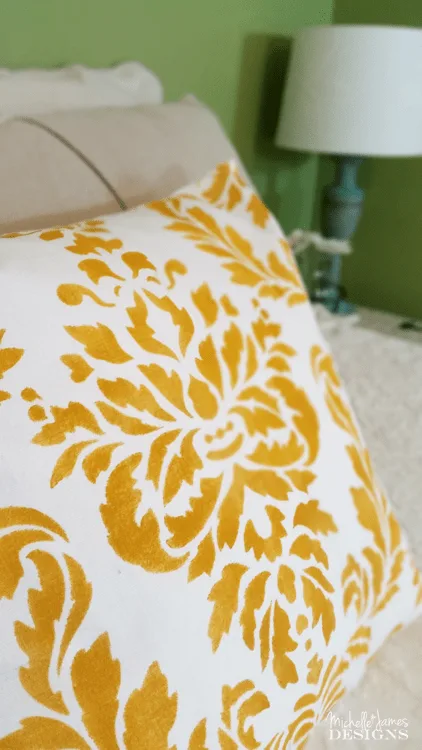
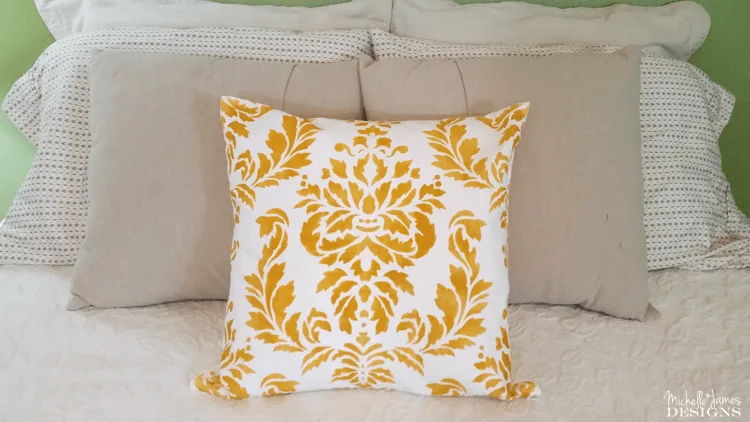
I love the way it turned out and how totally easy this was to do. The company, with their packaging, just makes everything simple and ready to go. You cannot lose at this one. Plus they have a lot of different patterns to choose from and you can pick white or cream colored background. It is a nice sturdy fabric too. It seems very similar weight to the drop cloths that I love to use. Be sure to check out all of the other designs while you are visiting their site.
Now for the best part…the giveaway! You can enter to win a stencil valued at up to $50. Just go to Cutting Edge Stencils and choose your favorite stencil then leave me a comment letting me know which one you like. How easy is that? It is open to US and Canada residents only.
The giveaway will go for 1 week then the computer will choose a random winner and the stencil will be sent directly from the very nice people at Cutting Edge Stencils. Good luck!
Be sure to check out the rest of my group and their awesome stencil projects. What a talented bunch!

As always, thanks so much for stopping by!
Michelle


Aimee
Tuesday 31st of January 2017
Prosperity mandala
Stacie
Monday 30th of January 2017
Hi again, I found the link. OMG so many beautiful designs. I would be happy to win any BUT I picked the retro flame. Good luck to everyone.
Michelle
Monday 30th of January 2017
Hi Stacie. I am glad you found it. Thanks for picking your favorite stencil and for entering the giveaway. It is hard to choose, right? Good luck to you!
Stacie
Monday 30th of January 2017
Hi, I love this project. I think i entered the giveway but i see other comments that say you choose a favorite? where do i do that? lol
Thank you
Ali
Monday 30th of January 2017
Gorgeous! Love the pillow!
Michelle
Monday 30th of January 2017
Thanks so much Ali!
Heather
Monday 30th of January 2017
Your pillow looks amazing and it looks like a lot of fun to create. There are so many gorgeous stencils to choose from. The Birds in Trees and Reindeer are just two of my favorites.
Michelle
Monday 30th of January 2017
Hi Heather. Now I need to go look those up. Thanks so much for commenting and for entering the giveaway! Good luck!