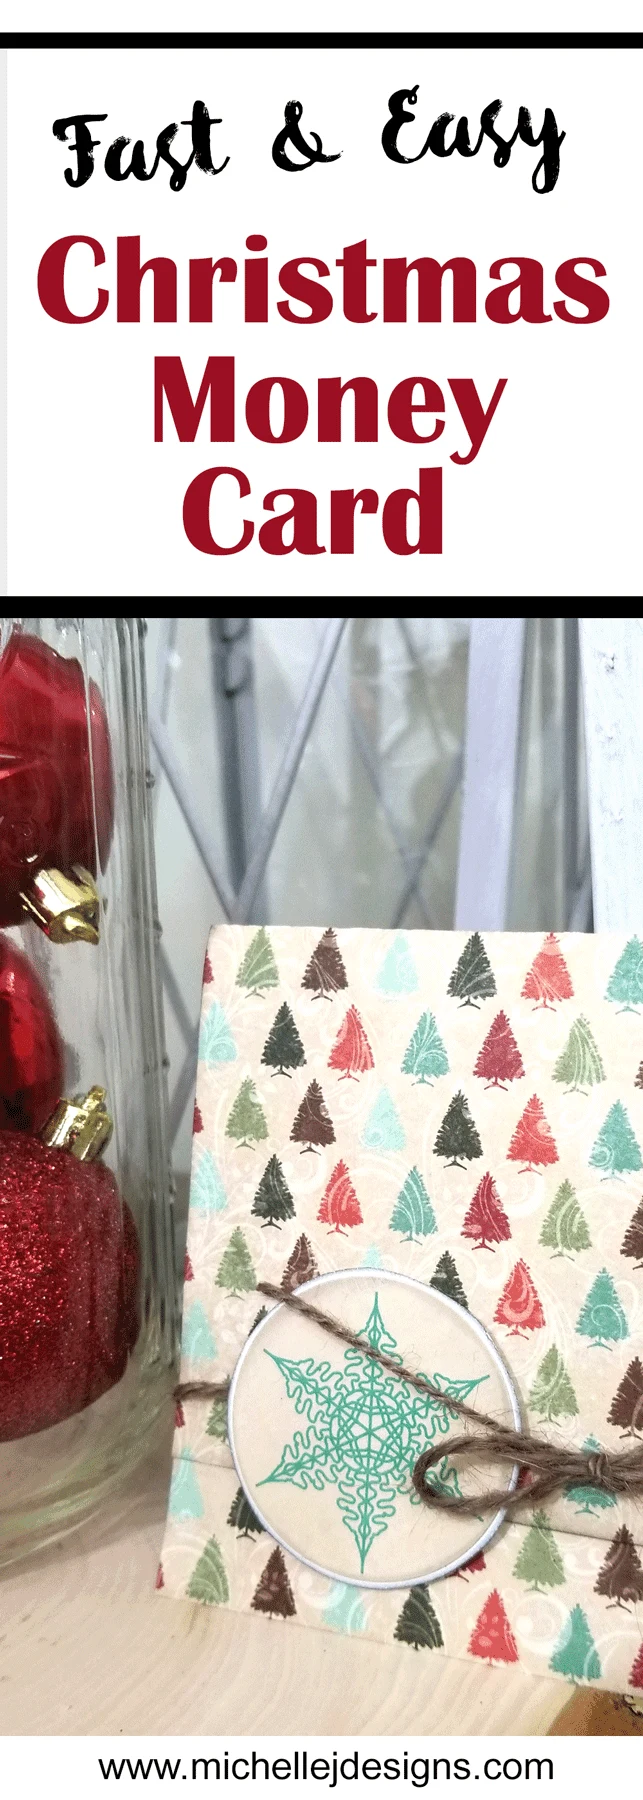
Do you give cash or gift cards as gifts? Sometimes you can purchase some awesome packaging to go with them but they can get really expensive or there are no options and you are struggling to figure out the best way to package this great gift. I am going to show you a fast, easy Christmas money card you can make in minutes and will look fantastic!
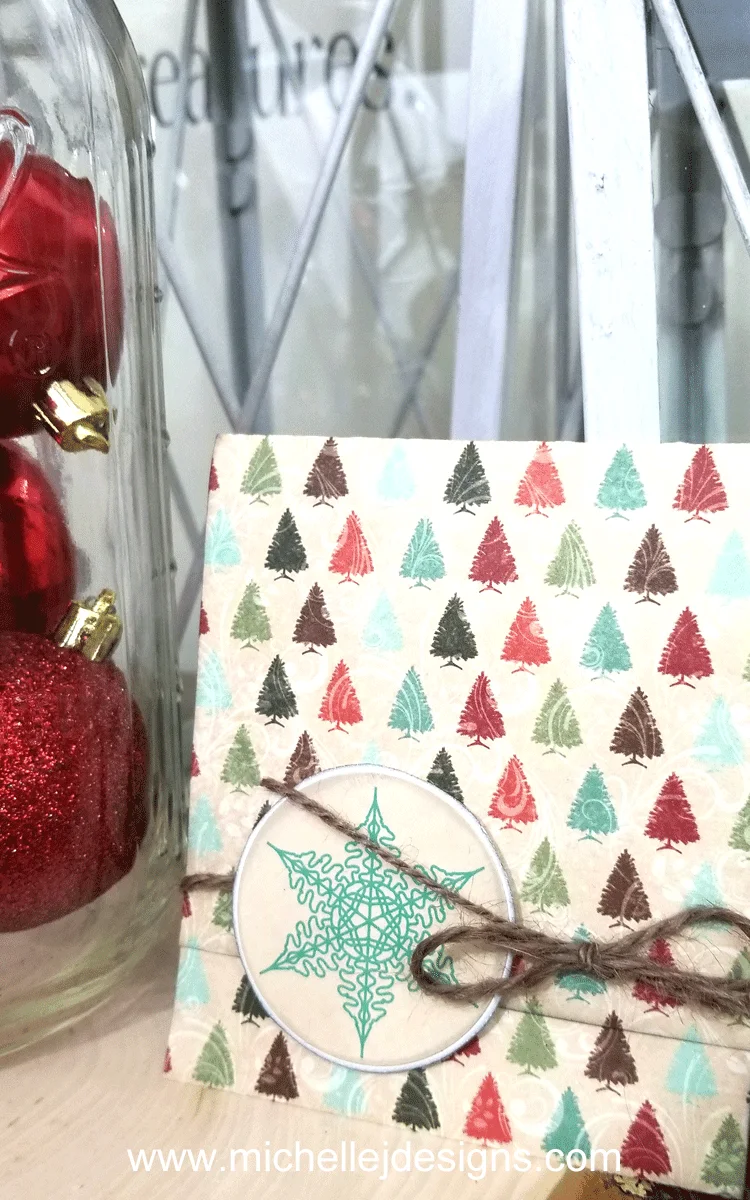
How To Create A Fast, Easy Christmas Money Card
I have included some affiliate links for your convenience. You can read my full disclosure here.
Materials Needed
12 x 12 two sided scrapbook paper
Stickers
Black or Brown ink
Mounting Tape
Scotch Tape
Trimmer or scissors with decorative blade
Step 1:
Cut the 12 x 12 paper into three 4 x 12 pieces.
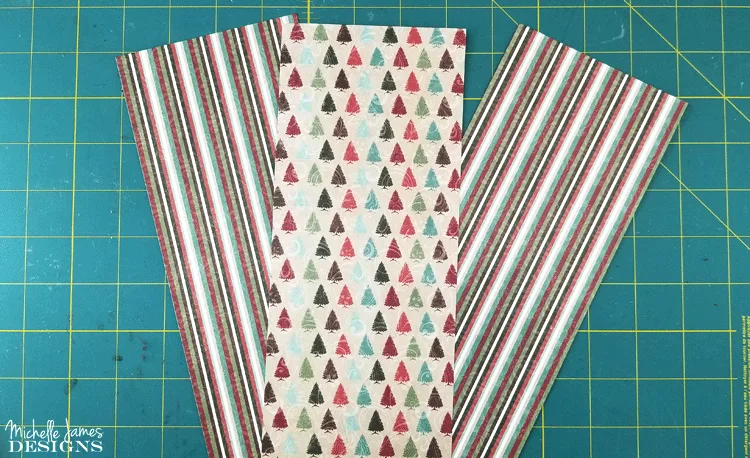
Step 2:
Fold the piece into thirds. I just eye-ball the measurements and make sure it will fit in an envelope. This time my bottom fold was 3.5 inches from bottom of the paper. Part of this will get cut off in a minute.
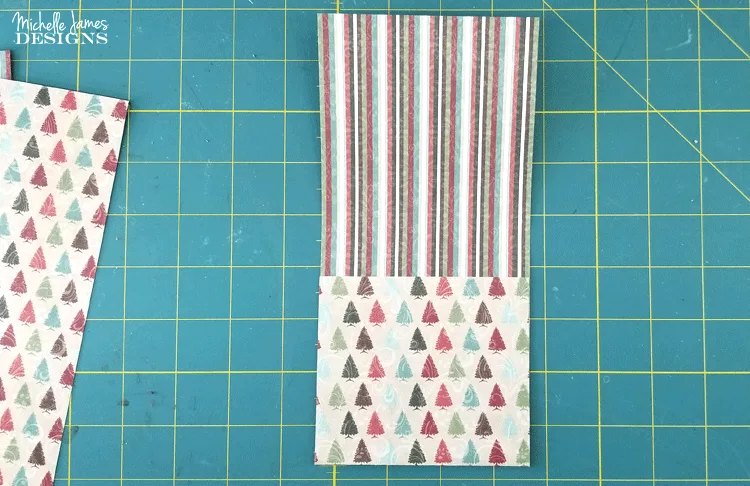
Leave enough room for the gift card or cash and fold the top down. It should overlap the bottom.
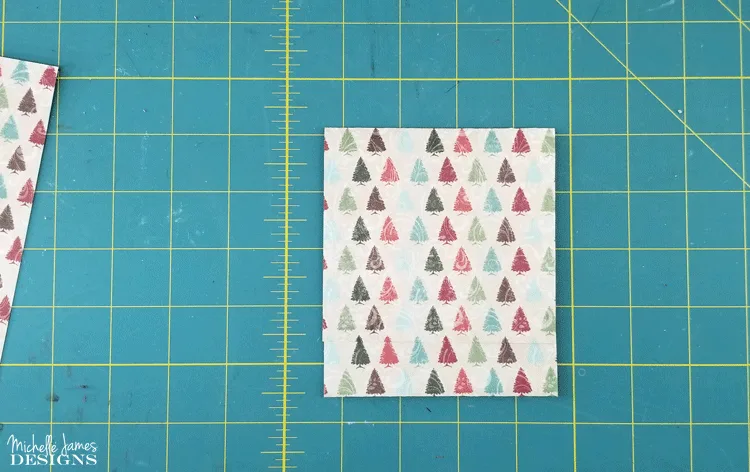
Step 3:
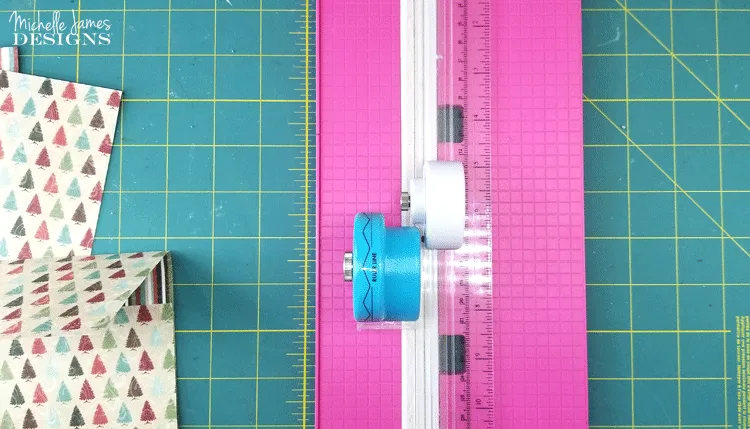
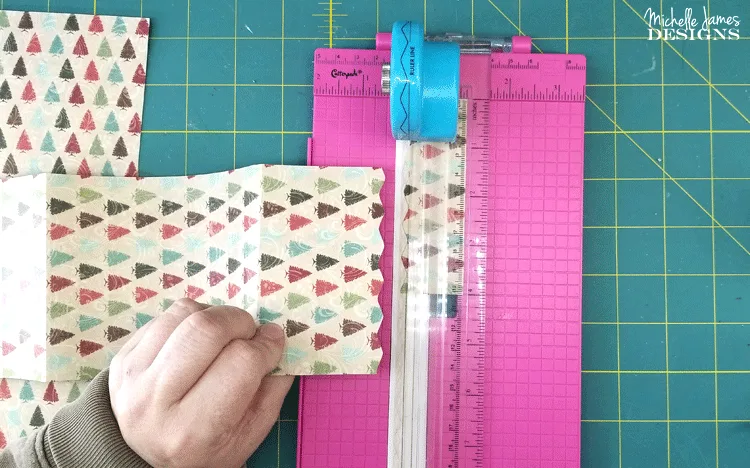
Cut the inside folded edge with a fancy blade. This step is optional but it gives the card a little more detail. I have a Cutterpede trimmer and I can purchase different edged blades.
This one is sort of a zig-zag cut.
Step 4:
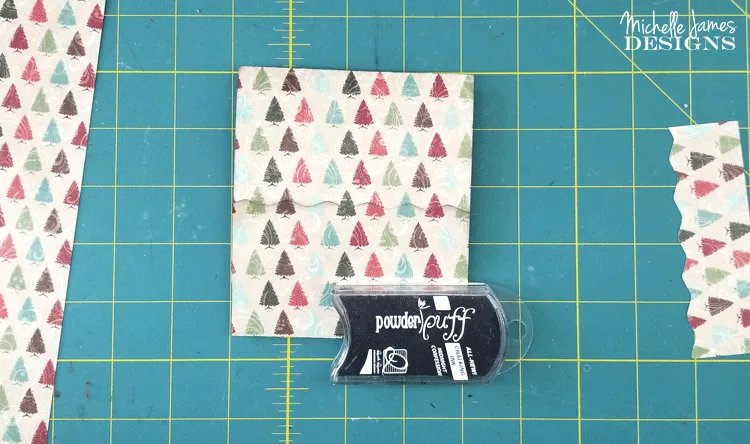
Ink the edges of the paper. This is also an optional step but you know I love to ink my edges. My favorite is the Midnight Confessions (black) Powder Puff ink but any brand will work.
Step 5:
Choose a sticker for the inside of the card and a sticker for the outside of the card. Place the stickers onto a scrap piece of white card stock and cut around the edges leaving a little bit of a white edge showing.
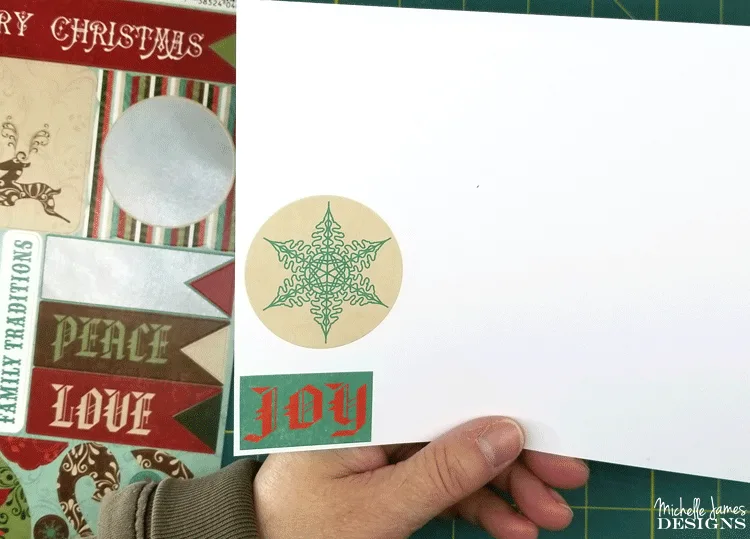
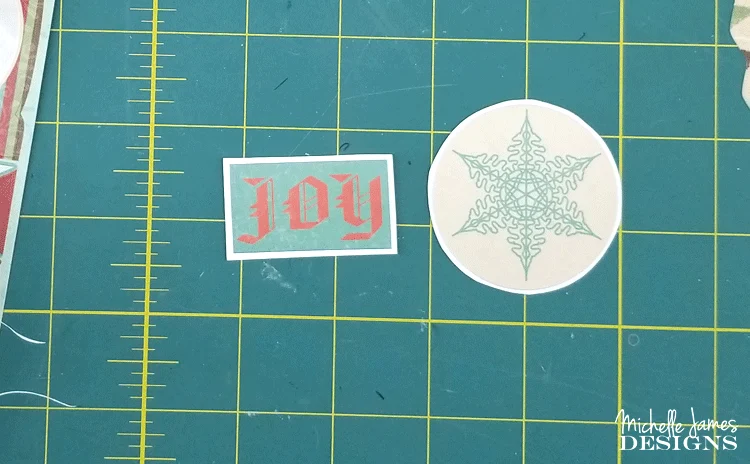
Set these aside while we create the pocket.
Step 6:
Glue down the folded part of the card just on the edges to create a pocket.
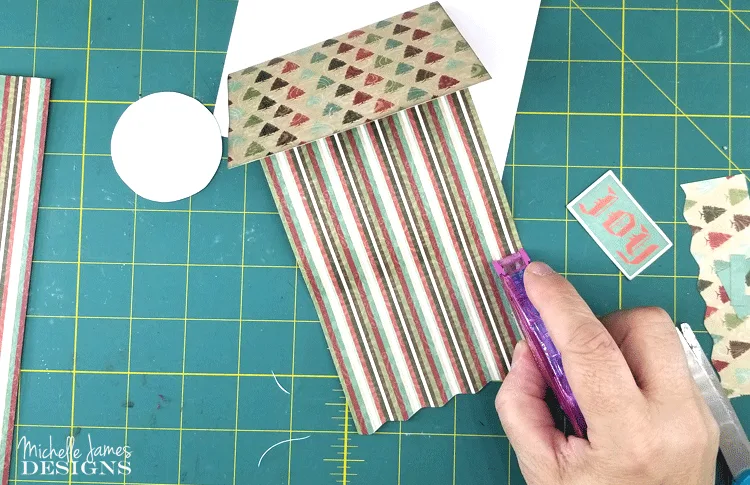
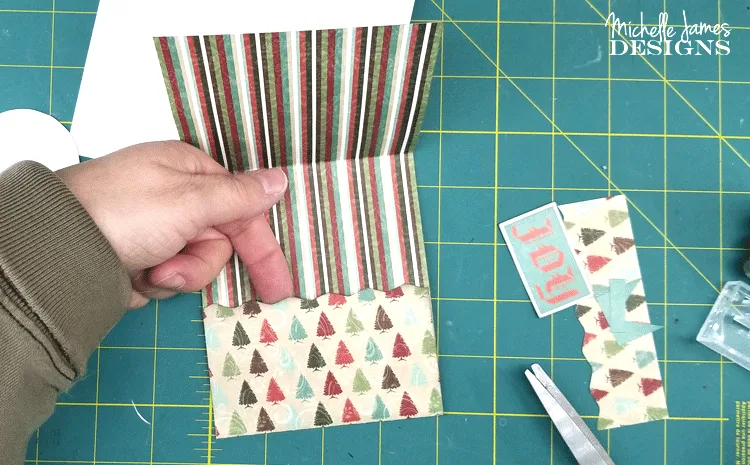
Step 7:
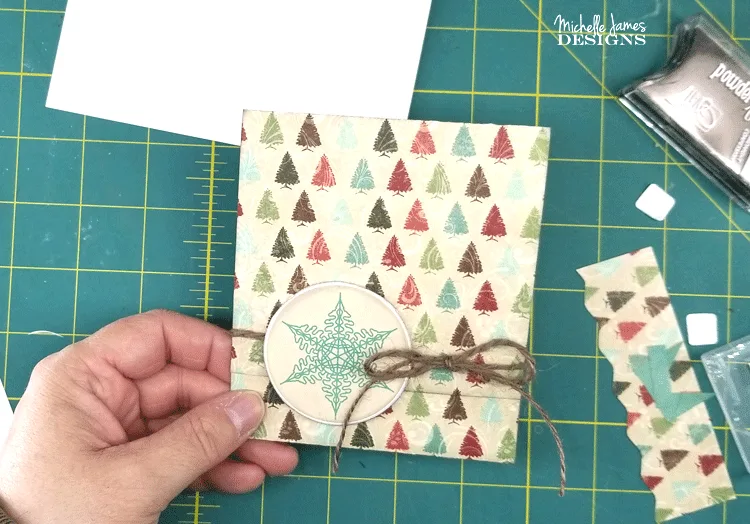
Add a piece of twine. Fold the card and cut a piece of twine long enough to wrap around and tie. Use a small piece of scotch tape to hold it in place on the front folded piece where your sticker will cover it. We don’t want the tape to show in the final card. I wanted my sticker to hang over the bottom edge of that piece so I placed my twine low enough so the sticker will cover it and also hang over a bit.
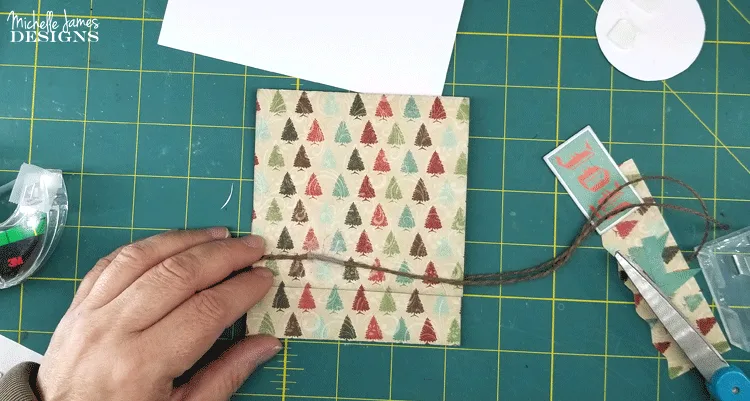
Step 8:
Add the stickers. Use some mounting tape or pop dots to add a bit of 3D to the card. The first one on the front will be placed on the inside of the card. I like it to have the upper part of the sticker over the top edge of the pocket a little bit.
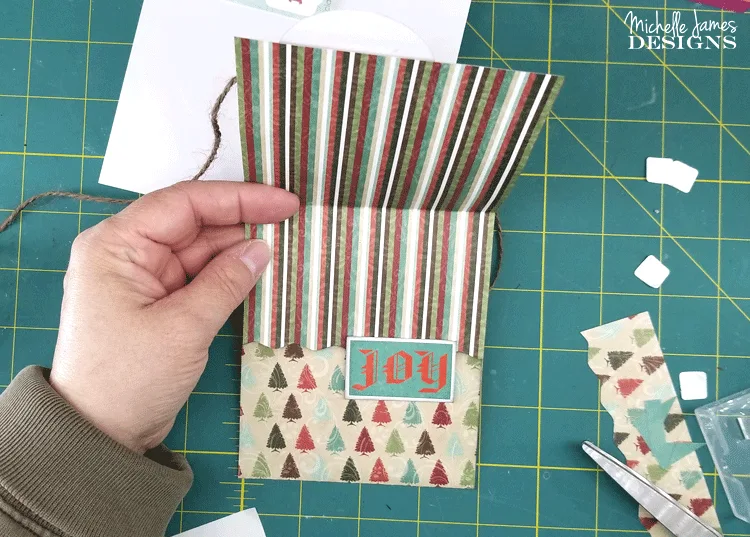
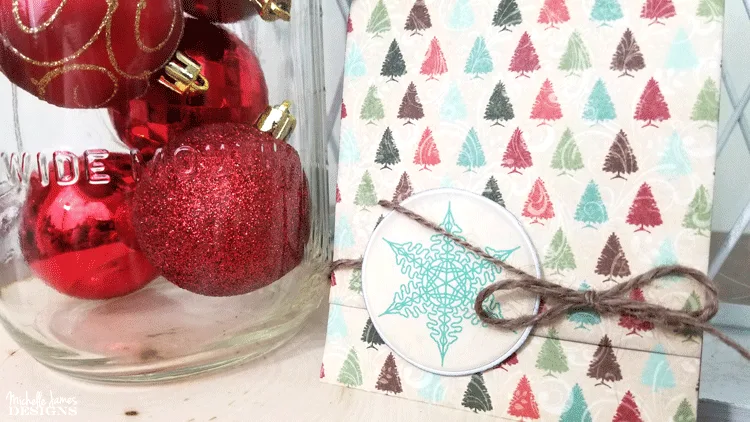
The next sticker goes on the front over the twine but low enough to hand over the bottom edge as well. Tie a bow so it is easy to get into.
You can now add some cash or a gift card and you are finished! (preferably more than the one dollar bill I had in my purse at the time)
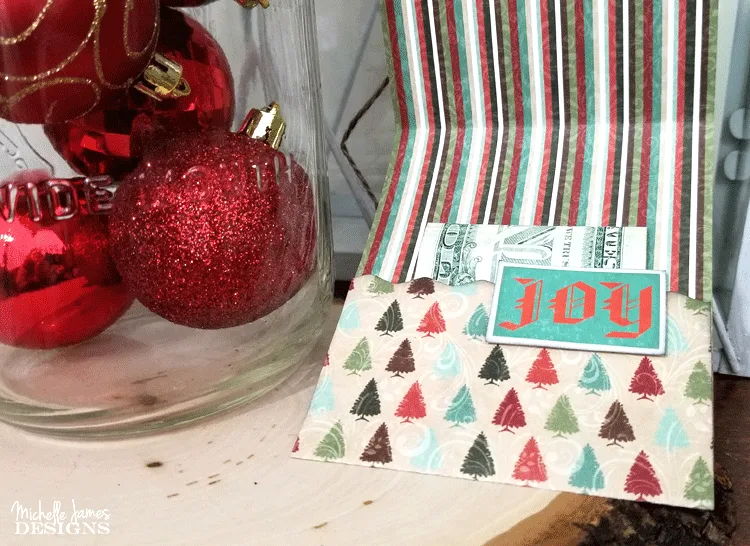
These Christmas money cards were always a bit hit when we made them in classes at my store. You get three from a 12 x 12 piece of paper so they are very inexpensive as well. If you don’t have stickers, use rubber stamps to create your own sayings or snowflakes or whatever. The sky is the limit! Have fun with it.

Thanks so much for stopping by! You guys are great.
Michelle

Sue
Thursday 4th of January 2018
i am always striving to become more like you and create wonderful things.
Michelle
Thursday 4th of January 2018
Thank you Sue. These came in handy this year for Brian's gift cards! I am glad you like them.