Hello! This is our fourth Christmas card using the Celebrate Christmas Scrapbook kit from Echo Park. I am hoping to give you a bunch of card making ideas by making as many cards as I can from one set. Today I am showing how to create an easy Christmas Reindeer card!
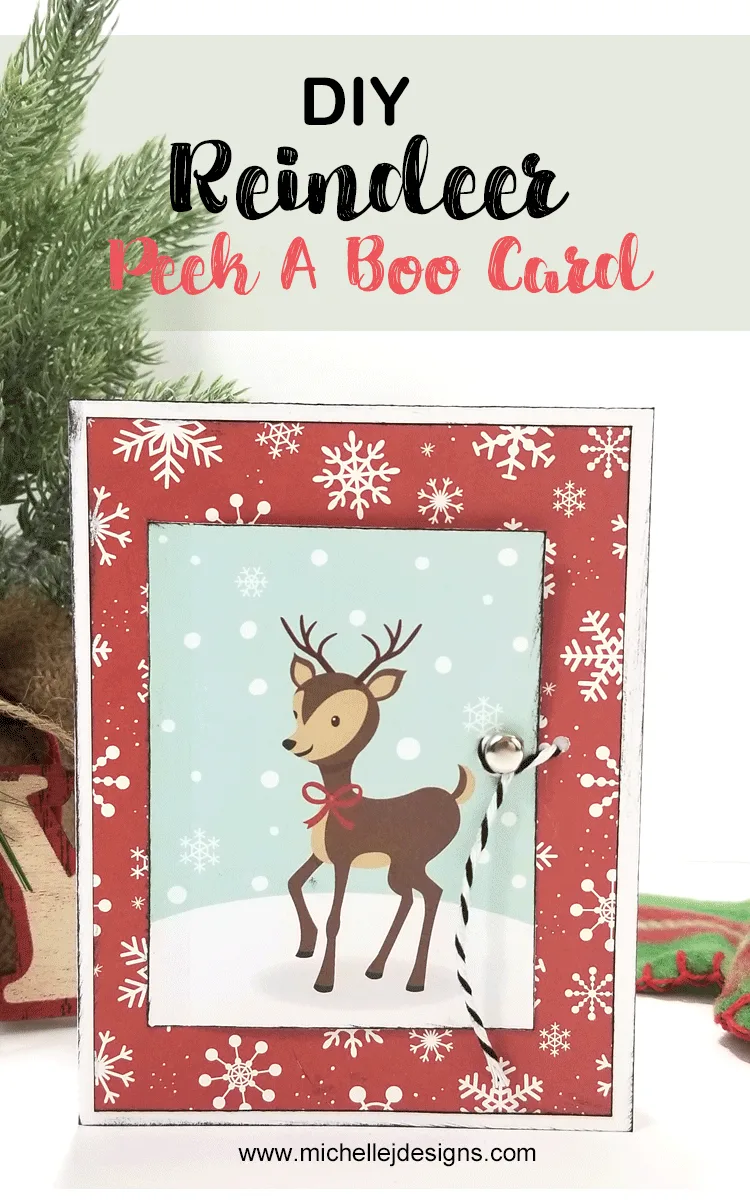
How To Create An Easy Christmas Reindeer Card
As I mentioned above this is the fourth card I have made from this kit. If you missed the first three, here they are! Ornament Card, Glitter Christmas Card, & Farmhouse Style Christmas Card.
Be sure to go look at them all. They are easy and can be made quickly. Nobody has time to spend hours on a card!
I am including some affiliate links in this post for your convenience. But all of these products can be found in my Amazon Store. You can read my full disclosure here.
Materials Needed:
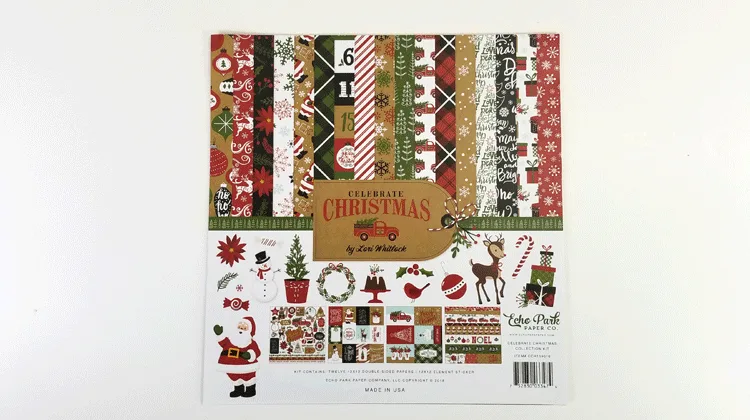
Celebrate Christmas Scrapbook kit by Echo Park
– see a picture of this kit below
White Cardstock
Stylus Scoring Tool/Bone Folder
Scissors
Scotch Tape
As with previous cards I have created a video that you can watch below but I have also used some action shots from the video to create a step by step written tutorial. You can scroll past the video if you want to see that instead!
Please subscribe to my You Tube Channel
I am sort of a video newbie and am learning editing ropes but they are sort of fun!
Reindeer Card
Step 1:
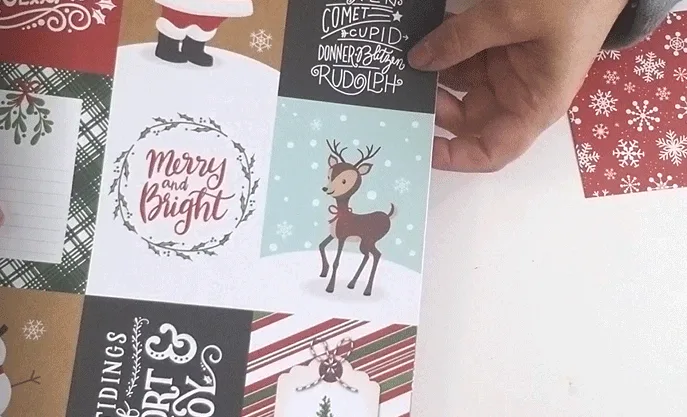
Cut out the reindeer piece from the sheet of 2 x 3 cut a parts and ink the edges. It’s so cute.
Step 2:
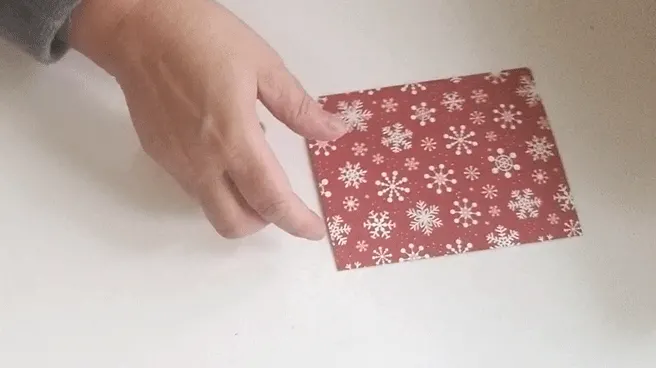
Use the paper trimmer to cut a 5.25 x 4 piece of the red snowflake paper and ink the edges.
Step 3:
Score the left edge of the reindeer piece 1/4 inch from the edge. Use a ruler and either a stylus or a bone folder to score.
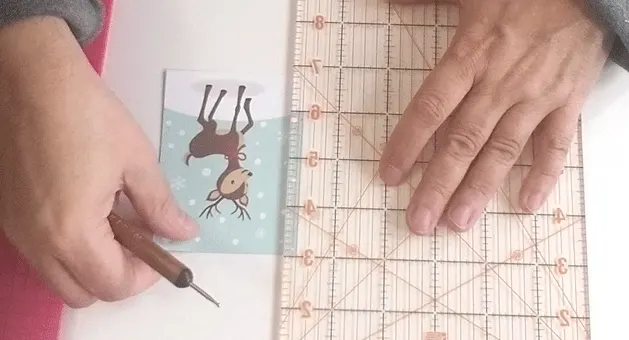
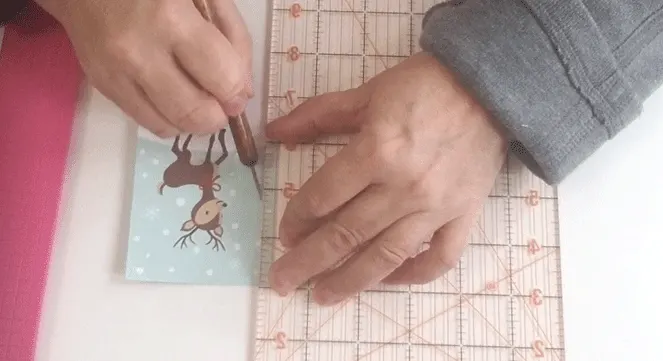
This creates a nice fold line so the piece will open and close easily.
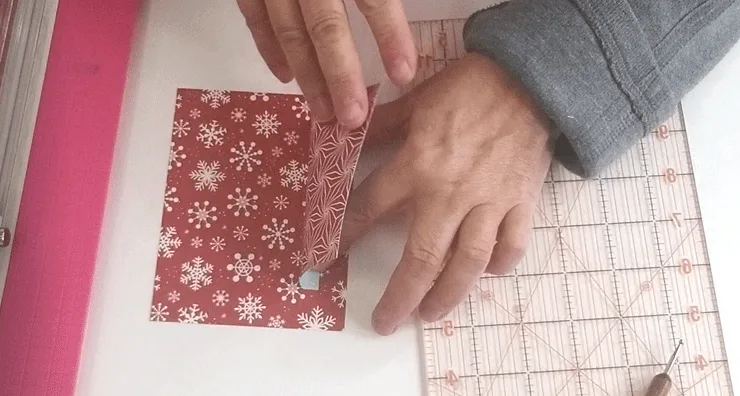
Step 4:
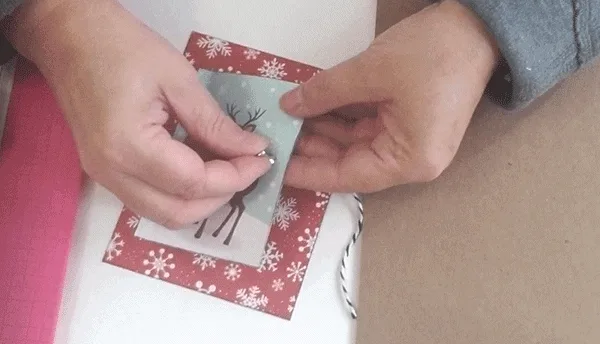
Punch a hole for a piece of the bakers twine in the red snowflake paper. We are adding a little closure for the reindeer piece so it will stay closed.
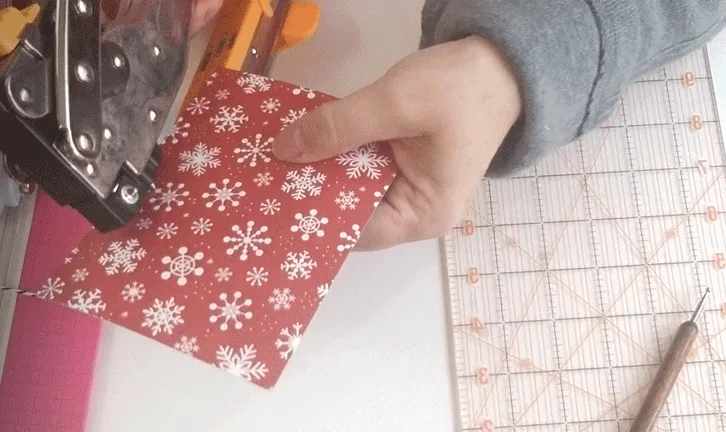
Cut a piece of ribbon about 4 – 5 inches long and thread it from font to back. Then tape it on the back side of the paper.
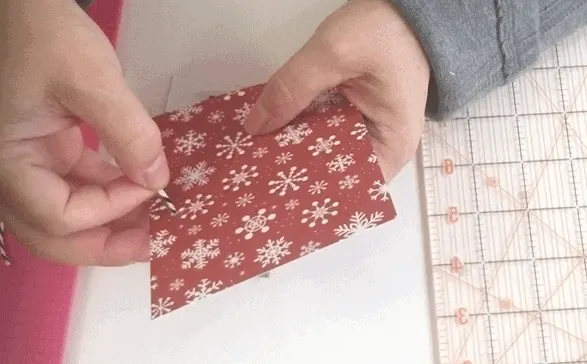
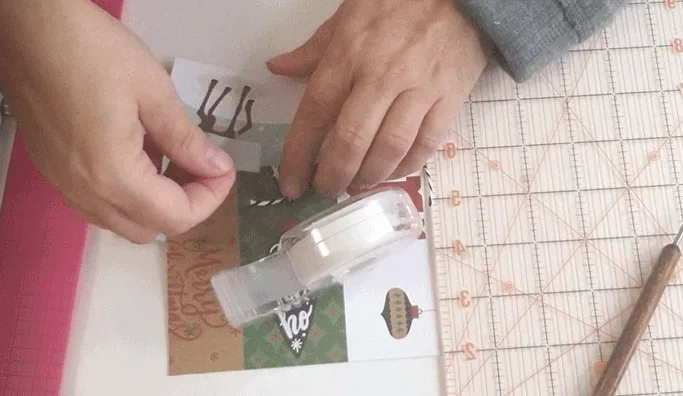
Add some adhesive to just the small folded edge of the reindeer piece.
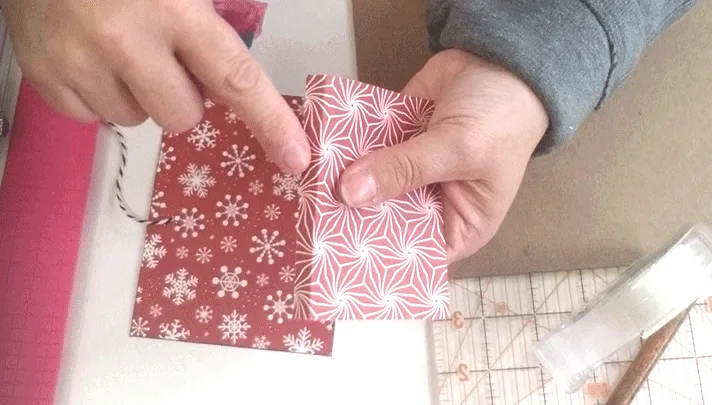
Place it onto the background piece.
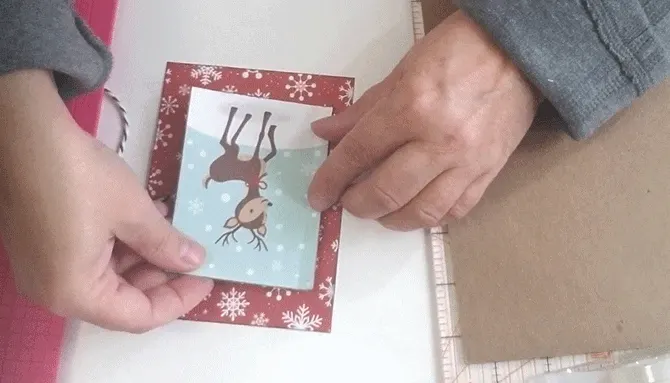
Punch a hole in the reindeer piece across from the ribbon and add your brad. Don’t push the brad down all of the way. Leave a little bit of room for the ribbon to wind around.
Step 5:
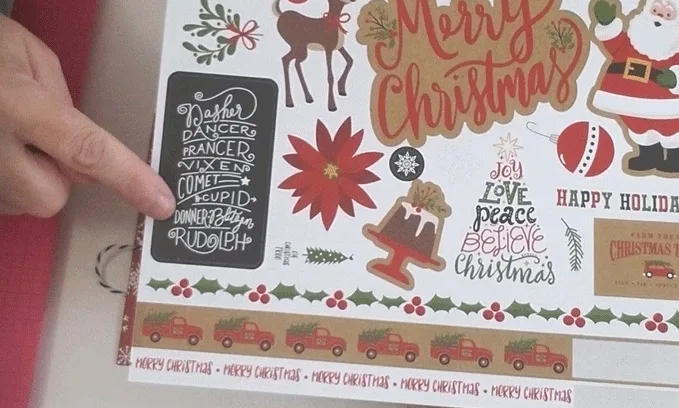
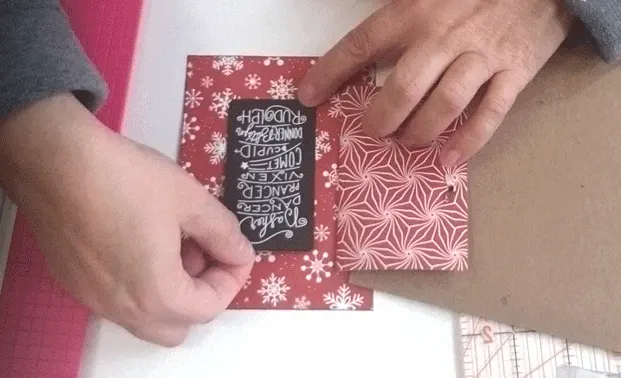
From the sticker sheet, grab the black sticker with all of the reindeer names. Ink the edges then place it under the reindeer piece as a fun surprise when it is opened.
Step 6:
Fold a 5.5 x 8.5 piece of white card stock in half for the card base and ink the edges.
Place adhesive on the back of the background piece and center it onto the card base.
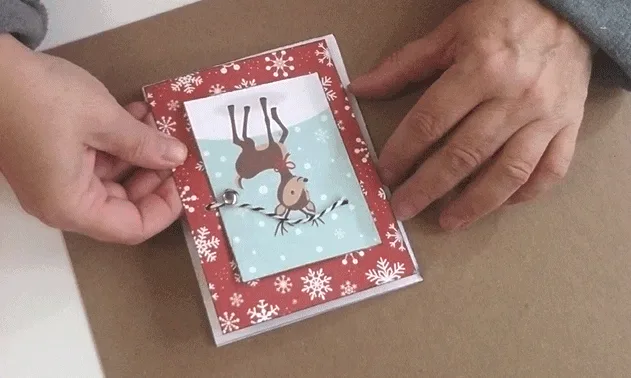
You are all done!
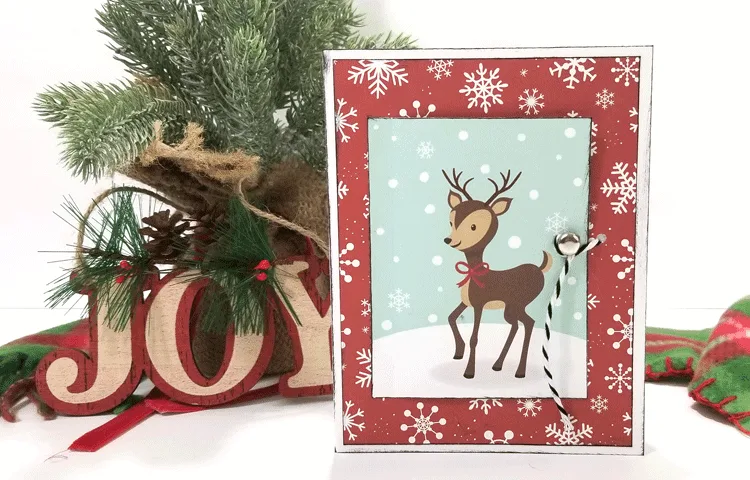
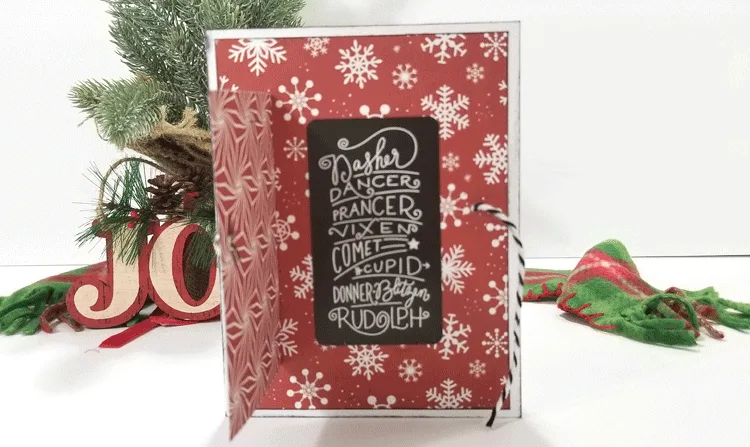
I hope you like this one too!


Thanks for stopping by!
Michelle
