I am sharing my new bright & shiny Christmas stockings with you today.
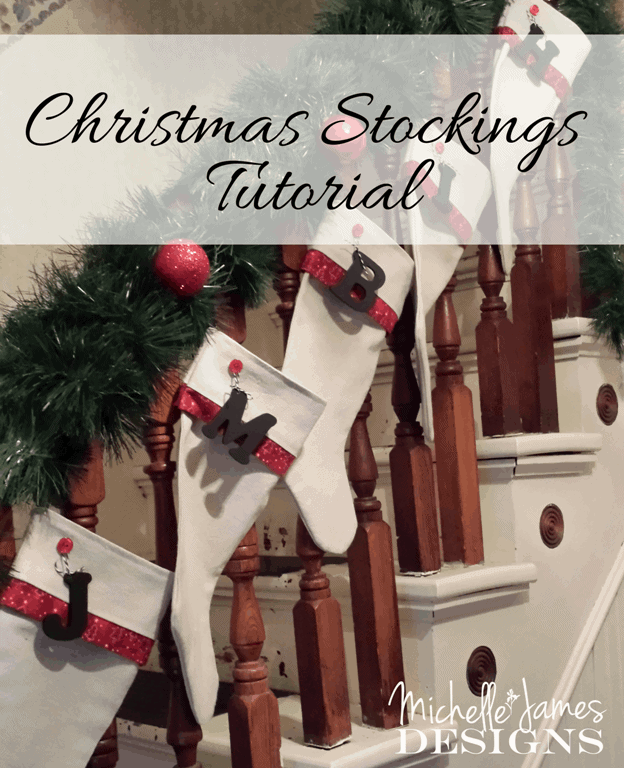
I am so excited I could just scream from the rooftops. Here is why. This is what the old Christmas stockings looked like.
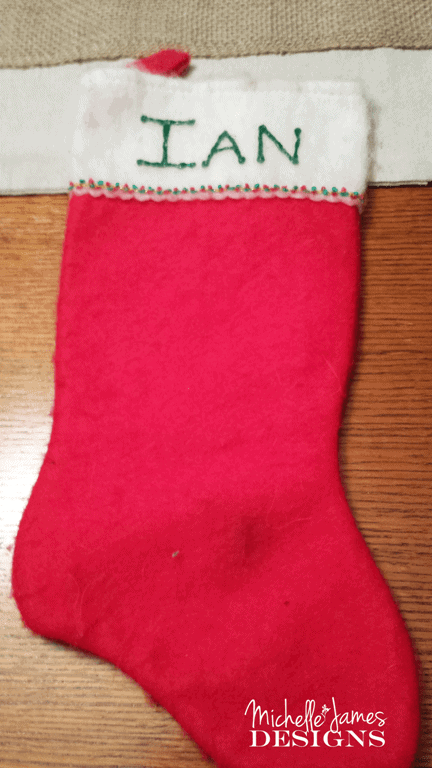
Remember these babies? From the 90’s or sooner! I purchased mine in the 90’s after Ian was born. I got three of them. Then five years later when I had Brian I couldn’t quite fine the exact same one. So, I should have made new stockings for everyone…but no I just purchased one that was a similar as possible. Poor Brian…that could explain a lot. Just kidding. He is a good kid.
Now, with Hailey joining our family I am doing the right thing and making five matching stockings.
I just love the way they turned out. I was following a tutorial by Jann Newton at Newton Custom Interiors. That link will lead you directly to her stocking tutorial on her blog. You really should check it out. She does beautiful work.
I did change a couple of things from her tutorial just because I thought it would take a little less time. It is so precious this time of year.
The supplies I used:
Drop Cloth – I already had a drop cloth that I had picked up at Menard’s for about $19 and have used for a couple of projects including my Ho Ho Ho pillows.
Red fabric for trim – This was given to me by a friend a while ago and was perfect for the Christmas stockings
Black Grosgrain ribbon – I always have black grosgrain ribbon. LOL!
Red buttons – I am a scrapbooker so I definitely had buttons. I just dug through my stash to find five that matched.
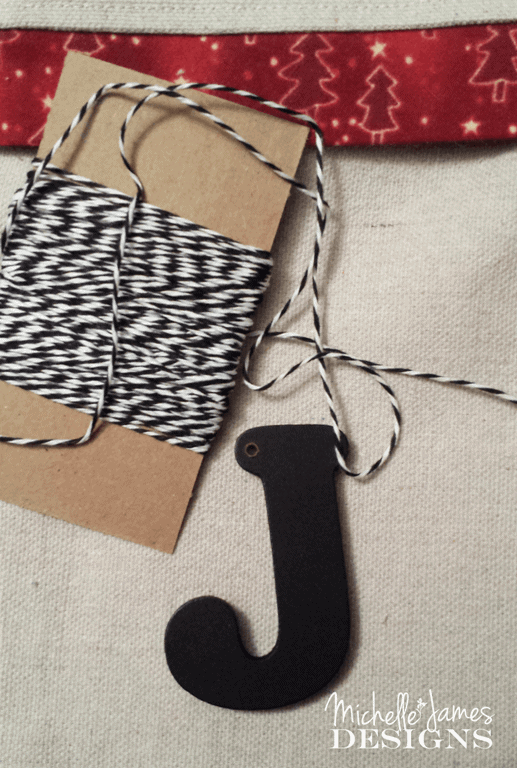
Black bakers twine – Had this too.
Black wooden letters (Michaels) I got these for .99 each! I loved the black.
Ruler
Pencil
Scissors
Sewing Machine
Iron and ironing board
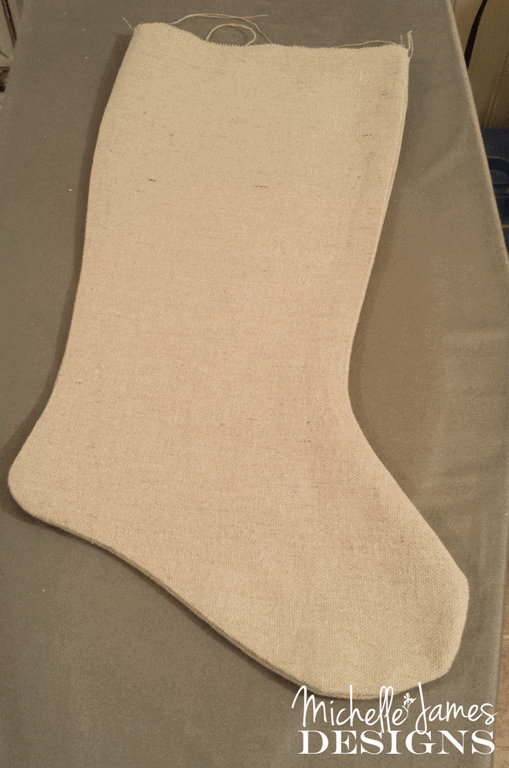
I used the old Christmas stocking as a pattern for the new ones. I wanted them to be come out just a little bigger so I traced all around about an inch away from the old Christmas stocking onto the drop cloth using the pencil and cut. The drop cloth was folded so I cut two pieces at once. The front and the back.
Then I cut the cuff pieces. It was 4″ tall by about 9″ long. (two of them) I used the top of the stocking I had just cut as a measurement for the length. It was 8.5″ wide. I wanted a little “wiggle” room so I used 9″ so it would wrap around the stocking.
Then I cut out the red trim piece. I made it 18″ in length but only 3″ tall.
After I had all of my pieces cut I started putting them together.
I started with the cuff. I placed the two pieces right sides together and stitched just one end. Then pressed my seam open.
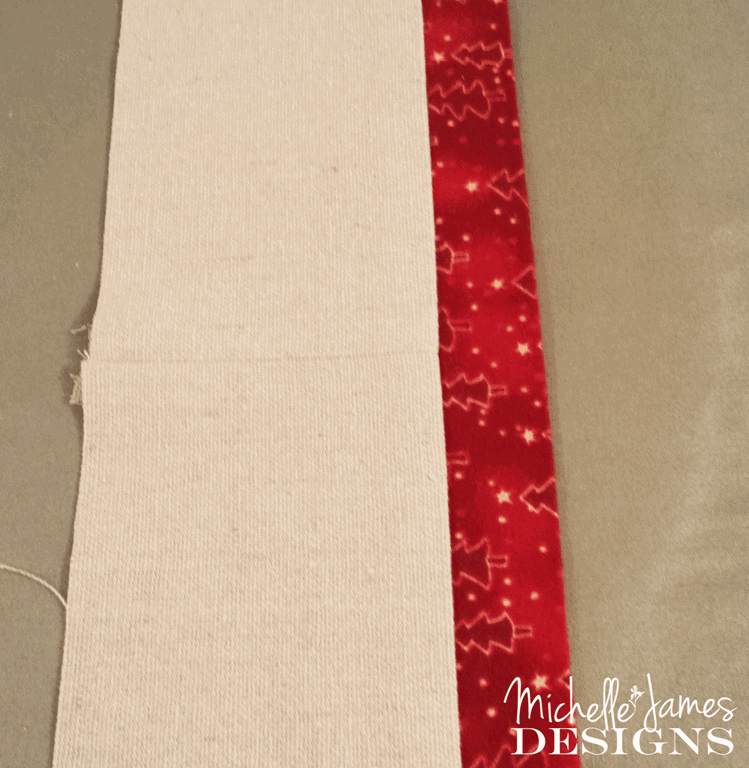
I folded the red fabric trim piece in half longways and pressed it. This makes a nice folded edge for the bottom of the cuff. I stitched it to the long end of the cuff piece as shown below. If you have a pattern that has a distinct top and bottom, make sure it will be facing the right direction after it is stitched and pressed. My fabric has trees so I needed to be careful. 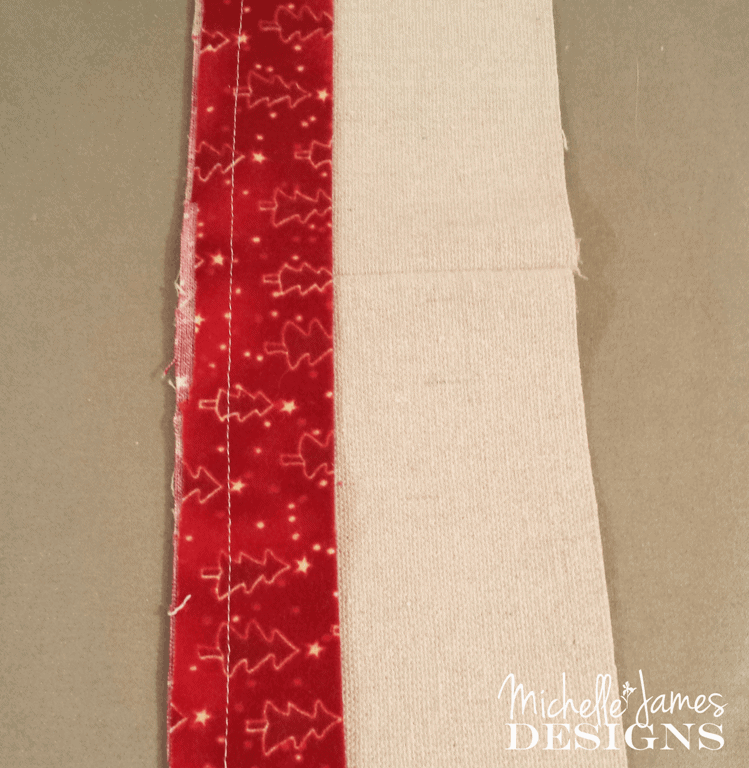
Here is mine after it is pressed.
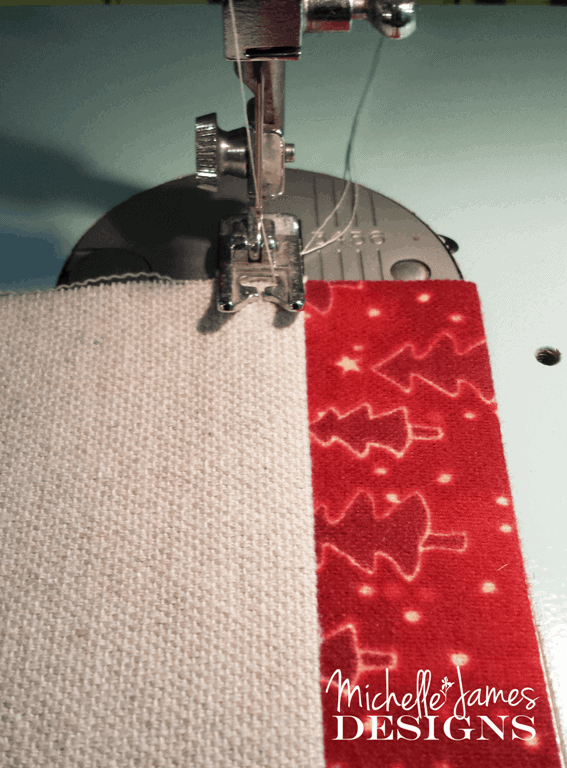
 Then I wanted to top stitch so it would lay nice and flat. I like to line up my presser foot with something (in this case the edge of the drop cloth fabric) This helps me to stitch in a straight line.
When the top stitching was done I was ready to sew the other side seam on the cuff. So with right sides together I stitched the other side to form a “ring”.
Now I needed a stocking to put it on. So I stitched around the edges of the stocking and cut the slits on the curved parts.
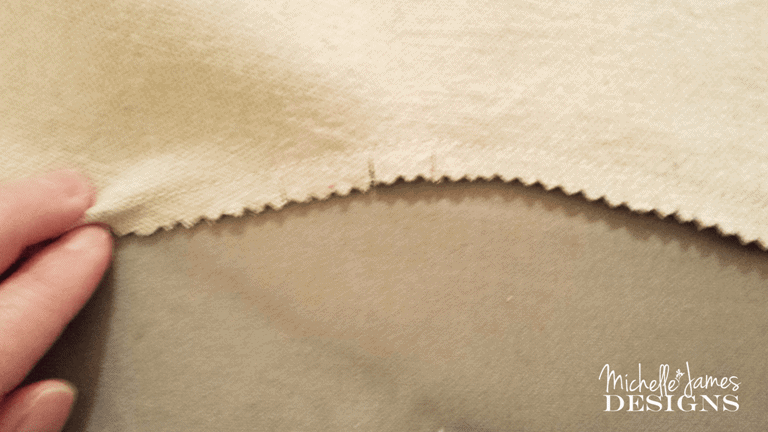
I used the pinking shears around the edges of my stocking pieces. The drop cloth is pretty heavy so i did not line them. The pinked edges help to keep the fraying down.
I turned them right side out and pressed.
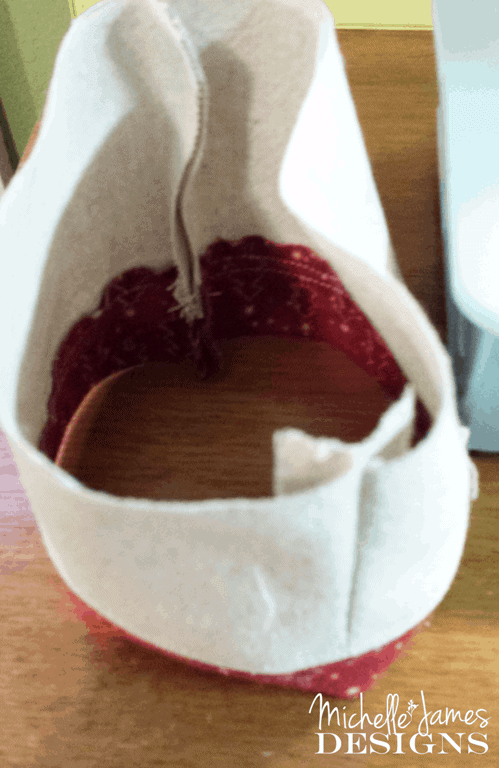
Now it was time to add the cuff, and seriously, this was the hardest part. (It really wasn’t hard at all) Place the cuff inside the stocking but do not turn the stocking inside out. The right side of the cuff piece should be facing the the wrong side of the stocking.
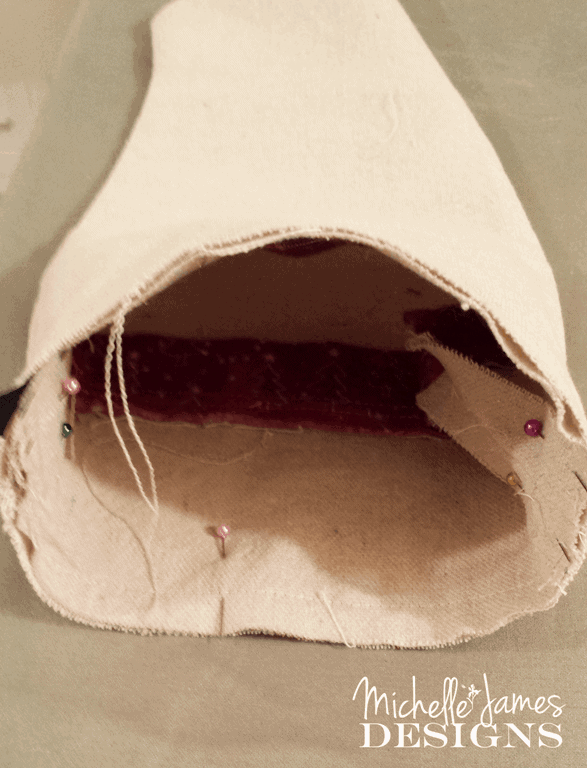
In my picture above I had already stitched but before you do you want to add your ribbon so that it is in the seam. So determine which side you want the Christmas stocking to hang from and add the ribbon to that side.
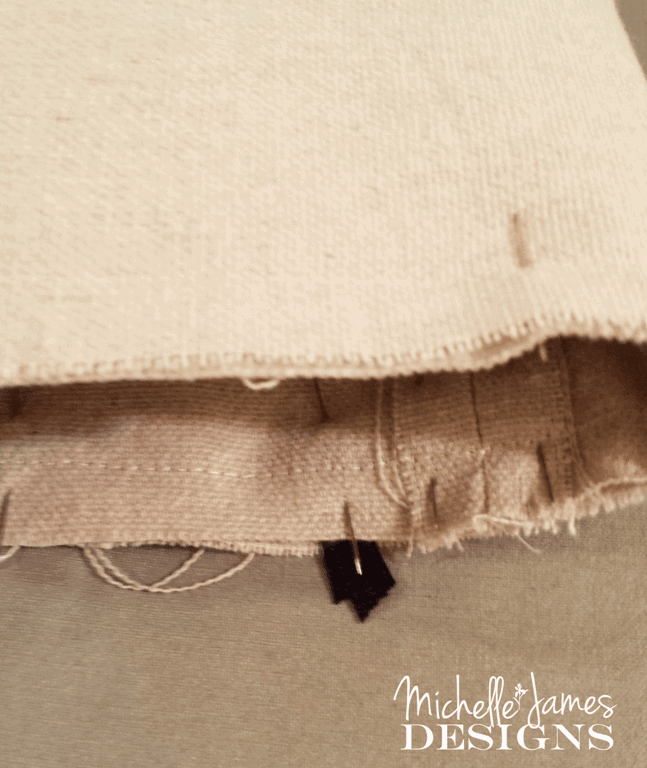
I cut about a 5″ piece of ribbon, folded it in half and placed the loop side down into the cuff. See how the ends are sticking out between the cuff and the stocking?
Stitch around the cuff edges. Then turn the cuff to the outside and press.
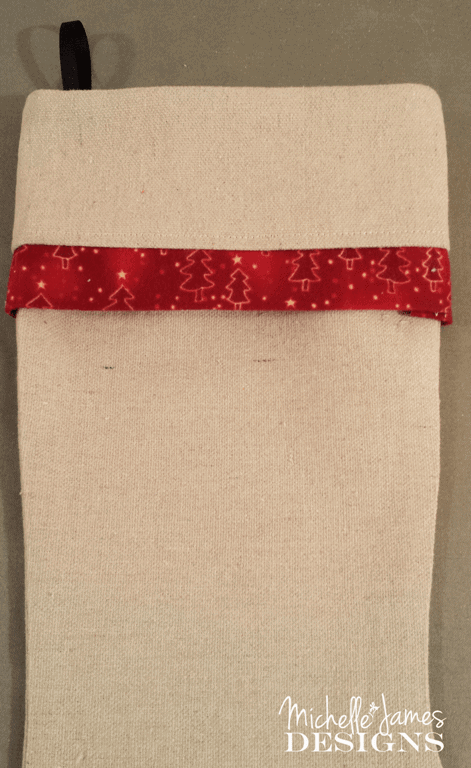
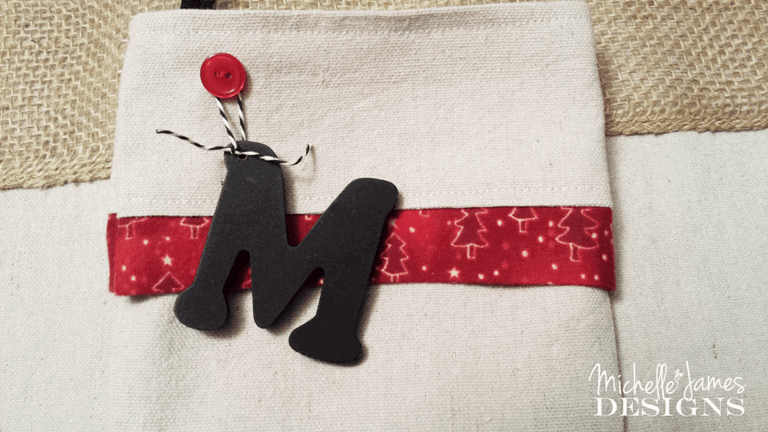
Then I top stitched again around the top edge. Mainly because I like the way it looks but also because it helps hold it down. I added the red button to each one close to the upper left corner on the front.

Now it was time to add the fun black letters.

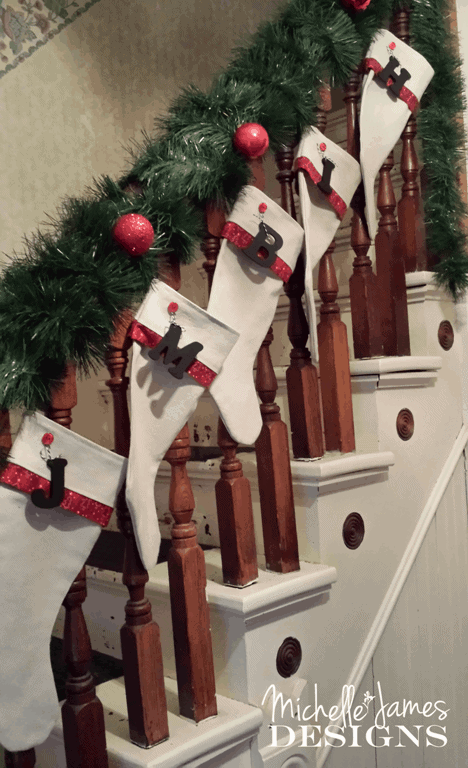
Jeff, Michelle, Brian, Ian & Hailey! Jeff drilled holes in each letter for me and I used the bakers twine to hang them from the buttons.
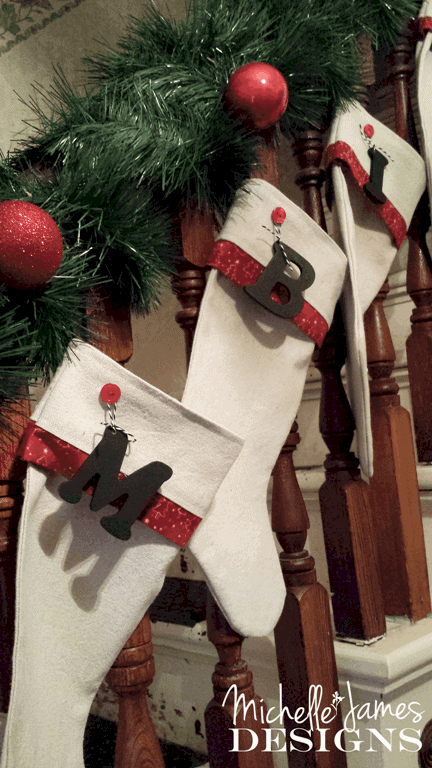
And there you have it. Easy peasy right? I started these on Saturday afternoon and had finished all but attaching the wood letter by 8:30 in the evening. And, I made our supper, ate and did the dishes in that time frame as well. So, it really did not take as long as I thought it would.
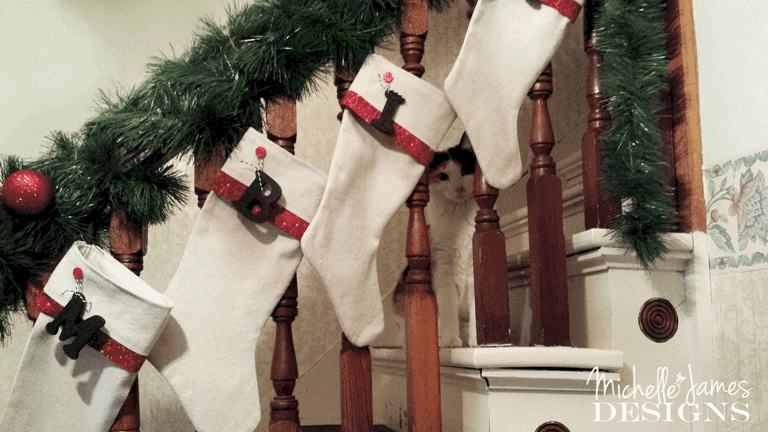
We don’t have a fireplace so they are hanging from the banister. This is just off the living room so I can see them from the sofa.
Lizzie likes to photo bomb my pictures. This time she was pretty sneaky about it. LOL!
I hope you liked my tutorial for the Christmas stockings and I hope you will make your own. They really were a fun project. And in my case, a much needed project. If you like this post please share! I had to remove the Facebook share button because it is acting wonky. Please copy and paste the url then share to FB. Thanks so much.
I am sharing this post at:

Crystal & Co.
Saturday 24th of January 2015
I absolutely ADORE personalized Christmas stocking. You make this look so very easy!
Michelle
Saturday 24th of January 2015
Thanks so much Crystal! I am really excited that you stopped by. I had fun making these stockings and they were badly needed. I have to say that I think they turned out pretty good even for this lazy sewer! LOL!
Lynsey
Friday 19th of December 2014
I LOVE them! They are so beautiful and understated. Perfect!
Michelle
Friday 19th of December 2014
Thanks Lynsey. I appreciate you stopping by. We like simple at our house. LOL!
Wendy
Friday 19th of December 2014
Lucky family to have such a talented mom! These stockings are elegant in their simple lines and colors. I bet everyone is thrilled to have their new personalized stockings! Happy holidays. :)
Michelle
Friday 19th of December 2014
Thank you Wendy. Such a nice comment. So far they do like them.
Jann from Newton Custom Interiors
Wednesday 17th of December 2014
Michelle, they turned out great! Love the black initials.
Michelle
Wednesday 17th of December 2014
Thanks Jann! I thought your tutorial was wonderful and it sparked so much inspiration. I love the black as well. I was told once in a class I took that a little bit of black always makes the other colors pop. I have never forgotten that and now I incorporate at least a small amount of black in almost everything I create. Thanks so much for stopping by.