This post takes me back to my stamping roots. My stamp store opened in 1998 and closed in 2010. I have continued with some card making but not a lot of rubber stamping or technique based cards. I am so pumped up about getting back into it. There are so many new tools and stamp sets, and inks and I could go on and on! I can’t afford to purchase all of it at once but I will have fun getting a few things each week or so and passing what I learn to you. Let’s get started with some creative card ideas. Today we are using my newest cut file design that I have just added to my resource library, cutting some vinyl text and pairing them with some pretty nice distress inks.


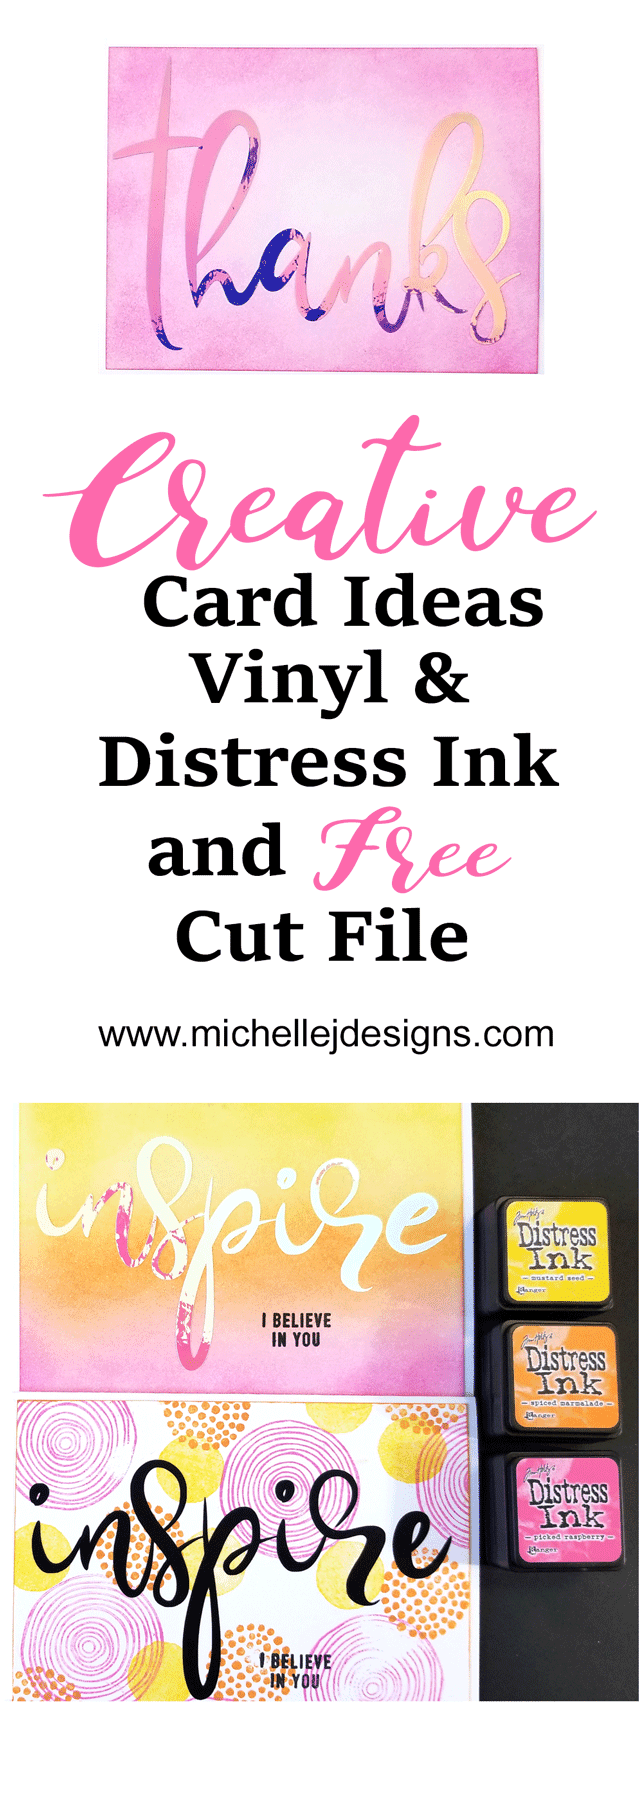
Creative Card Ideas – Opal Vinyl & Distress Inks
This is my March post for StyleTechCraft. I have been on the design team for this company for a few months now and I love that they send me product to use. This month we all used the opal vinyl and I also added in some black matte vinyl.
I had a hard time deciding on a background for the opal vinyl. It is so pretty and changes colors as you move it to the light so adding something busy like patterned paper didn’t look right. But a solid sheet of background was boring and uneventful. What I wanted was to create a somewhat solid background but use a fun technique to get there.
I have designed a special, free cut file for the six vinyl words. Two of them were used for the cards in this post but they include: Love, Inspire, Thanks, Enjoy, Hello and Sweet. You can find the free file in my resource library.
You can also sign up at the bottom of this post.
If you want to follow StyleTechCraft on social media you can find them at:
Facebook, Pinterest, Instagram and You Tube
![]()
![]()
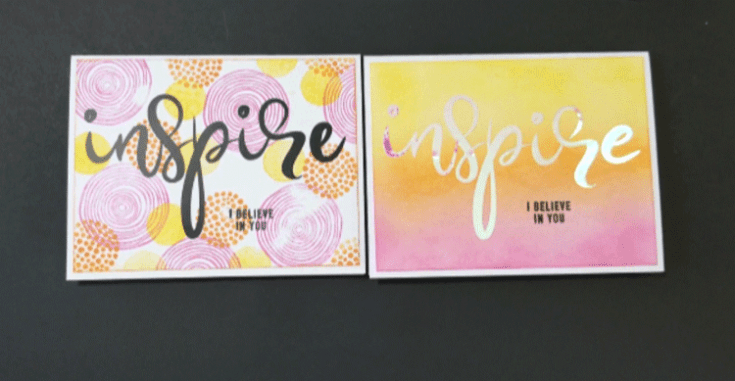
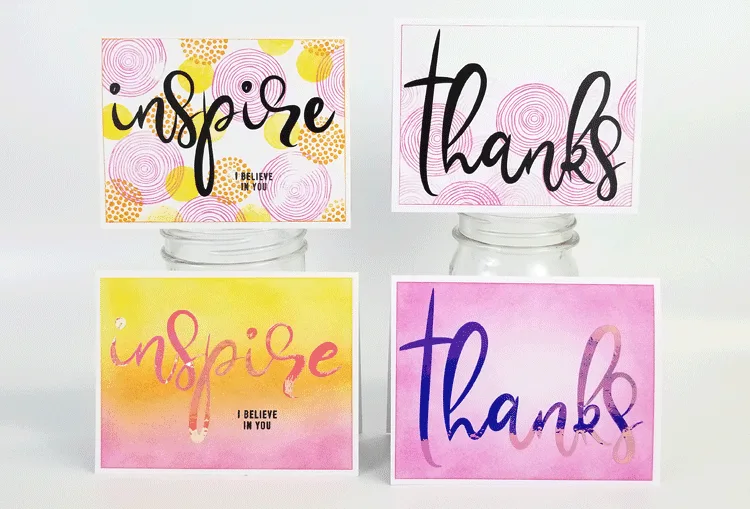
I used the “inspire” and the “thanks” for these cards but you get all six so you can make many more cards of your own.
You can watch my step-by-step video tutorial for the “inspire” card below!
You can watch my step-by-step video tutorial for the “thanks” card below!
Materials Needed (for both cards)
I have included some affiliate links for your convenience. You can read my full disclosure here.
Creative Card Ideas - Vinyl & Distress Ink

Colorful and fun creative card ideas using vinyl, inks and stamps!
Materials
Instructions
- Cut a piece of white card stock 5.25 x 4 inches
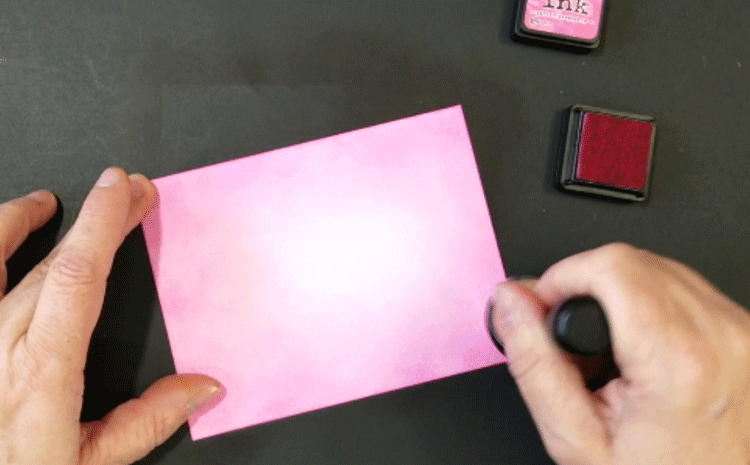
- Using the distress inks and the blender tool, create your background by adding ink to the card stock in small circular motions blending as you go. For the Inspire card I used three colors, yellow, orange and pink and blended them into each other. For Thanks card I added pink ink around the edges and blended into center creating a gradient that is light in the middle and gets darker to the edges all the way around the card.
- Cut the vinyl words from the opal vinyl
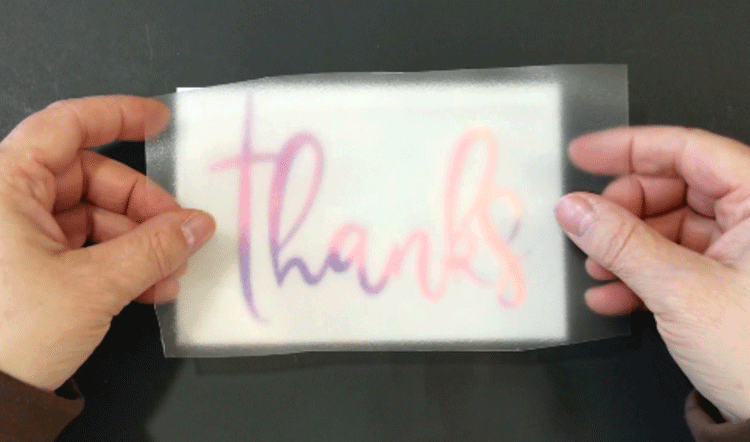
- Weed the vinyl and add transfer tape to the top
- Apply the vinyl to the background piece
- Add a stamped sentiment (optional) using the stamp set and black ink
- Fold a piece of 8.5 x 5.5 inch card stock in half for card base
- Adhere the background piece to the center on the card base
Cards With Black Vinyl
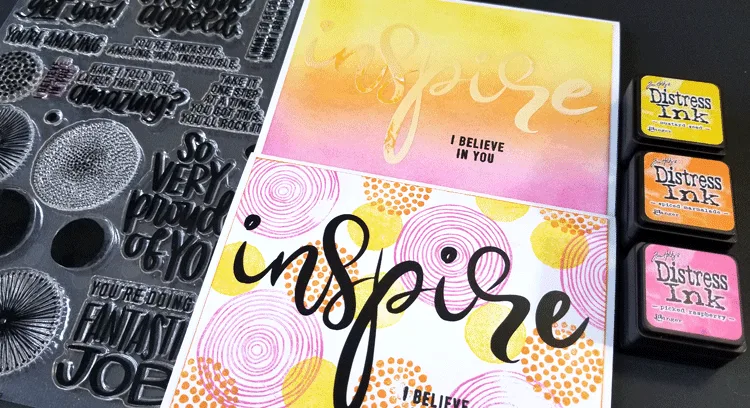
Instead of blending a background, create one using the stamp set and different colors. I used the circle stamps in different colors for the Inspire card and the pink ink with a circle stamp for the Thanks card
Notes
The opal vinyl had a hard time adhering to the blended backgrounds fro some reason. It took a little patience but was worth it in the end. It looks fabulous and once it was down it stayed down.
Inspire Card
Step 1: Create your background
Cut a piece of white card stock that measures 5.25″ x 4″.
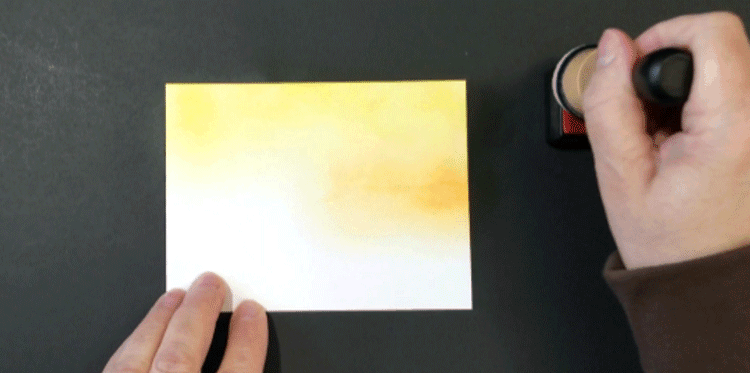
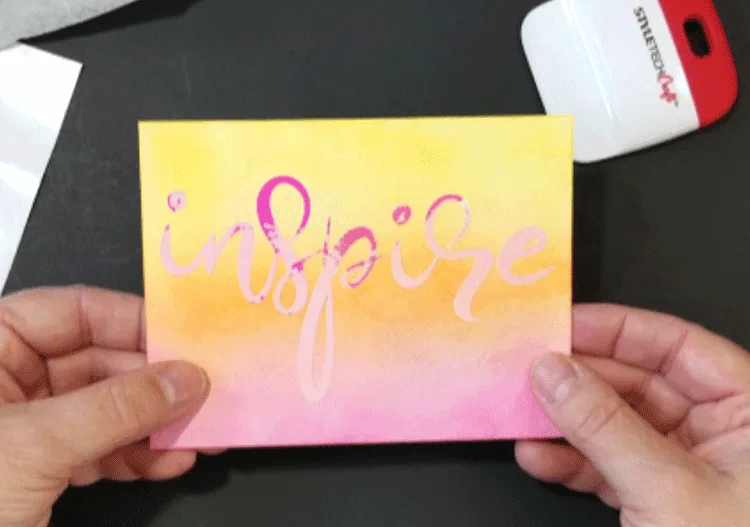
The opal vinyl is so pretty so I didn’t want a busy background. I created my own background by blending distress ink colors onto the card stock. Yellow, Orange and pink were my colors of choice.
Start with the yellow ink and start adding it to the card stock in a circular motion with the blending tool. The idea is to blend the ink into the next color. You can see how the yellow is blending into the orange below it.
I have a round ink dauber for each color.
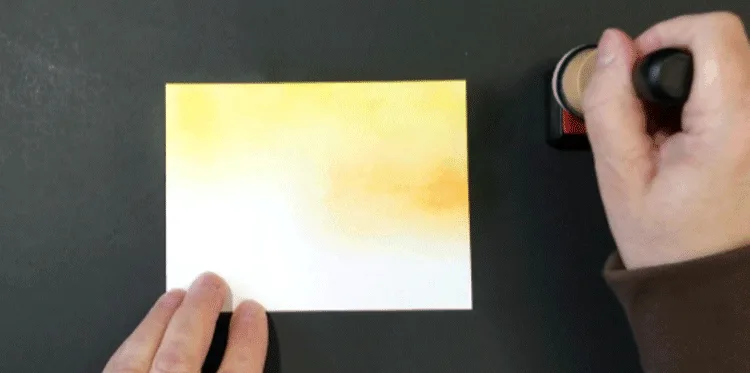
After the orange, add some pink to the bottom.

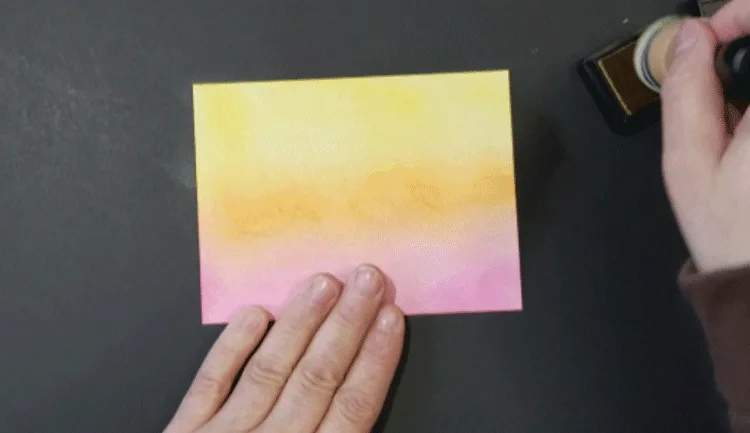
Blend until you like the way it looks.
Step 2: Cut and add the vinyl text
For this card I used “inspire”. I cut it out of the opal vinyl using my Silhouette and weeded out the extra vinyl.
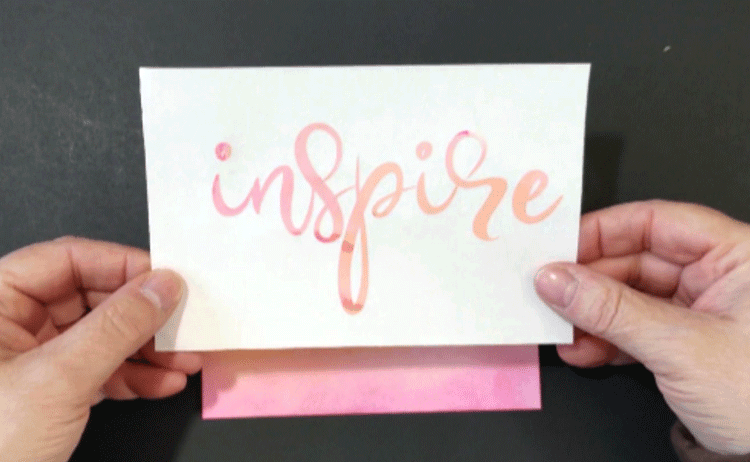
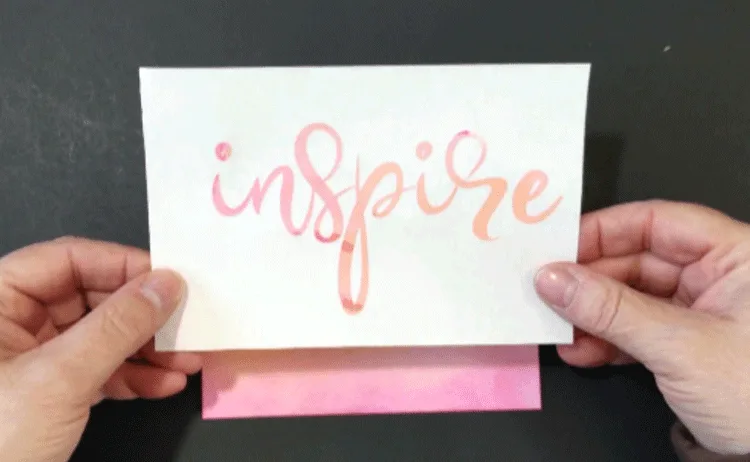
The photo doesn’t capture how the color changes when you move it around. Check out my You Tube step-by-step video above to see it in action.
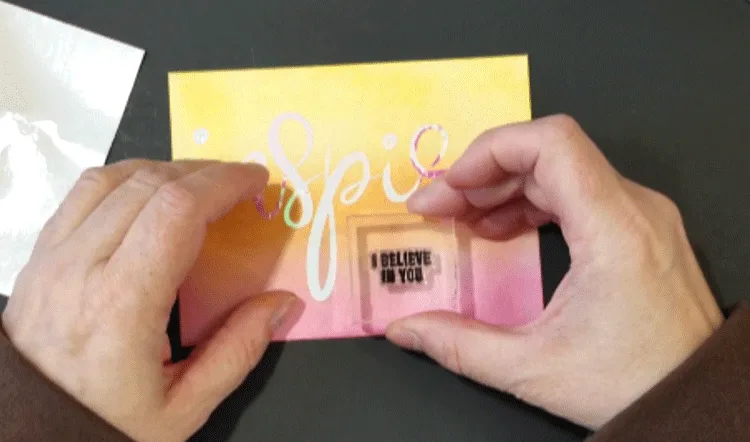
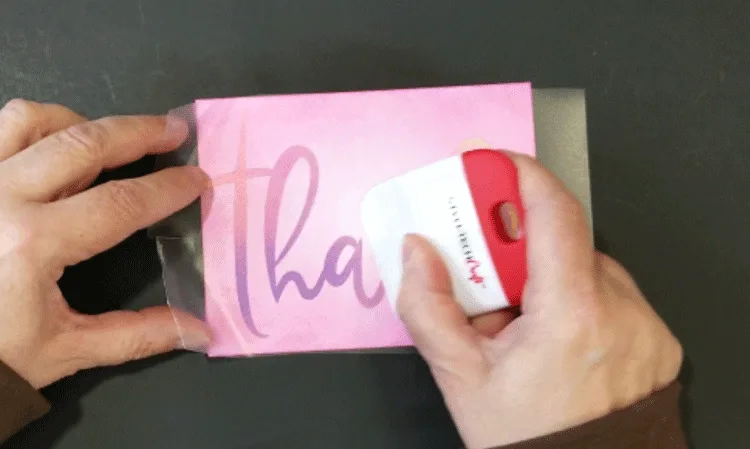
Use the transfer tape to remove it from the backing in one piece.

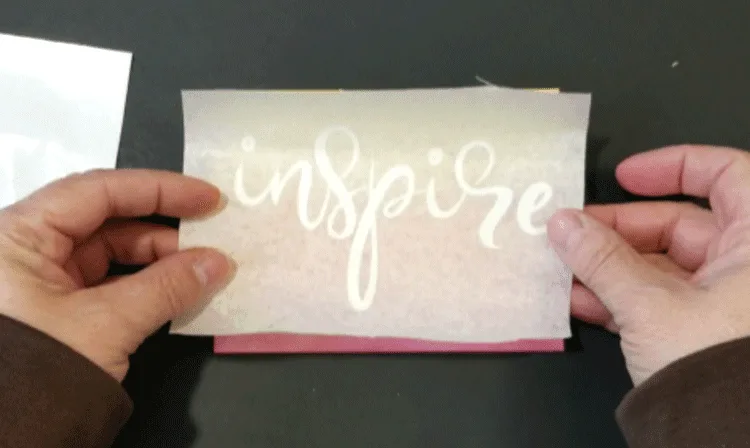
Place it where you want it then remove the transfer tape.
This was the most difficult part. It did not want to stick to the inked background. I really had to be patient and help it along. But, once I got it onto the card background it stayed there and I was really happy with the way it looked.

Step 4: Add your sentiment
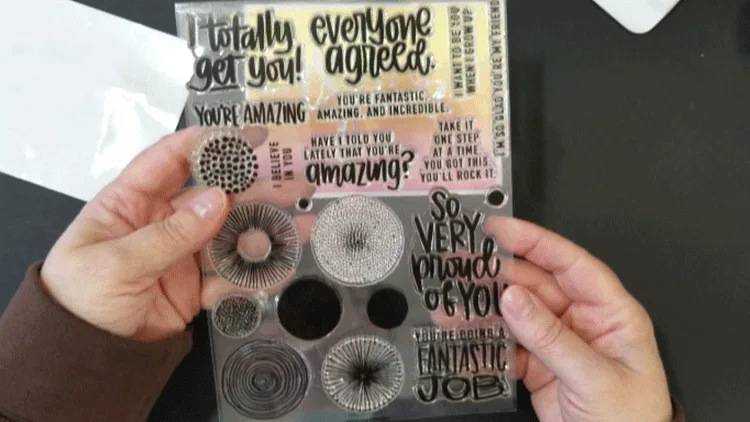
I decided to get a new stamp set. Sometimes you just have to update. Actuallly, I purchased the Stamp Of The Month (March) kit from Simon Says Stamp. This set was in the kit but there was also a smaller stamp set with a St. Patrick’s Day theme, some paper, a mini ink pad, some embellishments and envelopes. It was a great deal.
I used the Amazing clear stamp set for the sentiment on this card.


Step 5: Assemble the card
Fold an 8.5″ x 5.5″ piece of white card stock in half (like a hamburger, not a hot dot), center the background piece and adhere it to the card base.
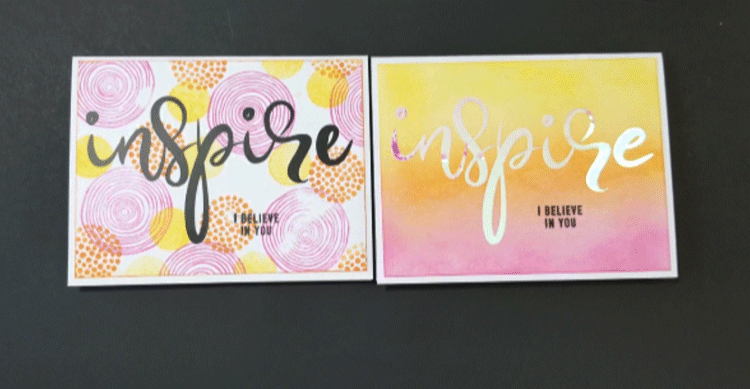
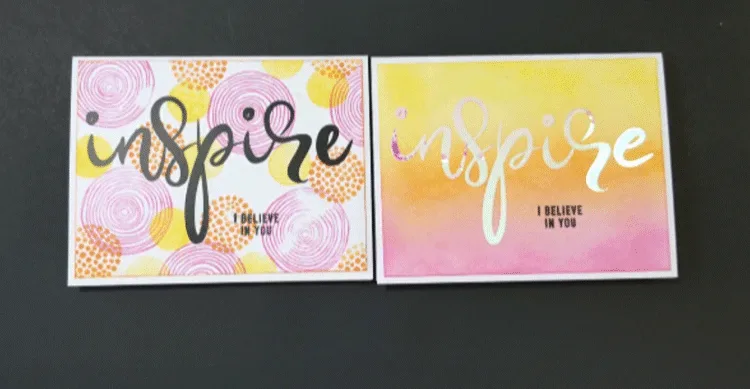
I also created another version of this card using black vinyl and using the same stamp set and ink colors to stamp a unique background. It turned out especially nice as well!
Thanks Card Instructions
These are very similar to the instructions above so I will not repeat the words but I will show the photos. I am sure you will get the jist!
Step 1: Create your background
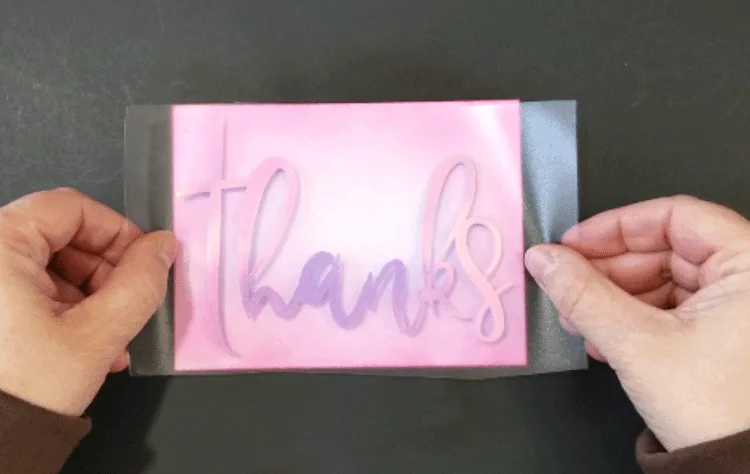
I used the same ink blending process but I only used the pink and created a gradient to the center of the card.

Step 2: Cut and add the vinyl text
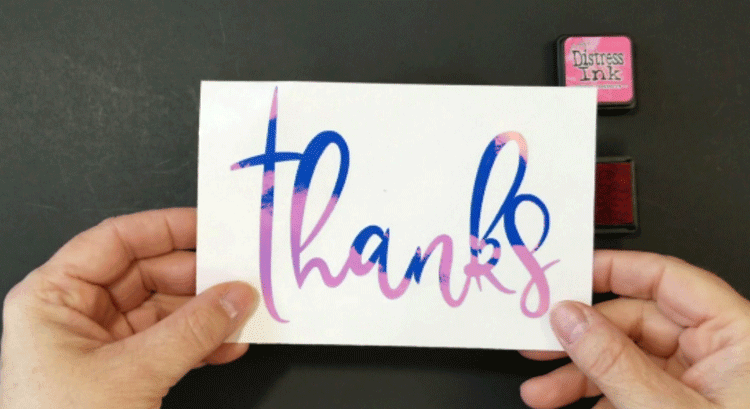
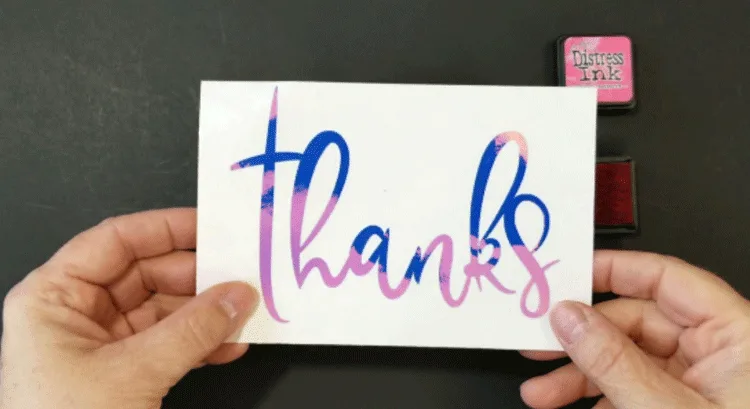
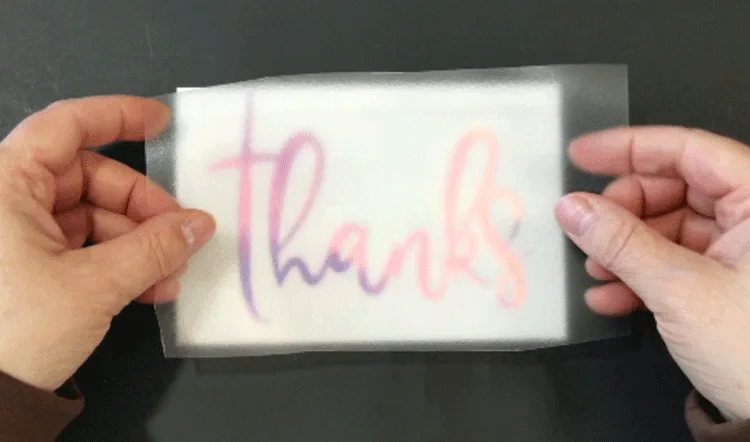


Step 3: Assemble the card
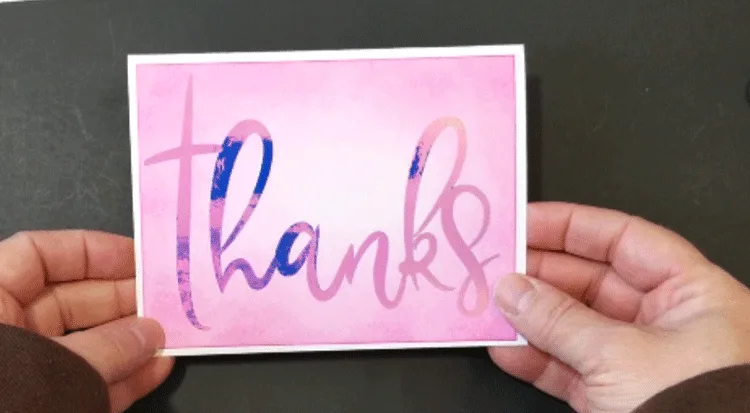
This piece now just needs to be added to a folded card base (5.5 x 8.5 inches)

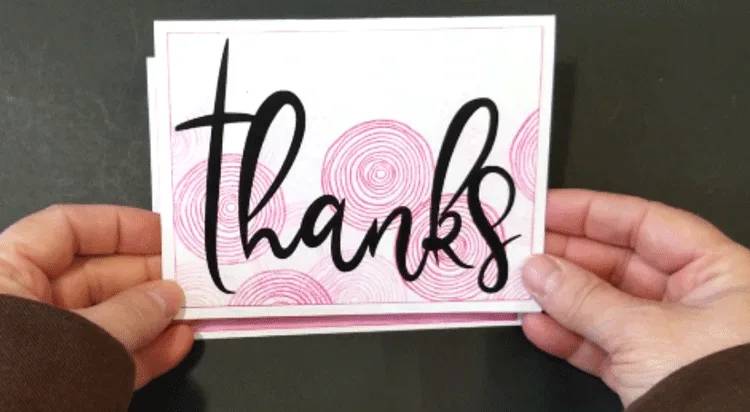
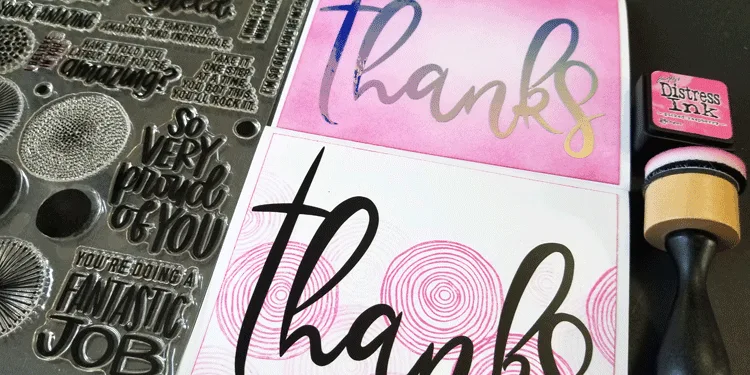
The second version of this card with black vinyl includes a stamped background.
I created the various pink shades by repeating the stamping without re-inking the stamp. Or by inking the stamp then stamping onto a scratch paper before stamping onto the project.

All of these cards came out so cute. And I have four more text files to play with. Be sure to sign up below for access to the free resource library. You will find all sorts of printables and more.
My final cards turned out really nice.


I hope you enjoyed this card tutorial. If you love making cards and would like to see more card making techniques please let me know. I would love some ideas for new posts! In the meantime I loved creating these and will definitely be making more!


Thanks so much for stopping by,
Michelle

