Learn how to use a Dollar Tree cutting board and make it into a custom glass cutting board just by adding a design to the back. It is so easy and fun!
Okay you guys…you know I love my Dollar Tree. Where else can you get such great crafting items for $1? Unless you are at a thrift store purchasing a used item, nowhere!
Thrift stores are the next best thing though…don’t get me wrong. But new items are awesome.
For this project you can actually get all of the materials at the Dollar Tree. Including the Mod Podge.
You are going to see how you can create a custom glass cutting board for yourself or to give as a great gift in just a matter of a couple of hours.
Let’s get started!
If you love painting and making glass crafts and gifts you will love it here.
and…
If you LOVE Dollar Tree crafts and gifts then you are definitely in the right place.

Custom Glass Cutting Board
Don’t you love the glass cutting boards from Dollar Tree? They are available in a round or a square shape and can be completely customized.
I made this Breaking Bad glass cutting board for my son and his wife and they use it all of the time.
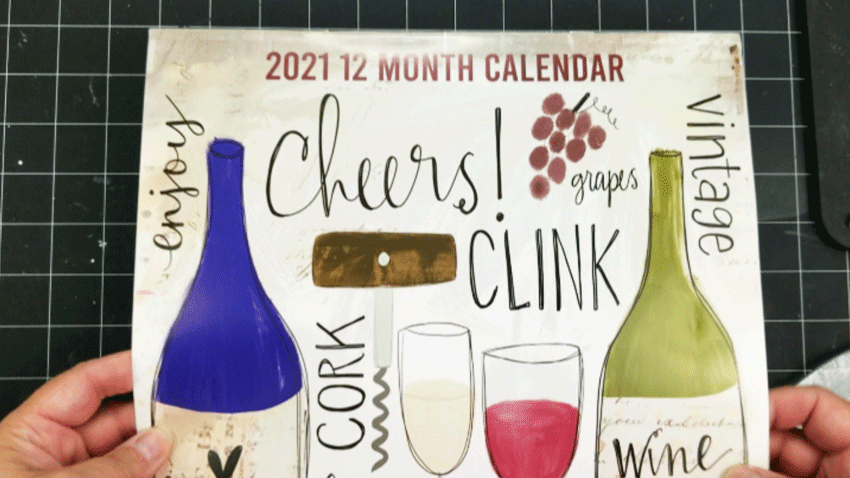
Any item you can Mod Podge will work for this. I happened to have some of the Dollar Tree calendars and I thought the wine themed calendar would be perfect for this DIY.
Materials Needed
I have added some affiliate links for your convenience. You can see my full disclosure here.
- Dollar Tree glass cutting board
- Dollar Tree wine calendar
- Mod Podge
- Acrylic Paint (optional)
- Screwdriver
- Nail polish remover
- Foam brush
- Scissors
- Sharpie or pen or pencil
- E6000 adhesive
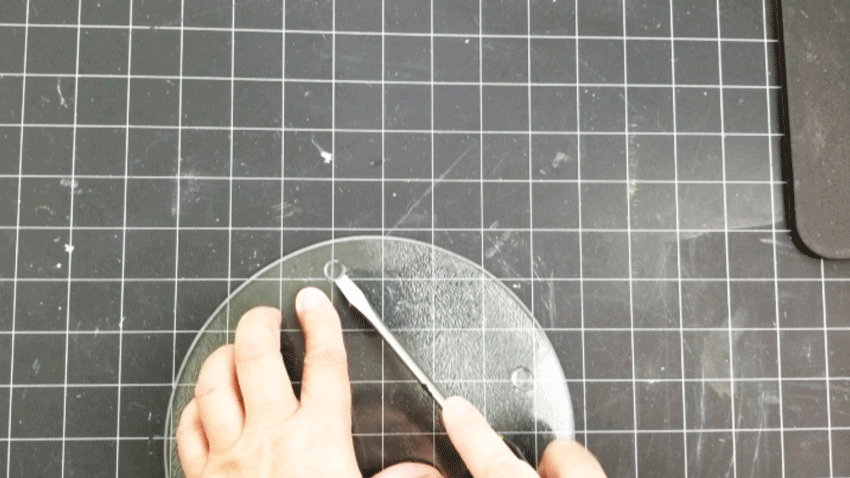
Step 1: Remove the gripper feet from the cutting board
Each of the cutting boards have little rubber-ish feet on the bottom.
In order to get the paper to lay flat they need to be removed.
Use a flathead screwdriver and just pry them loose from the glass.
Once they are gone clean the adhesive off with a cotton ball and some nail polish remover.


If there is any residue left over just use warm water and soap. Then dry it completely. This is what I ended up doing.
Step 2: Find your design
I used a Dollar Tree wine calendar for my design. I flipped through the pages until I found one that looked good with my cutting board.

Step 3: Trace around the cutting board & cut the shape
Use a sharpie, or pencil or pen, whatever you have handy, to trace around the glass cutting board.


Use a scissor to cut inside of the line you traced.
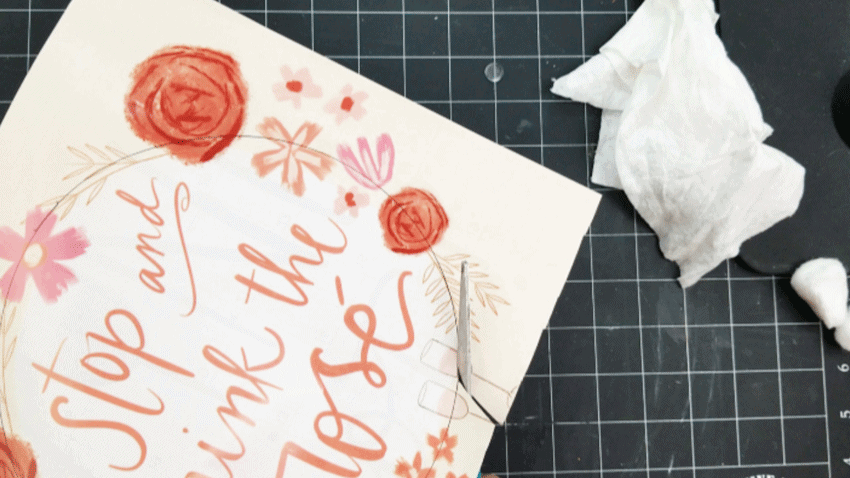
Once it is cut, place it onto the cutting board to make sure it is a good fit.
Mine was peeking over the edge in a couple of places so I trimmed it a little bit more.

Keep trimming until you get it just the way you want it.
Step 4: Add the Mod Podge
Set your paper design aside and grab your Mod Podge and the foam brush.
Apply a good amount of Mod Podge on the glass to fully cover the back of the Dollar Tree glass cutting board.
You may be asking does Mod Podge work on glass? Yes, yes it does.
This is how you use Mod Podge on glass with paper. Use a generous amount to cover the glass.

Carefully place your cut out design onto the Mod Podge face down. You are able to slide it around a little bit.
Then go over it again with another coat of Mod Podge.
Let the Mod Podge dry completely.
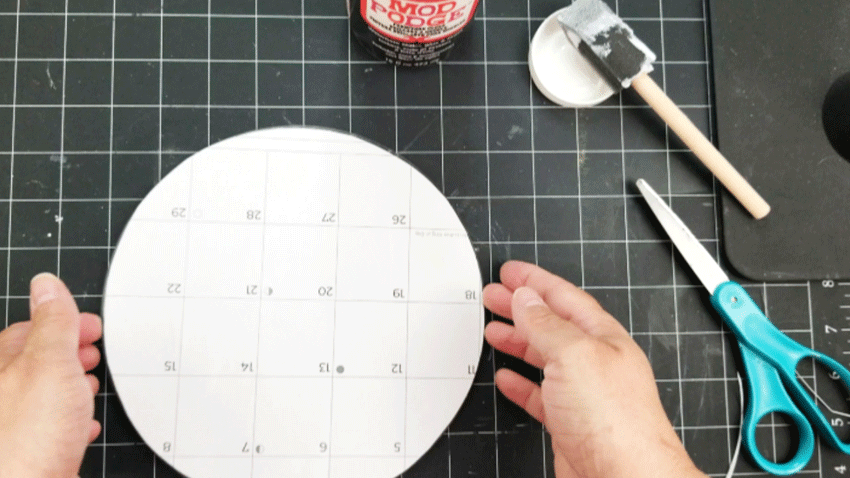
Step 5: Apply the paint
This step is optional but I didn’t want the bottom of my glass cutting board to look like a calendar.
I added 3 coats of paint. But even then I can still see those lines and numbers a little bit.

After the 3 coats of paint I gave it one more coat of Mod Podge. This just helps to seal it.
I feel more comfortable getting it wet a little bit if it is sealed. You don’t want to submerge it in water and you always want to hand wash your cutting board but this helps.
Step 6: Add the gripper feet back on
I used E6000 glue to adhere the same feet back on again. The feet do help it from scooting across the counter when you are cutting things. So I like them.

You can see that my paper bubbled a little bit. It is more noticeable in the photo with the lights than in real life and since they cannot be seen from the front I didn’t worry about it too much.

Once the feet are back on you are all done!
I love quick and easy projects. You can let the Mod Podge and paint dry during your favorite TV show and add another coat during the commercials. LOL!
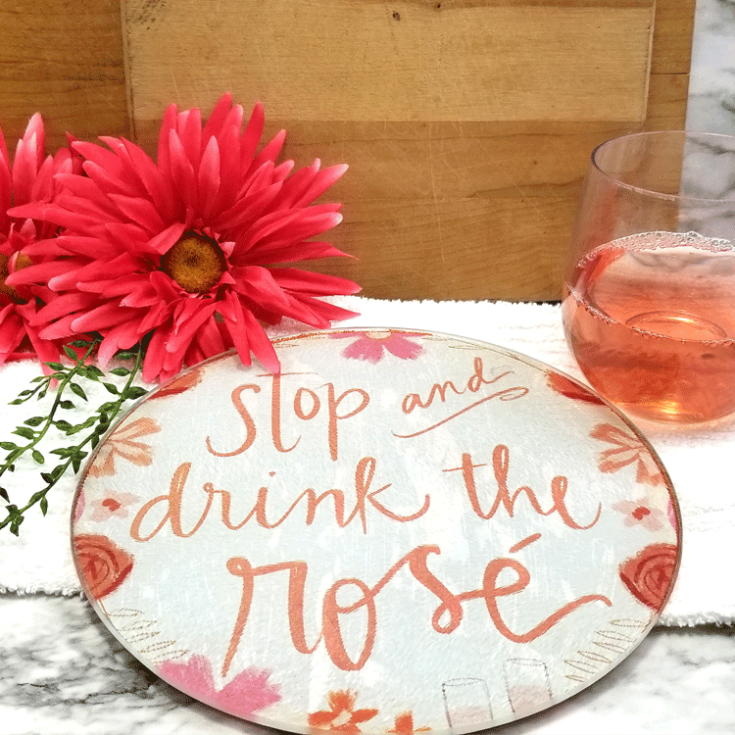
It is super cute!

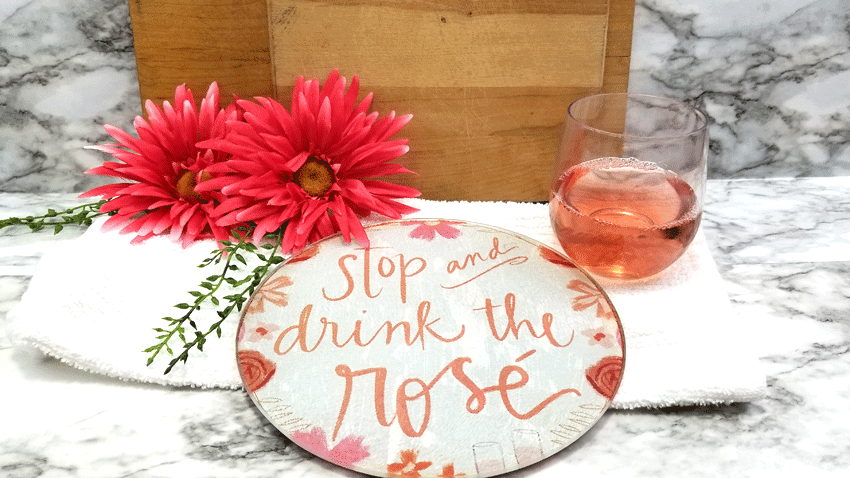
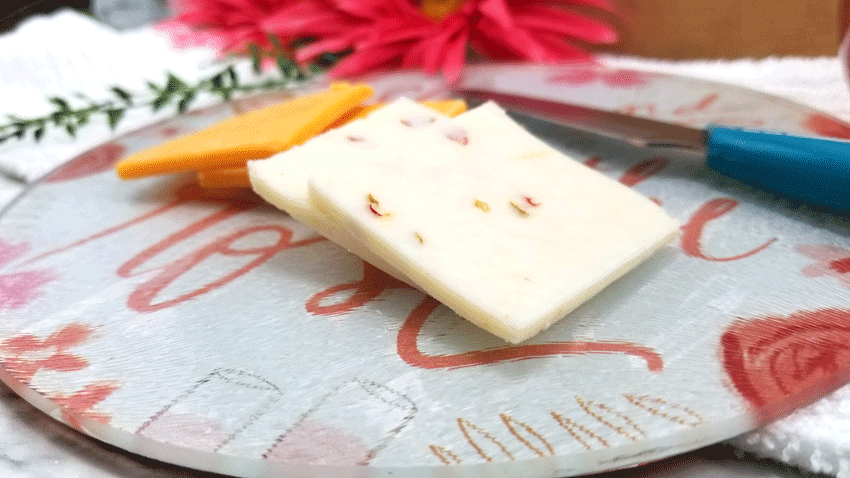
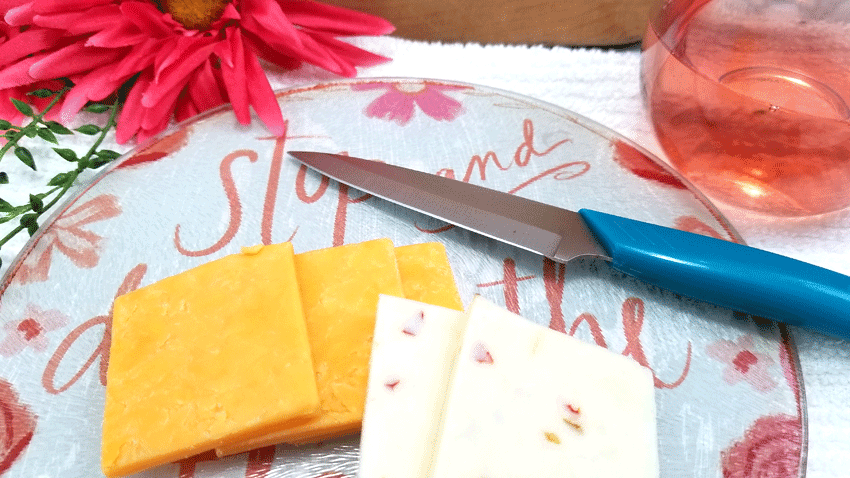
And it looks great with the rose wine…of course!
I have added some printable instructions below for you.
Dollar Tree Custom Glass Cutting Board

Learn how to use a Dollar Tree cutting board and make it into a custom glass cutting board just by adding a design to the back. It is so easy and fun!
Materials
- Dollar Tree Glass Cutting Board
- Wine Calendar
- Mod Podge
- Acrylic paint
- E6000 adhesive
Tools
- Foam Brush
- Scissor
- Sharpie or pencil or pen
- Flathead Screwdriver
Instructions
- Use the screwdriver to remove the gripper feet from the bottom of the Dollar Tree glass cutting board.
- Remove the extra adhesive that is left behind and clean the surface of the cutting board.
- Find your design. I used a page from the 2021 Dollar Tree Wine calendar.
- Use the sharpie to trace around the cutting board onto the page.
- Cut just inside the line to make the piece a little smaller than the cutting board.
- Trim if needed.
- Add Mod Podge to the glass on the back, or bottom of the glass cutting board using the foam brush.
- Carefully place your cut pieces onto the Mod Podge and smooth out bubbles as best you can.
- Apply another coat of the Mod Podge on top of the paper.
- When the Mod Podge is completely dry add a few coats of acrylic paint to cover the calendar. Mine still shows a little bit after 3 coats.
- Then apply one more coat of Mod Podge to help seal it in.
- Use the E6000 adhesive to add the little gripper feet back onto the bottom of the glass cutting board.
- Enjoy!
Recommended Products
As an Amazon Associate and member of other affiliate programs, I earn from qualifying purchases.
-
 Tempered Glass Cutting Board Set of 4, Non Slip Glass Trays for Kitchen Countertop by Murrey Home, Heat Resistant, Stain Resistant, 11.75"x15.75" & Round 11.75"
 -
 C M It's not really drinking alone if the cat is home stemless wine glass, 17oz. Lead Free Crystal (cat) - Laser Etched (C1)
 -
 TF PUBLISHING 2021 Wine Not? Monthly Wall Calendar - - Appointment Tracker - Contacts and Notes - Home or Office Planning - Matte 12"x12"
Hey! If you love some great Mod Podge projects, check out these planters from Our Crafty Mom!
Thanks so much for stopping by and happy crafting!
Michelle


Courtney
Wednesday 14th of May 2025
I do this craft quite often, as well as reverse paintings on these cutting boards. But never did I ever think the rubber grommets would come off that well. Isn't there a lip on them the keep the feet from sliding? Yes I know dollar treee- but the ones I get at my local D.T. have a ledge only around the grippers. If bubbles bother other people you can poke a needle size hole (I use tip of xacto blade) and gently push on the wet paper/ with foam brush. DAB DONT RUB!