Adding Dixie Belle transfers to a metal watering can gives you instant, beautiful DIY metal garden art. It is easy, pretty and colorful.
This year as I was shopping at different greenhouses in my area I notice some really cute watering cans that were actually hanging flower pots.
I loved them and wanted one for my own. But I wanted one that had a design instead of just a plain color.
So I purchased a galvanized metal watering can for $10 at Menards and made my own DIY metal garden art and planter. You can do the same thing.
These were scraps from the Dixie Belle transfers that I used on My dragonfly DIY wood craft project. And it also is the same colors as the frames I used to decorate my fence. It all ties together to create a cohesive space.
If you love DIY metal projects you can click here to find more metal crafts inspiration!
DIY Metal Garden Art
I am definitely calling this art. Even though it was an easy project it looks so amazing that I think art is the perfect word for it.
Materials Needed
I have added some affiliate links for your convenience. You can see my full disclosure here.
- Watering can – The one I purchased is on this page but is $34.99. I got mine at Menards for $9.99 so maybe Lowes or Home Depot will have them.
- Dixie Belle Transfers – Latin Floral
- Gator Hide Sealer
- Foam Brush
- Plants to plant in the watering can
- Drill and drill bits
Step 1: Prepare the metal watering can
The only thing I needed to do was to drill holes in the bottom since I was using it as a planter.
And I did a test of the transfer just to make sure it would stick onto the metal. It worked great so I moved forward. You can see the little flower at the top left of the can.
Step 2: Gather your transfers
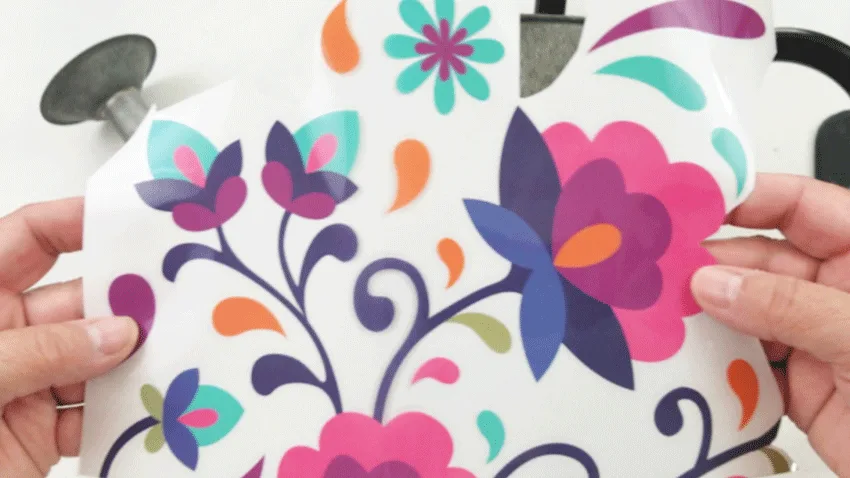
These are parts that were left over from my dragonfly fence decor. I found two great pieces that had a good straight edge on one side. If it wasn’t straight I just trimmed it a little with the scissors.
Since I had mirrored the wings on my dragonfly with the transfers I had two pieces that could work for the watering can.
All I did was make sure there was a fairly straight edge at the bottom and there were no “cut off” designs at the top.
I didn’t want half of a flower or something. So I trimmed those off the transfer.
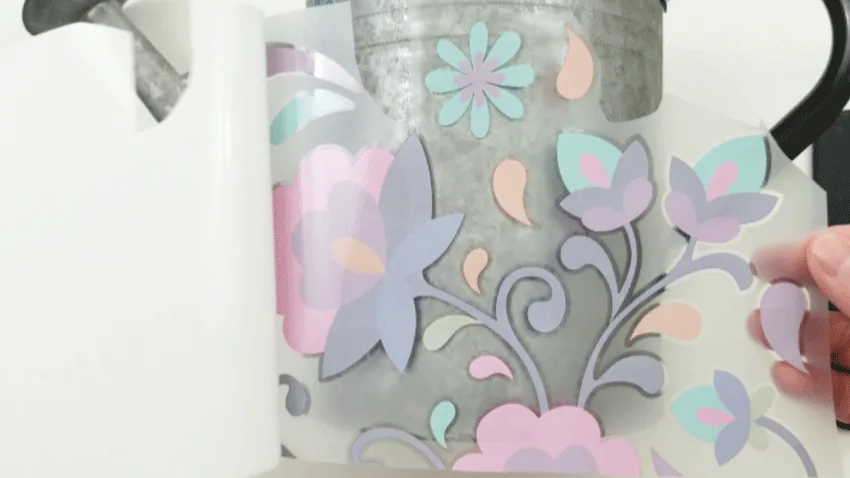
And I wanted to keep the design to the body of the watering can. I didn’t want it on the spout or the handle. I just had to adjust it’s placement a little bit to avoid these things. Basically it was perfect.
Step 3: Attach the transfer
Once you have your piece figured out, removing the backing piece.
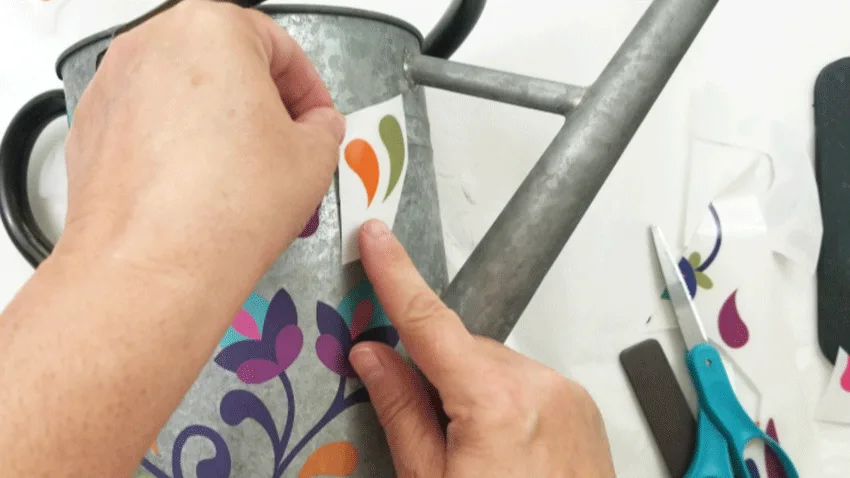
Place it onto the watering can and starting burnishing the design with the tool that is included with the transfers.
Once the main transfer is done you can add in little flowers or curly cues where ever you think it needs some.
When you are done with the first side, repeat this process on the opposite side of the watering can.
Step 4: Add the Gator Hide sealer
Use a foam brush to add on 2-3 coats of the Gator Hide sealer. Let it dry for at least 2 hours between coats.
Step 5: Add your plants and enjoy
Add some gravel, rocks or something to act as drainage at the bottom of the watering can.
Fill with potting soil and plant your flowers.
It looks really good sitting on my patio table. Just like the DIY metal art that it is.
These transfers are super easy and take less than half of the time it would take to cut vinyl from a cutting machine and then place it onto the watering can.
I think I am in love with them and will definitely be using them again.
Here are some printable instructions if you are interested.
DIY Metal Garden Art

Adding Dixie Belle transfers to a metal watering can gives you instant, beautiful DIY metal garden art. It is easy, pretty and colorful.
Tools
- Sponge Brush
- Drill and Drill Bits (or something to make holes in the watering can)
Instructions
- Prepare the metal watering can by drilling or adding holes to the bottom for drainage.
- Gather the transfers you are going to use for the design. I had scraps left over from my dragonfly project.
- All I had to do was make sure the scrap fit nicely. I needed to trim one of them to make the bottom edge straight. Then I found a few little flowers and squiggles that I could add in at the top.
- Adhere the transfers by removing the backing piece, placing the transfer onto the watering can and using the tool to burnish the design until you can remove the top piece easily.
- Then fill in any blank spaces with some cut out flowers or other parts of the design you want.
- Use a sponge brush to add 2-3 coats of Gator Hide sealer letting it set for at least 2 hours between coats.
- Add some rocks for drainage, potting soil and your plants.
- Enjoy!
Recommended Products
As an Amazon Associate and member of other affiliate programs, I earn from qualifying purchases.
-
 Fresh Cut Flowers Sign Vintage Retro Metal Tin Sign Wall Plaque Wall Decor Sign 6x16 inch
 -
 HOMEFORT Round Patio Side Table,Outdoor Snack Table,Anti-Rust Metal End Table, All-Metal Tray Table,17.9- Inch Bedside Table, Indoor Modern Sofa Side Table, Sturdy Metal Frame(White)
 -
 Firlar Traditional Metal Watering Can, Steel Plant Watering Can with Long Spout, Garden Garden Water Pot with Sprinkler Head Easy Pour Pot for Bonsai Indoors and Outdoors (1.5L, Blue)
How do you like this idea for the transfers? I like that I was able to use the scraps leftover from another project. It makes them more cost effective.
And you can add them to so many things.
Thanks so much for stopping by and happy crafting!
Michelle


Sharon
Sunday 25th of July 2021
Very cute but the transfers are kind of pricey. Would like to find some for less somewhere.
Michelle
Tuesday 27th of July 2021
Hi Sharon. I am sure other paint companies have them. I would do a search and see. I loved these so hopefully they are the same quality. I agree...they are super cute. I have never used transfers on painted projects but have used them in scrapbooking and card making. I am sure those would work too if you didn't need a large scale.
Michelle Leslie
Thursday 24th of June 2021
I love all those pretty colors and how it turned out, Michelle. We always have space in our garden for another planter.
Michelle
Thursday 24th of June 2021
Hi Michelle. Thank you. I love the colors too. They really made this watering can stand out. I do have a lot of unused space that I could add planters. LOL. But sometimes when I drive around and I see a gazillion planters and stuff I think it can get out of hand. LOL.
Anita holland
Wednesday 23rd of June 2021
Very cool project, amazing what a difference a transfer can make. They are on my list to try.
Michelle
Wednesday 23rd of June 2021
Thank you Anita. They were so easy to use and can really transform anything. I am glad you want to try them.