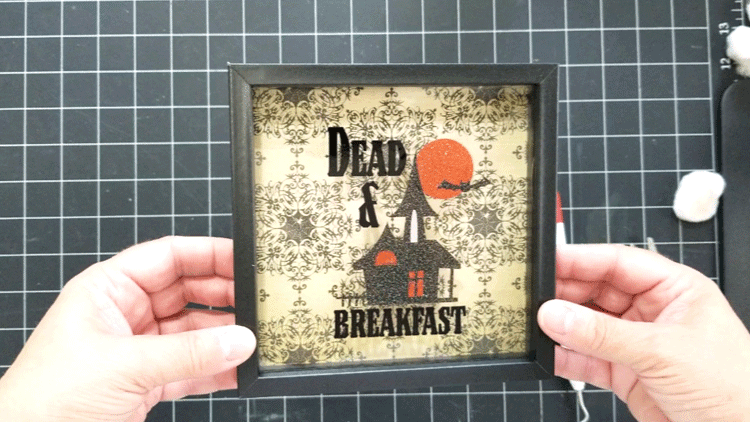
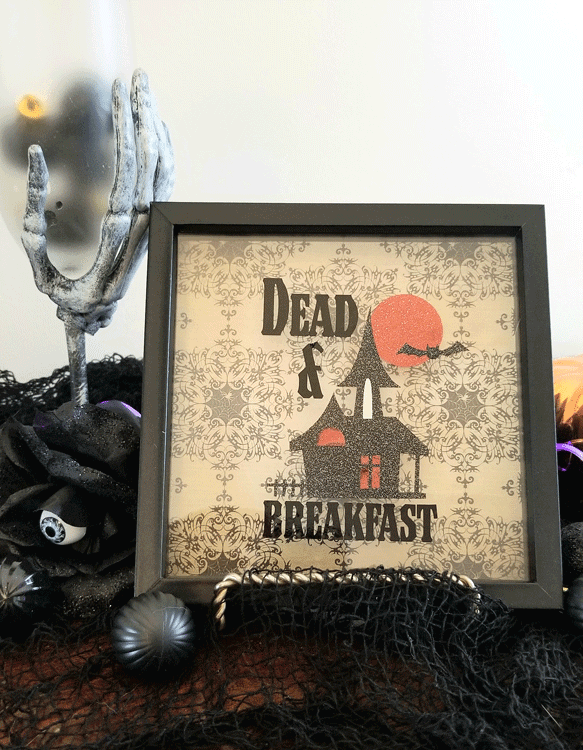
Hello! Welcome back to the blog. I created a Halloween project. It is a bit early but I love Halloween and I feel like you guys might want to see these things early so you have time make your own. I love this Dead and Breakfast Shadow Box and I think you will to.
It is made from a shadow box that I found at the Dollar Tree (my favorite store for crafting). These are easy to transform and fun to create something totally new. If you want more Dollar Tree Halloween crafting ideas check out this round up post of Fall Dollar Tree Crafts
Or check out all of my Dollar Tree craft and gift ideas!
I hope you will like it. I think it is just the right amount of “cute”. LOL!

This post is sponsored by StyleTech Craft and I appreciate getting this vinyl for free for the nice folks over there. They send us a generous amount to work with and it helps us get some great crafts made with our Cricut and Silhouette machines.
You can follow them on social media too! Just click on these links to find them: Facebook, Instagram, Pinterest.
Dead and Breakfast Shadow Box
This Dead and Breakfast design is from my Etsy store. It is a new Halloween design. You can find the listing details here.
Do you like to watch a video tutorial? You can click the You Tube video below. If not…keep scrolling for the written step by step instructions!
If you like the video be sure to hit the like button and subscribe! Thank you.
Materials Needed:
I have included some affiliate links for your convenience. You can read my full disclosure here.
Dead and Breakfast Shadow Box
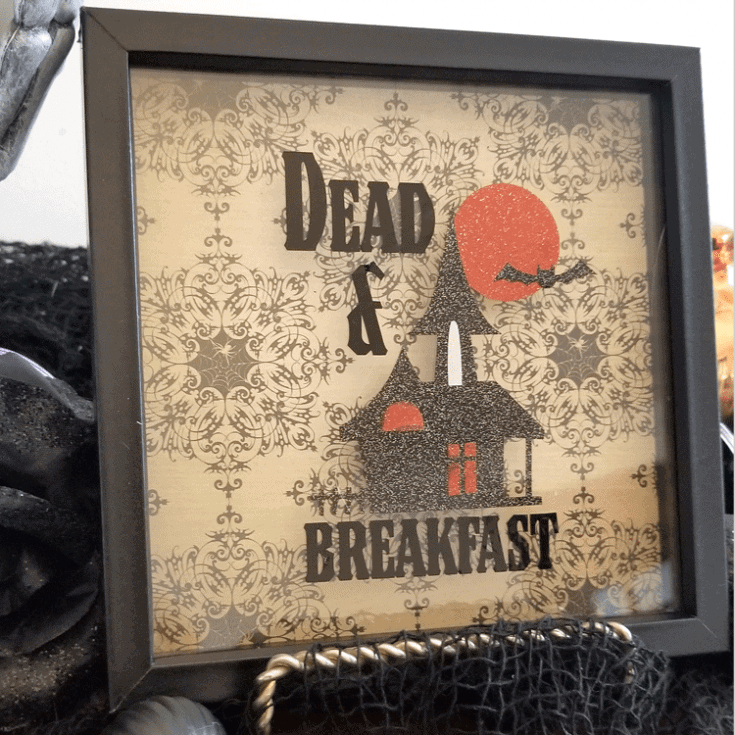
Create a fun shadow box using this Dead and Breakfast SVG file. This Dollar Tree shadow box has been transformed into something completely new.
Materials
- Dead and Breakfast Digital File
- Dollar Tree Shadow Box
- Style Tech Craft FX Vinyl - Black and Orange
- StyleTech Craft Vinyl - Glossy Black & Silver
- 6x6 piece of Halloween scrapbook paper
- Transfer Tape
Tools
- Razor Blade
- Cricut Maker
- Paper Trimmer
Instructions
- Grab the Dead and Breakfast Cut file from my Etsy shop and upload it into the design space of your cutting machine.
- Cut the colors separately keeping them placed where they are for layering.
- Open the shadow box and remove the paper that is inside.
- Cut a new piece of paper to fit inside. Mine was 6x6. I had some scrap Halloween paper that I used.
- Remove the design or text from the glass. A razor blade worked well to remove it. Sometimes nail polish remover will do the trick.
- Put the shadow box back together.
- Start layering the cut pieces of vinyl on the glass.
- I started with the text and for this small design I did not add the small text at the bottom.
- After the text was down I placed the moon, then the haunted house, then the windows.
- It turned out really cute!
Step 1: Download and cut out the design
I am pretty excited about my digital cut files I have been creating and this design is one of my current favorites. Halloween is one of the holidays I love the best and I seem to go a little crazy.
You can find this design in my Etsy shop. I have been working really hard on my shop to increase the number of listings available to purchase. If you haven’t visited my shop in a while…or ever you can find it here.
This fun Dead and Breakfast design can be found here. You get four files SVG, PNG, DXF and EPS to use for print or for cutting machines and the cost is $1.99.
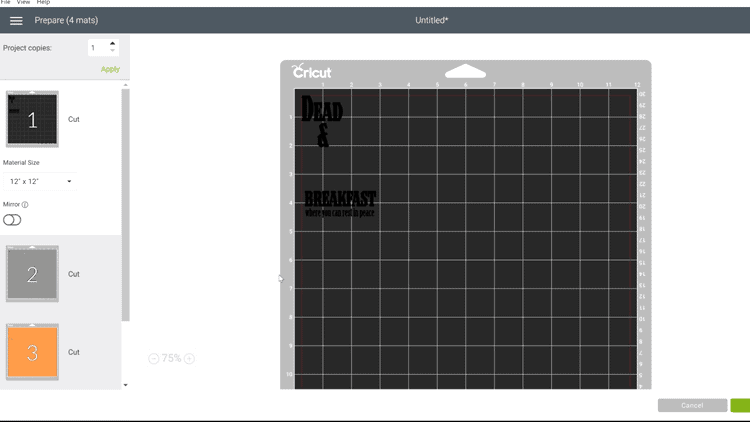
Download the design then upload it into the design space of your machine. I use a Cricut Maker.
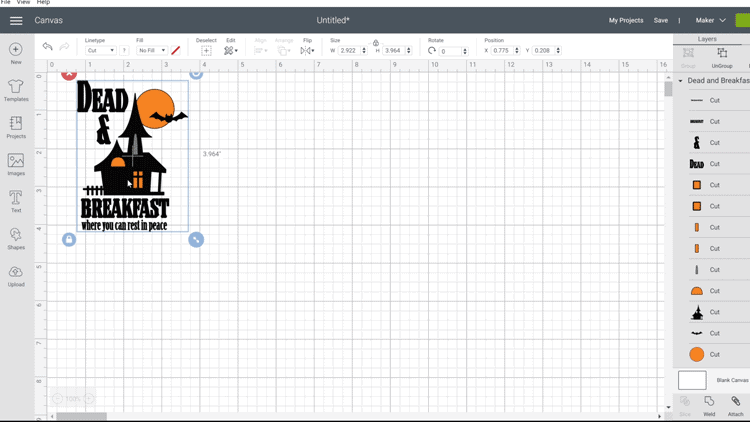
Resize it to the correct measurements.
My shadow box is 6×6 so I made it 4 1/4 in length so I would have a little “margin” on each side.
Grouping and Un-grouping
After you get the right size, go ahead and ungroup the pieces.
Then group all of the like colors together for cutting.
You can see in the screenshot below all of the text layers are “grayed out” in the layers window and they have been “grouped” together. See the little “group” icon at the top right?
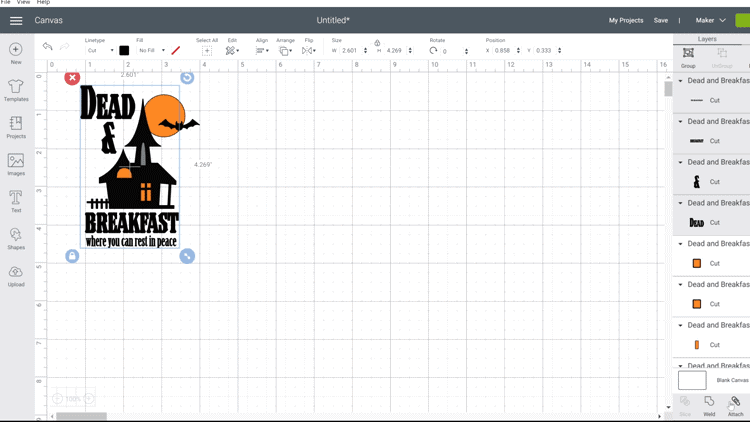
I wanted the text to be cut in a glossy black. So in the layers window on the right, control click on each of the text pieces. Group them together then click the “attach” in the bottom right corner. This will keep them right where they are for cutting. You want this in order to keep the layers in the correct places. You will see what I mean in a minute.
Group all of the like colors together.
Click the green “make it” button.
Choose Materials
For the glossy vinyl I chose “vinyl” as my materials but for the glitter vinyl I used the search bar and typed in “glitter vinyl”.
Decide how you want your pressure. I always choose “more” for the glitter vinyl. Even then it sometimes doesn’t look like it cuts all of the way through.
For me…It looked that way but when I started weeding it did cut. Sometimes these thicker vinyls can be sort of frustrating.
Cut each layer changing the vinyl color and materials as needed.
Once the designs are cut. Go ahead and weed them and place the transfer paper over each one.
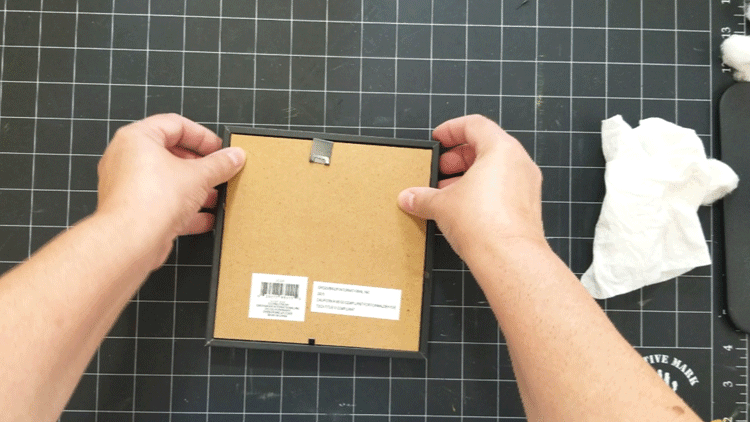
Step 2: Prepare the shadow box
The shadow boxes from Dollar Tree are really fun. There are different sizes and types at different stores but I found this little 6×6 that I couldn’t pass up.
The first thing I did was to open up the back and take out the background paper.
I cut a new 6×6 piece of Halloween paper to replace that one when I put it back together.
There was text on the glass that needed to go.
I tried nail polish remover first that did not work. Then I moved onto rubbing alcohol. Nope! That did not work either so I got out a razor blade and started removing it that way. Yay! Success!
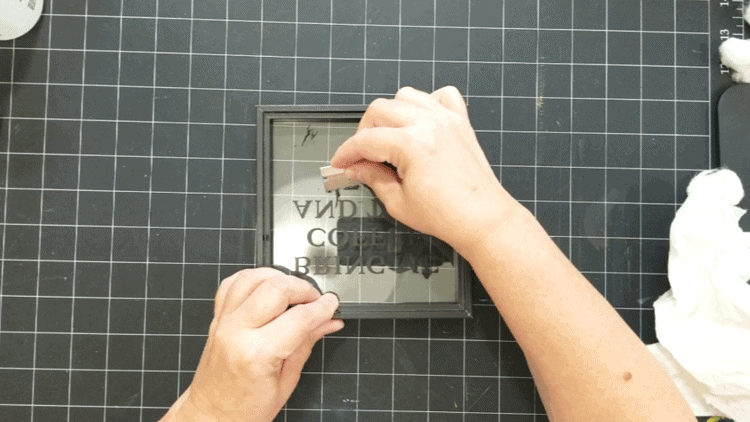
Once all of the text was removed, I cleaned the glass added my fun Halloween paper and put the box back together.

Now it was time to add and layer the Dead and Breakfast design onto the glass.
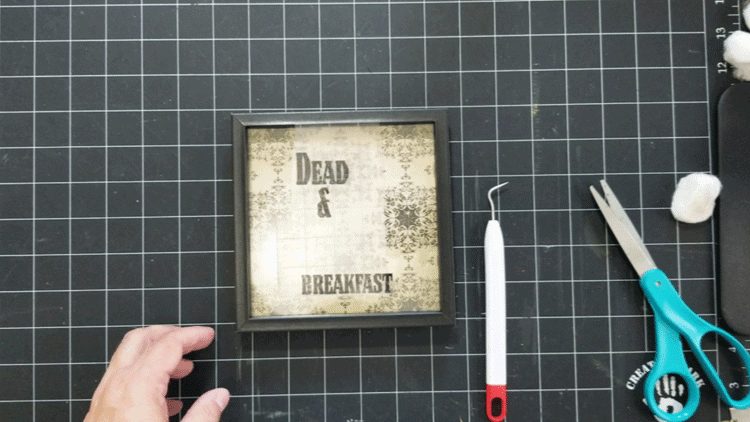
Step 3: Layer the cut design onto the front
Since we already have the design cut we can start layering on top of the glass.
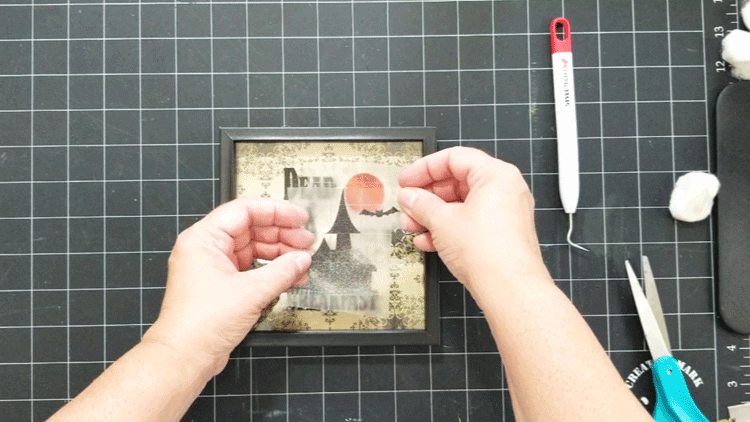
Start with the black text. Center it on the glass and set it down. The remove the transfer tape.
Grab the orange pieces. I realized as I was layering these pieces that the moon goes below the house and the windows go on top. So use a scissor and cut the moon and the windows apart.
To figure out where the moon needs to be placed hold the house up in it’s approximate location (don’t place it down yet) and figure out where you want the moon to sit.
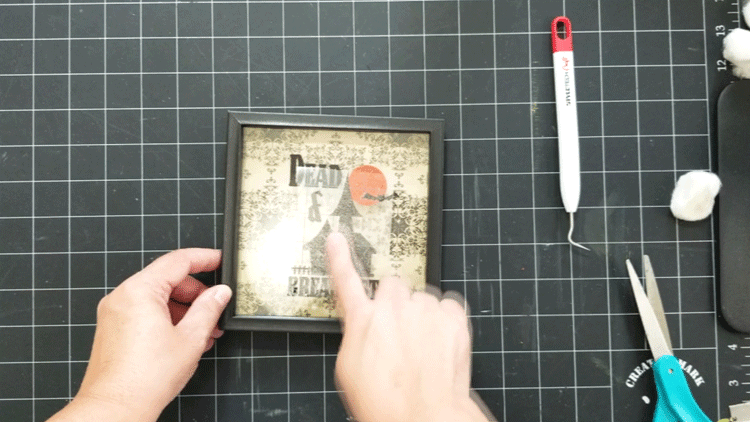
Place the moon down and remove the tape.
Now you can place the house exactly where it goes and add the windows on top.
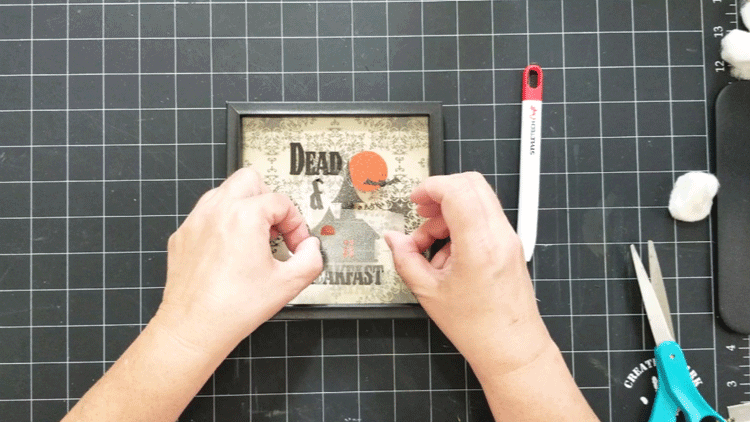
You are all done with your layering! Woot Woot!
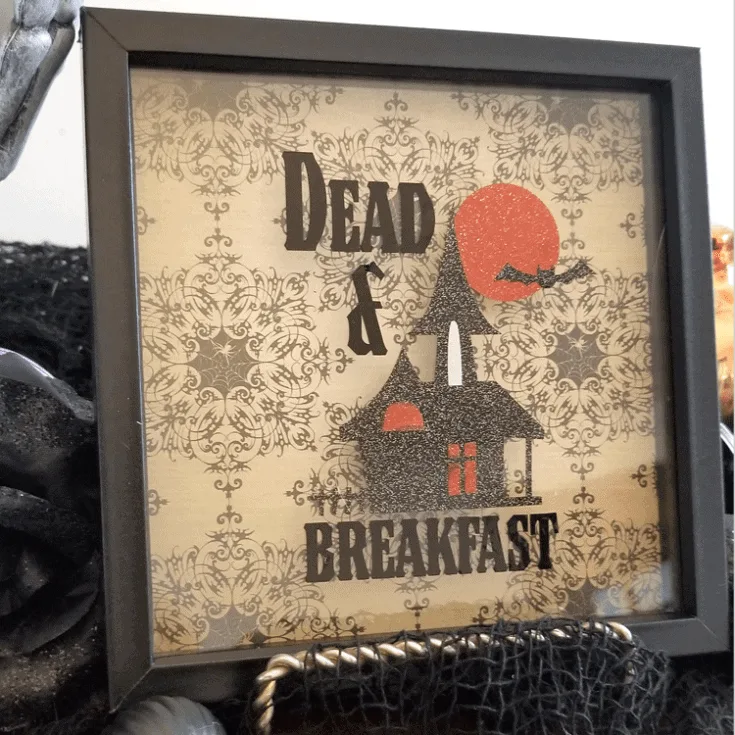
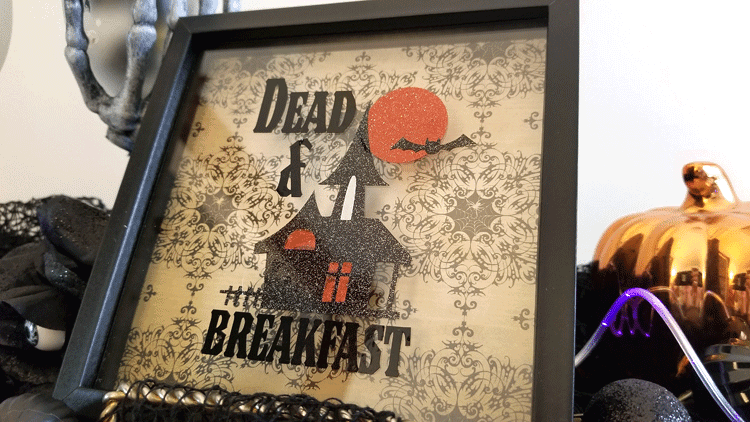
Show It Off
Put this together with some other Dollar Tree decor like these fun Pumpkin Tea Light Holders and you have the perfect Halloween setting.
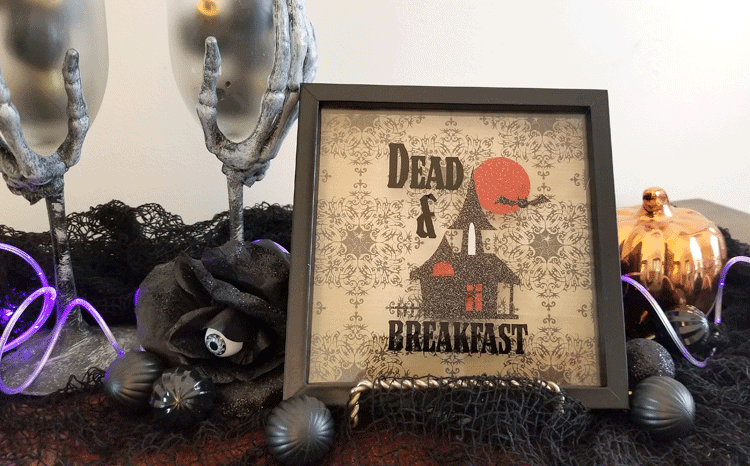
What do you think? It is an easy way to decorate on a budget.

Thanks so much for stopping by!
Michelle
Nancy L Janssen
Thursday 6th of August 2020
Pretty darned cute, Michelle! But then, I love Halloween as much as you. :)
Michelle
Thursday 6th of August 2020
Hi Nancy! Thanks. I thought it turned out pretty cute myself. You, me and Barb are the Halloween lovers. LOL!