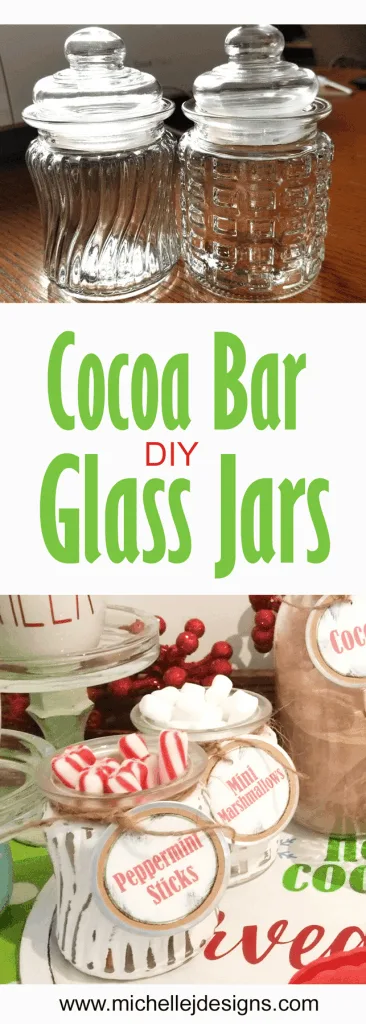
Hi guys! Welcome back to the blog. I am so glad you decided to click and land here. Today I am showing you these super fun DIY glass jars for the hot cocoa bar that I have been working on.
These are Dollar Tree jars that I found and couldn’t resist. I have had them for a while but knew the right DIY would come around eventually. And…this is it. Totally!
The chalk paint on glass is perfect for these and they turned out so cute. I can use for these for quite a few things during the rest of the year. So they don’t have to sit around after the holidays.
You probably want to see how I made these jars so let’s get started. If you love Dollar Tree crafts and gifts you have come to the right place!
If you love painting and making glass crafts and gifts you will love it here.
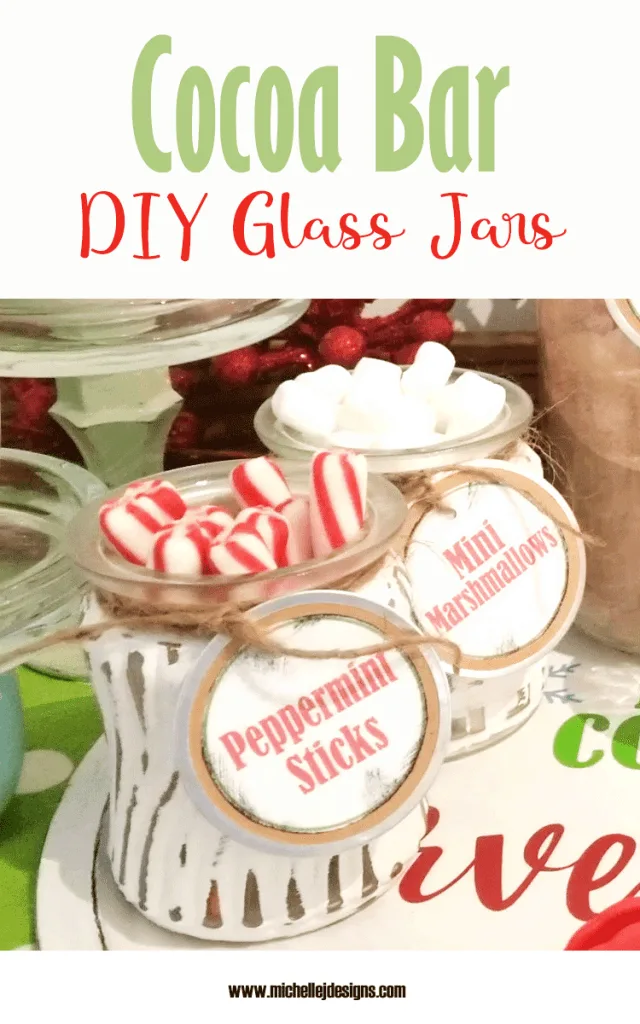
Hot Cocoa Bar DIY Glass Jars
If you like to watch a step-by-step video then just click on the link below. BE SURE TO SUBSCRIBE TO MY CHANNEL WHILE YOU ARE THERE!
You won’t believe how easy these are to transform. In just a couple of steps you will have cute glass jars with a fun, rustic, farmhouse look.
Step 1: Prep the glass jars for paint
Wash the jars and make sure to remove the sticker on the bottom. If it doesn’t come off easily then use a razor blade and some alcohol. This usually works every time.
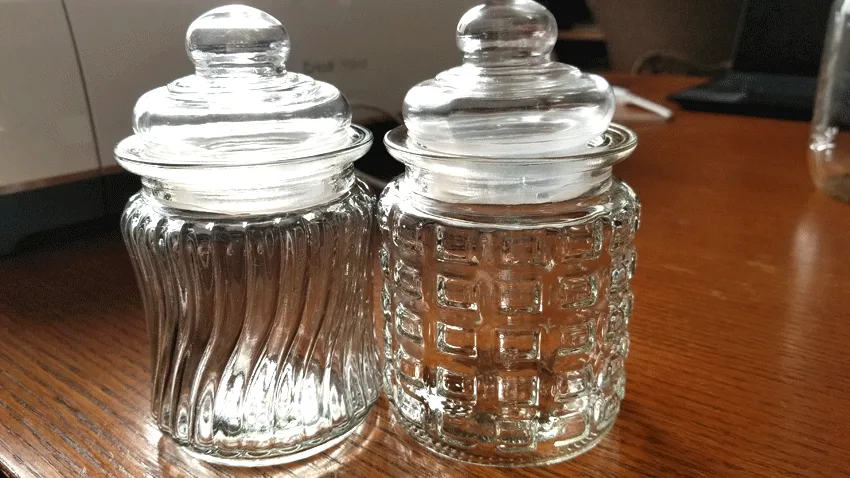
Remove the lids before cleaning and painting.
Step 2: Paint the jars
I used the Rust-oleum Linen White chalk paint for these jars. This really is my “go-to” chalk paint. The white is perfect for almost every single project. LOL. Well, let’s just stay I use it a lot!
I used relatively small brush for this but it worked really well.
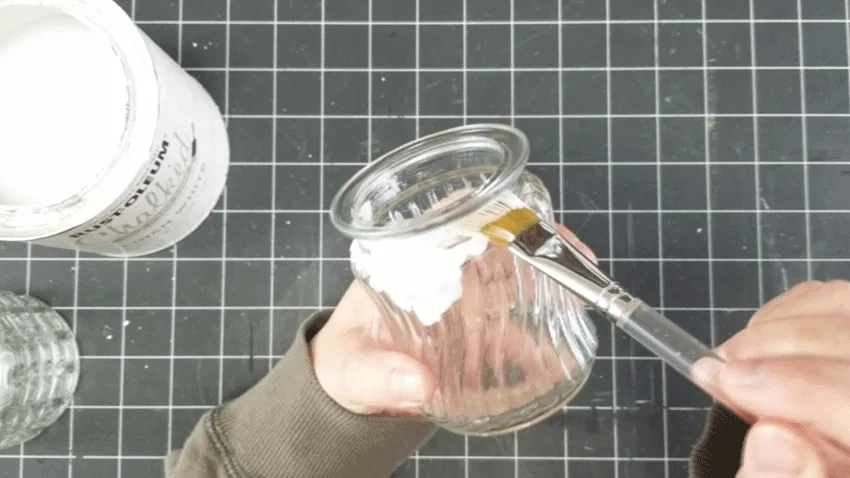
I am going to be putting food in these jars so I don’t want to paint the rim. I stayed under the rim and painted the rest of glass jar.
Two coats was the perfect amount of paint.
Step 3: Sand the paint
This step is optional but it is the step that creates the rustic look. I love distressing but if you don’t then you can just leave the paint as is before sanding.
If you decide to add the distressing use a sanding block and sand the paint to remove some of the paint.
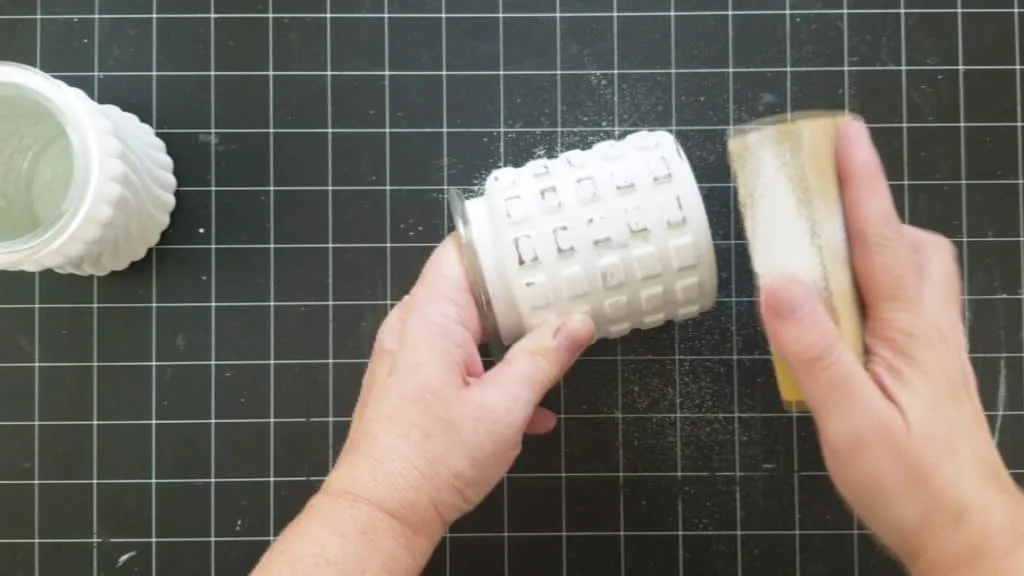
Warning: this makes a HUGE mess so be sure to use a mat or some paper under the jar while you are sanding.
After the sanding, wipe the glass jars off with a cloth to get rid of the sanding dust! Nobody likes that.
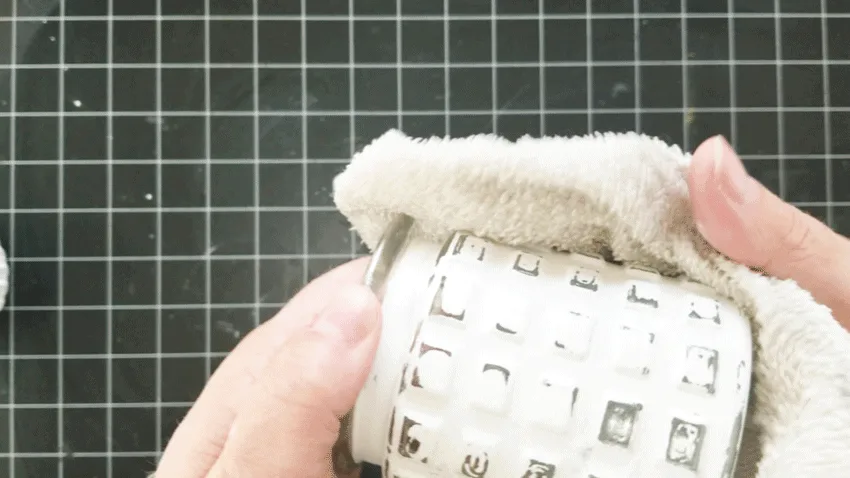
Step 4: Add a clear coat finish
The chalk paint is a little dusty even after wiping it off. Plus we don’t want the paint to come off so a coat of a clear finish is a good idea.
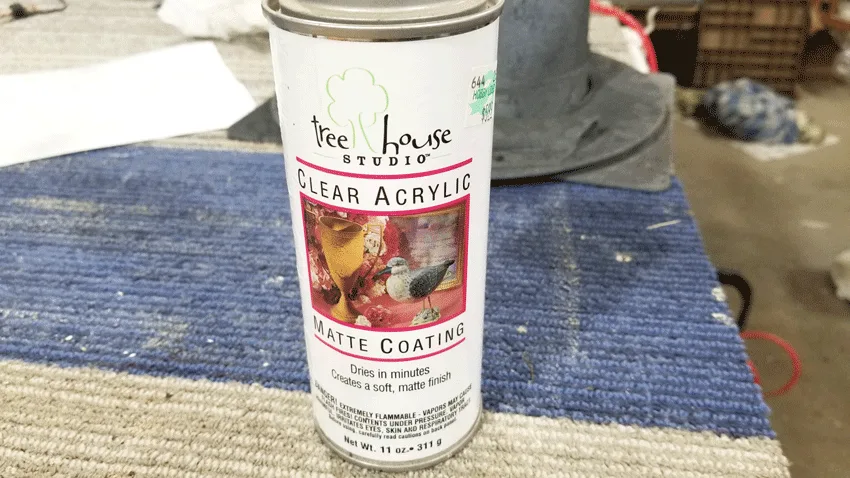
I used Tree House Studio matte coating from Hobby Lobby. It worked perfectly. There is also a satin finish that would be pretty too.
I sprayed one coat. Let it dry completely.
This does not make these jars dishwasher safe. They definitely need to be hand washed carefully.
Step 5: Embellish the glass jars
For this hot cocoa bar I wanted a farmhouse rustic look so I grabbed some Dollar Tree twine and some metal rimmed tags.
I printed and cut out the printable tags on sticker paper then adhered the sticker onto the tag.
Then I tied them onto the glass jars.
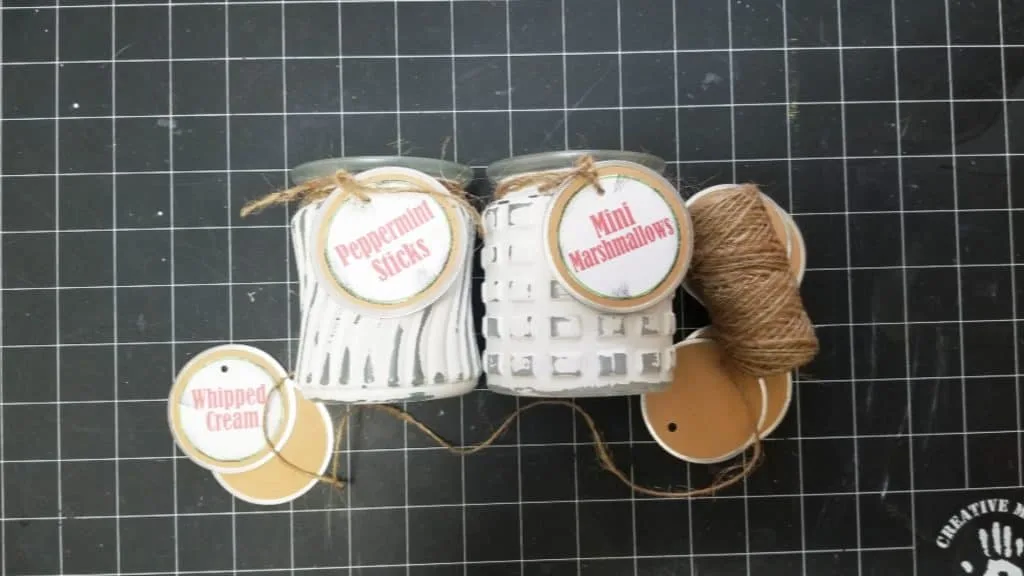
Step 6: Add hot cocoa bar fixings
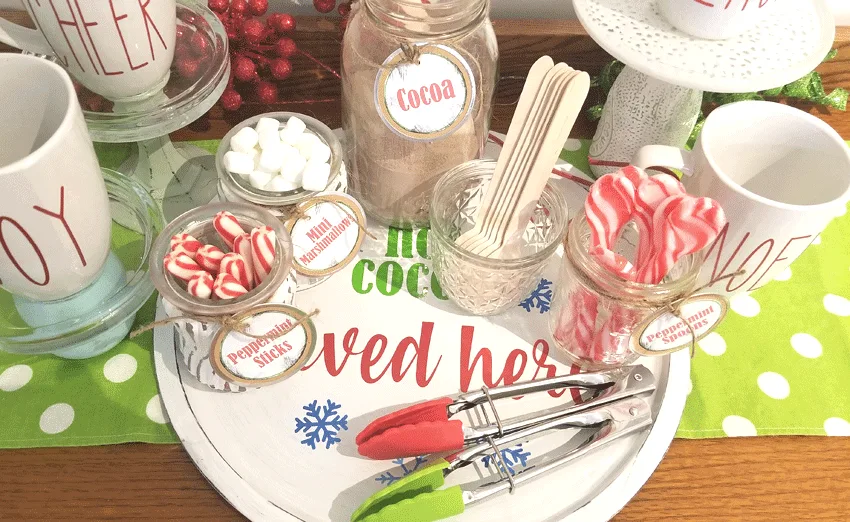
The last step is to add these to the Christmas Cheer metal tray, add some peppermint sticks and mini marshmallows (or whatever you like) and create cups of cheer!
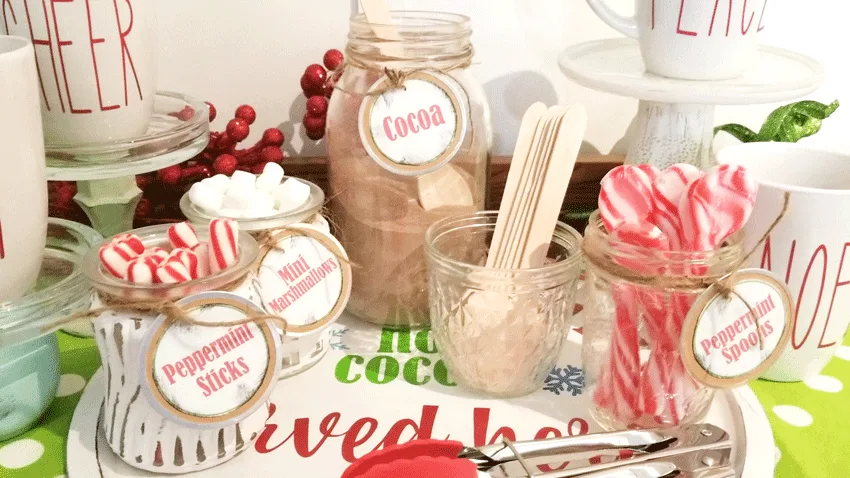
What do you think about these jars. Do you like the distressed look? I love the way it all came together.
Cocoa Bar DIY Glass Jars
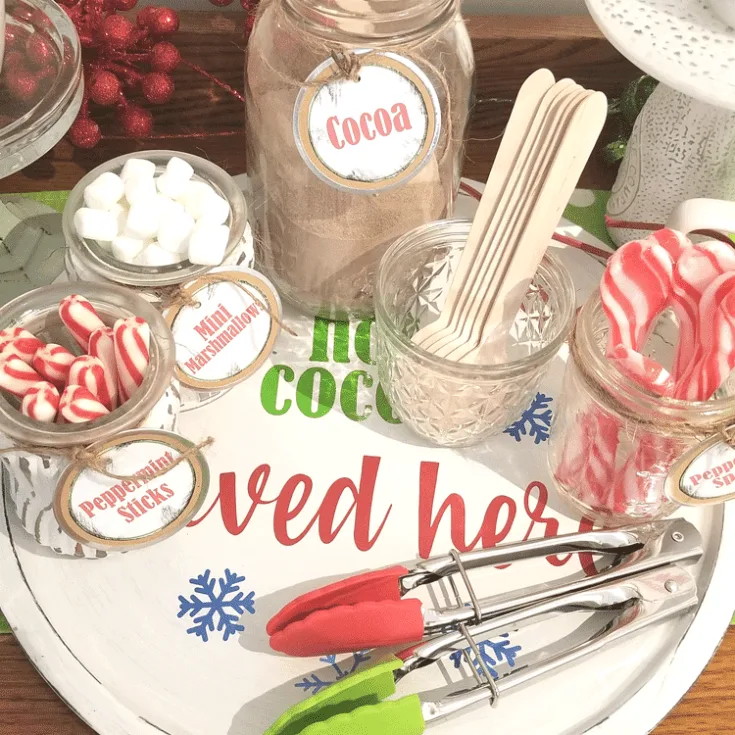
Chalk paint and glass jars make an awesome combo. Check out how I made these cute diy glass jars for my hot cocoa bar. #chalkpaintforglass #diyglassjars #dollartreecrafts
Tools
- Paint brush
- Sanding block
Instructions
- Prep the glass jars for painting
- Add two coats of the white chalk paint. Let dry completely between coats
- Use the sanding block to sand off some paint and create a distressed look
- Wipe off the extra sanding dust with a cloth
- Spay clear coat on the jar (spray it upside down so the clear coat does not go inside the jar)
- Embellish with twine and tags
- Add to the hot cocoa bar
Thank you so much for stopping by!
Michelle
