This shop has been compensated by Collective Bias, Inc. and its advertiser. All opinions are mine alone. #PowerToThePen #MyGo2Pen #CollectiveBias
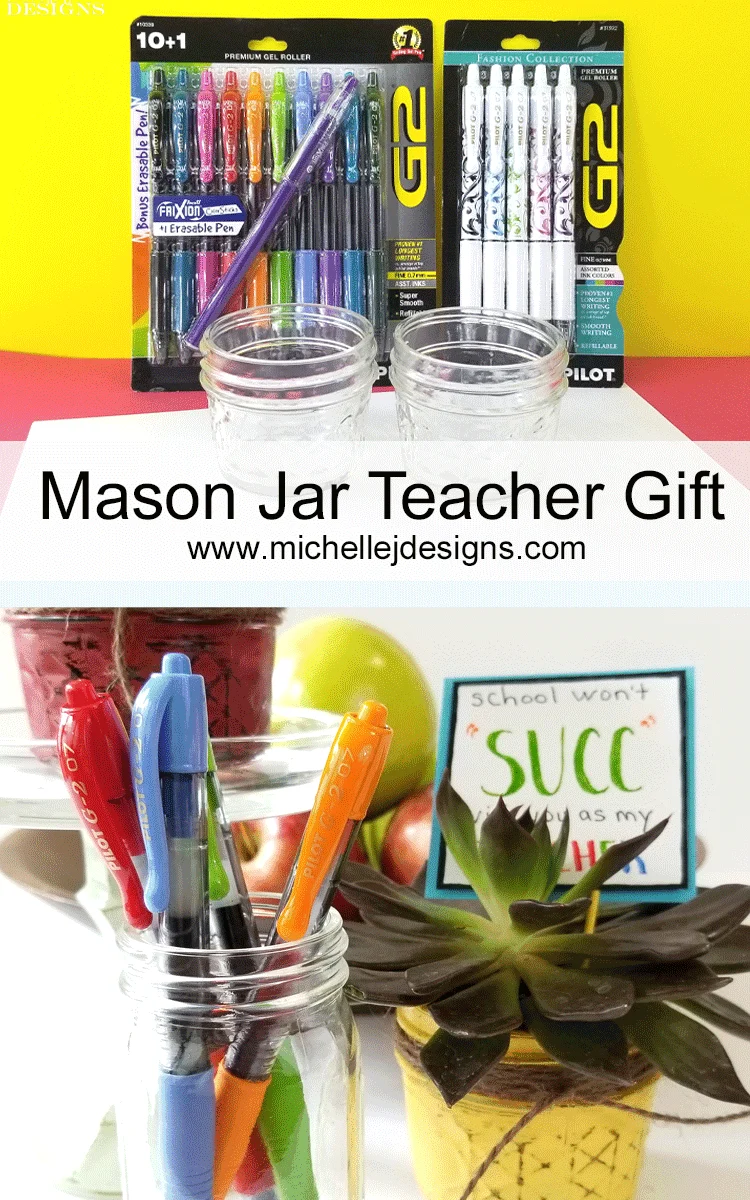
Back to school is always a great time for kids but I remember it being especially great for my husband and me, the parents! I made a few teacher gifts throughout the years and I think the teachers appreciate something they will like to look at throughout the year or something they can use. If you have been reading my blog for a little while then you know I love to create mason jar gifts. Today I am going to show you how to make great DIY mason jar teacher gifts with hand made tags that can be enjoyed all year long.
Related Content:
If you like mason jar projects check out this page with 10 amazing mason jar projects!
DIY Mason Jar Teacher Gifts With Hand Made Tags
Materials Needed:
Jelly Jar Mason Jar
Succulent plant
G2® Pens by Pilot Pen – Here is a link for a Pilot Pen Coupon! You can get .75 off any G2 4-pack or larger with the coupon.
Twine
Cardstock
Pencil
White Eraser
Mounting Tape
Toothpick
Spray Paint
Sanding Block
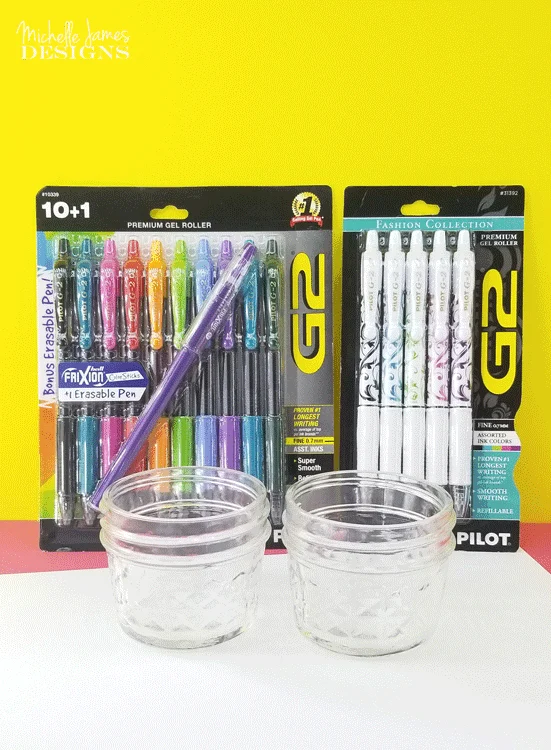
The beauty of these mason jar teacher gifts is not only the succulent plant but the hand made tag! These include some really easy hand lettering that anyone can do. I will show you how step by step. First, let me show you how I painted and distressed the cute mason jars.
Painting The Mason Jars
To get started, make sure the jars are clean. Mine were new so I removed the price sticker and then I was good to go. Then, place them upside down on a painting surface.
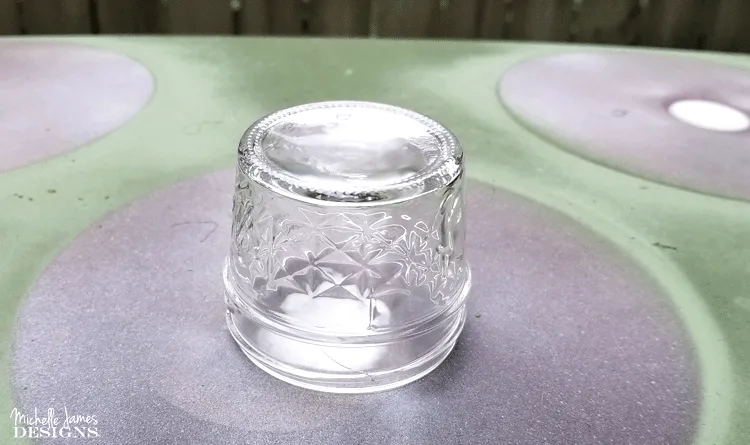
I used yellow and red spray paint and gave them 2 coats.
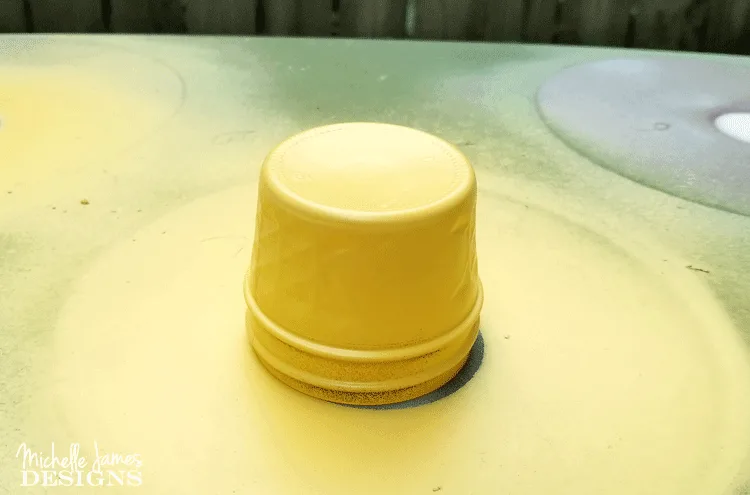
After they were dry, I turned them right side up and gave them one more coat. They turned out cute. I ended up painting 2 sizes. I can’t make up my mind until I see it!
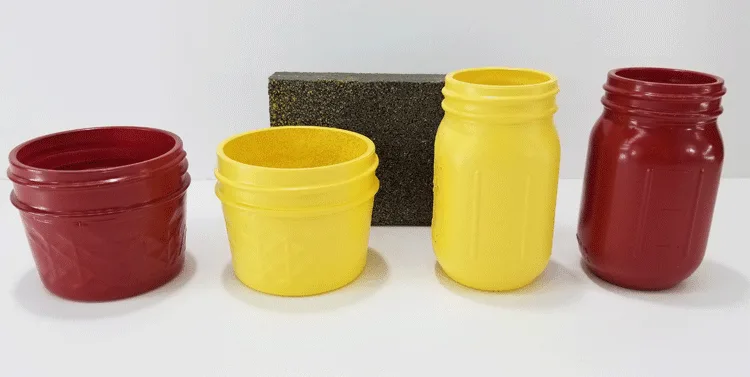
Now to the fun part, the sanding. Use the sanding block to lightly sand away some of the paint on the raised parts of the glass. Don’t go too crazy. The paint comes off pretty easily in some spots and you want to make sure you don’t sand it all away.
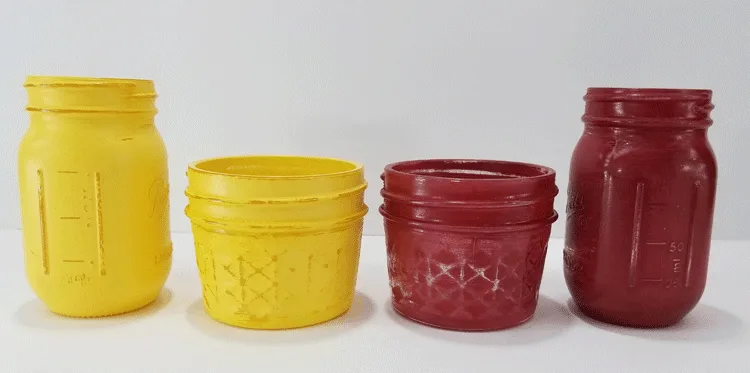
Planting The Succulents
I ended up using the two smaller jars. It didn’t look like my little plants would fit into the opening of the taller jars.
First I took them outside and added some gravel at the bottom for drainage.
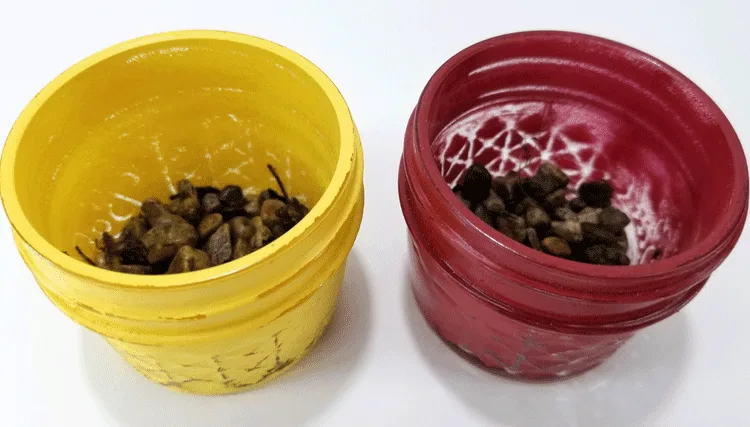
Now I could transfer the succulents over to their new homes. Aren’t they cute?
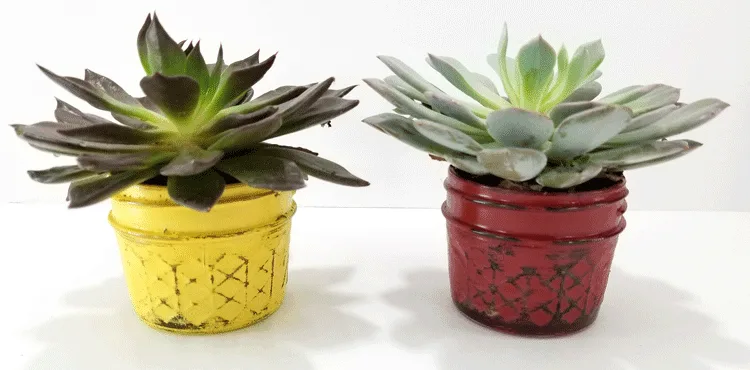
Then I added a little twine for some decoration! I love twine. I think it adds just the right amount of rustic charm.
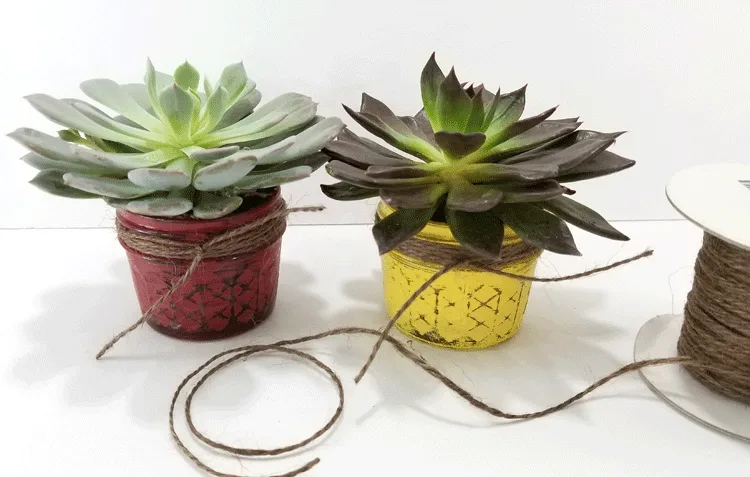
That finishes up the planting and mason jar part. Now onto the hand made tags!
Hand Lettering With G2® Pens by Pilot Pen
Hand lettering sounds hard but it really isn’t if you break it down into steps. That is what I am going to show you today. Let’s get started!
Step 1:
The first step is choosing the right pen. I love pens and my first choice is the G2® Pens by Pilot Pen. They are a very smooth writing gel ink and the colors are beautiful. You can find these in the back to school section at WalMart.
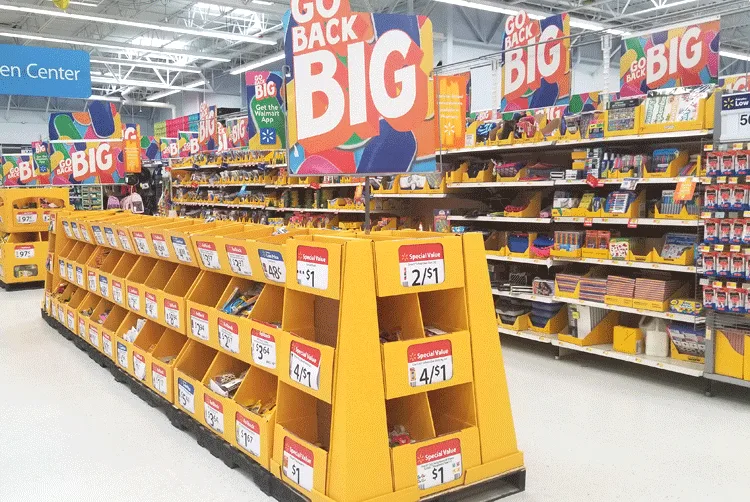
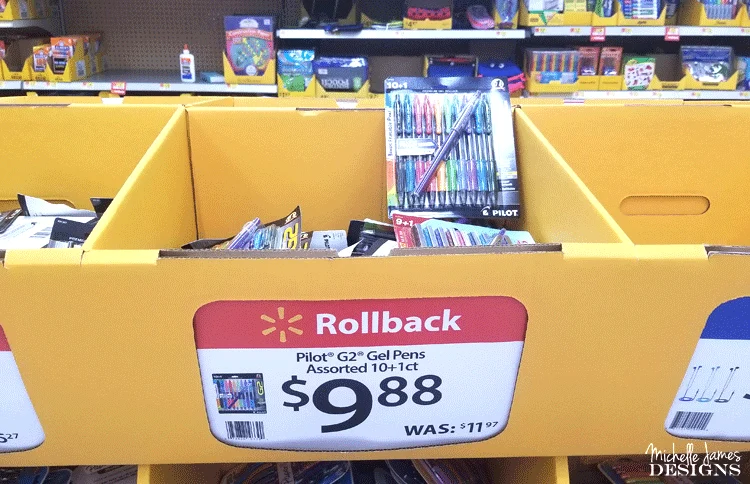
I love to get pens with a lot of colors and there are ten colors in this pack plus the bonus pen. I had a specific color theme in mind for this project and this package included those colors plus a lot more.
Step 2:
Get started with the hand lettering!
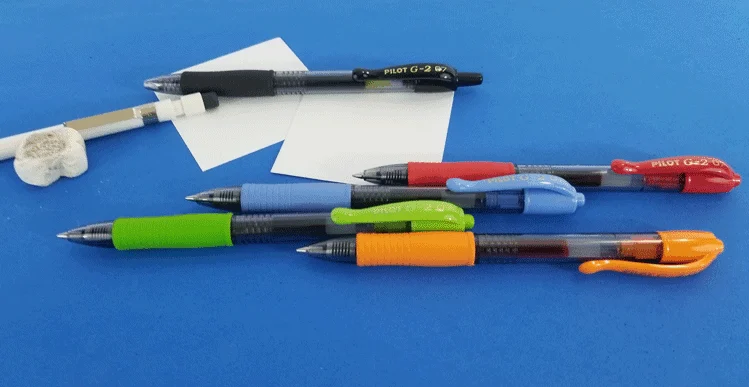
Cut a piece of white cardstock to the size you want for your tag. I chose 2.5″ x 2.5″ . These are smaller plants and I wanted the tag to stand out…but not be too big. Then using a pencil plan out your words. It helps to start with the middle letters of the word and then work outward to get things centered. My greeting for this tag is “teachers help grow our minds forever”. I wanted the word Grow and the word Forever to be colorful and larger than the rest of the letters.
I like to have a white eraser close by when I do this. They erase well and you can re-do until you get it right.
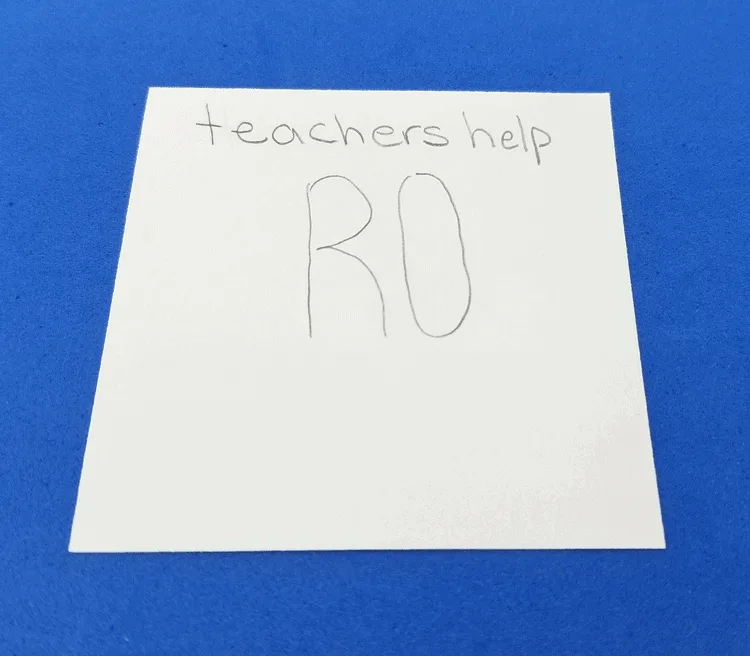
Continue to pencil in your letters until you are happy with the placement.
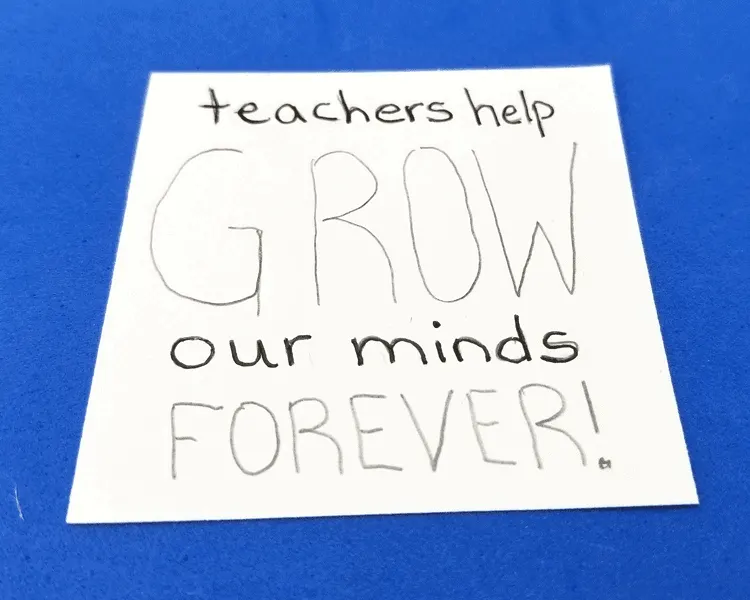
If you are using black ink go ahead and write over the pencil but if you are using the pretty colors erase the pencil first. Stay with me here. If you look closely at the next pic you can barely see the lines for the letters that have been erased. It is safe to use the pretty colors and you won’t be able to see the pencil lines underneath. If there are any showing around the rest you can carefully use the white eraser to remove them.
Use your favorite color G2® Pens by Pilot Pen to write the letters with the colored ink. It is easy with these pens because they are a premium brand gel ink, they write smoothly and perfect for any overachiever. Making the tags look nice is important and these pens are the perfect choice.
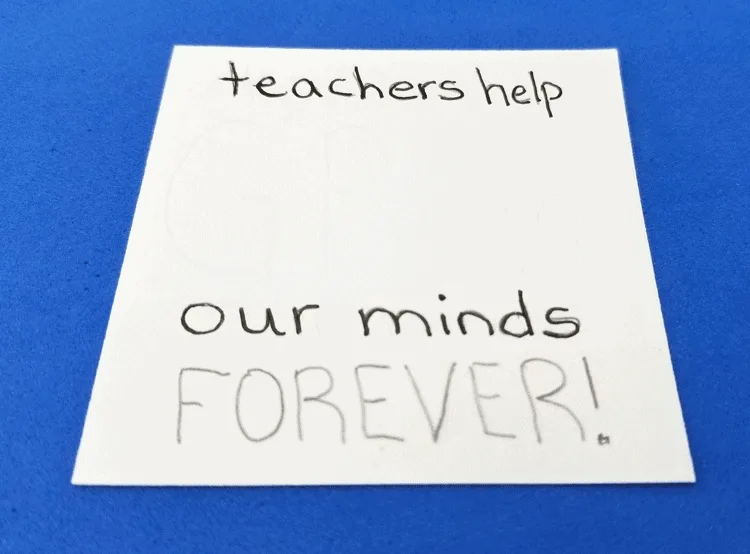
Adding The Color
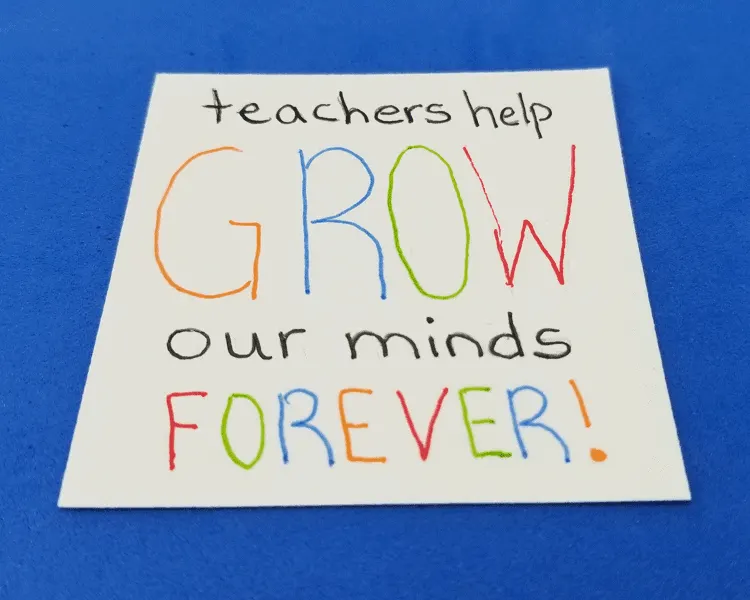
I decided to use red, blue, green and orange for my hand lettering and started with just the basic shape, using erased lines as my guide for placement.
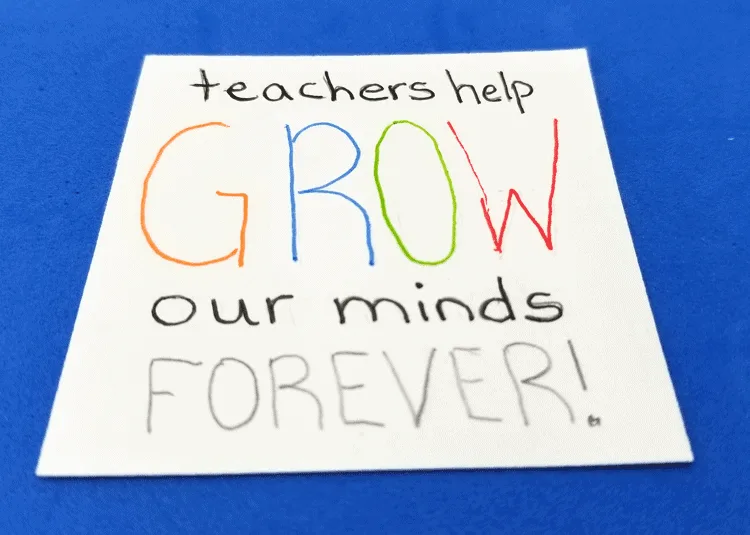
I repeated the above steps for the word “forever” and then was ready for the next step.
Step 3:
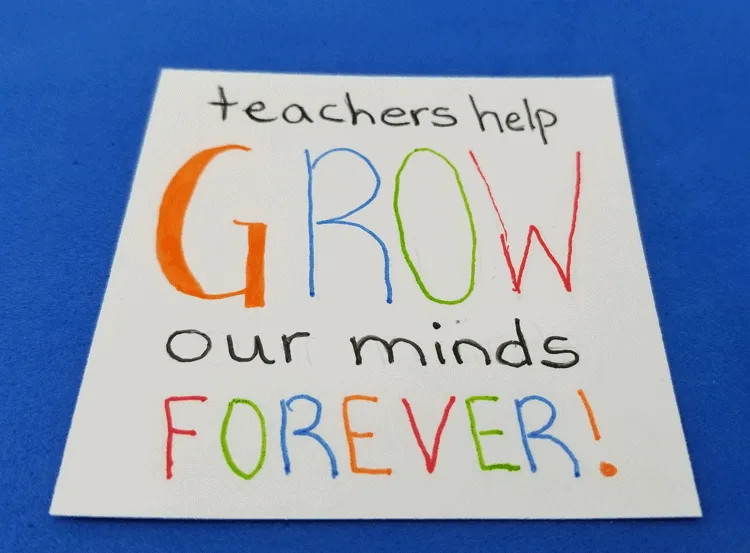
Shaping the letters is the most fun part of hand lettering. In this step you will add width to the down strokes and keep the upstrokes skinnier. Let’s do one letter at a time starting with the “G”.
In the photo below you can see how the down strokes have been widened. I used the pen, outlined my shape then colored it in. Again with the smooth-ness of these pens. No wonder G2 is the top selling pen in America (NPD, 2017).
Continue this with all of the letters.
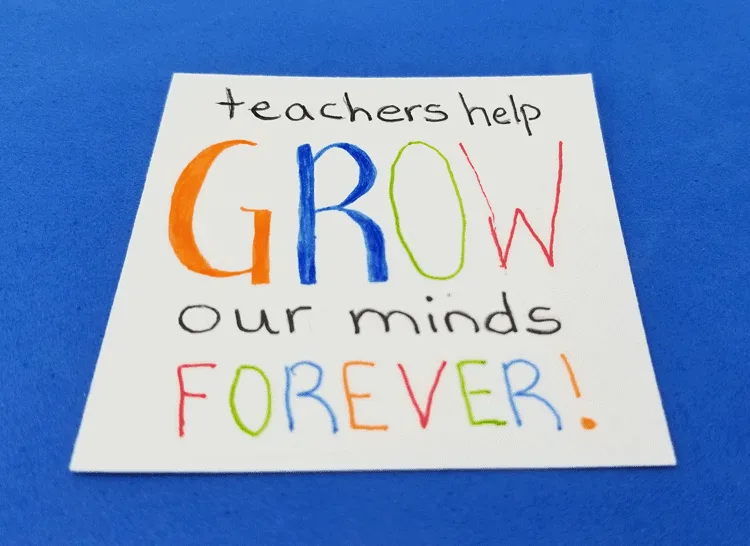
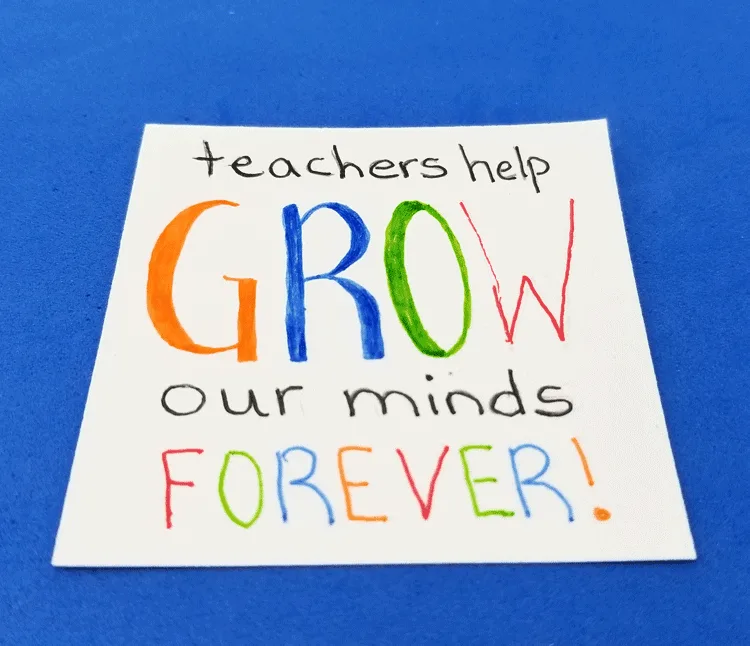
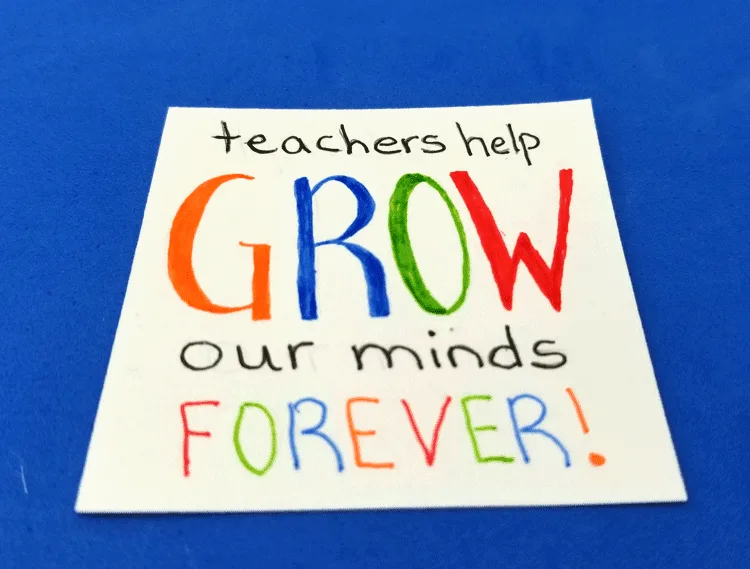
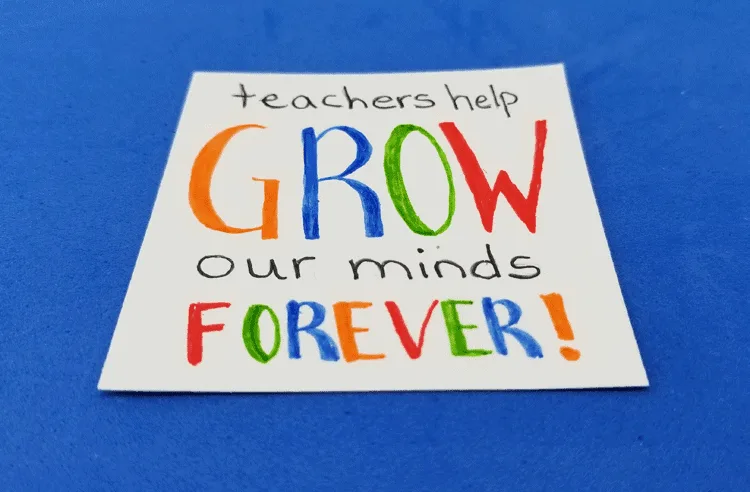
Then do the same thing with the rest of the colorful letters.
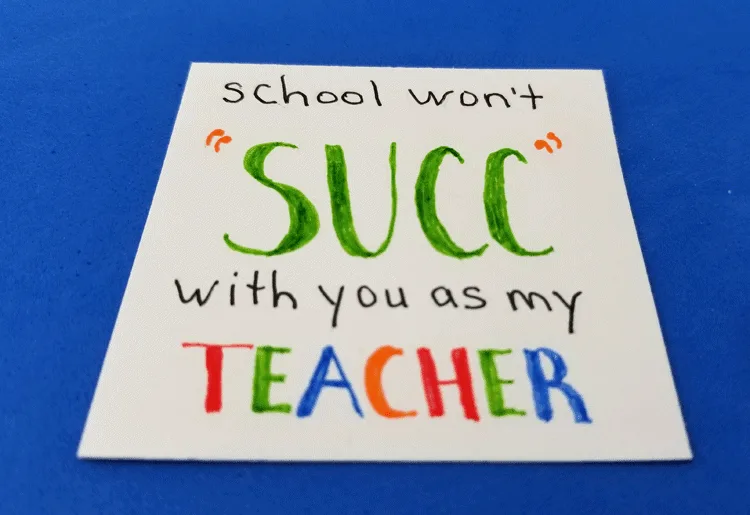
The other tag was fun too and involves a bit of a sense of humor!
Don’t worry if you mess it up and have to start over. It is only cardstock and you can start over as many times as needed to get it right. The G2® Pens by Pilot Pen have been proven to last longer than other gel ink brands.
Step 4:
Finishing up the tags is all that is left. I wanted a little border so I used the black pen to draw around the edges. Then I used mounting tape to adhere it to a slightly larger piece of colored cardstock.
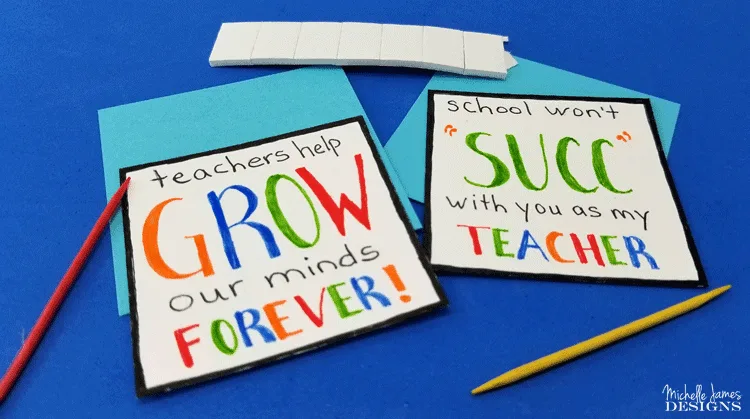
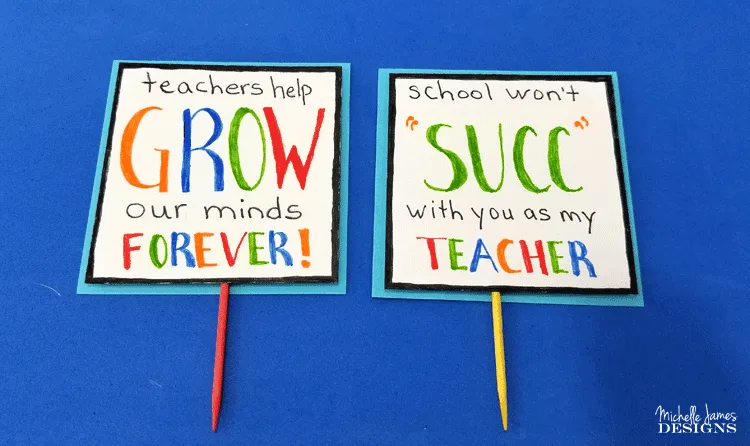
The toothpicks can be glued in but I just stuck them into the dirt of the plant then placed the tag over them. You can see that in the final photos below.
The Finished Teacher Gift
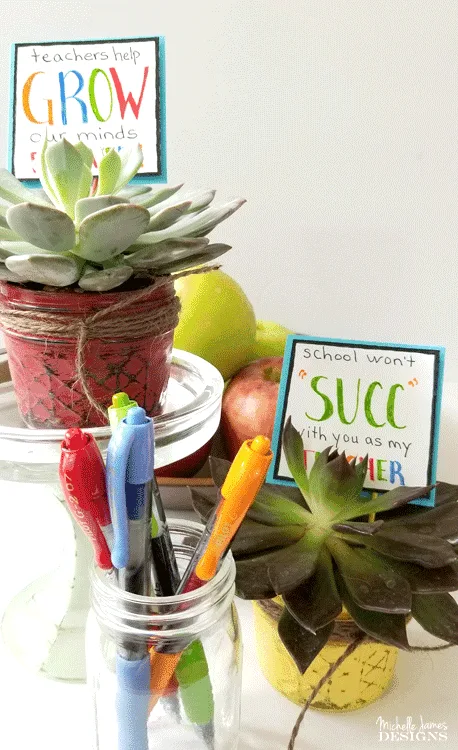
Didn’t they turn out cute? I love them and I think that any teacher will love these mason jar gifts.
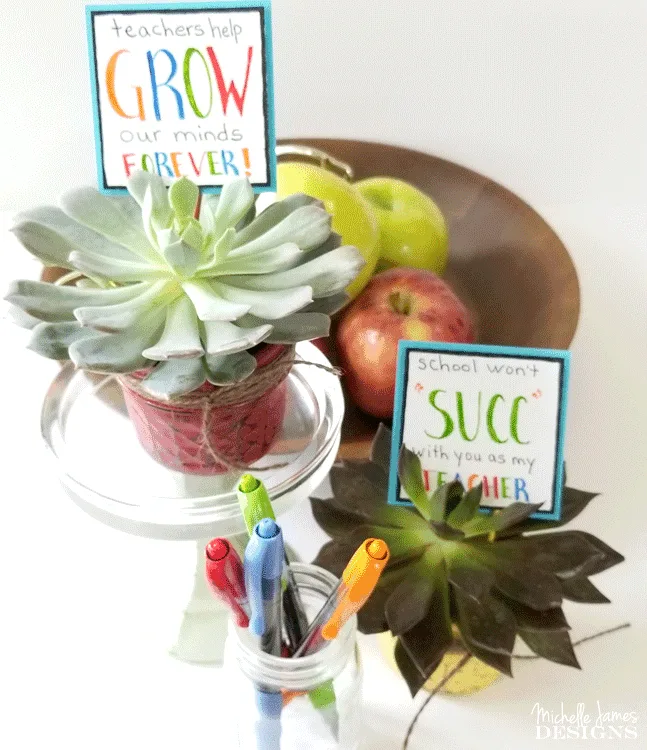
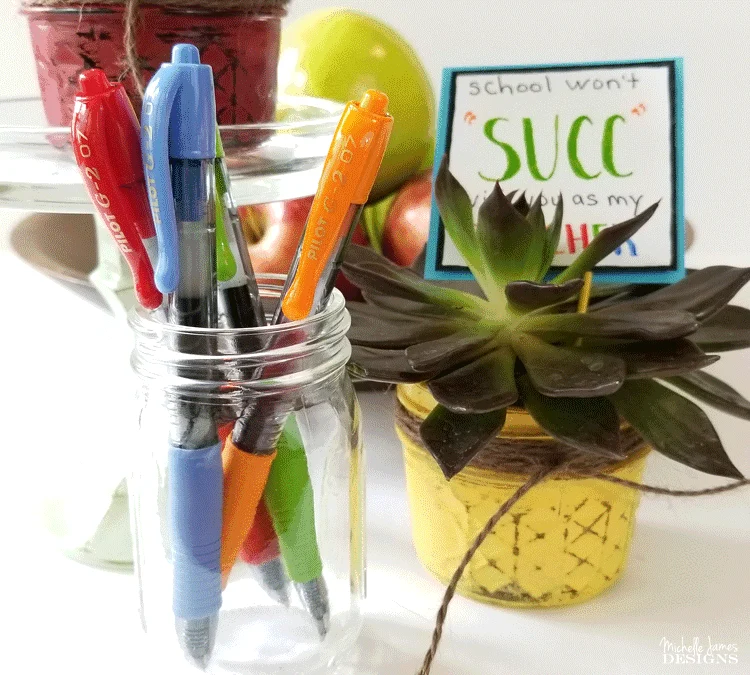
Enjoy your back to school days and continue to make gifts for teachers. After all they do put up with our kids every day!
Don’t forget to head over to Walmart to find these pretty pens! Oh and don’t forget your coupon for .75 off any G2 4-pack or larger as well!
Thanks for stopping by,
Michelle!


Michelle from Weekend Craft
Sunday 19th of August 2018
OMGosh these are so fun! My favorite tag is with the "succ". Great sense of humor!
Michelle
Sunday 19th of August 2018
Hi Michelle! Thanks so much. I thought it was pretty fun. I am glad you like it too.
Nancy Lou
Friday 10th of August 2018
THIS IS A REALLY VERSATILE IDEA, MICHELLE. A SWEET GIFT FOR ANY NUMBER OF REASONS (FOR THOSE OF US WHO DON'T HAVE KIDS IN SCHOOL ANYMORE)!
Michelle
Sunday 12th of August 2018
Hi Nancy! I agree. Just change out the message on the tag and it could work for just about anyone! I love the cute, little painted jars. They are so fun.
kelly
Thursday 9th of August 2018
So cute! What an easy way to hand letter, I had no idea. #client
Michelle
Thursday 9th of August 2018
Thank you Kelly! These were tons of fun and they are cute too!