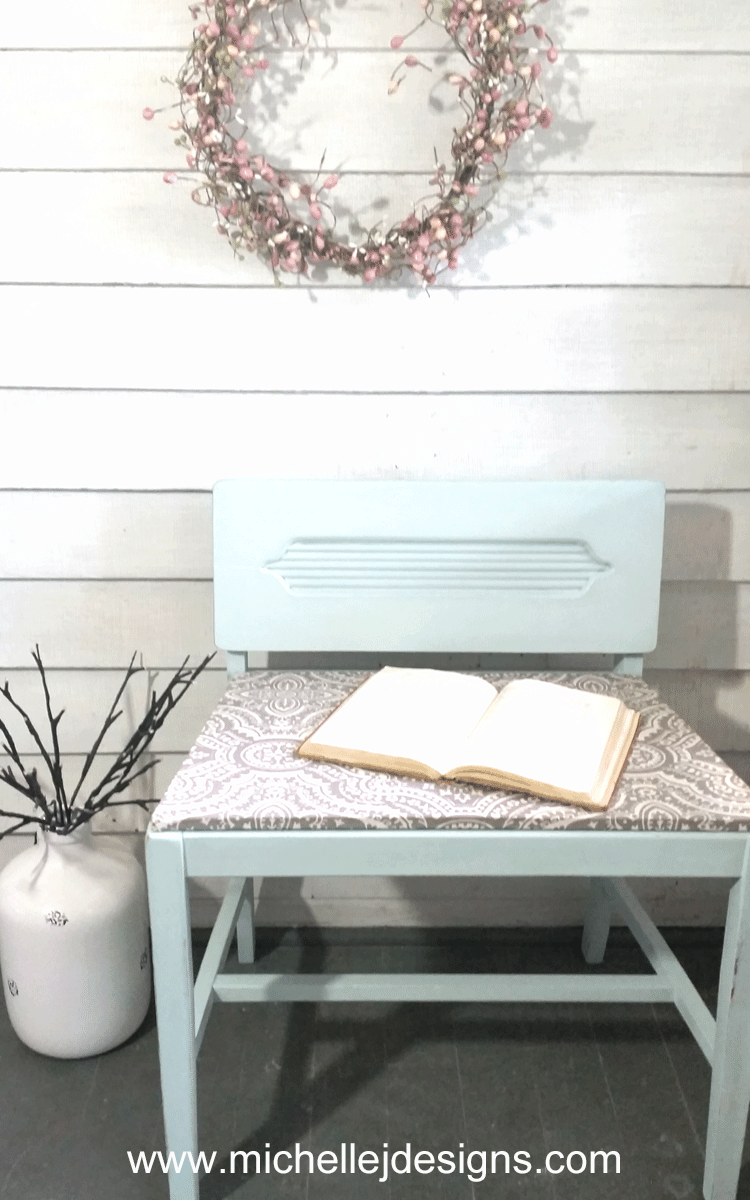
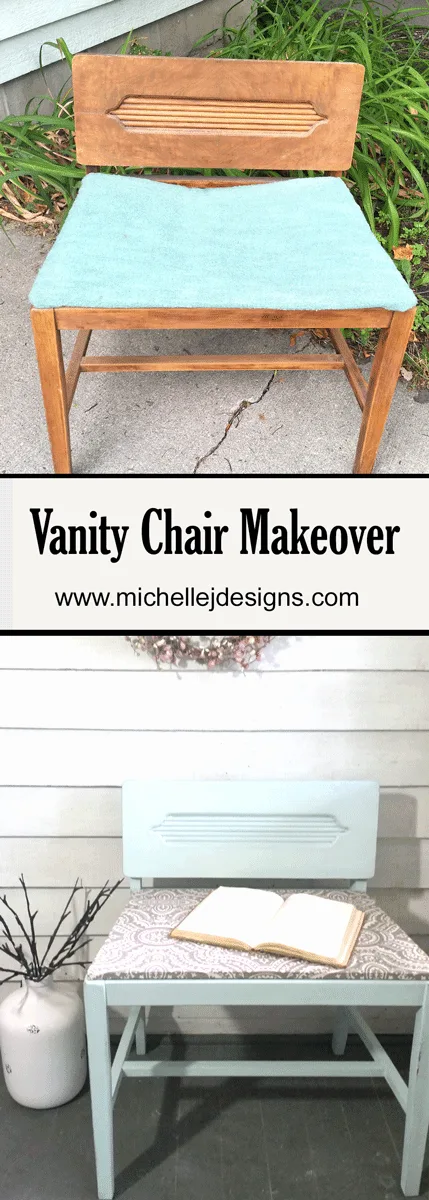
Hi everyone! I am back today with a fun Furniture Refresh project. I found the cutest chair at a garage sale at the beginning of the summer and I couldn’t wait to re-so it. So, welcome to my DIY vanity chair!

Furniture Refresh Challenge
Each month my bloggy friend, Michele from Shelstring hosts this awesome event that challenges me to get out a piece of furniture and get it done. I have several pieces in my garage so I like to call it cleaning up. LOL! My last project was the Vintage Turntable Cabinet so this month seemed fairly easy compared to that one.
I used some paint, wax, wood and fabric!
Getting Started With The DIY Vanity Chair
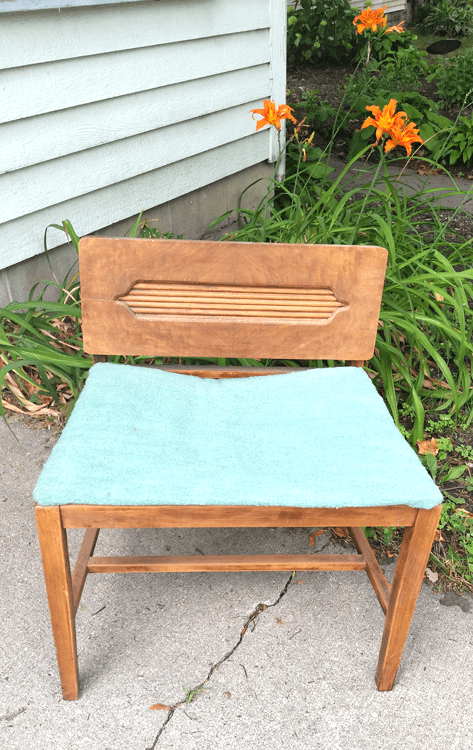
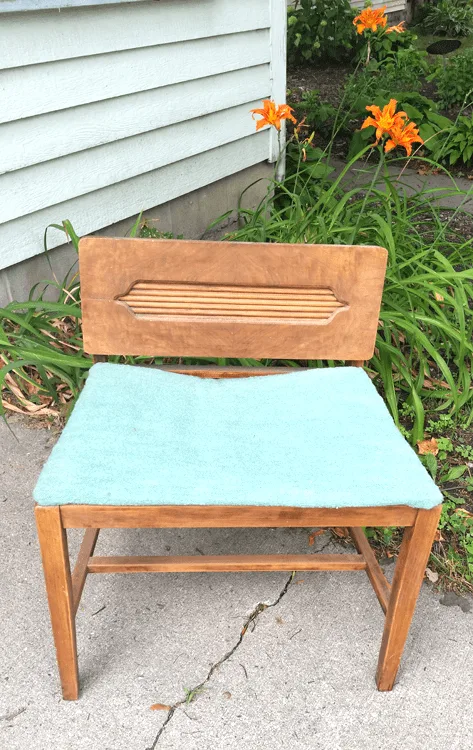
This guy started out a little bit sad. He had good bones but his seat was broken and he was somewhat showing his wear and tear.
Supplies Needed:
I am including some affiliate links for your convenience. You can read my full disclosure here.
Materials List
Vanity Chair
Latex paint – color of your choice

Daddy Vans Clear Furniture Polish Wax
Daddy Vans Decorative Wax – I used Shadow Black
Soft Cloth x 2
Sanding Block
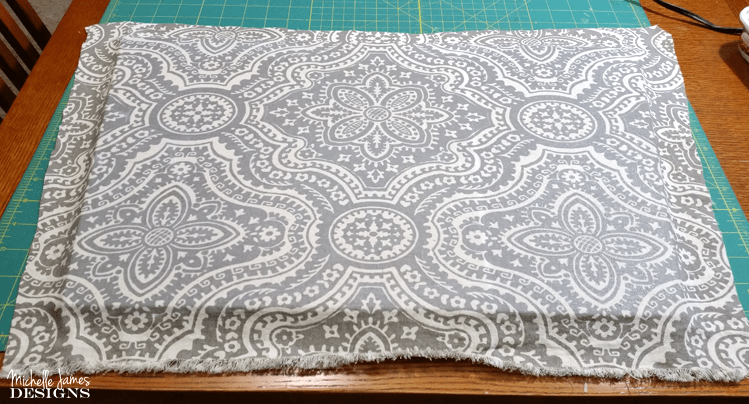
Fabric
Plywood – cut to size of chair
Mod Podge – Fabric
Foam Brush
Electric Drill
Step 1:
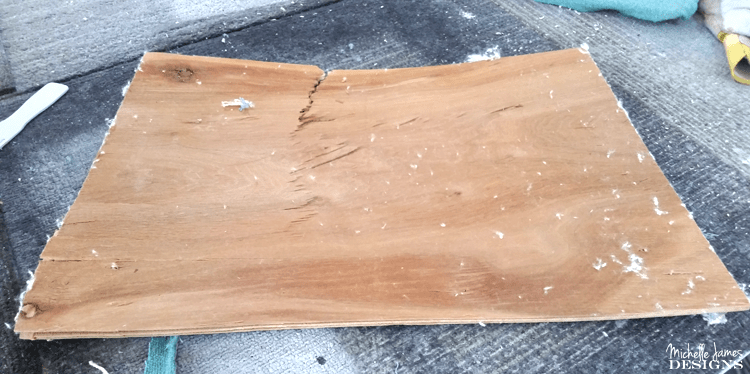
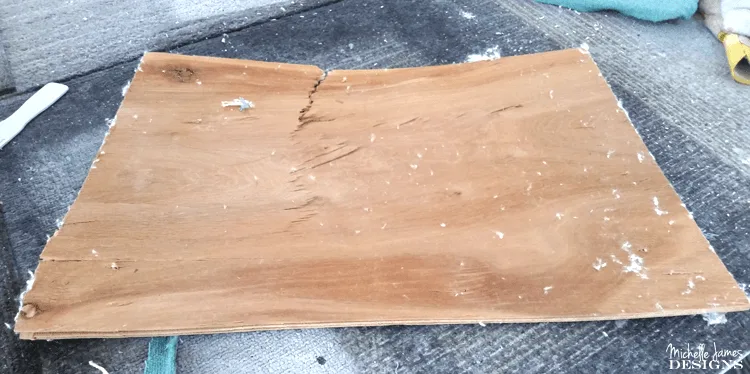
Remove the seat from chair. This was easy on my chair as the seat was not fastened on at all. I removed all of the cushion and fabrics and got down to the wood. Jeff cut me a new piece of wood using this one as a template for the measurements.
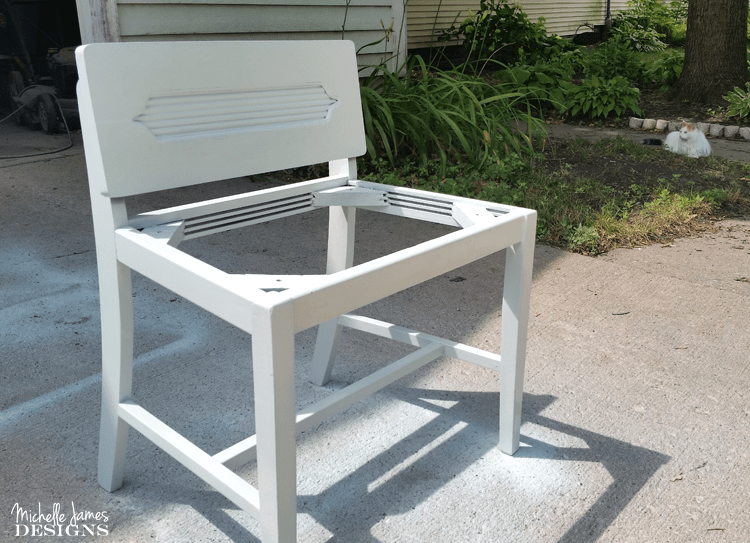
The HomeRight sprayer is especially great for chairs. I always get a smooth finish with the sprayer and no brush marks which makes me happy!
I sprayed on 2 coats of paint and it turned out great.

Step 2:
Once it was painted and completely dry I used the sanding block to do some distressing.
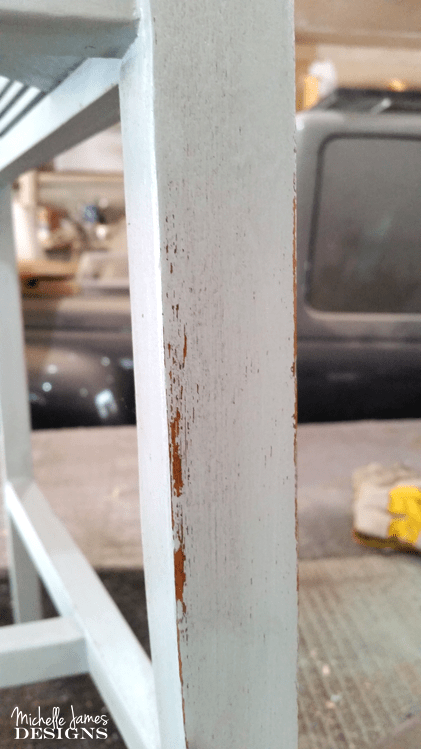

Step 3:
The next step was to add the Daddy Van’s Wax. I love the dark wax but sometimes I am afraid to use it because I seem to get too much and then it looks terrible and I can’t remove any of it.
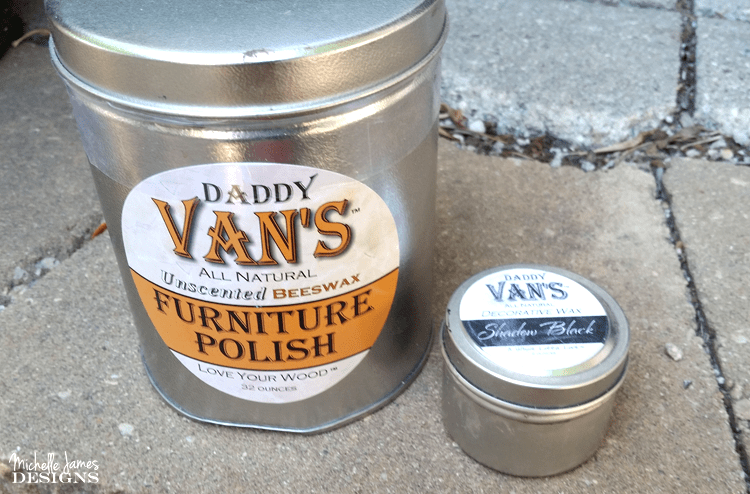

I read a blog post about how to add dark wax to your furniture pieces. She said to use the clear wax first then add the dark wax.
Now I have to say this worked like a charm. I wanted just a tinge of the dark wax on this chair and I was able to make that happen.
In fact there is really such a small amount that it was very difficult to photograph.
I worked in sections adding clear wax with a soft cloth, then adding the dark wax with a different cloth. (An old t-shirt works well)
Step 4:
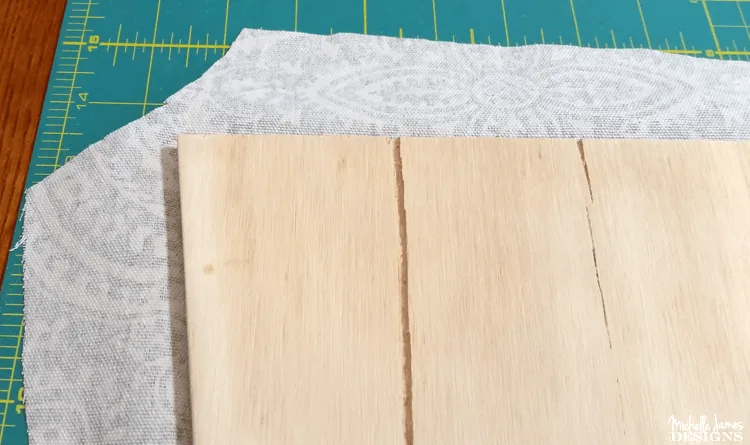
The seat was the next step. The board for the seat was broken so we measured it and cut a new piece of 1/2 inch plywood.
I was going to add a cushion to the top of the wood piece but the foam was too thick. It would have come up above the height of the seat back and would have kept the wood from sitting correctly on the chair. Purchasing a thinner piece of foam would have been an option but decided to try the Mod Podge instead. I had just used it on my burlap dresser so why not?
These office chairs from Designer Trapped are so nice and she had used Mod Podge.
I started by cutting a piece fabric large enough to cover the top, wrap around the edge and still have about 2 inches on the back to glue down.
Adding The Mod Podge
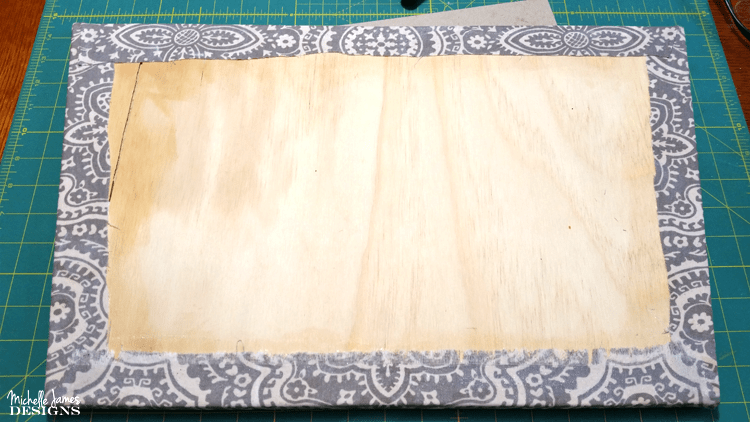
I added the Mod Podge to the top half of the board on the front and placed the fabric down, then repeated this process for the lower half of the board. Then I went over the top of the fabric with the Mod Podge too. I left the edges for now.

After the top was dry I started on the back and just like in paper crafting, I cut the corners to get rid of the excess fabric.

Starting with the sides I added Mod Podge to the edge of the wood and about 3 inches onto the back and wrapped the fabric tightly around and to the back. Then added more Mod Podge over the top of the fabric.
I was careful to fold the corners neatly and kept adding more of the Mod Podge until it was pretty soaked and was staying put.

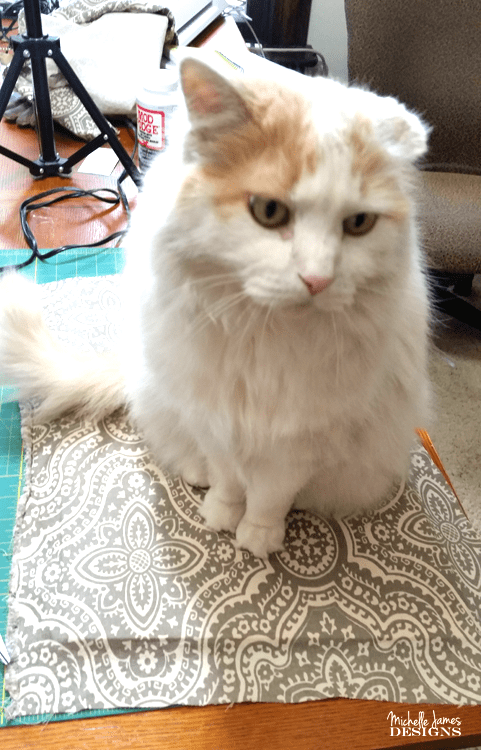
It worked nicely. At one point I even had a helper who wasn’t really helping!

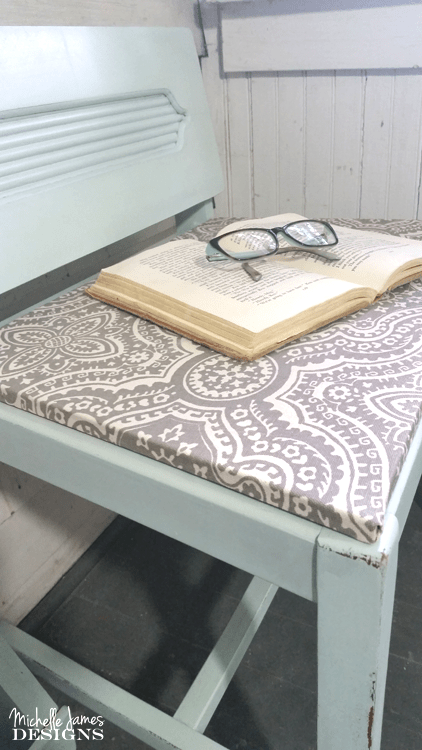
Once the seat was completely dry we just screwed it onto the chair. There were already some holes even though when I bought it the seat was loose.
This was a fun and easy project. I didn’t even have to get out the upholstery staple gun! Yay!
The Final Result For This DIY Vanity Chair


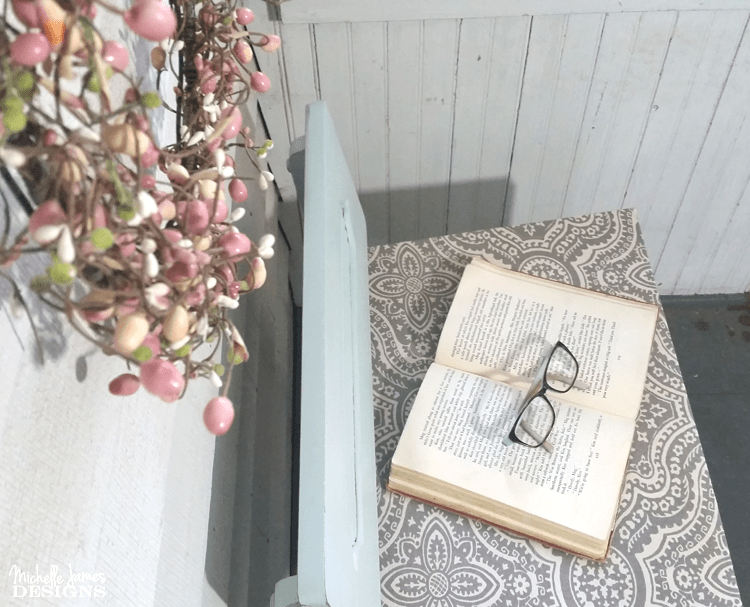


What do you think?
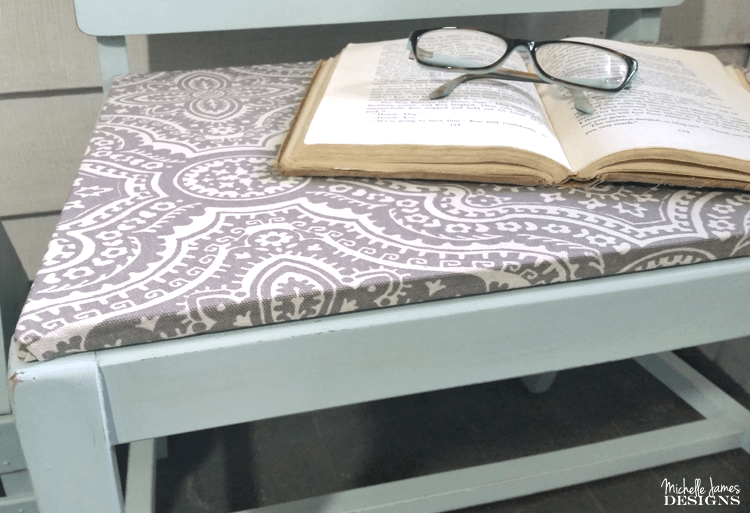
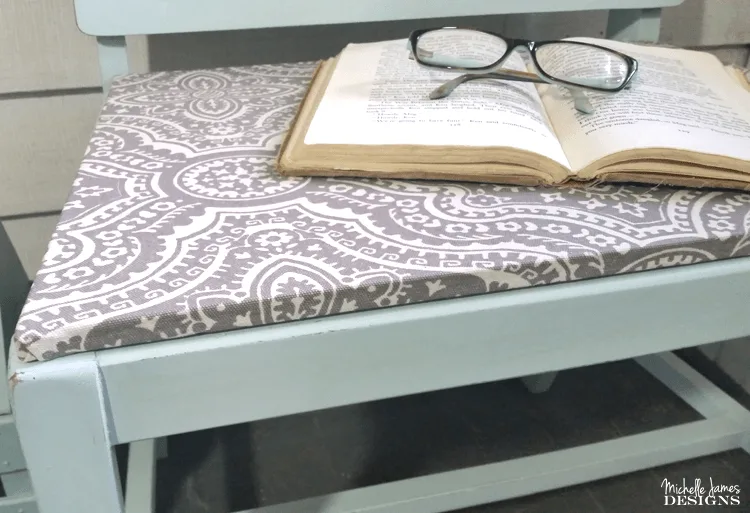
It is pretty comfortable too. Even without the cushy top and it looks a lot better.
If you like it be sure to pin it!

And don’t forget to check out Michele’s post too! You can find it on her Shelstring blog!
Thanks so much for stopping by!
Michelle


Michelle Leslie
Wednesday 6th of September 2017
Oh what fun. It's such an unusual little chair and I love the fabric and paint color you choose. They look lovely together
Michelle
Wednesday 6th of September 2017
Thank you Michelle! I love this color and use it a lot.
Leanna
Saturday 2nd of September 2017
The colour is perfect. I cannot believe you tackled remaking this very sad little stool. It looks unique and fun now. Great Makeover.
Michelle
Sunday 3rd of September 2017
Thank you Leanna! I love the color too. The seat wasn't hard and it definitely needed to be fixed. So glad you like it.
sue
Friday 18th of August 2017
it's the cutest chair in the whold wide world now. I like the fabric you picked out and the color you painted the chair too. thank you for the tip to use clear wax and then dark wax to not have too dark of wax areas.
Michelle
Saturday 19th of August 2017
Thanks so much Sue! I am really excited about this chair. It is super cute! I am glad you like it too.
Carolann
Sunday 13th of August 2017
Love the transformation, Michelle. The color is perfect and love the fabric too! Beautiful job!
Michelle
Tuesday 15th of August 2017
Thank you Carolann! I love the fabric too. I have some left over and I think I will make a throw pillow or something.
Michelle james
Friday 11th of August 2017
Tbis turbed out great! I love the color & the fabric! Great update!
Michelle
Friday 11th of August 2017
Hi Michelle. Thanks so much. I love this color too. It is definitely one that I use a lot.