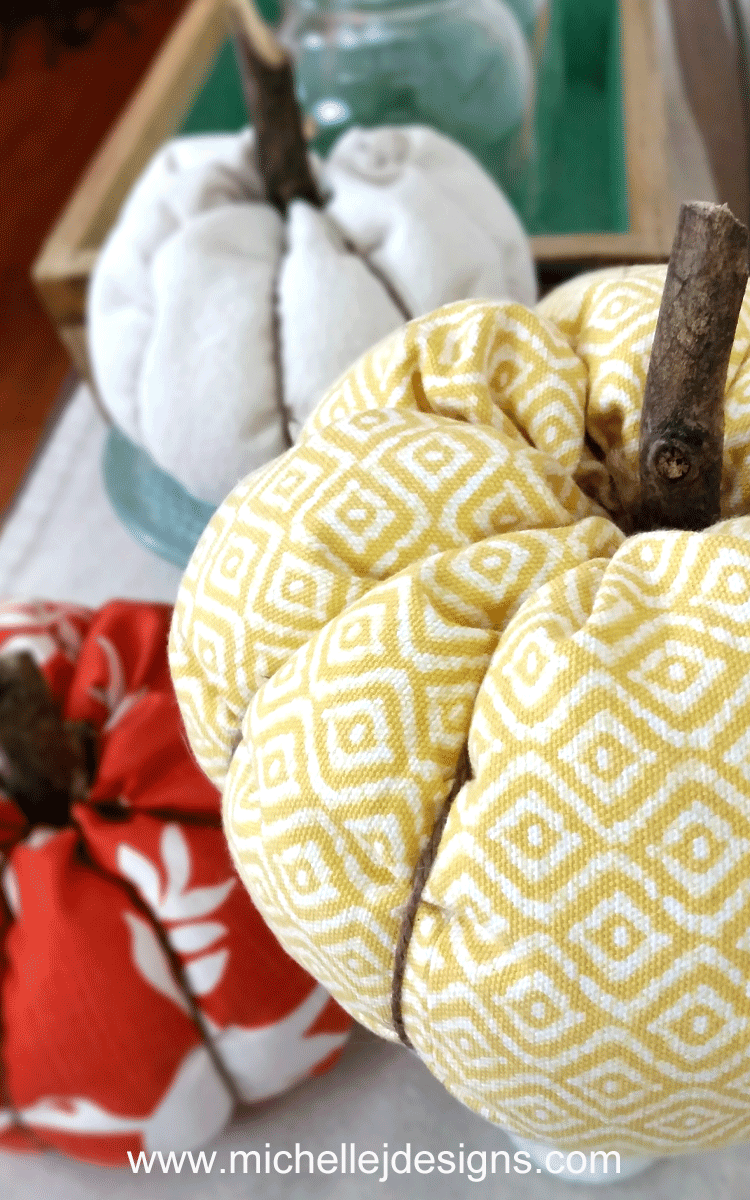
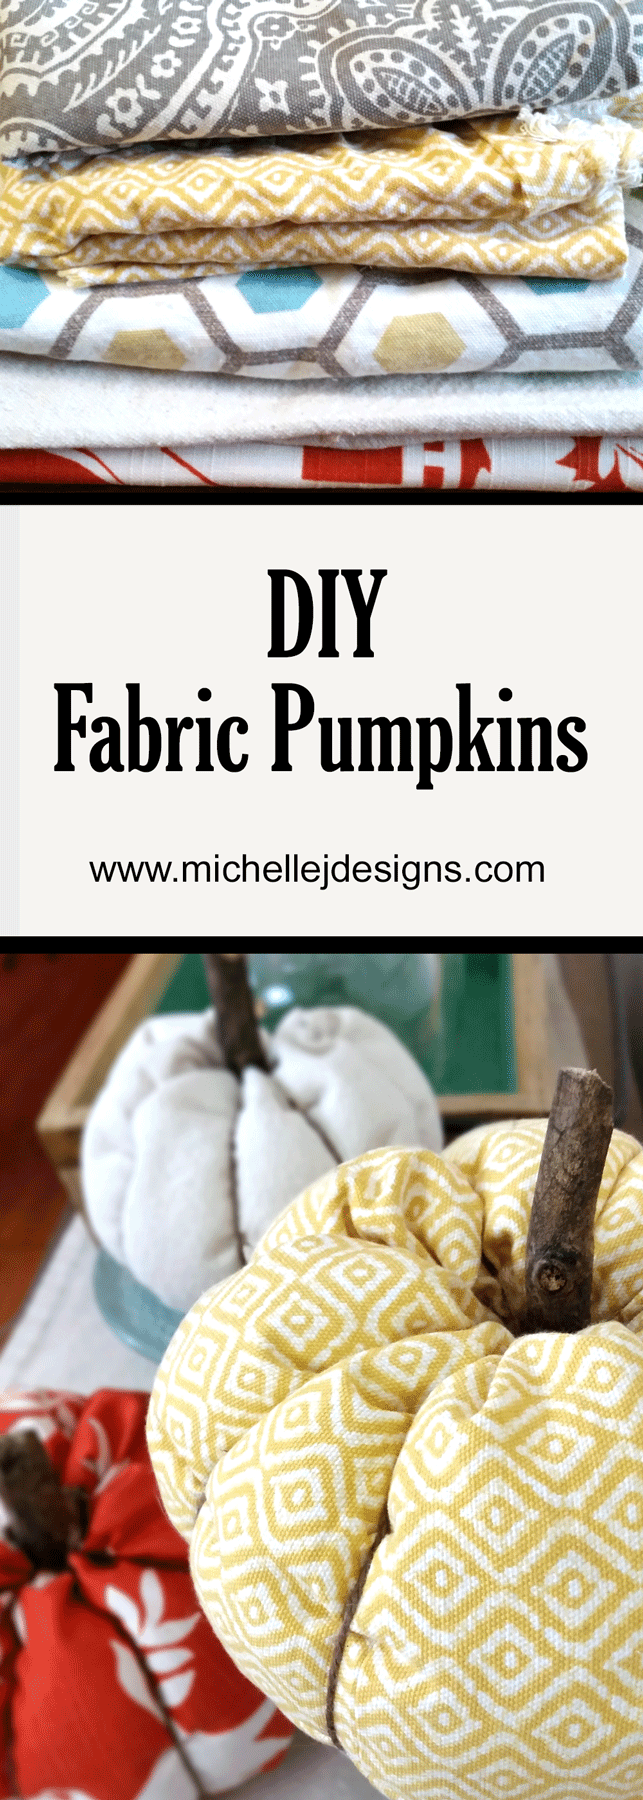
Hi! I am excited about these DIY fabric pumpkins. This is part of my Crafty De-Stash Challenge and this month I decided to use up some of my fabric stash.
Monthly Crafty De-Stash
Each month a group of bloggers and I are challenged to use what is already in our craft stash and create something. Last month I made my Kitchen Organization Board and I love it. This challenge is hosted by Megan at C’mon Get Crafty and I appreciate her for putting it together each month.
For August I thought I would use up some of my fabric.

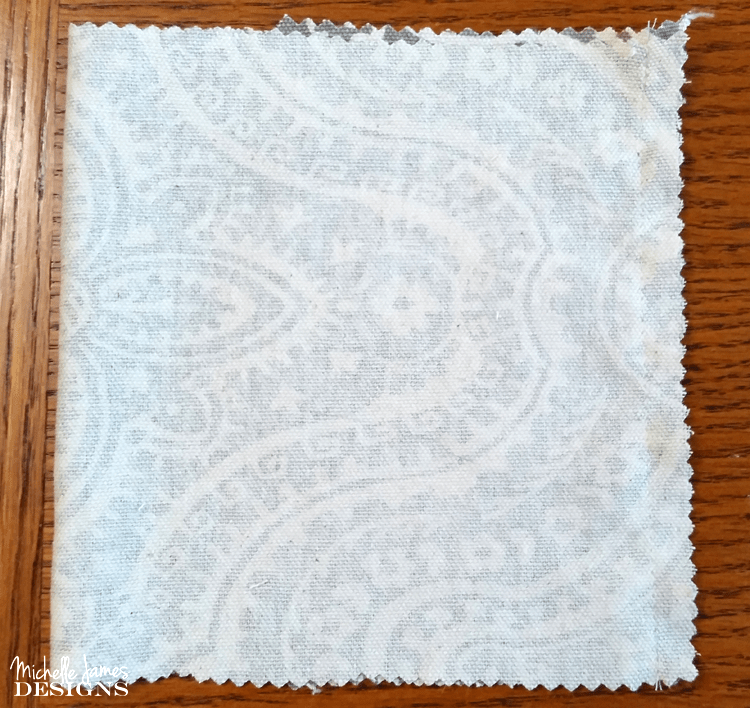
This is by no means all of my fabric, but I wanted to choose fall-ish colors but not the typical fall colors yet. I want to “ease” into fall. I am not ready for it yet.
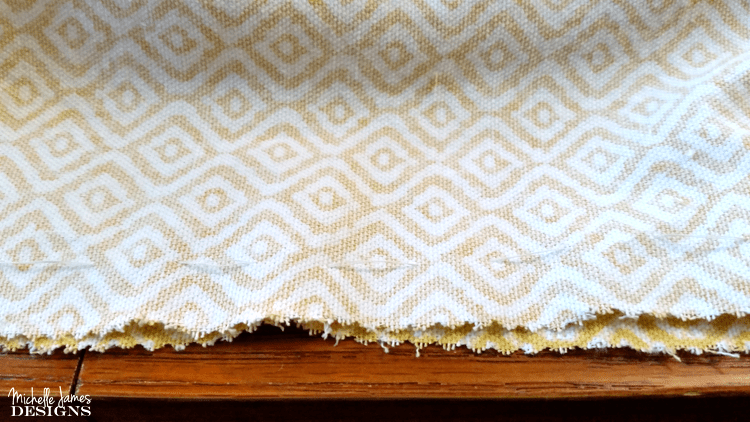
The fabric on the top was what I just used on my Vanity Chair Makeover and there is a piece of drop cloth in there and the rest were for throw pillows that have not been made yet.
Creating DIY Fabric Pumpkins
I have included some affiliate links for your convenience. You can read my full disclosure here.
Materials Needed for DIY Fabric Pumpkins
Fabric – Different colors and patterns
Sewing machine – (optional but handy)
Needles – one regular size for hand sewing and one larger,longer needle that can go through the pumpkin top to bottom
Thread
Scissors
Hot Glue Gun and Glue Sticks
Pieces of real branch or twig for stems
Getting Started
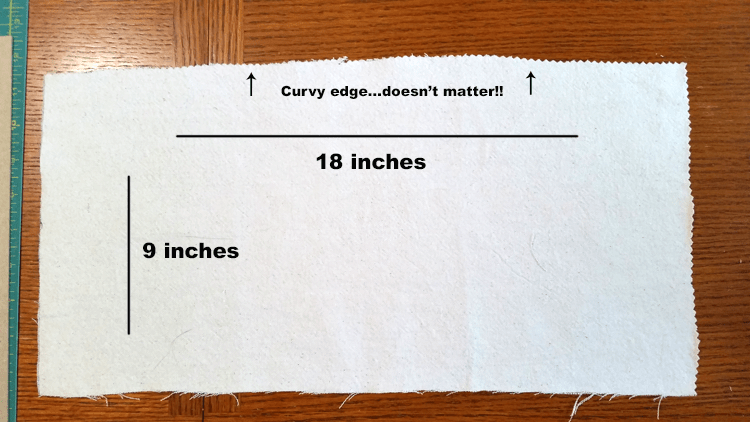
Step 1:
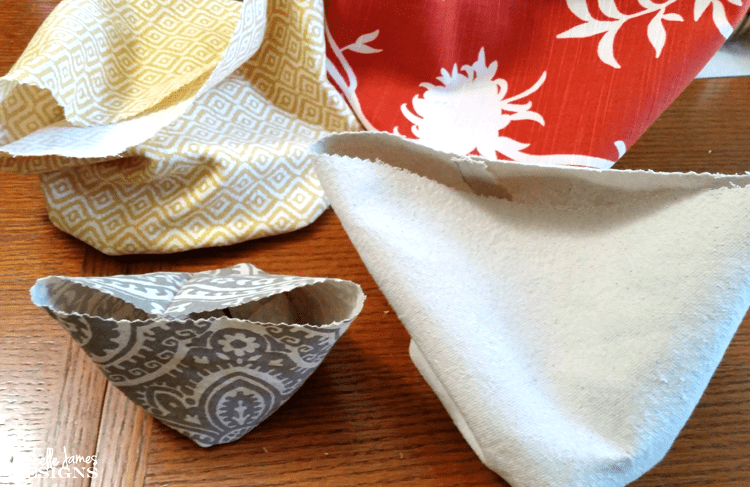
We start with rectangle pieces. The width needs to be twice as as long as the height. I used three different sizes, 24 x 12, 18 x 9, and 12 x 6. Don’t worry about each side being perfectly straight. They will be gathered up and no one will be able to tell. See how crazy my cutting was?
Step 2:
Fold the pieces right sides together and stitch up the side.
Step 3:
Using one of the regular, smaller size needles and some thread, add a running stitch all the way around the bottom of the “tube” of fabric.
With the needle still attached gather the fabric to close the opening.
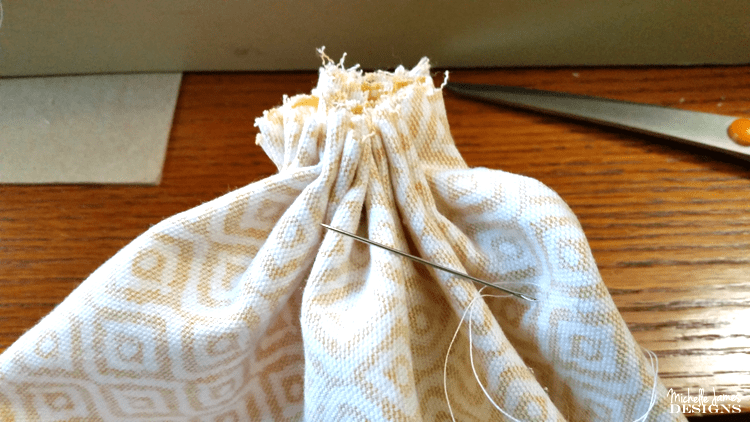
Use the needle to knot the thread a few times. Then turn it right side out.
Step 4
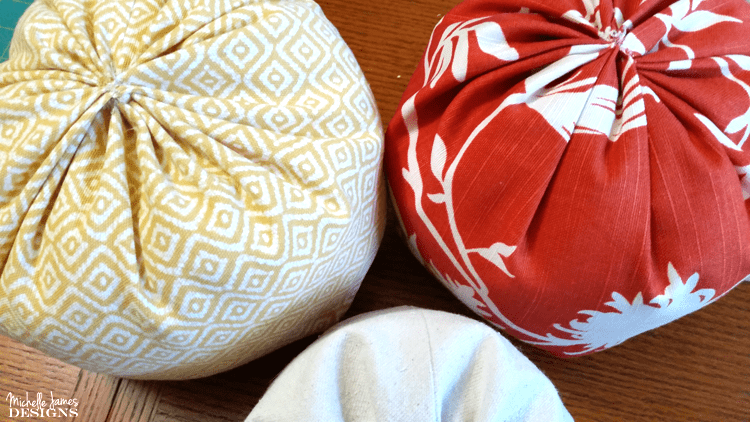
Stuff the pumpkins with the fiberfill. I didn’t over stuff though.

Using the smaller needle and thread do another running stitch and gather to close the opening at the top. Before I knotted it I added some stitches to make sure all of it was sewn shut.
Step 5
Now it is time to add the twine around the edges. I took the easy, lazy route but it worked just fine. Using the twine, wrap one piece around the pumpkin. Basically so you have two halves. Pull it tight and tie a couple of knots at the top.
Then do it again splitting the pumpkin into quarters. Then two more times splitting those quarters in half. You will have added 4 pieces of twine around the fabric pumpkin.
Step 6
This is the hardest part especially if you don’t have the longer needles…and I didn’t. In order to shape the pumpkin and squish it down a little bit a tie is needed from top to bottom. So thread up the long needle and punch down from the top, through the entire pumpkin and out the bottom. Then back up again. Repeat this process a couple of times pulling the thread until it is not round anymore and knot the thread several times.
Step 7
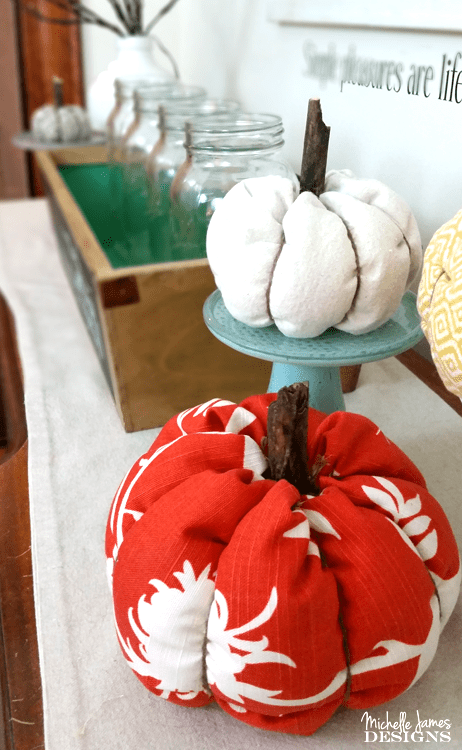
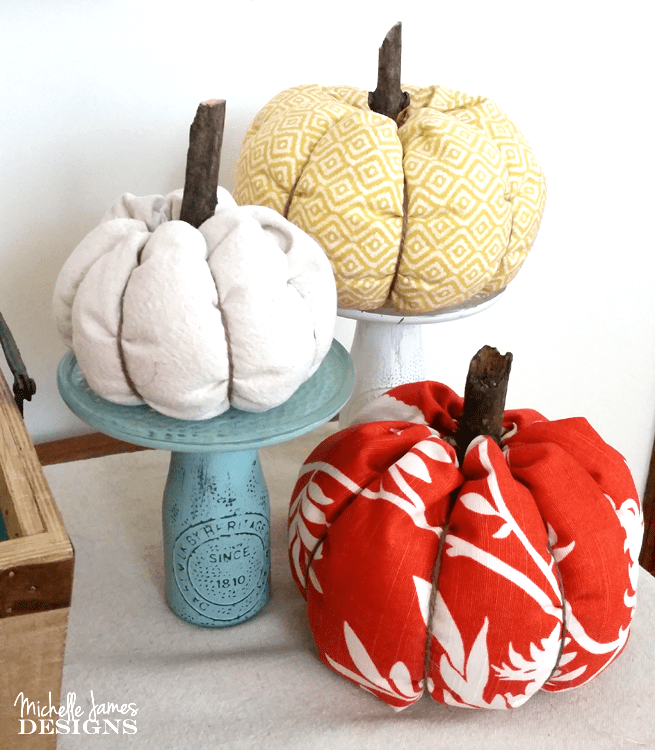
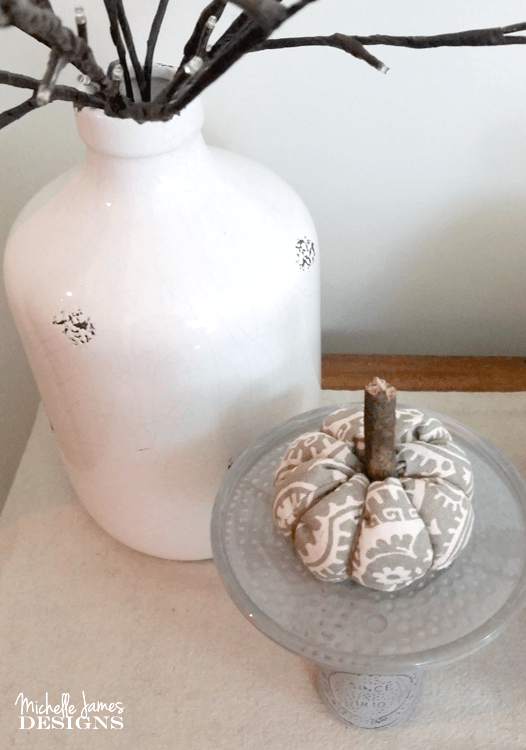
Add the stems. I found a decent branch outside and broke it into small pieces. Fill the top with hot glue and place the stem in. I just held it in place for a few seconds and it was perfect!

All finished! What do you think?
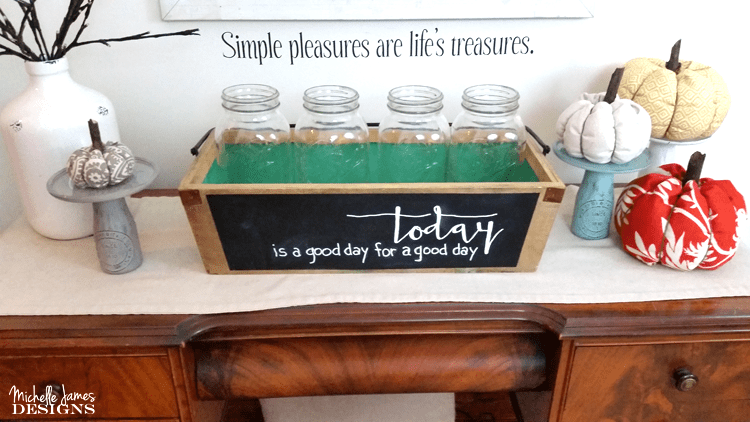
They look pretty cute on my mini cake stands!
If you like it don’t forget to pin it!
[Tweet “”What crafty creations could you make today from YOUR craft stash?! #CraftRoomDestashChallenge”]
“What crafty creations could you make today from YOUR craft stash?! #CraftRoomDestashChallenge”
If you’d like to join in the Craft Room De-Stash Challenge, you can request to join our Facebook group here!
Be sure to check out all of the other blogs and their wonderful crafty de-stash projects too! And if you would like to watch my Facebook live video showing how to make one of these pumpkins you can find it here!
Thanks so much for stopping by.
Michelle


Emily
Monday 11th of September 2017
I have so many fabric scraps that could be turned into cute pumpkins - thanks for sharing with our Merry Monday party last week!
Michelle
Tuesday 12th of September 2017
Hi Emily! Fabric scraps really multiply don't they. These are perfect for those scraps and I hope you make some! They were fun.
Megan Chamberlin
Wednesday 30th of August 2017
These are sooo adorable!! Great destash and now you can use them every fall!
Michelle
Thursday 31st of August 2017
Thank you Megan! They were so fun, fast and easy and I am excited about using them over and over. It is nice to have a stash of fabric!
Emily @DomesticDeadline.com
Tuesday 29th of August 2017
I did some of these years ago, I have no idea where they went to, I might need to make more, thanks for the reminder!
Michelle
Tuesday 29th of August 2017
Hi Emily. That sounds like what happens to me. I hope you find them. But if not these are fast and easy!
Susan
Friday 25th of August 2017
I pinned this project to make with my grand daughter. Thanks for the idea. LIke another commenter said, I thought they would be more difficult. I love the addition of a real stem. Thanks for sharing your project.
Michelle
Friday 25th of August 2017
Hi Susan! I am glad you like them and I hope your grand daughter does too. They really do go together fast. Have fun!
Leanna
Wednesday 23rd of August 2017
Fabric pumpkins are my fav for fall. They are so individualized, come in any colour you choose, and as fancy of simple as you like.
This is a fantastic fall family craft and your tutorial is very thorough and well done. Pinning to my Fall Board.
Michelle
Wednesday 23rd of August 2017
Hi Leanna! Thank you. I love just about everything pumpkin for fall. I am just not ready to let go of my summer warm weather yet. LOL!