Hello and welcome back. I get really excited for Valentine’s Day projects. I think it is because I have finished up so many Christmas projects and I am ready for something different. Anyway, today I am using some dollar store picture frames for Valentine’s Day.
Dollar Tree crafts and gifts are some of my favorite things to make!
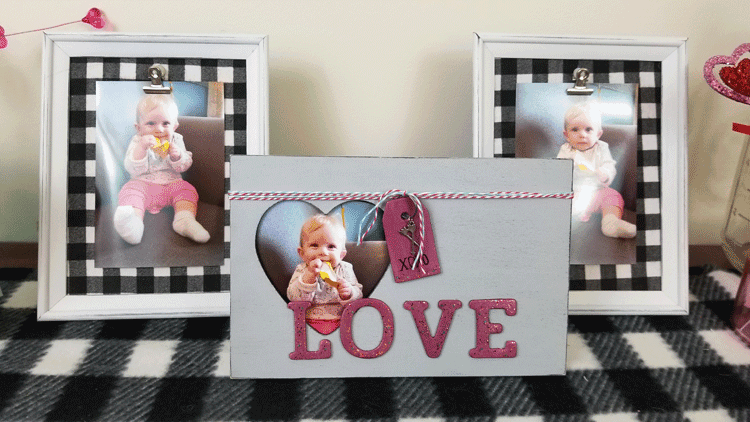
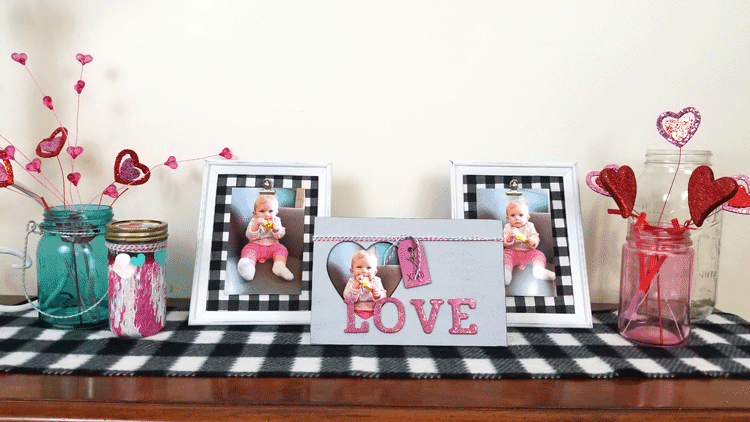
You will notice that I am re-using the dollar store picture frames I made for my Grinch printables and I have painted and decorated another dollar store frame for Valentine’s Day. But, as you will see, I put my grand daughter’s picture in all of them and I will probably leave them out all year.
Since it doesn’t specifically say “Valentine’s Day” or “Valentine” anywhere on it…they why the heck not! I can be evergreen.

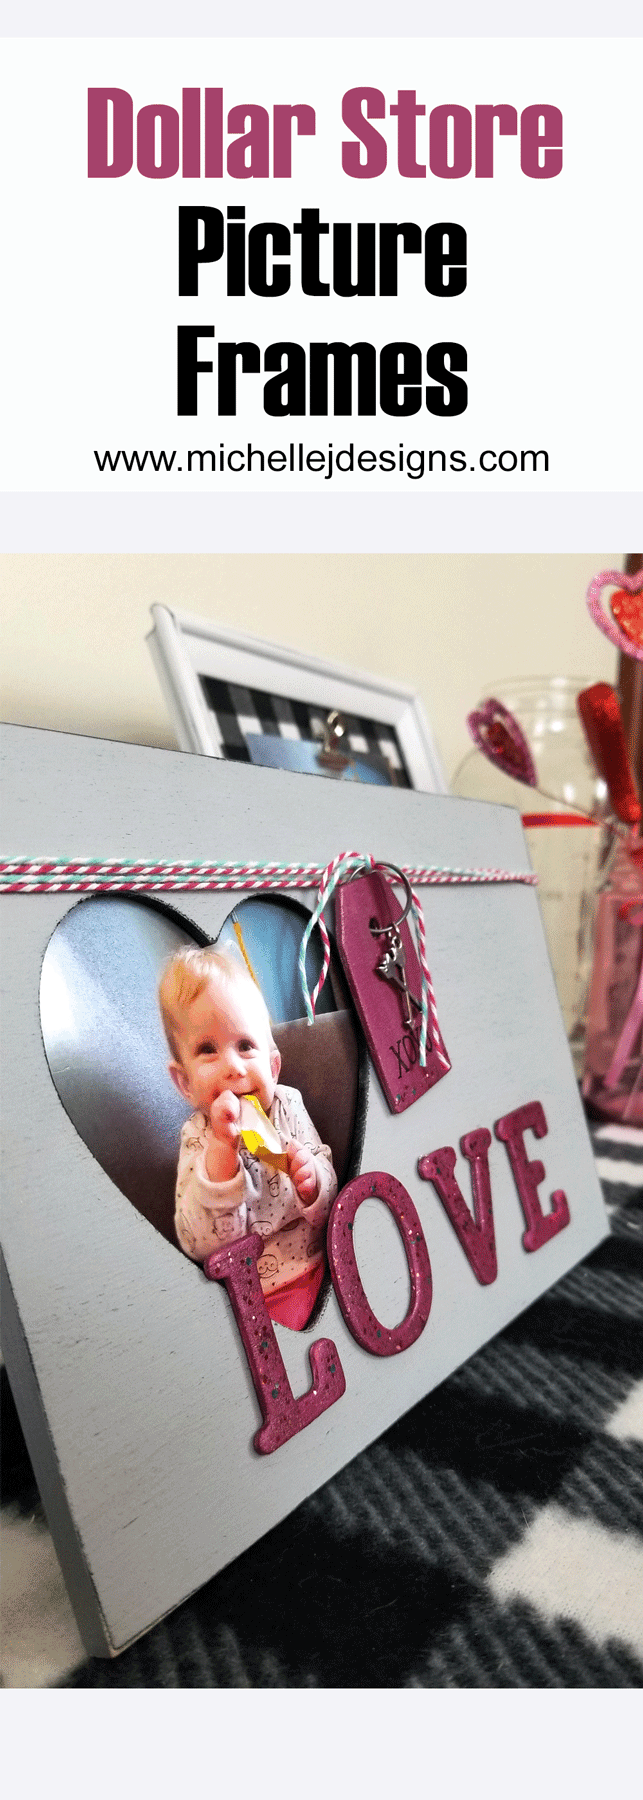
Dollar Store Picture Frames for Valentine’s Day
You will love this easy project. The supplies are from Dollar Tree so it cost $2 for the frame and the letters. The paint was on sale at Hobby Lobby so that was reasonable as well. Plus, I didn’t use very much of the paint so I have a lot left over for more fun crafty things.
Here we go!
If you like a step-by-step video tutorial check out the video below!
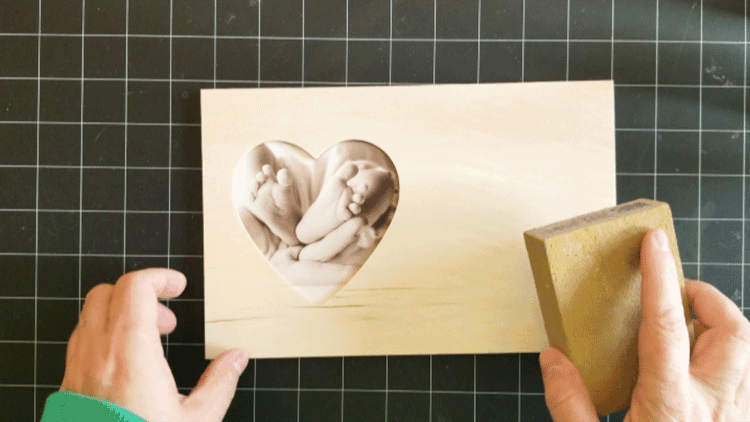
Step 1: Sand and paint the frame
Sanding the frame is an optional step. It is fairly smooth but I like to sand any wood product before I paint.
Once it is sanded and smooth use the black paint and cover the back, the front and the sides.
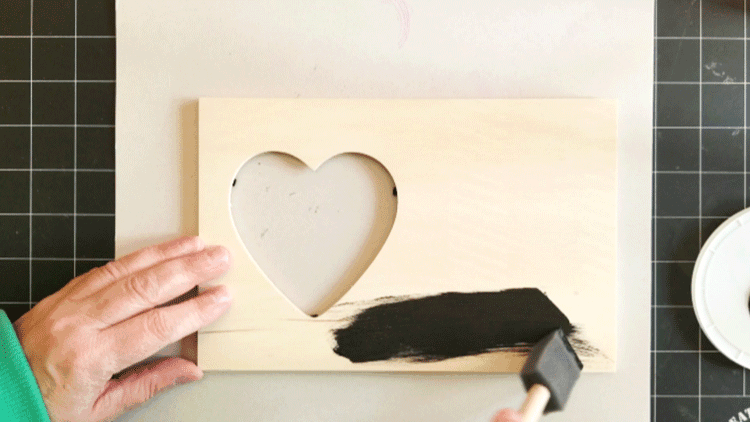
Add another coat if needed but mine only needed one coat of the black.
Once it is completely dry paint over the top of the black paint with the gray paint. (we will sand the gray paint later to distress and reveal some of the black paint underneath).
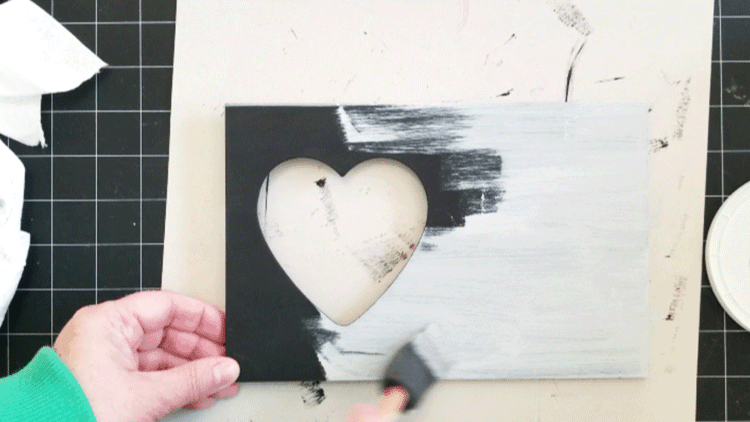
They gray did need a second coat. Once that is dry you can use the sanding block again and sand the gray paint. This adds a fun distressed look.

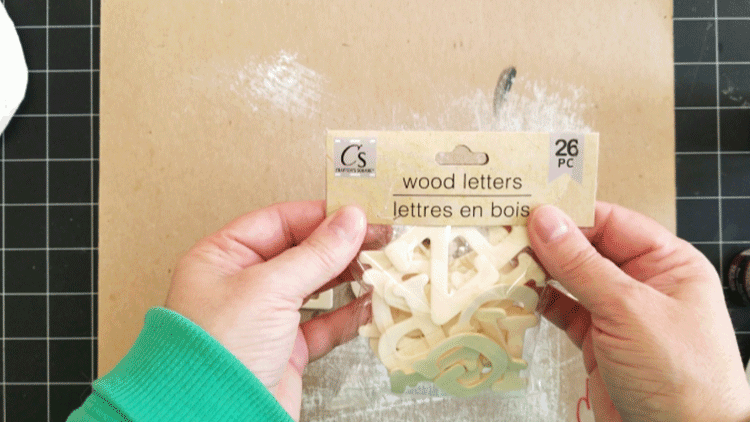
Step 2: Paint and Glitter the Wood Letters
This package of wood letters was in my Christmas stocking from Santa! I was pretty excited about them. There is only one of each letter so don’t try to spell out moon or pretty or something like that. LOL! But the word LOVE worked out perfectly.
I thought I could paint the DecoArt Galaxy Glitter paint directly onto the bare wood but it looked funny.

So I removed the glitter paint with a paper towel. It just wiped right off. (It had not dried at all)

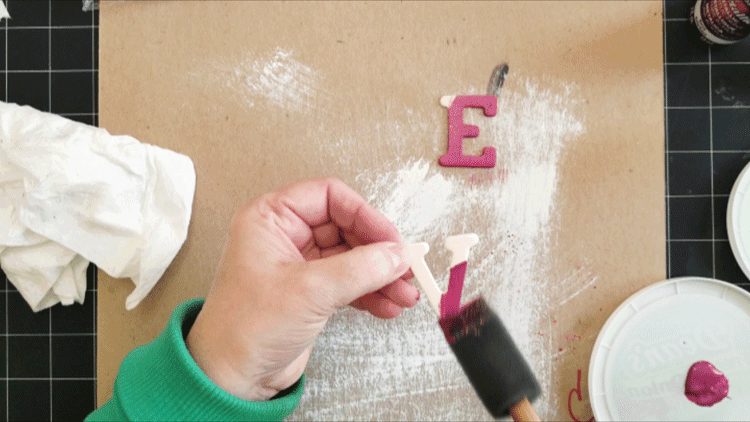
Then I started over by painting the metallic paint onto the letters first. I did not paint the back of the letters. You don’t need to because the back will never show but also, it helps them to adhere better without paint.
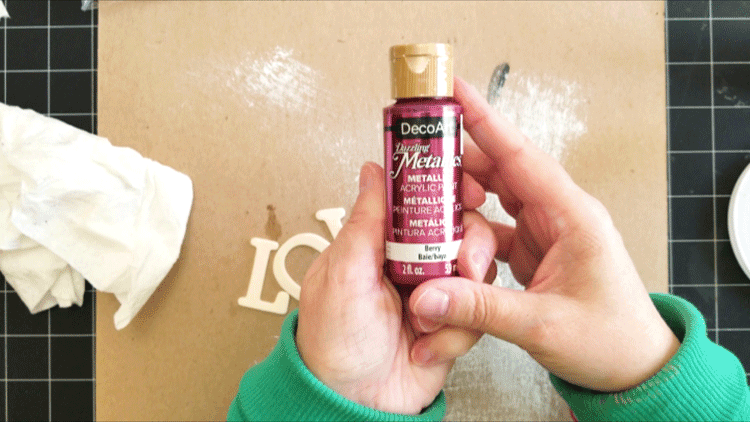
Look how pretty this paint is.

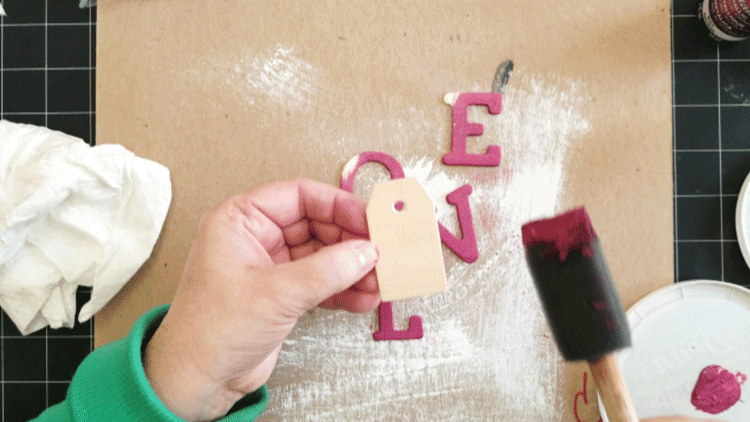
I also painted a small wood tag that I already had. If you don’t have a wood tag hanging around you could make one out of pink card stock or cut one out of chip board and paint it.
The letters did get fully painted. I was holding onto the corners that are showing unpainted in the photo above. After the paint dried I touched up that part and any of the sides that I missed.
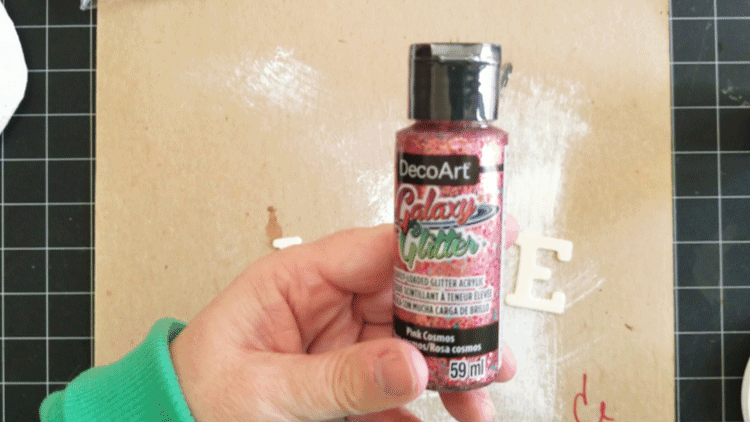
Once the letters and the tag were fully covered with the DecoArt Metallic paint I used a small paint brush to add the Galaxy Glitter paint.
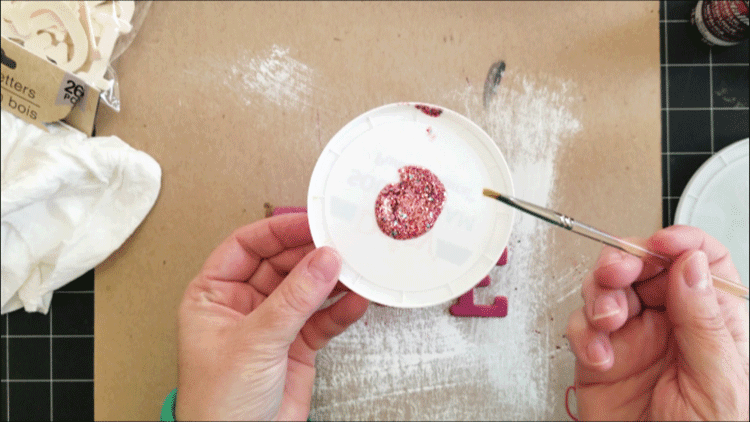
It is fun to brush on the glitter paint. You can pick up different colors of glitter and put them in specific places on the letters if you want. I did this with the little teal flakes.

The wood tag just got a row of glitter at the bottom just to add a little something to it.
Step 3: Add the Letters And The Tag to The Wood Frame
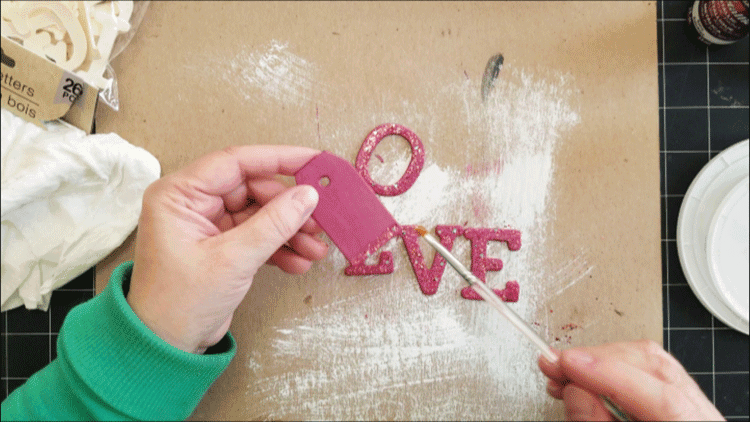
Once the glitter paint is dry on all of the letters it is time to add them to the frame. I debated about putting them in sort of a square to the right of the heart picture opening but I decided to add them across the bottom part of the frame instead.
Here is the layout I chose.

I removed the tag for a bit and used my hot glue gun to adhere the letters onto the frame.
I placed my ruler across the bottom at half inch above the bottom edge of the wood as a guide so they would be strait. They were also 1 1/2 inch from the sides of the frame.


When they were all glued down I moved onto the top of the frame.
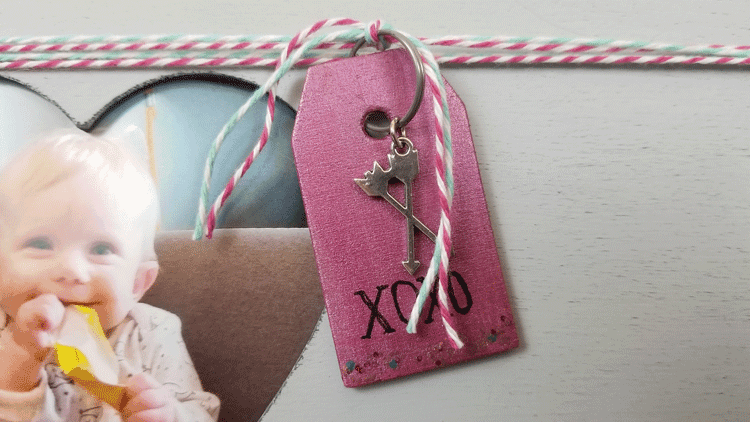
Step 4: Adding the Tag, Charm and Baker’s Twine
I felt the frame needed a little something across the top. Being a former card maker/scrapbooker, ribbon and a something hanging from the ribbon always seems to work.
First I added XOXO close to the bottom using a black sharpie marker.
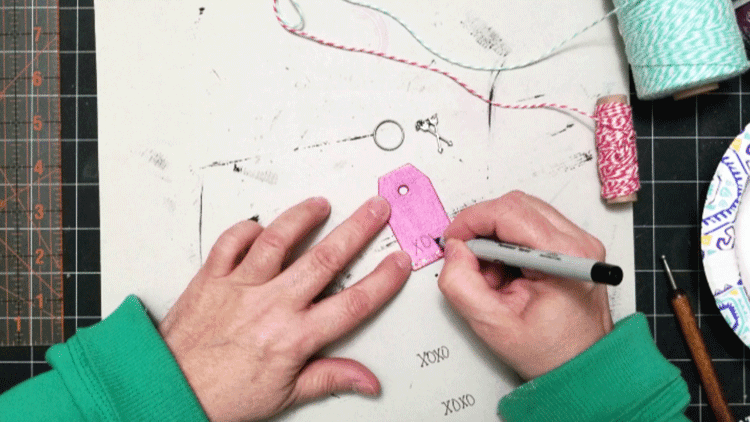
Then I chose a charm with two arrows. I thought it was “Valentine-y”

Then I grabbed my favorite baker’s twine in pink and teal.

I wrapped the string around the frame a couple of times about an inch from the top and tied a knot.
I attached a large ring (sort of like a big jump ring) to the tag. The charm was attached to that too.

This ring allowed me to attach it easier to the string. Then I tied another knot to secure it.

Some foam mounting tape under the tag was perfect for holding it in place.

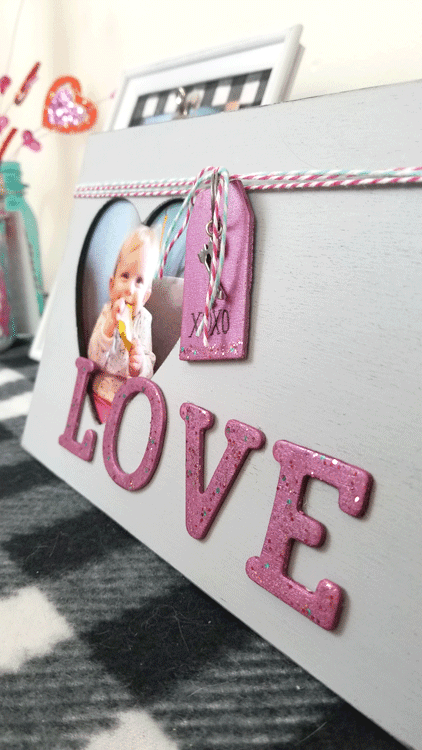
That was it! Isn’t it really cute?

But, it is even better with Harper’s picture in it! She is definitely the love of my life right now. Such a cutie!
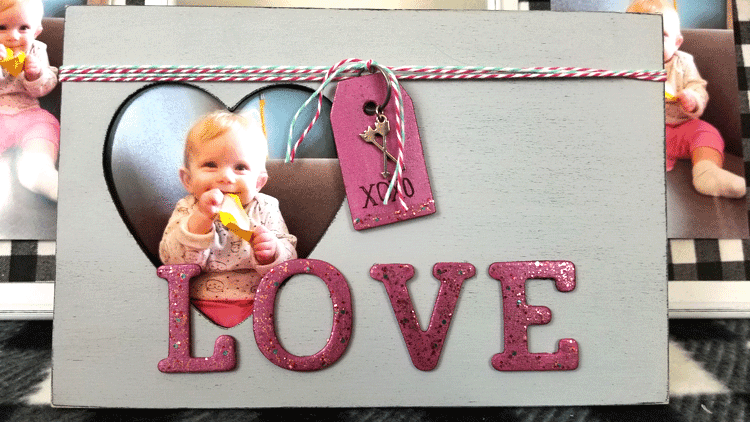
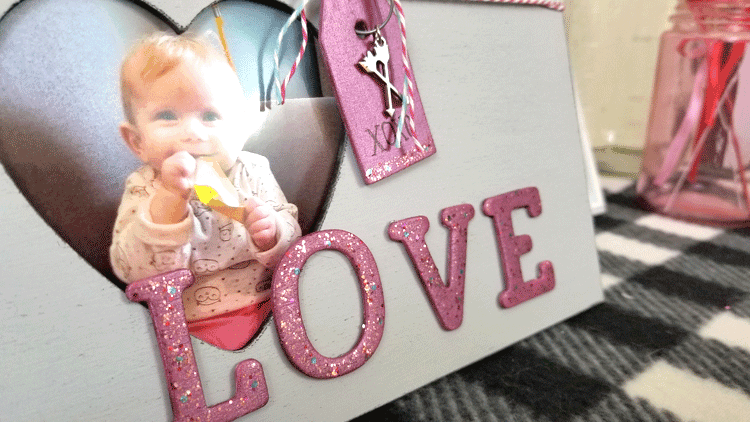
The glitter is so fun! And you can really see how nice the metallic paint looks. I love it.
This was a really fun and easy project. It could be made into anything. Next time you are in a Dollar Tree check to see if they carry any of these frames. For $1 you can’t lose.
Materials List
I have included some affiliate links for your convenience. You can read my full disclosure here.
- Dollar Tree Wood Heart Frame
- Dollar Tree Wood Letters
- Wood Tag
- DecoArt Paint – Lamp (Ebony) Black, Grey Sky
- DecoArt Metallic Paint – Berry
- DecoArt Galaxy Glitter – Pink Cosmos
- Arrow Charm
- Bakers Twine – Pink, Teal
- Foam Brush
- Small Paint Brush
- Hot Glue Gun and Glue Sticks
- Sanding Block
- Foam Mounting Tape
Thanks so much for stopping by,
Michelle


Nancy L Janssen
Sunday 26th of January 2020
Adorable project with that amazing little face as its focal point!
Michelle
Sunday 26th of January 2020
Hi Nancy! Isn't she just the cutest little thing? She does make my project look much better! Thank you.
Marcie
Saturday 25th of January 2020
Love seeing your neat works, Michelle!
Michelle
Saturday 25th of January 2020
Hi Marcie! Thanks so much for reading and taking the the time to comment. I appreciate it and am glad you like the blog!