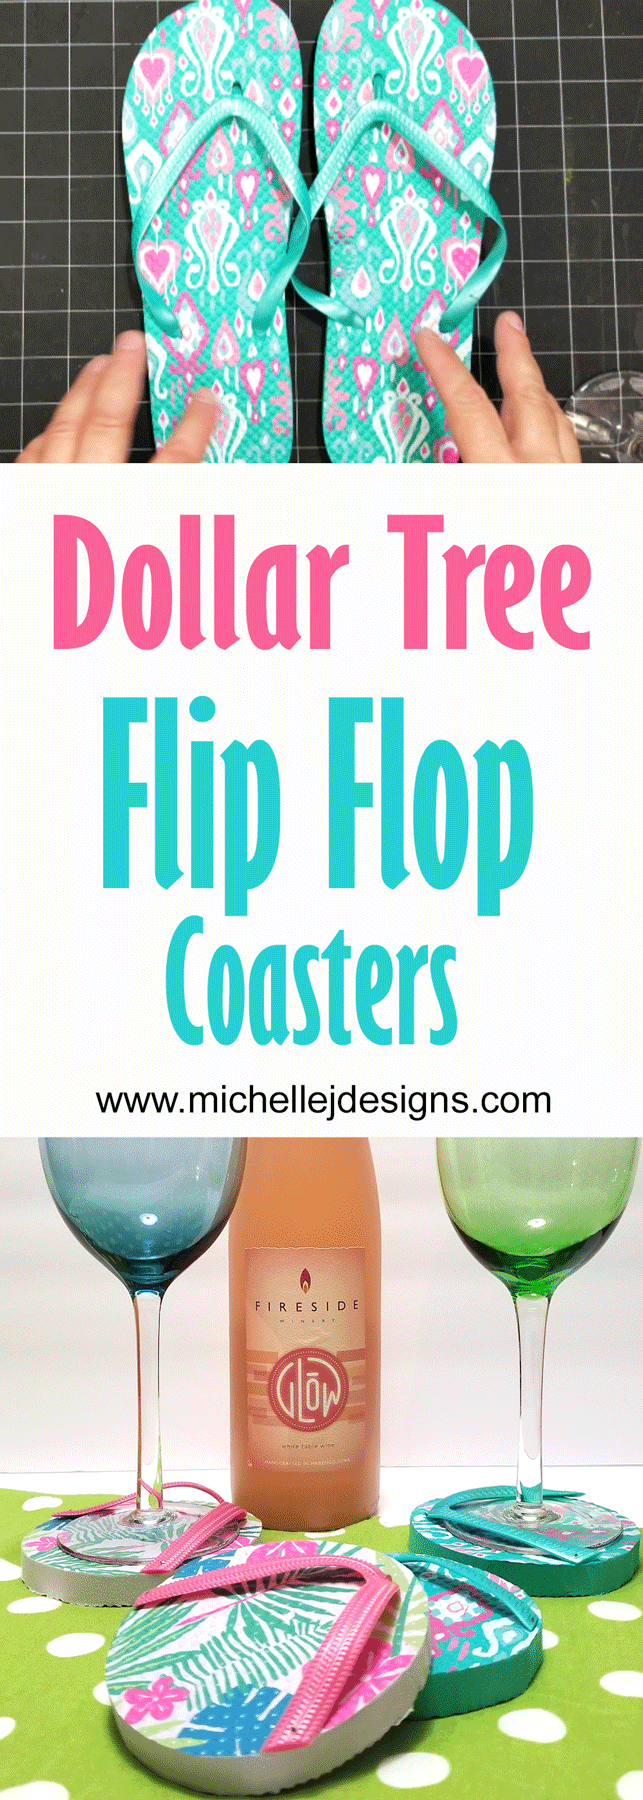
Who is up for another fun Dollar Store post? I am…I am. You know how much I love these. This time I want to show you how to make some very, very budget friendly Dollar Store Flip Flop Coasters. They are so cute, easy to make and cheap as they come. You can’t beat all that right?
I am joined by my three other blogging friends too. We decided this would be a summer theme and we all made some great things using Dollar Store items.
You are definitely in the right place if you love Dollar Tree crafts and gifts!
So, after you read my post be sure to visit theirs too. We love to share with each other. The links are at the bottom of this post! Enjoy.

Dollar Tree Flip Flop Coasters
I have included written step by step instructions below if you like the written version. But I also filmed a You Tube video too. So if you like to learn by watching then click on the video below.
Materials List
I have included some affiliate posts for your convenience. You can read my full disclosure here.
Dollar Tree Flip Flop Coasters


These cute Dollar Tree flip flop coasters are easy to make, easy on the budget and are SUPER cute. Make them for yourself or for a fun gift.
Materials
- Dollar Tree Flip Flops - Size L or XL
- Short Pins
- Sharpie Marker
Tools
- Band Saw (recommended)
- Small Disc Sander (recommended)
- Scissors
- Exacto Knife or Utility Knife (optional)
Instructions
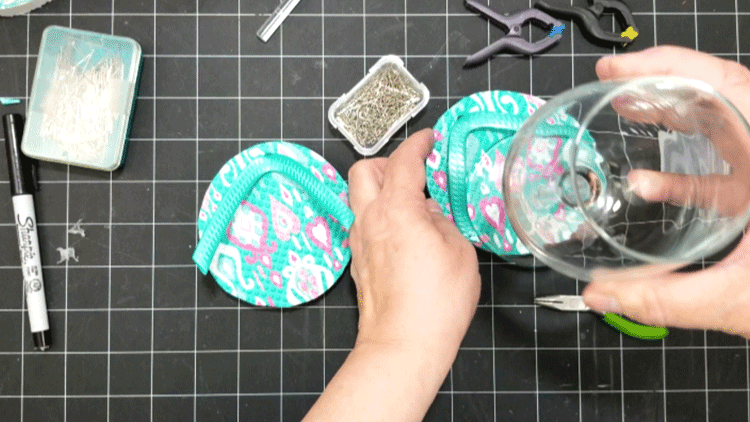
- Use a stemmed wine glass base to size how big you need your coaster to be. Make sure to add as much extra around the edge as you can. Make sure when the strap is in you have enough room at the opposite side of the circle so the base of the wine glass does not hang over the edge.
- Draw the circle with a sharpie.
- Cut out the circle. I used a band saw and this was perfect so I recommend it. But if you don't have one, a utility knife would cut the foam easily. You can also use scissors but if you do you will get a diagonal cut. Make the cut bigger than needed if possible then use the utility knife to even out the edge.
- Once it is cut, use the disc sander to even out any uneven or rough edges. Be careful..these sanders are great but they will grab the foam so be sure to hang on. Start lightly.
- Cut the part of the toe strap that goes back into the flip flop short enough that it doesn't stick out the bottom of the coaster.
- Then place the straps a little wide at the opposite end and trim them to the size.
- Now to attach them. The two adhesives I tried did not work so I ended up using short pins. It takes some work to get the pins into the hard plastic and I recommend using a thimble to save your finger and/or something to help push the pin. The first pin goes in from the side and directly into the hard plastic of the toe. The other two pins go in the straps from the top of the plastic strap, at an angle into the flip flop. I hope this makes sense. You can see it in the photos of the blog post.
Step 1: Use the wine glass and draw your circle pattern
I chose the wine glass that had the largest base for my pattern. Make sure that there is enough room all the way around when the glass is up against the toe strap.

Draw the circle with a sharpie on the bottom of the flip flop larger than the base of the wine glass.

You can see there is some room all the way around the glass base.

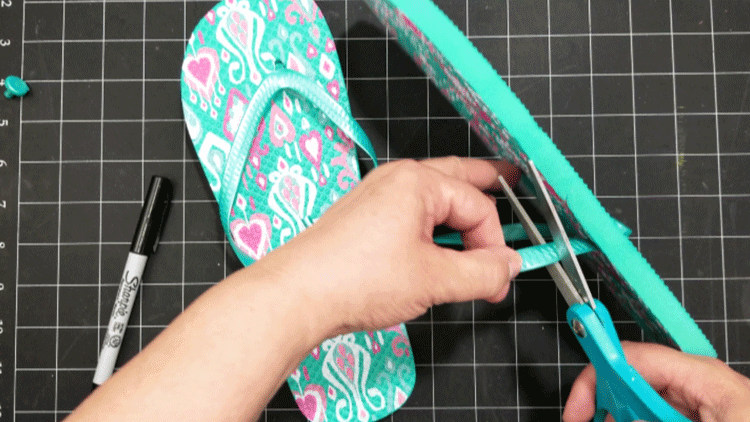
Step 2: Remove the straps from the flip flops
Use scissors to remove the straps. Set them aside to use later.


Step 3: Cut the circle
I used a band saw for this and if you have one or can get one it is highly recommended. I just went slow and cut along my sharpie marks and it was so easy.
If you don’t have access to a band saw then I would use a utility knife. If that is not possible then scissors as a last resort. When you use scissors it cuts at a significant slant. It can still work but creates a different profile.
After you get the circle cut you probably have some jagged edges or some lopsided spots. I used the disc sander to smooth the rough spots and to even out the lopsided-ness.
It worked really nicely but you have to go lightly with the sander. That thing has a little bit of a bite and can take the flip flop. But is works like a charm.
This is how they came out.

They are not perfect circles by any means but they looked pretty good.
Step 4: Cut the straps to size
We need to put our cute, little flip flop straps back on.
Trim the piece of the toe strap to make sure it doesn’t stick out the bottom of the flip flop.
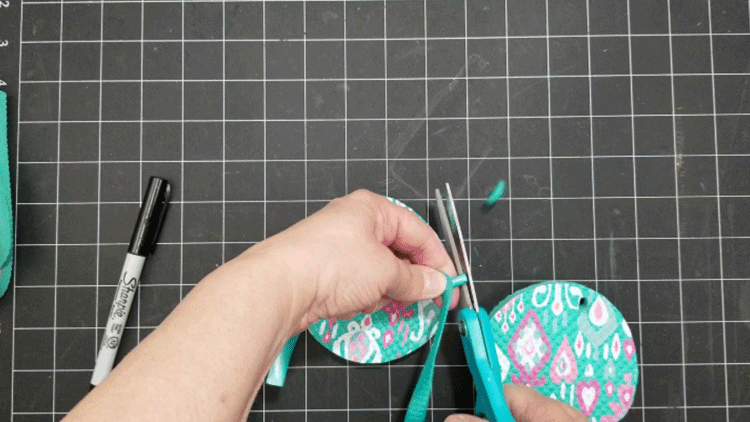
Then bring the straps down and trim off the excess. Make sure they are a little wide at the bottom so the base of the glass can fit.

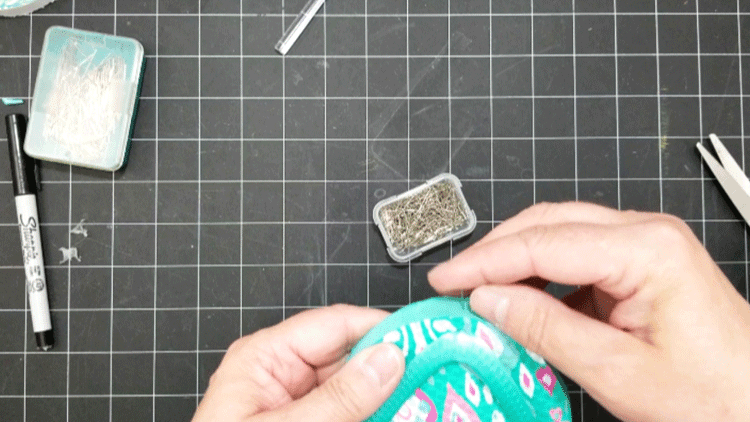
Step 5: Attach the straps
I used two different kinds of glues to attach the straps and neither of them worked. They were hot glue and an adhesive specifically for foam. They just did not stick.
I decided to use some pins. The regular sewing straight pins didn’t work. They kept bending but the shorter pins worked. They didn’t bend as badly.
This is what I did.
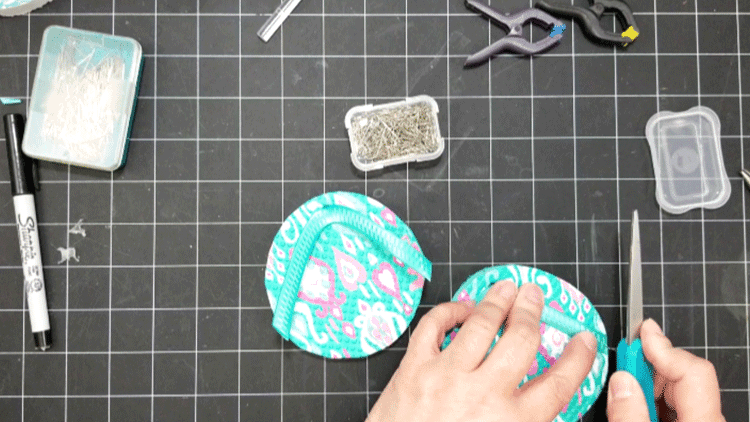
I used little clamps on the straps to hold them in place but you don’t have to do this.
Push a pin through the front of the flip flop and into the hard plastic of the toe piece. It took me a while to do this because the pins still wanted to bend. I finally found a thimble that helped but also I used the side of the scissors to help push in the pin.
It hurts to use your bare finger. Ouch!
It seems weird…but it worked.
Next add pins into the top of each strap and at an angle into the flip flop.

The side of the scissor worked well for this part too.
I ended up liking the pin idea because when you add the wine glass there is a little bit of play and it is easier to use.
If you don’t like the pin showing you could add a little rhinestone or a small flower to embellish them. That would be really cute.
They ended up being so cute. I made two pair but I think I want to make more.


What do you think? Will you make your own?
I hope so.
Now, don’t forget to visit the blogs of my friends to see their summer Dollar Tree projects.
Beverly at Across the Blvd – Create Summer Coastal Decor
Michelle at Our Crafty Mom – How to Make Unique DIY Moss Wall Art
Heather at Daily DIY Life – Dollar Tree Summer Wreath
Thanks so much for stopping by!
Michelle


Heather Northington
Monday 25th of May 2020
These are so much fun!! I agree with Nancy, these would be perfect for a gift basket. I would love to get them as a gift! Such a great idea Michelle, thanks for sharing.
Michelle
Saturday 30th of May 2020
Thank you Heather. I thing they turned out so cute. I can't wait to give...or use them. LOL!
Nancy L Janssen
Saturday 23rd of May 2020
I'm so glad the quarantine hasn't affected your creative juices, Michelle. The coasters would make a fabulous addition to a gift basket, along with a bottle of wine and a couple of glasses, too! Love them.
Michelle
Sunday 24th of May 2020
Hi Nancy! I hope you are healthy and still creative! These would be perfect in a gift basket. Aren't they just the cutest? LOL!
Gail @Purple Hues and Me
Friday 22nd of May 2020
What a fun and creative idea! Too cute!
Michelle
Sunday 24th of May 2020
Hi Gail! Thanks so much. I just love these things.