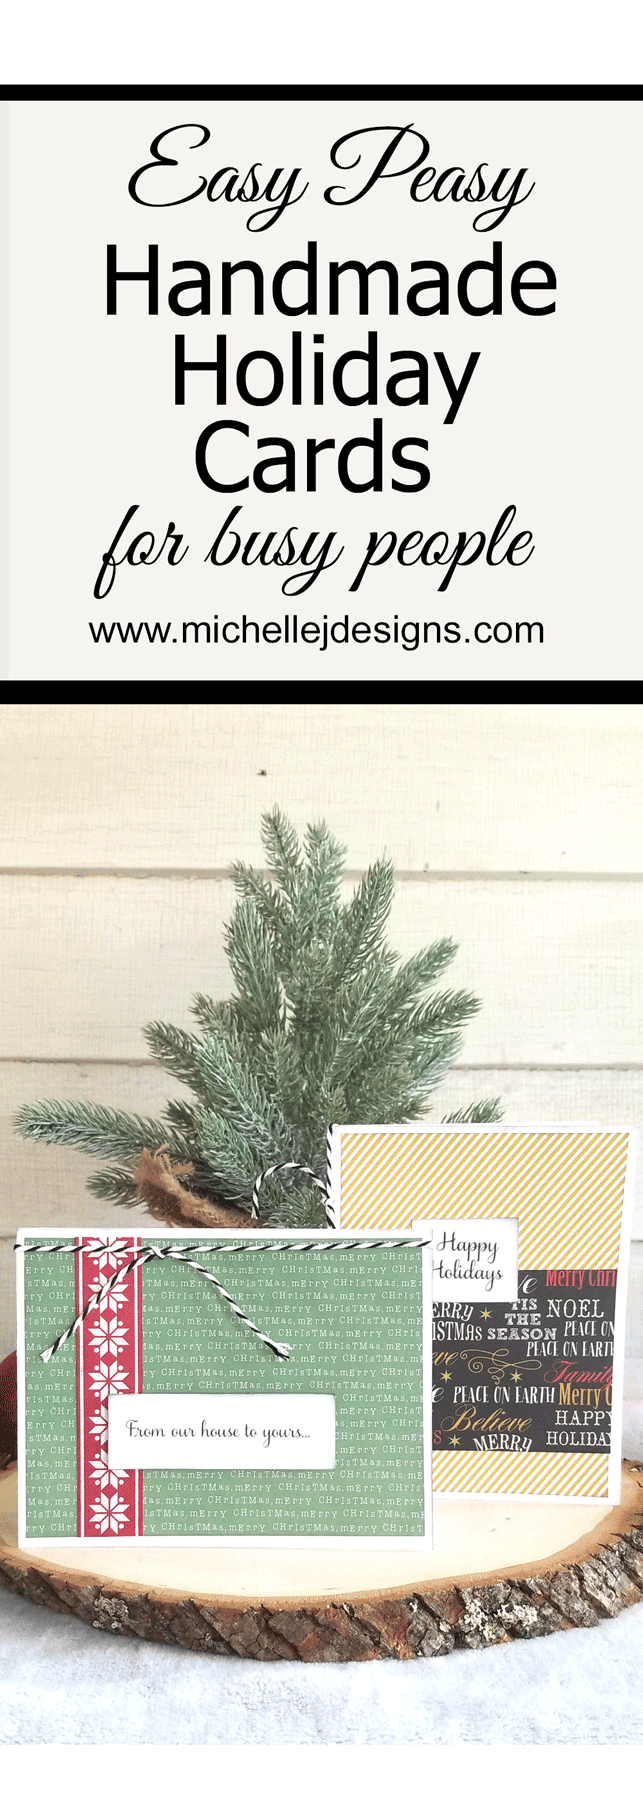
This year I am going to be showing you guys how I make super simple cards to send out. Everyone is busy and this time of year brings even more events and gatherings to add to the calendar. You should still be able to send out handmade cards if you want without it taking a month to make them. So today I am introducing my Easy, Peasy Handmade Holiday Cards!
Easy Peasy Handmade Holiday Cards
Handmade cards are beautiful but can sometimes involve so many pieces and intricate designs that have to be cut out. Even if you have a Silhouette or a Cricut machine it still can be time consuming. These cards have very few pieces that can all be cut with a trimmer or paper cutter. And, they look good too. They are simple and festive!
I am including step by step instructions for each card with measurements under each photo of the card but I have a video below showing how I made both of the cards as well.
This post includes some affiliate links for your convenience. You can ready my full disclosure here.
Let’s Get Started
You need a few materials to get started:
Materials List For Easy Peasy Holiday Cards
Paper Pack – I picked mine up at Hobby Lobby. You can use any scrapbook paper
Black Ink – I am partial to the Powder Puff Inks.
Adhesive – Tombow Dot Runners are my favorite
Bakers Twine – Black and White
Scissors
Printed Text Saying or Stickers or you could use rubber stamps
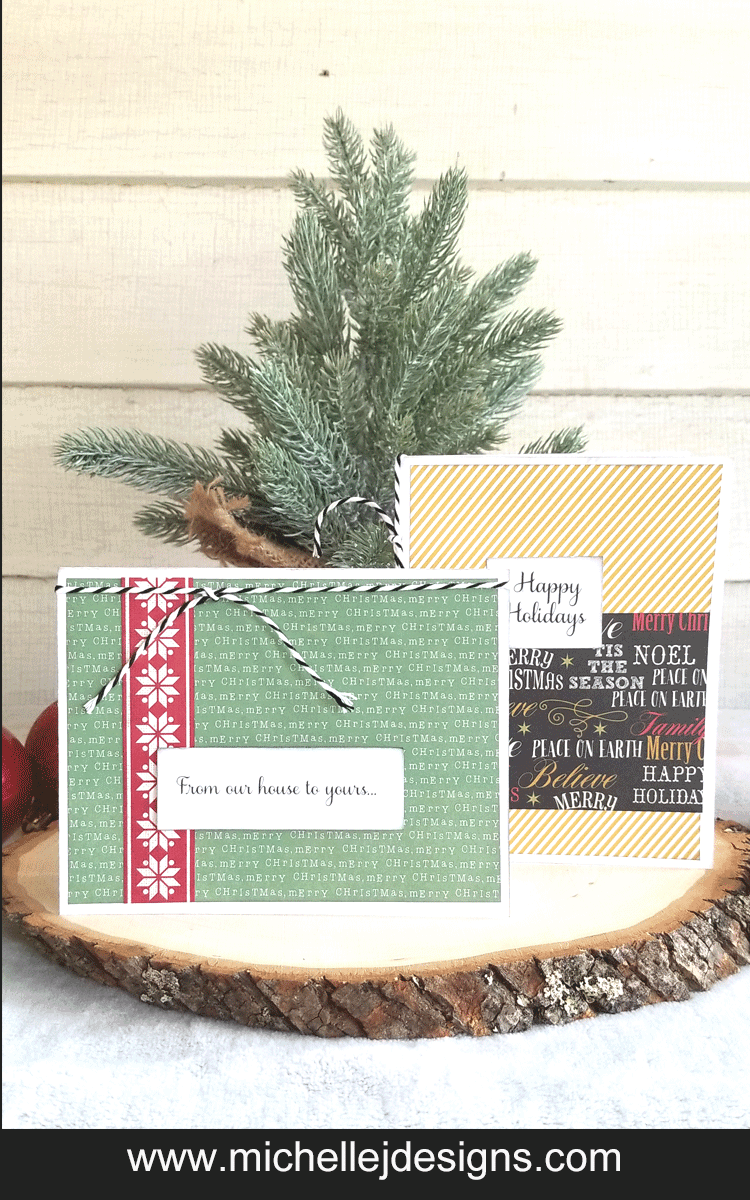
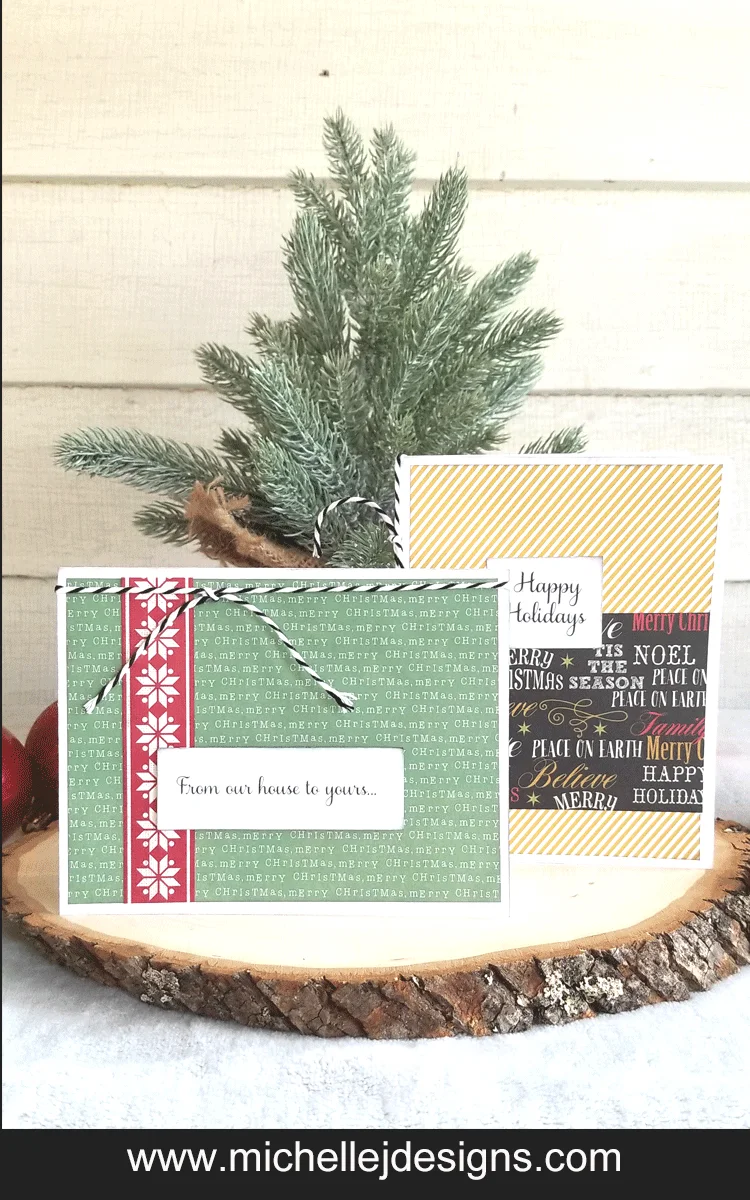
From Our House To Yours Card


Step 1
Cut an 8.5 x 11 sheet of card stock in half so you have a sheet that is 8.5 x 5.5. Fold it in half and set aside. This is your card base.
Step 2
Choose 2 pieces of patterned paper. One is the background piece and one is the small strip down the side.
Cut the background piece at 5.25 x 4 and the small strip at 4 x 1.
Ink the edges of all of the pieces including the card base.
Adhere the strip to the background piece
Step 3
Create a text saying for your card. I used my computer, Photoshop Elements 15 and my printer to create mine but you can use rubber stamps or stickers. If you want to print yours and don’t have Photoshop Elements you could use Google Docs or Word as well. I have put together a video to show you how I created mine with Photoshop Elements. You can find it a little further down in this post.
Cut your saying to size and use the mounting tape or pop dots to adhere it to the front of the background piece
Step 4
Glue the entire top piece to card base and add your bakers twine ribbon at the top!
You are all finished.
Happy Holidays Card
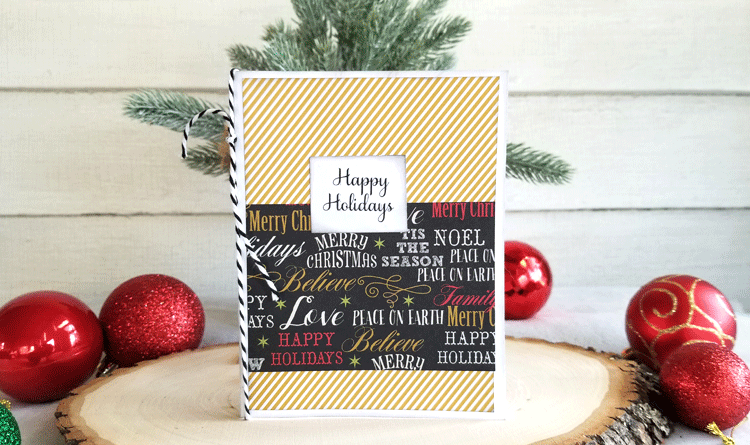

Step 1
Fold your white card base 8.5 x 5.5 in half, ink the edges and set aside.
Step 2
Cut a background piece 5.25 x 4 from patterned paper and another top piece of patterned paper at 4 x 4. Use the black in to ink the edges of the pieces. Glue the top piece to the background piece. I placed it toward the bottom but still leaving a bit of the background piece showing at the bottom. The side edges should line up.
Step 3
Create a “Happy Holidays” saying for your card using white card stock and a sticker, rubber stamp or printer. Cut it to the size you like, ink the edges, then adhere it to the background pieces. I wanted it to overlap the top piece. You can use the mounting tape or just some of the tape runner to glue it down.
Step 4
Adhere the top pieces to the card base and tie some bakers twine ribbon along the fold on the side. You are finished!
See…easy peasy!
Follow along with the video if you prefer a visual tutorial. Be sure to subscribe to my You Tube channel to see all of my video tutorials!
How To Create Easy Peasy Holiday Cards
How To Create And Print Text Sayings For Holiday Cards
I hope you enjoyed the cards and videos. I will be back with more easy, peasy handmade holiday cards!


Thanks so much for stopping by!
Michelle


Michelle james
Tuesday 14th of November 2017
Beautiful cards & great video!
Michelle
Tuesday 14th of November 2017
Thanks Michelle! That means a lot coming from you! I appreciate it very much. They were simple and fun.
lynn spencer
Monday 13th of November 2017
Michelle, these look so great! and looks like they would be fun to make too. Enjoy!
Michelle
Tuesday 14th of November 2017
They are fun to make. Thanks so much Lynn! I am glad you like them.
Toni | Small Home Soul
Monday 13th of November 2017
These are so great, your video was so helpful and after watching it I know I could totally make my own christmas cards :)
Michelle
Tuesday 14th of November 2017
Hi Toni. Thank you. I am glad the video is helpful. Handmade cards are always fun to make. Well, to me anyway.