It is time for Halloween decor again and I am so excited. I love to make spooky and cute crafts and decor for this time of year. Today I am going to show how to create some fun painted Halloween Mason Jars using hot glue as part of the design.

Related Content:
If you like mason jar projects check out this page with 10 amazing mason jar projects!
Painted Halloween Mason Jars
These painted Halloween Mason Jars are just creepy enough to sit next to my Skeleton Wine Glasses that I made last year. I love Halloween decor but I like the more realistic decorations as opposed to the cutsie.
Let’s get started with this tutorial!
I have included some affiliate links for your convenience. You can read my full disclosure here.
Materials Needed:
Mason Jars – I used 2 different sizes and the lids
Printer
Scotch Tape
Scissors
Paint Brush
Drawer pull knobs
Free Printable – Download Here
Step 1:
Print the free printable in the size you need.

Cut around the words.

Step 2:
This was the hardest part for me. Use scotch tape to tape the words inside the jars where you want your “labels” to be.

Step 3:
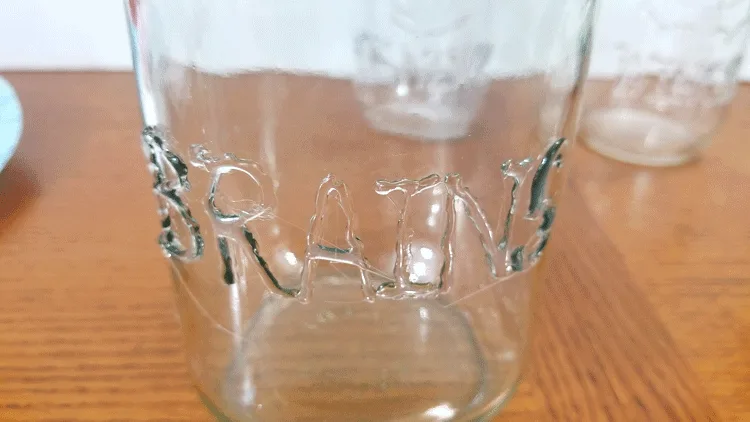
Heat the glue gun. When it is ready use the words as a guide and place hot glue over each letter and the objects.
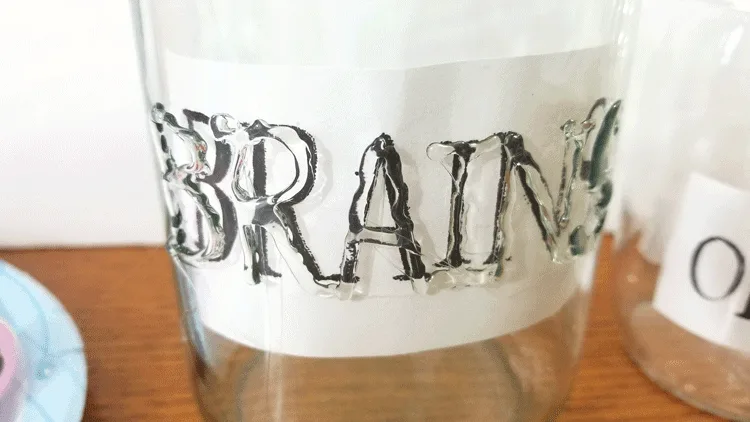
Remove the guides.
Step 4:
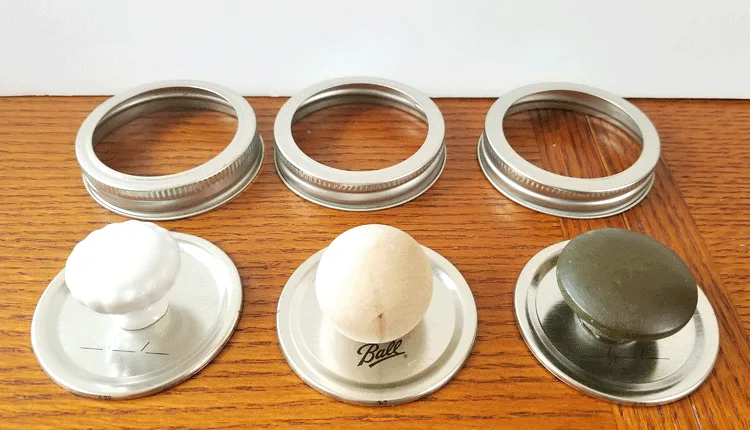
Gather the mason jar lids and the drawer pull knobs and the E6000 adhesive. I used drawer pulls that I removed from other projects or that we had left over in the garage.

Adhere the drawer pulls to the center of the tops of the lids. I just eye-balled them to center them. It doesn’t matter if they are a little off-center.
Step 5:
Spray paint the jars and the lids black. I gave the jars 2 coats upside down and coat right side up. The lids needed a little more care. I gave them one coat to cover then had to go back and touch them up several times underneath the knobs.
Step 6:
Add the dry brush painting to make the jars and lids look old and used.
I stared with the light gray paint and a dry brush. I used a larger flat brush and it turned out great. The key to dry brushing is to add paint to the brush then wipe a lot of it off. Start on the bottom or the back of the jar to get the hang of it. Using a very light tough brush the gray paint over the black. I wanted to highlight the letters too so I brushed the tops of them.

You can see on the Bat Wings jar I was a little heavy handed. But it’s okay. Continue by using this same technique with the copper paint and the gold paint. As you layer the colors it increases the depth.

I did the lids at the same time so they would match the jars.

I love this look.
Step 7:
Attach the lids and add these awesome Halloween Mason Jars to your spooky decor.


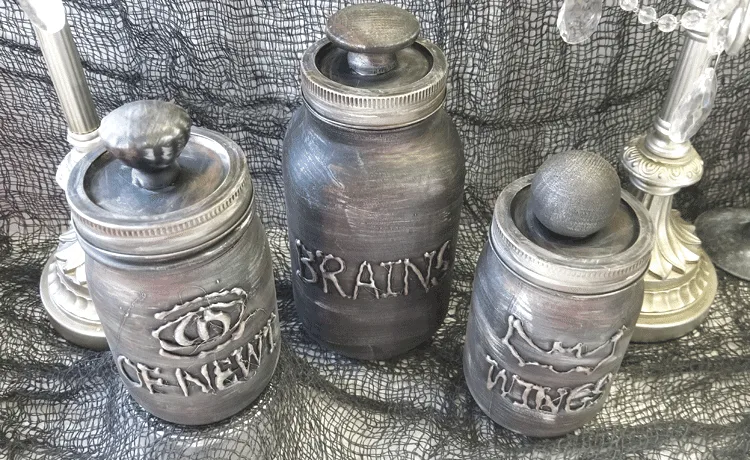
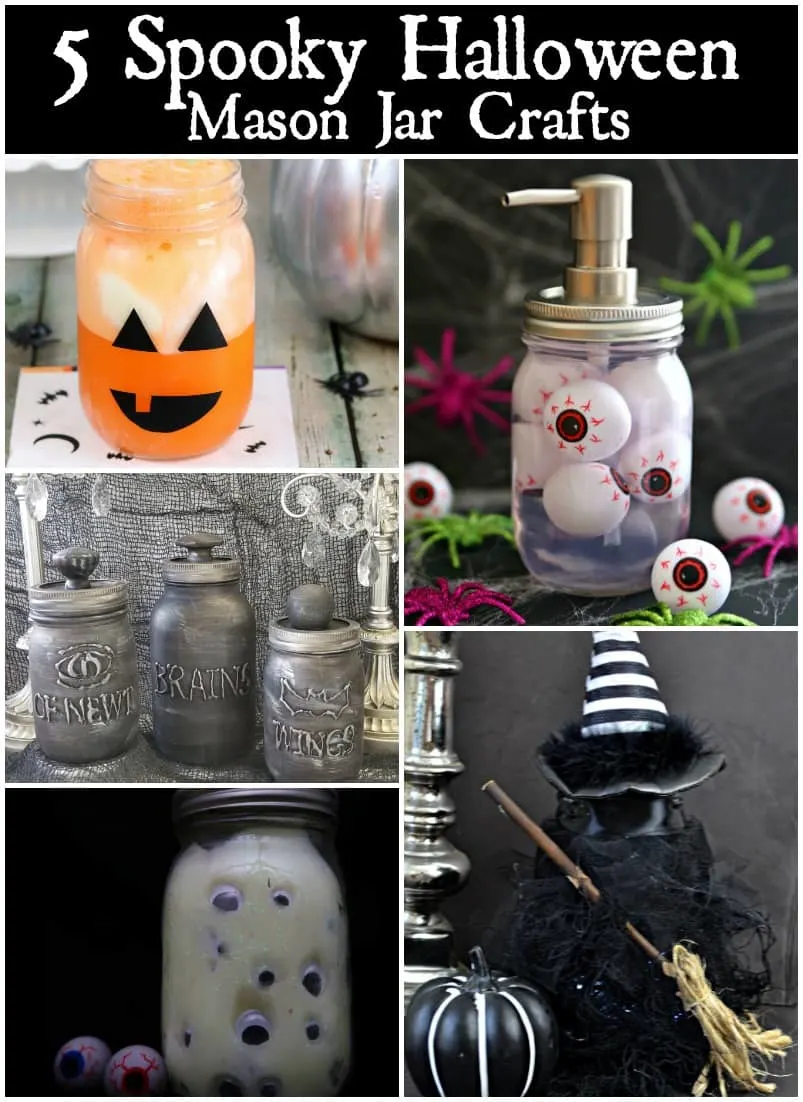
I think they are a bit Harry Potter inspired which is fun too. I hope you like these fun mason jars. Be sure to check out all of the other Halloween Mason Jar projects from my blogging friends!




Sarah
Sunday 16th of September 2018
These are cute, and perfect for Halloween. I love how the hot glue looks under the paint, great idea.
Michelle
Sunday 16th of September 2018
Hi Sarah! Thanks so much. I love this kind of crafty project!
Michelle from Weekend Craft
Sunday 16th of September 2018
Wow! The way you made templates and wrote in hot glue. I never would have thought of that. I am going to have to use this technique. Brilliant.
Michelle
Sunday 16th of September 2018
Thank you Michelle! I am glad you like them. They were fun to make and I love the way they turned out!